





Pinky Promise: Crochet Monster In Hat Plushie Pattern for Fall
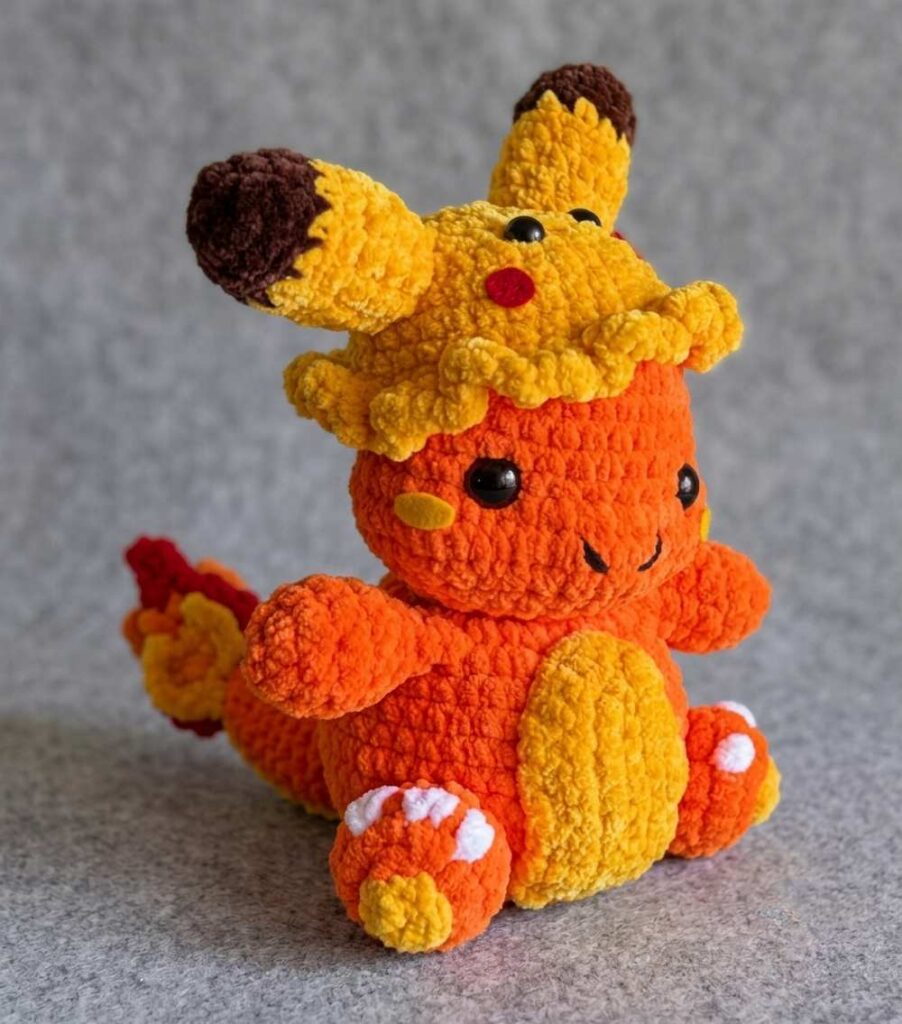
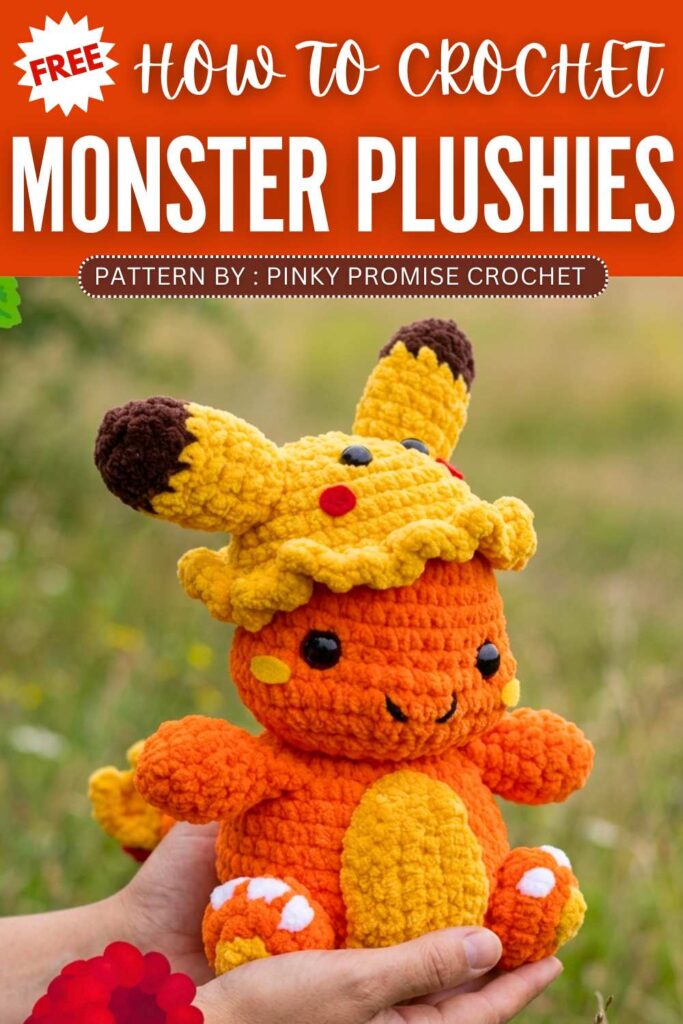
This fall, learn how to crochet this the CUTEST Charmander plushie that is wearing a ruffled Pikachu hat, following this FREE pattern. I have worked hard to present a written pattern for crocheting this sitting Charmander plushie that looks so life-like. You will even have separate pattern for the red and the yellow flames for the long tail. It is also the BEST crochet plushie and buddy for summer.
Crochet Monster In Hat Plushie Pattern
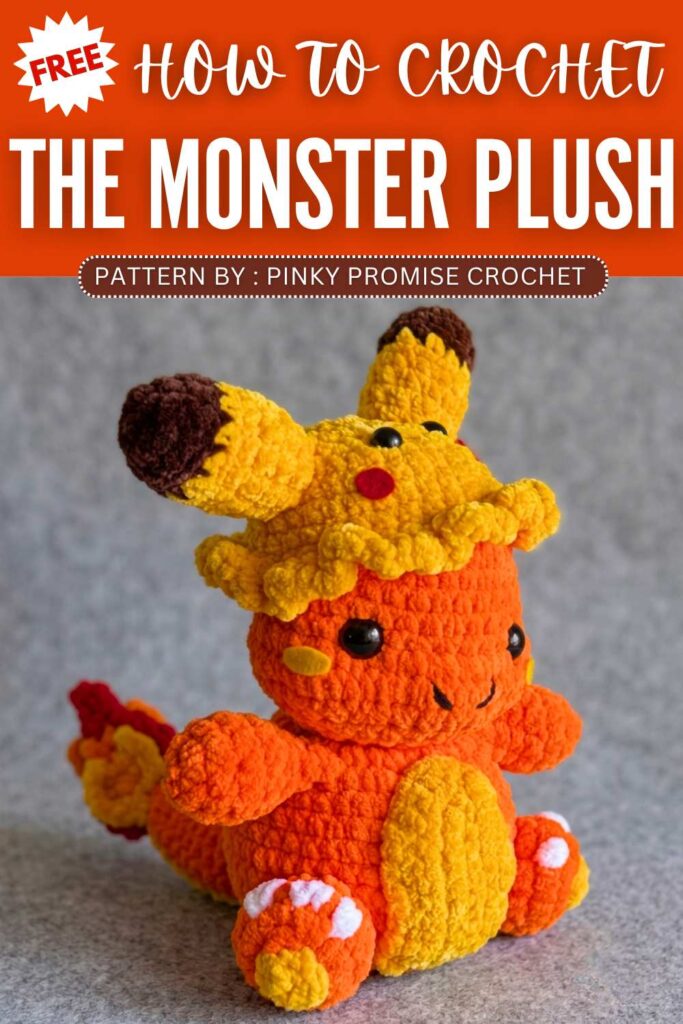
The Pikachu hat features two stuffed ears and the felt plush, too. Not just the Pokémon fans, everybody will love this crochet Charmander plushie and you luckily, you won’t have to follow a 52 minute tutorial; just use it for assembly. Since I could not share last summer, here is the FREE pattern for the big Charmander plush.
About the designer: The designer behind this crochet Charmander plush is @Pinkypromise_crochet – she has a PROMISING expertise in crochet plushie and is always able to find new ways of crocheting cute amigurumi and plushies. I have shared tutorials for her plushies multiple times!
How to Crochet Charmander in a Pikachu Hat Plush
The following crochet Charmander plush is worked in multiple parts with the body and the head crocheted as a single piece. We will also have a nice paw and the tail pattern. So, let’s get started.
Materials Needed
Bulky Polyester Yarn: Orange, White, Red, Yellow, and Brown
Safety Eyes: 12mm
Felt Fabric: Oval shape (2 pcs) & Round shape (2 pcs)
Extras: Glue, Black yarn (for nose embroidery), Fiberfill stuffing, Tapestry needle
Abbreviations
MR: Magic Ring
sc: Single crochet
inc: Increase (2 sc in one stitch)
dec: Decrease (join 2 stitches into one)
ch: Chain
sl st: Slip stitch
st: Stitch(es)
(…) x [number]: Repeat the instructions between the brackets the indicated number of times
[number]: Total number of stitches at the end of the round/row
Head
Start with Orange yarn.
R1: 7 sc in MR [7]
R2: 7 inc [14]
R3: (sc, inc) x 7 [21]
R4: (2 sc, inc) x 7 [28]
R5: (3 sc, inc) x 7 [35]
R6–10: sc all around [35]
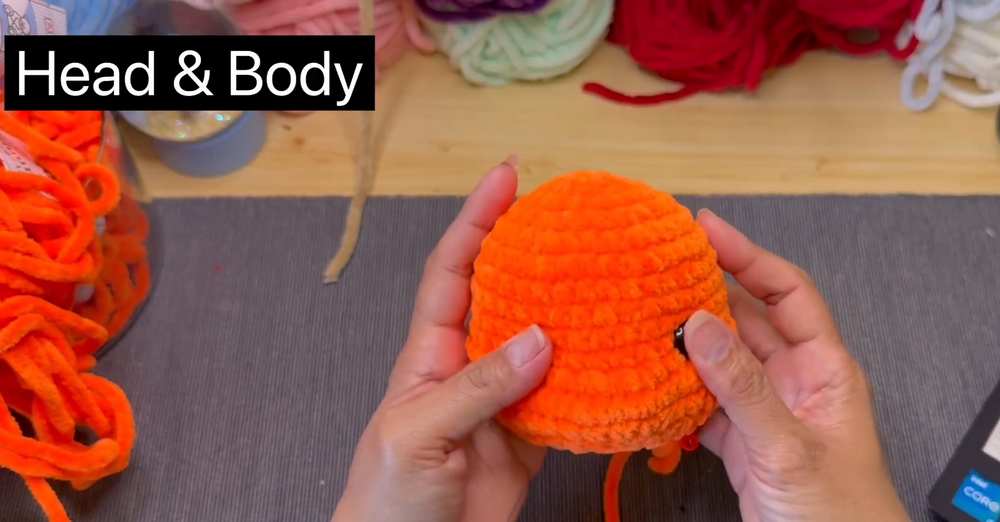
R11: 8 sc, 6 inc, 2 sc, 4 inc, 2 sc, 6 inc, 7 sc [51]
R12: sc all around [51]
R13: 8 sc, 6 dec, 2 sc, 4 dec, 2 sc, 6 dec, 7 sc [35]
R14: (3 sc, dec) x 7 [28]
R15: (2 sc, dec) x 7 [21]
R16: (sc, dec) x 7 [14]
Assembly Note: Place safety eyes between the cheeks and nose in between R9 and R10, about 6 stitches apart. Stuffing Note: Start stuffing the head firmly here, and continue stuffing as you crochet the body!
Body (Continued from Head)
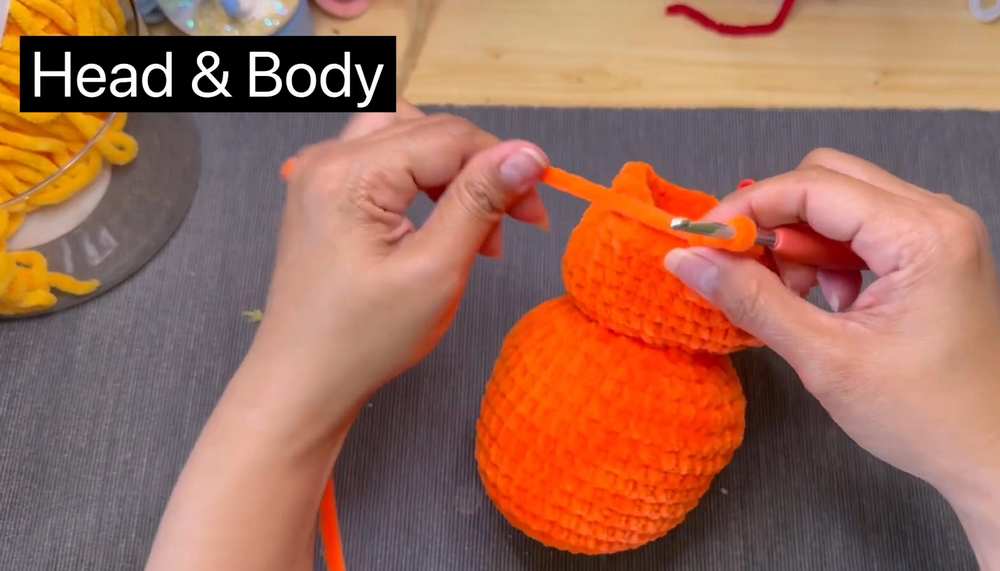
R17: 14 inc [28]
R18: (sc, inc) x 14 [42]
R19–22: sc all around [42]
R23: (5 sc, inc) x 7 [49]
R24: sc all around [49]
R25: (5 sc, dec) x 7 [42]
R26: (4 sc, dec) x 7 [35]
R27: (3 sc, dec) x 7 [28]
R28: sc all around [28]
R29: (2 sc, dec) x 7 [21]
R30: (sc, dec) x 7 [14]
R31: dec all around [7]
Finish Body: Cut the yarn, fasten off, and sew the bottom hole closed. Shape the eyes and embroider 2 lines as nose holes using black yarn, working downwards from the top of R11 (around the R10-R12 area).
Arms (Make 2)
R1: 4 sc in MR [4]
R2: 4 inc [8]
R3: (sc, inc) x 4 [12]
R4: sc all around [12]
R5: (sc, dec) x 4 [8]
R6–7: sc all around [8]
Finish Arms: Stuff the arms lightly. Fold the opening flat and sc across through both sides to close. Cut the yarn, fasten off, and leave a long tail for sewing.
Legs (Make 2)
R1: ch 5
R2: Start from the 2nd ch from the hook: 3 sc, inc in the last st. Turn to work down the other side of the chain: 3 sc, inc [10]
R3: 10 inc [20]
R4: sc all around [20]
R5: 10 dec [10]
Finish Legs: Stuff the legs. Fasten off and leave a long tail for sewing.
Yellow Feet Detail (Make 2):
5 sc in MR.
Sl st & fasten off, leaving a long tail for sewing. Attach to the bottom of the legs.
Tail
R1: 4 sc in MR [4]
R2: sc all around [4]
R3: (sc, inc) x 2 [6]
R4: sc all around [6]
R5: (2 sc, inc) x 2 [8]
R6: sc all around [8]
R7: (3 sc, inc) x 2 [10]
R8: sc all around [10]
R9: (4 sc, inc) x 2 [12]
R10: sc all around [12]
R11: (5 sc, inc) x 2 [14]
R12: sc all around [14]
R13: (6 sc, inc) x 2 [16]
R14: sc all around [16]
Finish Tail: Stuff the tail firmly, fasten off, and leave a long tail for sewing to the back of the body.
Flames for Tail
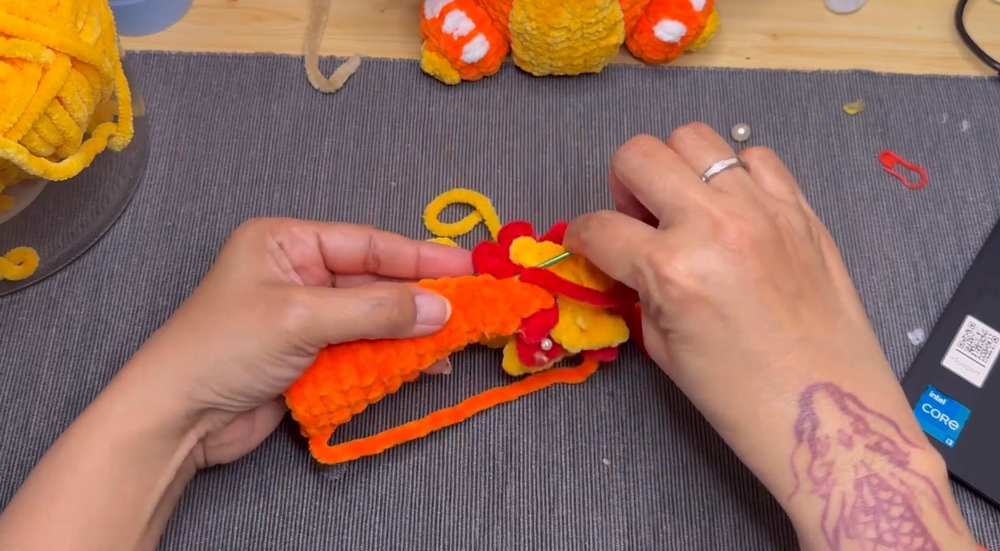
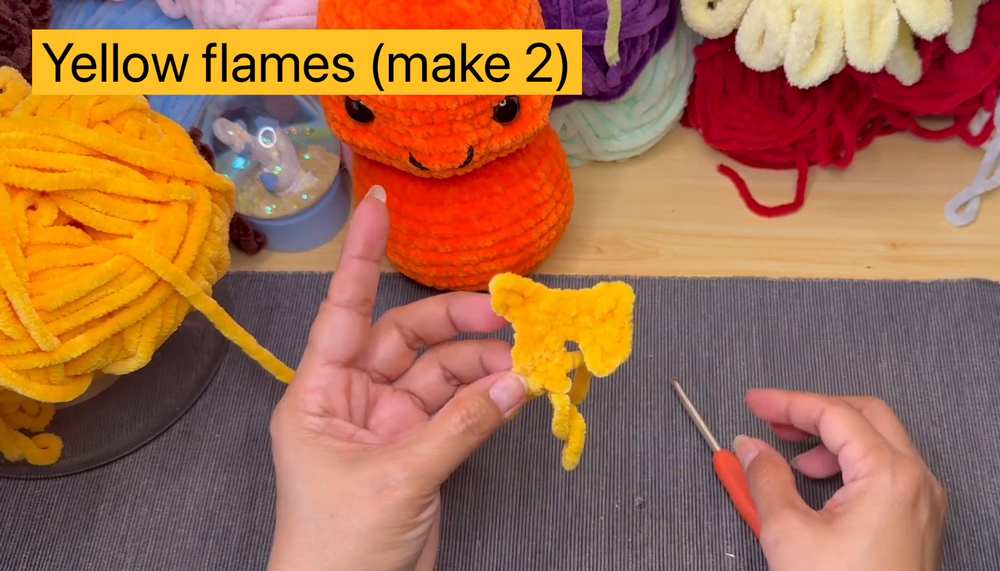
Yellow Flames (Make 2)
ch 7, start from the 2nd ch from the hook.
Spike 1: sc, sc, ch 2, sc into the 2nd ch from hook, sc back into the base ch (You should have 4 st left on the original ch).
Spike 2: In the next st: sc, sc, ch 3, 2 sc back along that ch, sc back into the base ch st (2 st left on the original ch).
Spike 3: sc. In the last st: sc, ch 2, sc back along the ch, and sl st into the base ch. Fasten off.
Red Flame (Make 1)
ch 8, skip the first ch.
Spike 1: sc, sc, ch 2, sc in the 2nd ch, sc back to the base ch.
Spike 2: sc, ch 3, 2 sc back along the ch, sc back to the base ch st.
Spike 3: sc, ch 4, 3 sc back along the ch, sc back to the base st. (You now have 3 little flames and need 2 more).
Spike 4: sc, ch 3, 2 sc back along the ch, sc back to the base st.
Spike 5: In the last ch: sc, ch 2, sc back along the ch, and sl st to the base ch. Fasten off.
Belly Patch
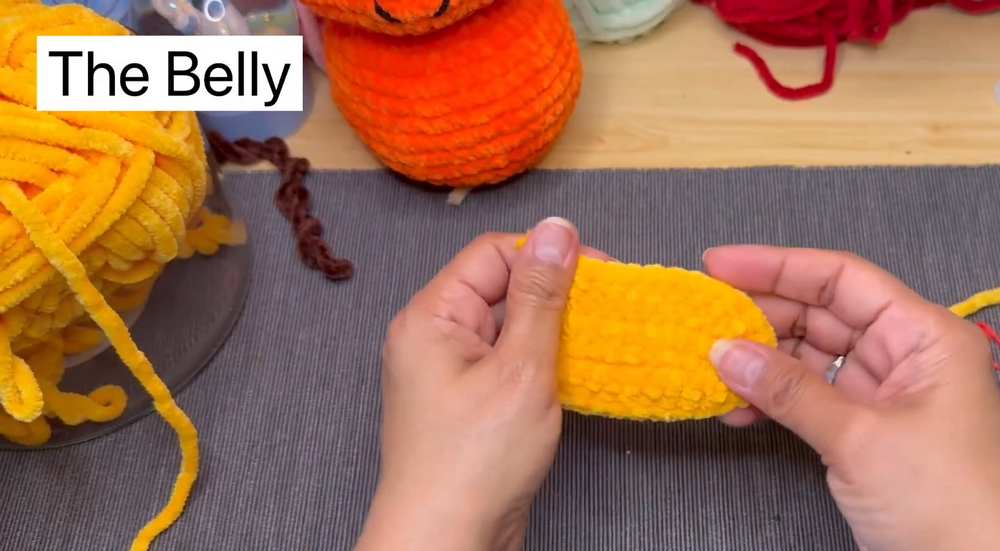
Row 1: ch 11. Start in the 2nd ch from the hook: 9 sc, inc. Turn to work down the opposite side of the chain: inc, 9 sc [22]
Row 2: ch 1, turn to the back side: 10 sc, 2 inc, 10 sc [24]
Row 3: ch 1, turn your work: 11 sc, 2 inc, 11 sc [26]
Finish Patch: Cut the yarn and leave a long tail. Sew the patch to the front of Charmander’s body.
Abbreviations Additions
BLO: Back Loop Only (crochet only into the back loop of the stitch instead of both
HDC: Half double crochet
Pikachu Ears (Make 2)
Start with Brown yarn.
R1: 6 sc in MR [6]
R2: 6 inc [12]
R3: sc all around [12] (In the very last stitch of this round, change color to Yellow yarn)
R4–5: BLO sc all around [12]
R6: sc all around [12]
R7: (4 sc, dec) x 2 [10]
R8: sc all around [10]
Finish Ears: Stuff the ears lightly, fasten off, and leave a long tail for sewing onto the hat.
Pikachu Hat
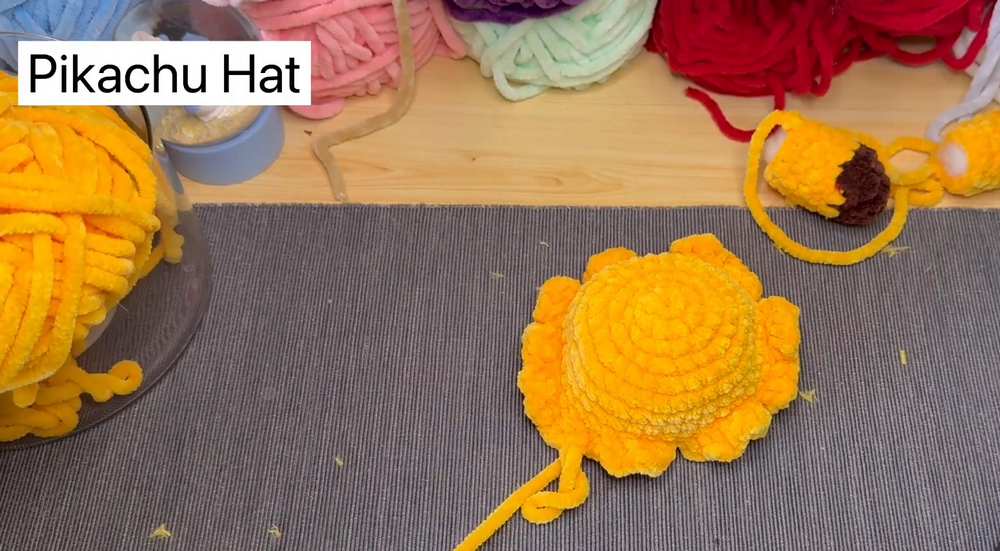
Use Yellow yarn.
R1: 7 sc in MR [7]
R2: 7 inc [14]
R3: (sc, inc) x 7 [21]
R4: (2 sc, inc) x 7 [28]
R5: (3 sc, inc) x 7 [35]
R6–9: sc all around [35]
R10 (Ruffled Brim): BLO sl st into the first st. In the next st, work (sc, HDC, sc) all into that same stitch.
Repeat this pattern sequence (sl st in one st, then 3 stitches in the next st) all the way around to create the wavy ruffle effect.
Assembly
I recommend to understand the assembly, better. Don’t worry, the video starts from the assembly:
Save For Later:
You may also like
HandMade-Top: Free Crochet Fugler Monster Plushie Pattern for Halloween
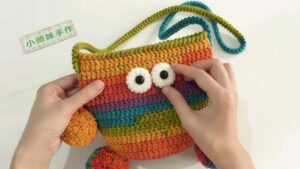
How to Crochet Funny Monster Bag for Kids
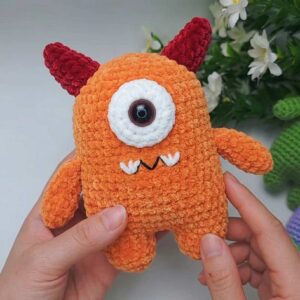
Your Child Would Love This Crochet Lovely Orange Monster
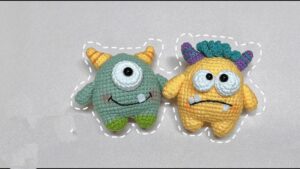
How to Crochet Colorful Baby Monster Amigurumi (2-in-1 Tutorial)
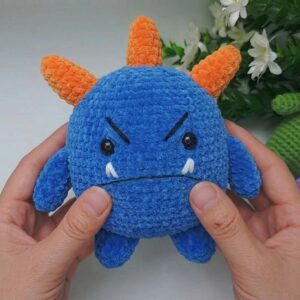
Crochet Your Stress-relief Chubby Plushie Monster Pattern