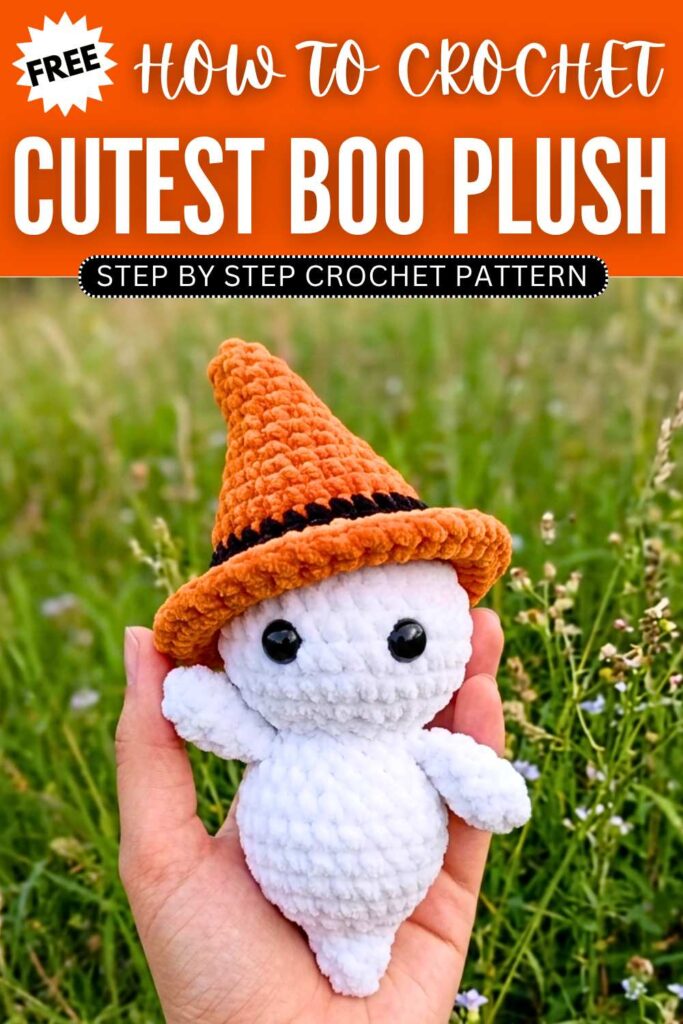
Free Crochet Cutest Flying BOO Ghost Plushie Pattern for Halloween
Today, let’s crochet the CUTEST BOO ghost plushie of this year with a FREE written pattern for beginners. This is gonna be a crochet white & BIG flying ghost plushie wearing a witch hat. You can hang this ghost amigurumi by your front door to welcome the guests with its cute hugging gesture. The crochet witch hat that you will learn following the same tutorial is removeable and also has ruffles.
Cutest Flying BOO Ghost Plushie Pattern
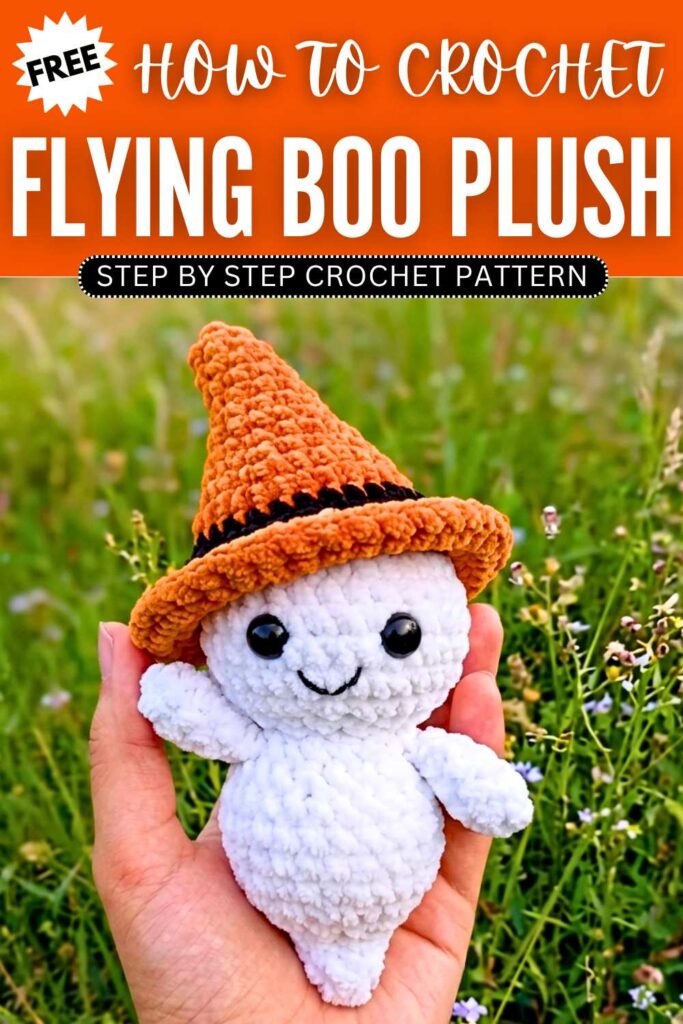
This low-sew crochet ghost is just so special and CUTE that I could not resist but to spend time and write a pattern for you. Kids will love to snuggle up with this flying ghost plush. Unlike the desk buddy ghosts, it is much more loveable and feels unique. Anyway, continue reading for the full crochet pattern.
How to Crochet Baby Ghost wearing a Witch Hat
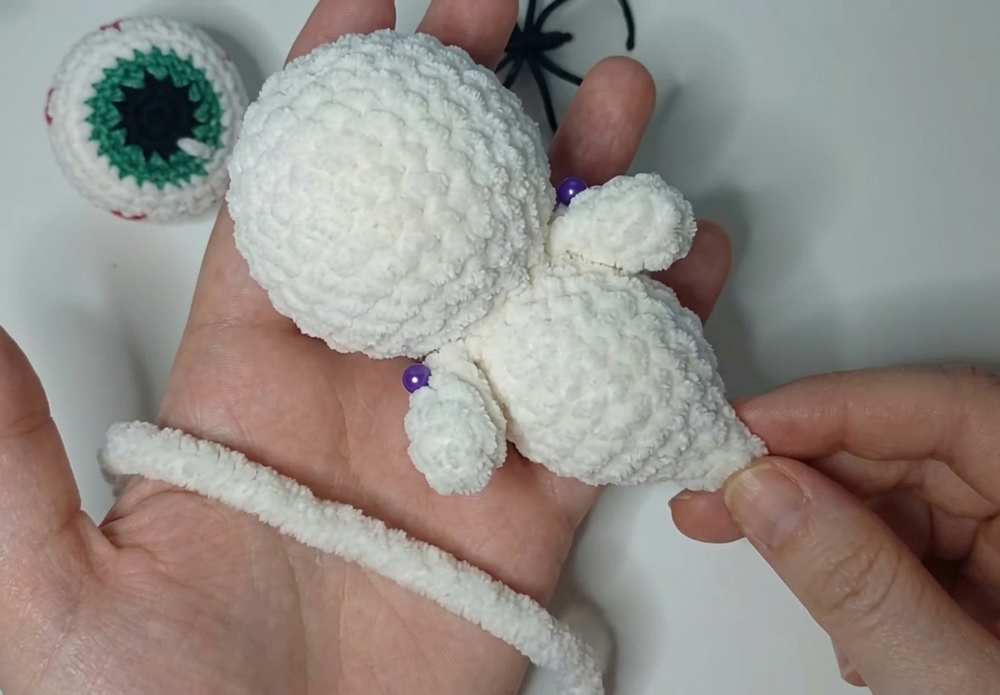
Below, you will learn how to crochet the no-sew ghost body of the crochet ghost in the witch hat amigurumi for beginners:
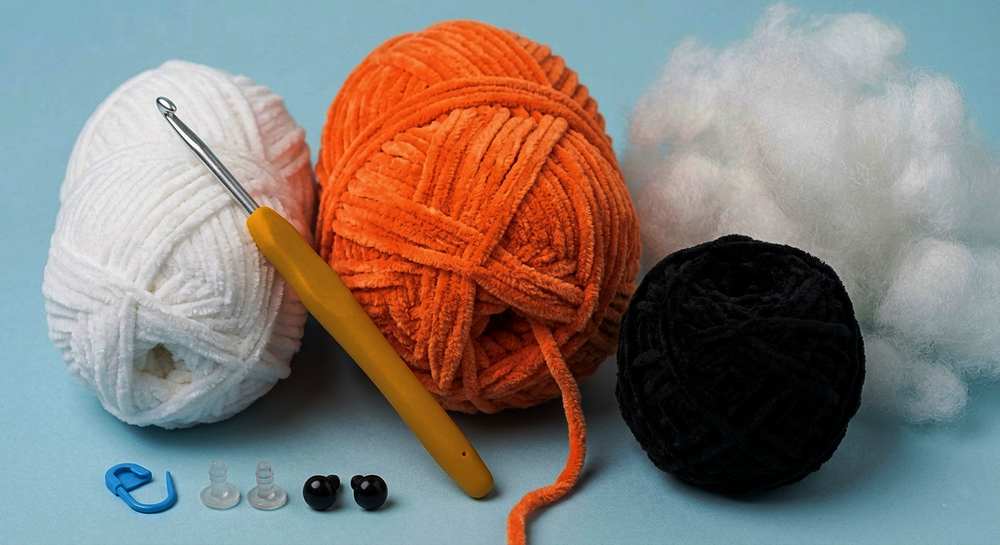
Materials Needed
100% Cotton Yarn (Colors: Orange, Black, White) or super bulky yarn
Crochet Hook: 2.50 mm or 4.5mm crochet hook
Yarn Needle
Stitch Markers
Stuffing (Fiberfill)
Safety Eyes: 8.00 mm (Note: Not suitable for children under 3 years old)
Abbreviations
MR: Magic Ring
inc: Increase
dec: Decrease
sl st: Slip Stitch
sc: Single Crochet
hdc: Half Double Crochet
dc: Double Crochet
FLO: Front Loop Only
Rnd/Rnds: Round/Rounds
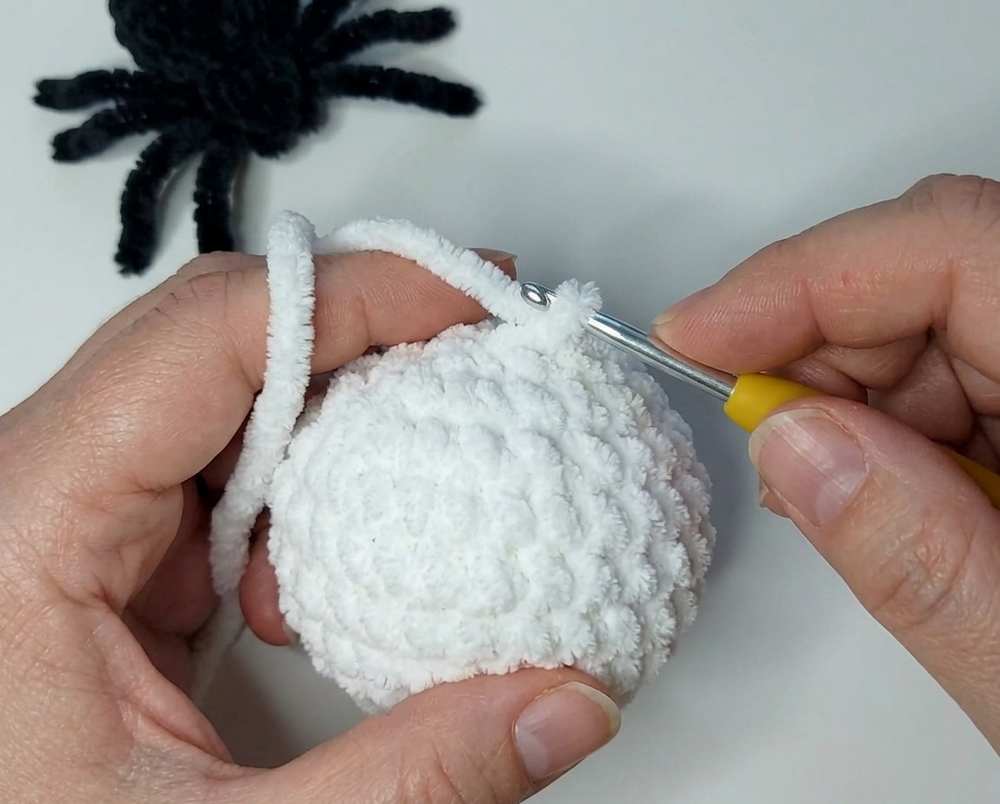
Ghost Body Pattern (White Yarn)
Rnd 1: 6 sc in MR [6]
Rnd 2: 6 inc [12]
Rnd 3: (1 sc, inc) x 6 [18]
Rnd 4: (2 sc, inc) x 6 [24]
Rnd 5: (3 sc, inc) x 6 [30]
Rnd 6: (4 sc, inc) x 6 [36]
Rnd 7: (5 sc, inc) x 6 [42]
Rnd 8: (6 sc, inc) x 6 [48]
Rnds 9-15: 1 sc in each st around for 7 rounds [48]
Rnd 16: (6 sc, dec) x 6 [42]
Rnd 17: (5 sc, dec) x 6 [36]
Rnd 18: (4 sc, dec) x 6 [30]
Rnd 19: (3 sc, dec) x 6 [24]
Note: Insert the safety eyes between Rnd 12 and Rnd 13, leaving a distance of 7 stitches between them.
Rnd 20: 1 sc in each st around [24]
Rnd 21: 12 dec [12]
Note: Stuff the head firmly.
Rnd 22: (1 sc, inc) x 6 [18]
Rnd 23: (2 sc, inc) x 6 [24]
Rnd 24: (3 sc, inc) x 6 [30]
Rnds 25-26: 1 sc in each st around for 2 rounds [30]
Rnd 27: (4 sc, inc) x 6 [36]
Rnds 28-29: 1 sc in each st around for 2 rounds [36]
Rnd 30: (10 sc, dec) x 3 [33]
Rnd 31: (9 sc, dec) x 3 [30]
Rnd 32: (8 sc, dec) x 3 [27]
Rnd 33: (7 sc, dec) x 3 [24]
Rnd 34: (6 sc, dec) x 3 [21]
Note: Start stuffing the lower body.
Rnd 35: (5 sc, dec) x 3 [18]
Rnd 36: (4 sc, dec) x 3 [15]
Note: Continue stuffing as you go.
Rnd 37: 4 sc, 3 dec, 5 sc [12]
Rnd 38: 1 sc in each st around [12]
Rnd 39: 3 sc, 3 dec, 3 sc [9]
Rnd 40: 1 sc in each st around [9]
Rnd 41: 1 sc, 3 dec, 2 sc [6]
Rnd 42: 1 sc in each st around [6]
Note: Finish stuffing the tail tip lightly, fasten off, close the hole, and weave in the yarn end.
Arms Pattern (Make 2, White Yarn)
Rnd 1: 5 sc in MR [5]
Rnd 2: 5 inc [10]
Rnds 3-10: 1 sc in each st around for 8 rounds [10]
Note: Stuff the arms lightly.
Closing: Flatten the open top and crochet across both layers with 5 sc to close the arm. Leave a long tail for sewing.
Assembly
Sew the arms to the sides of the ghost’s body, right at the indention area representing the neck.
Use black yarn to embroider a small, sweet mouth centered between the eyes.
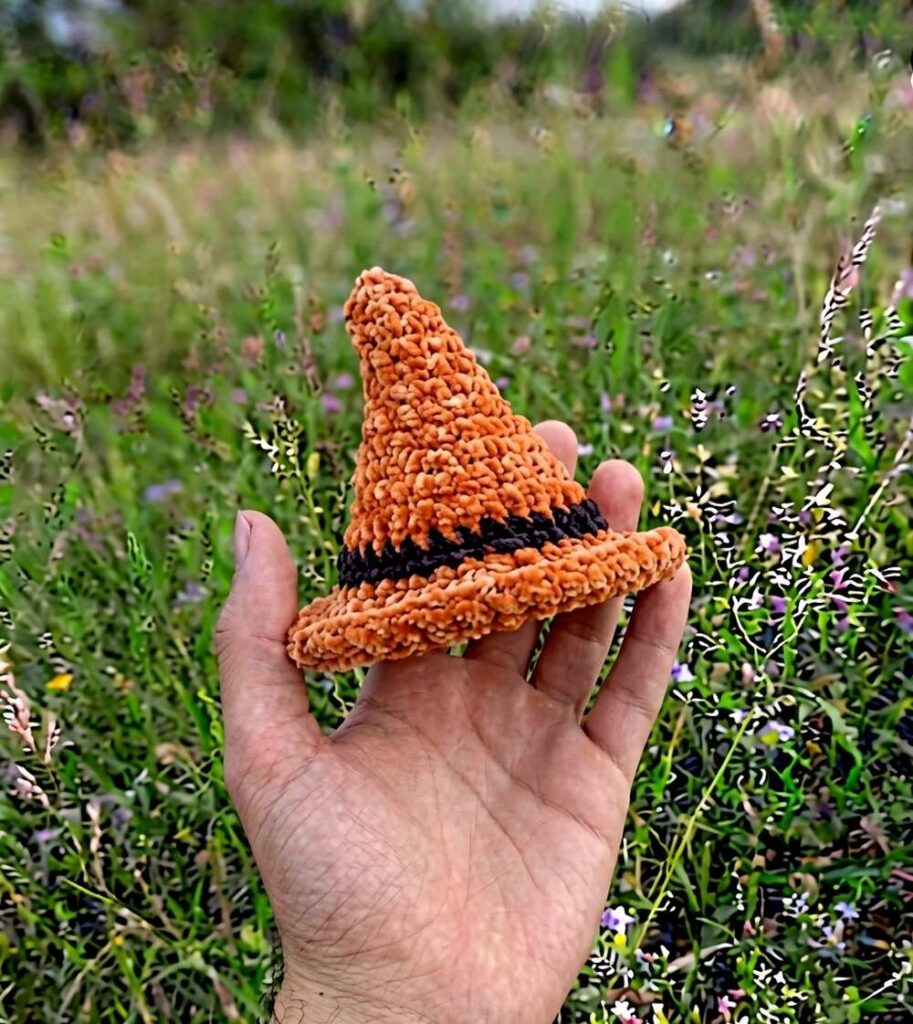
Hat Pattern
Color: Orange
Rnd 1: 6 sc in MR [6]
Rnd 2: 1 sc in each st around [6]
Rnd 3: inc, 4 sc, inc [8]
Rnd 4: 1 sc in each st around [8]
Rnd 5: 1 sc, inc, 1 sc, inc, 4 sc [10]
Rnd 6: 2 sc, inc, 2 sc, inc, 4 sc [12]
Rnd 7: 3 sc, inc, 3 sc, inc, 4 sc [14]
Rnd 8: 4 sc, inc, 4 sc, inc, 4 sc [16]
Rnd 9: 1 sc in each st around [16]
Rnd 10: (3 sc, inc) x 4 [20]
Rnd 11: 1 sc in each st around [20]
Rnd 12: (4 MB, inc) x 4 [24]
Rnd 13: 1 sc in each st around [24]
Rnd 14: (5 MB, inc) x 4 [28]
Rnd 15: 1 sc in each st around [28]
Rnd 16: (6 MB, inc) x 4 [32]
Rnd 17: 1 sc in each st around [32]
Rnd 18: (7 MB, inc) x 4 [36]
Rnd 19: 1 sc in each st around [36]
Rnd 20: (8 MB, inc) x 4 [40]
Rnd 21: 1 sc in each st around [40]
Rnd 22: (9 MB, inc) x 4 [44]
Rnd 23: 1 sc in each st around [44]
Color Change: Black
Rnd 24: (10 MB, inc) x 4 [48]
Rnd 25: 1 sc in each st around [48]
Color Change: Orange
Rnd 26: 1 sc in each st around [48]
Rnd 27 (FLO): (3 sc, inc) x 12 [60]
Rnd 28: (4 sc, inc) x 12 [72]
Rnd 29: (5 sc, inc) x 12 [84]
Rnd 30: (6 sc, inc) x 12 [96]
Assembly: Fasten off and weave in the ends. Place the hat on top of the ghost and sew it securely in place.