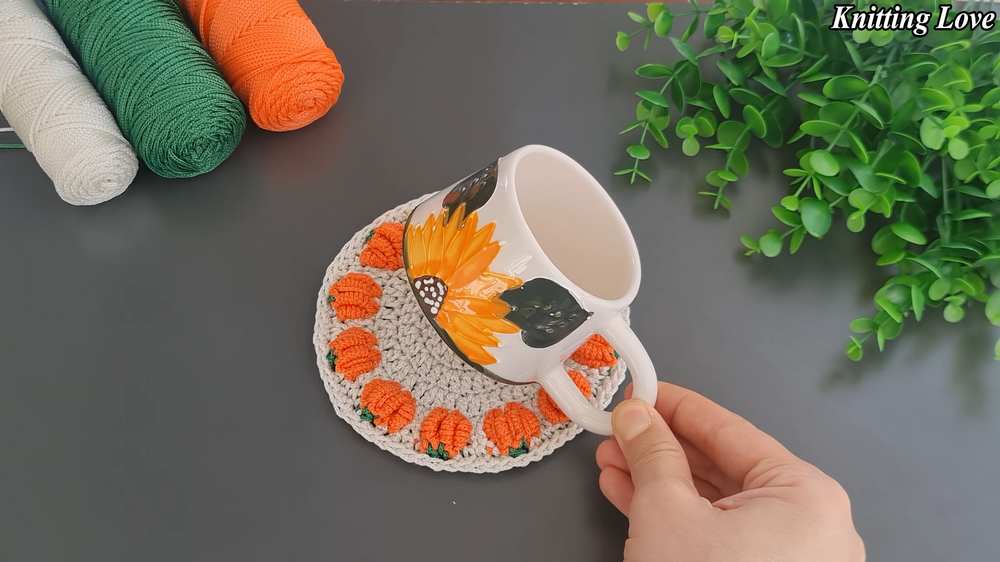
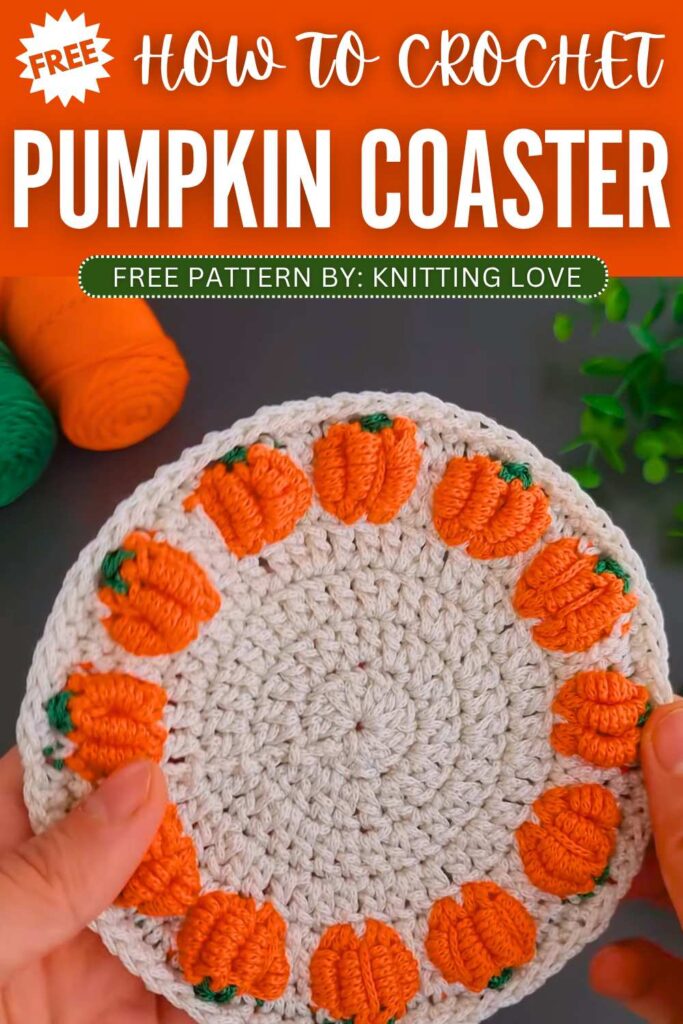
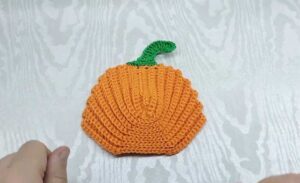
How to Crochet Easy & Shiny Pumpkin Coaster for Fall
Designer: Knittinglov
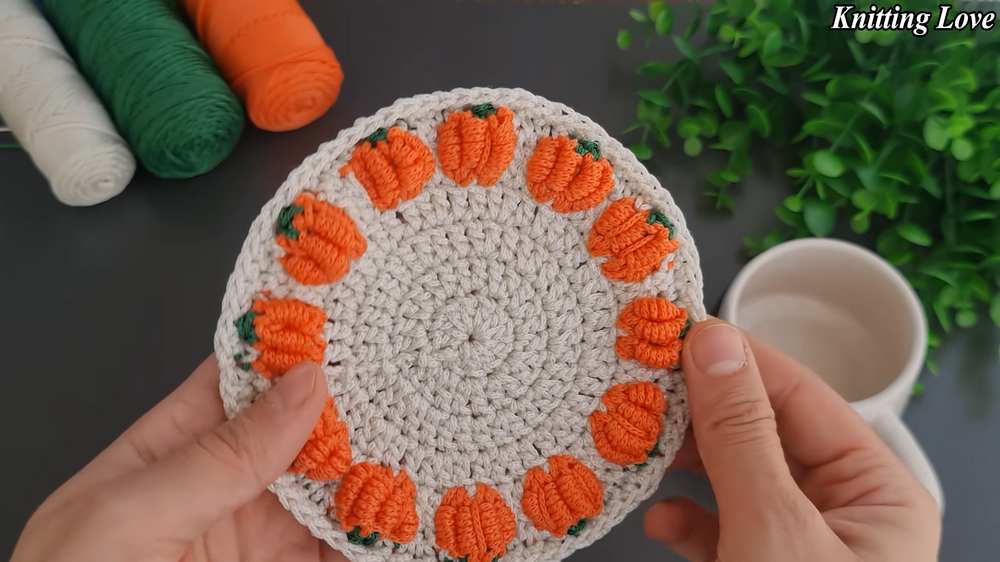
Here is a FREE tutorial to crochet even easier variation of the crochet pumpkin stitch coaster for fall. Introducing the loopy pumpkins crochet coaster that you can crochet for your fall coffee table, Thanksgiving dining and even Halloween gathering. This pumpkin coaster version is perfect for beginners. You will also learn a UNIQUE 7-yarn-unders Bullion stitch while crocheting the pumpkins of the pumpkin stitch.
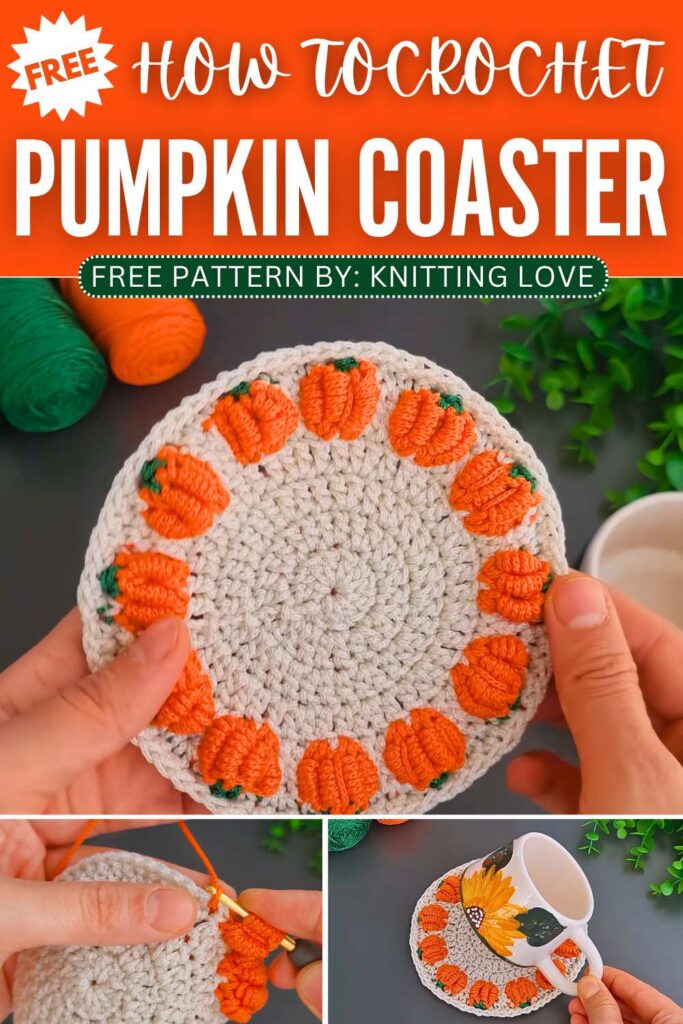
With the use of hollow cotton cord, this crochet fall coaster will get the most elegant finish. The middle and outer rounds in off-white only needs the basic crochet circle that I will also show down below. So, continue reading this pattern to learn crocheting this pumpkin.
About designer: The designer of this pumpkin coaster is @Knittinglov – she crochets the unique accessories with bright colors especially those related to flowers and plants. Her crochet ideas include tons of crochet fall patterns from baskets to amigurumi. We will provide many of her pumpkin tutorials, here.
Crochet Easier Pumpkin Stitch Coaster Tutorial
Skill Level: Beginner Level – 3.
Why: Along with working in the rounds, changing the colors and holding two yarn strands at the same time, you will need many new techniques and stitches. That is the Bullion stitch.
Supplies Needed
Following are the supplies, you need to gather for crocheting this fall pumpkin amigurumi:
- Cotton yarn 4ply or 5ply in orange and white
- 2.20 mm Crochet hook as used by the tutor
- Colors: Orange, green and off-white.
- Sewing Needle
- Keyring
Quick Guides for Stitches
Here are the quick guides for the stitches, using your abbreviations:
Ch (Chain): Make a slip knot on your hook. Yarn over and pull the yarn through the loop on your hook.
Slst (Slip a stitch): Insert your hook into the stitch. Yarn over and pull the yarn through the stitch and through the loop on your hook at the same time.
Sc (Single Crochet): Insert your hook into the stitch. Yarn over and pull up a loop (two loops on hook). Yarn over and pull through both loops.
Half Cr (Half Double Crochet): Yarn over. Insert your hook into the stitch. Yarn over and pull up a loop (three loops on hook). Yarn over and pull through all three loops.
Dc (Double Crochet): Yarn over. Insert your hook into the stitch. Yarn over and pull up a loop (three loops on hook). Yarn over and pull through the first two loops. Yarn over again and pull through the remaining two loops.
Circle Pattern
Since we have to crochet the traditional circle using the magic increase formula, here is the pattern:
With the off white yarn:
Round 1: Make a MR. Ch 3 (counts as first Dc). Work 11 Dc into the MR. Slst to the top of the beginning Ch 3 to join. (12 Dc)
Round 2: Ch 3 (counts as first Dc). Work 1 Dc in the same stitch. Work 2 Dc into each Dc around. Slst to the top of the beginning Ch 3 to join. (24 Dc)
Round 3: Ch 3 (counts as first Dc). Work 2 Dc in the next stitch. Work 1 Dc in the next stitch, then 2 Dc in the next stitch. Repeat from * to * around. Slst to the top of the beginning Ch 3 to join. (36 Dc)
Round 4: Ch 3 (counts as first Dc). Work 1 Dc in the next stitch, then 2 Dc in the next stitch. Work 1 Dc in each of the next 2 stitches, then 2 Dc in the next stitch. Repeat from * to * around. Slst to the top of the beginning Ch 3 to join. (48 Dc)
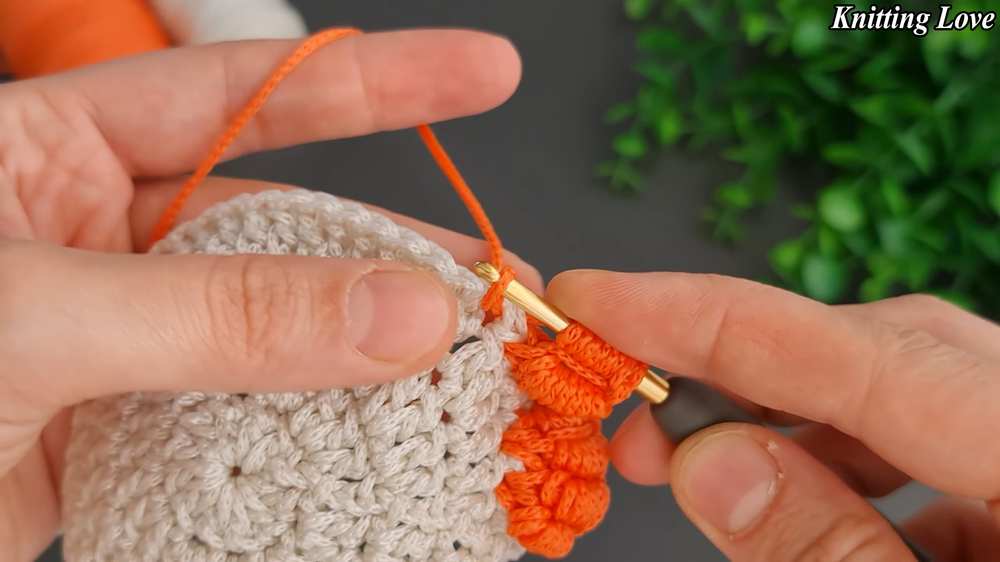
Crochet Bullion Stitch
Yarn under 7 times. Insert your hook into the next stitch. Yarn over and pull up a loop. Yarn over and pull through all the loops on your hook at the same time.
Crochet Pumpkin Stitch
To crochet the pumpkin stitch for the Round 5:
- Chain 3 (counts as the double crochet), Make 1 double crochet.
- Attach orange yarn and make 4 bullion stitches in each of the next stitches.
- Repeat, 2 dc with the off-white yarn and 4 bullion stitches with the orange yarn.
Now, to learn the remaining pattern in detail, watch the following video tutorial:
Remaining Rounds?
Here is the tutorial to learn better!
You may also like

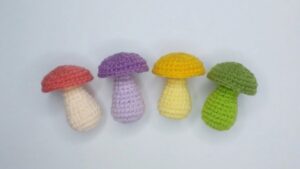
5 Free Crochet Fruit & Desert Accessory Patterns
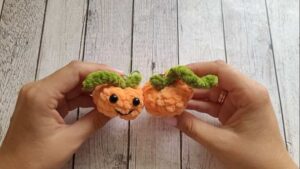
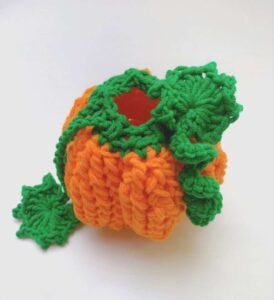
Free Crochet Small Smiling Pumpkin Plushie Pattern for Fall
Free Crochet Quick Any-Color Pumpkin Amigurumi Pattern
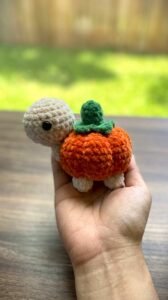
Crochet Pumpkin Baby Turtle Amigurumi for Fall & Halloween
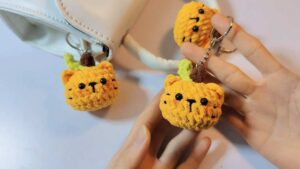
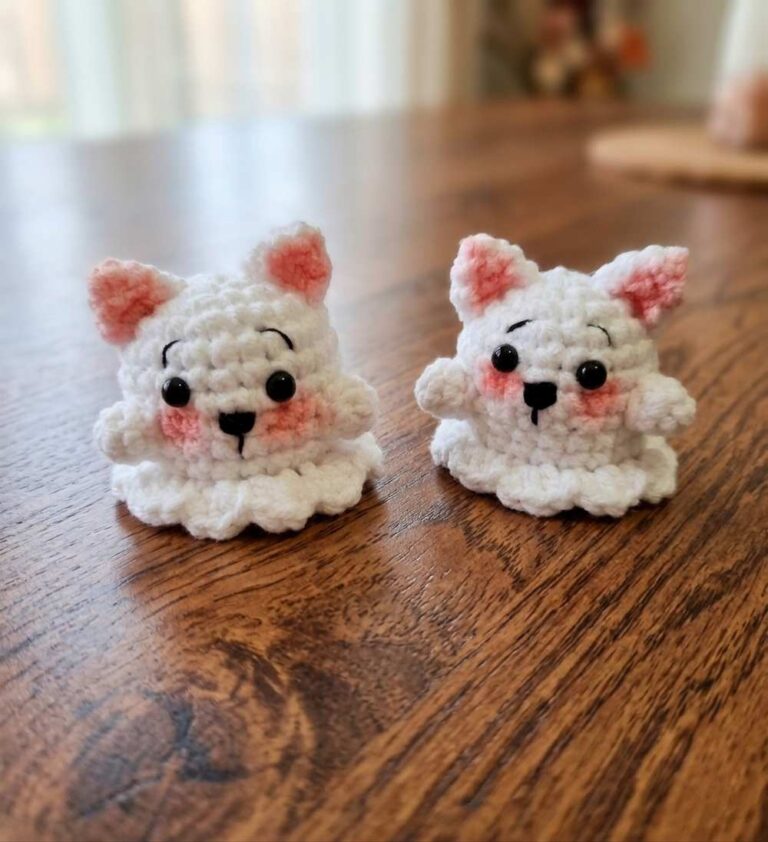
Crochet Pumpkin Cat Keychain Plushie Pattern for Halloween
Crochet Oli: Crochet Ribbed Pumpkin Coaster for Fall & Halloween