Sotvorimka: Free Crochet Sitting Baby Fox Plushie Pattern for Fall
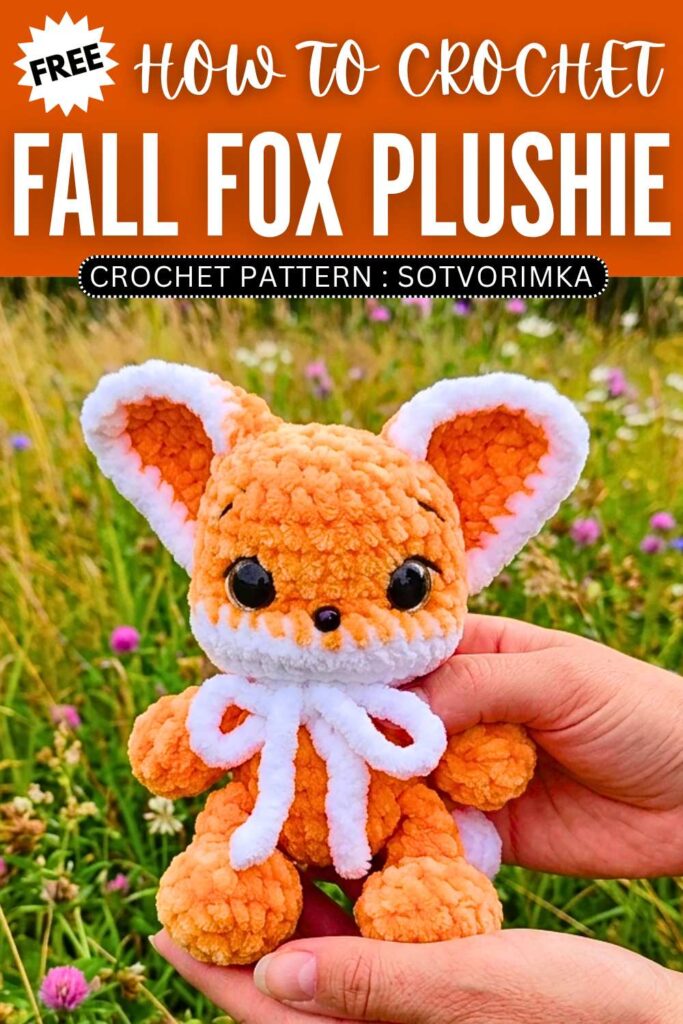
Learn how to crochet the CUTEST baby fox plushie I have talked about so far with this FREE written pattern. We will be crocheting sitting fox plush using the same base doll as the one used to crochet the Halloween cat and the bat. So, if you followed those patterns, crocheting this fox plushie will be much easier for you. With the bigger eyes, the plastic nose, and the mouthless make it an irresistible mood lifter plushie!
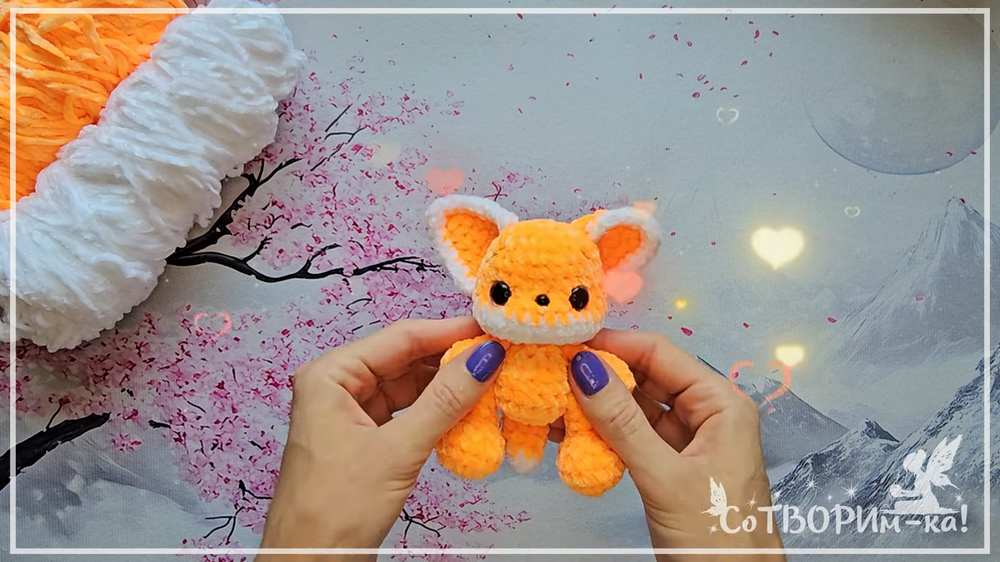
Crochet Sitting Baby Fox Plushie
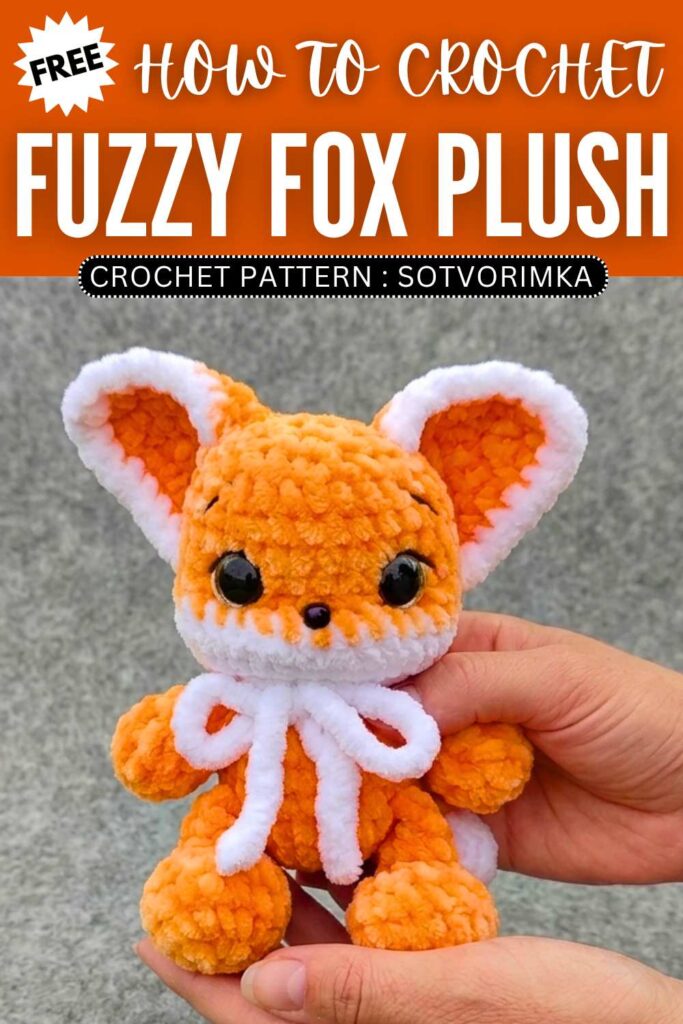
It actually measures just about 15 cm (fit in ones hands), so you can crochet it within 45 minutes using the super bulky yarn. You will especially love the ears and the stuffed tail in the back of this crochet fox plush. So, continue reading for the full crochet fox plush pattern for all skill levels.
About the designer: The designer behind this crochet fall fox plush is @sotvorimka – She designs the CUTEST character and animal plushie and I fell in love with her crochet plushies immediately. You will love her seasonal crochet plushies, in particular.
How to Crochet Fox Cub Plushie
This project is a step-by-step guide to crocheting an adorable, soft, and plush amigurumi fox cub! Designed to be as seamless as possible, the legs, arms, and tail are crocheted directly into the body to save you from tedious sewing later.
Using soft plush yarn in orange and white, you’ll follow basic crochet stitches and face-shaping techniques to create a cute little fox complete with a bead nose, safety eyes, and a cozy crocheted scarf.
Materials Needed:
Plush yarn in Main Color (Orange) and Contrasting Color (White)
Safety eyes (12 mm)
Small bead for the nose (5.5 mm)
Crochet hook (appropriate size to match your yarn)
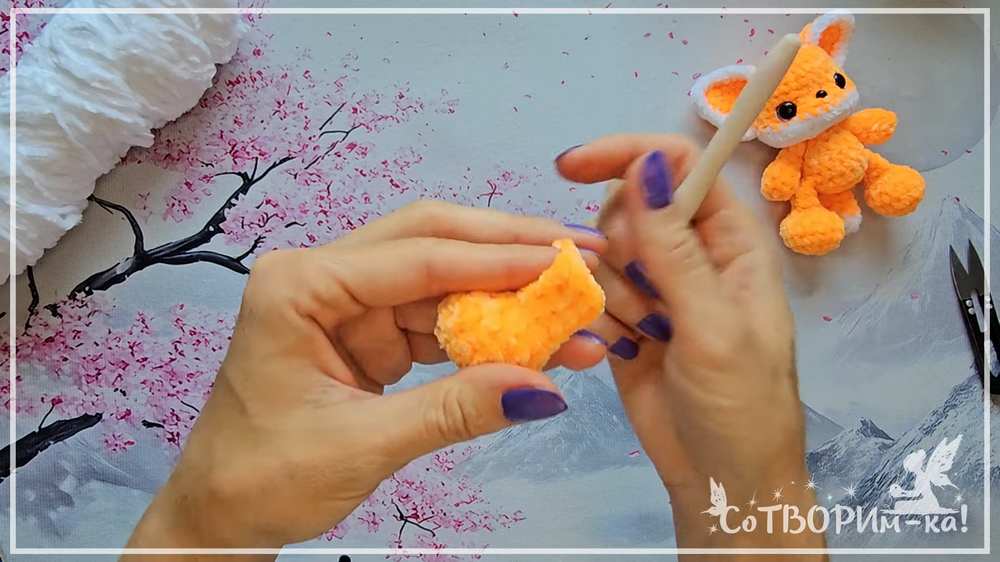
A very thin crochet hook (small enough to pull yarn through the nose bead)
Toy stuffing (fiberfill)
Strong sewing thread (for face shaping and pulling indents)
Thin yarn for face embroidery (dark yarn for eyebrows, white for eye accents)
Pins or knitting needles (to hold parts in place before sewing)
Yarn needle and scissors
Abbreviations (US Terms):
MR: Magic Ring (or chain 2 and crochet into the 1st chain)
sc: Single crochet
inc: Increase (2 sc in one stitch)
dec: Decrease (crochet 2 stitches together)
ch: Chain
sl st: Slip stitch
FO: Fasten off
( ) * X: Repeat the instructions inside the parentheses X times
[ ]: Total number of stitches at the end of the round
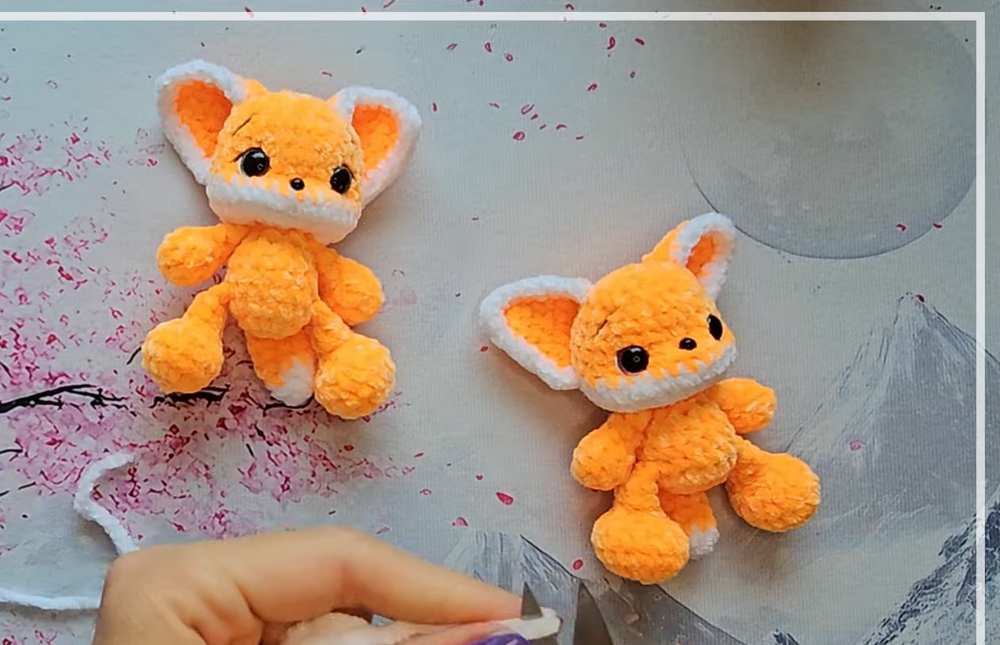
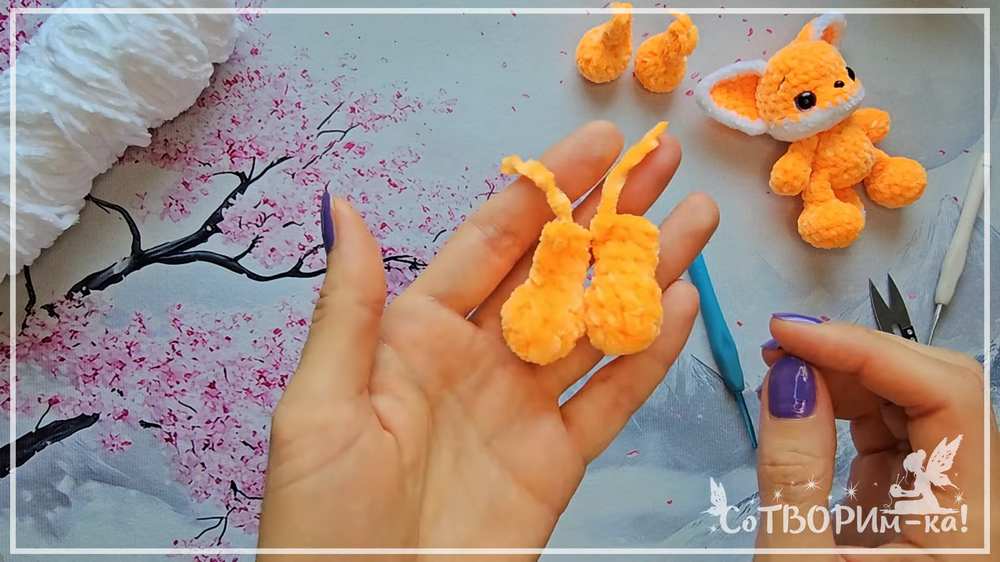
Legs (Make 2):
Start with Main Color.
Round 1: 8 sc in MR [8]
Round 2: 8 inc [16]
Rounds 3-4: 16 sc [16]
Round 5: 2 sc, 6 dec, 2 sc [10]
Round 6: 2 sc, 3 dec, 2 sc [7]
Rounds 7-8: 7 sc [7]
Round 9: 3 sc, 1 dec, 2 sc [6]
Stuff only the bottom part of the leg.
Fold the top in half and crochet 3 sc through both layers to close. FO.
Arms (Make 2):
Start with Main Color.
Round 1: 6 sc in MR [6]
Round 2: (1 sc, inc) * 3 [9]
Round 3: 9 sc [9]
Round 4: (1 sc, dec) * 3 [6]
Rounds 5-7: 6 sc [6]
Stuff the bottom lightly (or leave empty).
Round 8: Fold in half and close with 3 sc through both layers. FO.
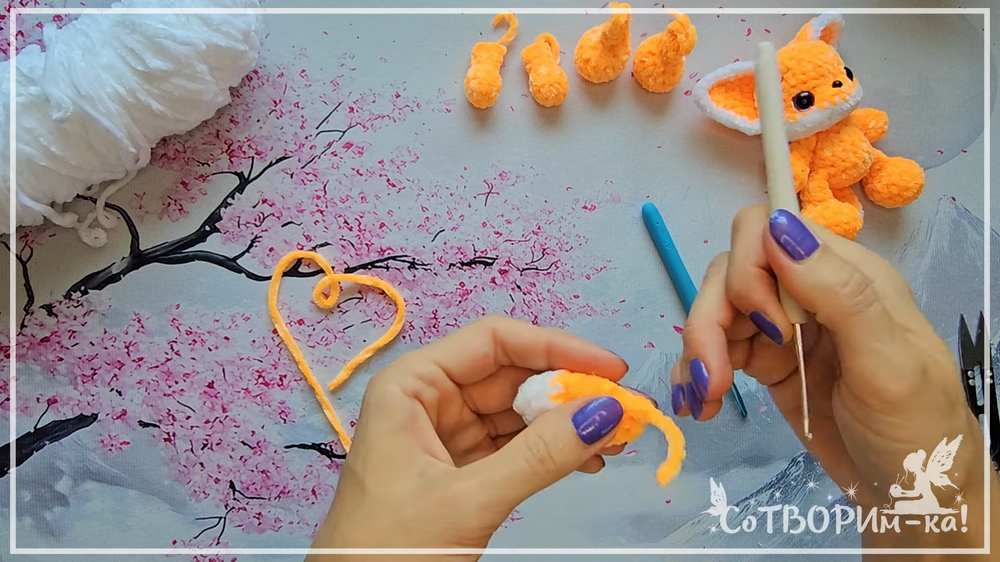
Tail:
Start with Contrasting Color (White).
Round 1: 3 sc in MR [3]
Round 2: 3 inc [6]
Round 3: (1 sc, inc) * 3 [9]
Change to Main Color (Orange).
Rounds 4-7: 9 sc [9]
Round 8: (1 sc, dec) * 3 [6]
Round 9: 1 dec, 1 sc. Fold the top in half and close with 2 sc through both layers. FO.
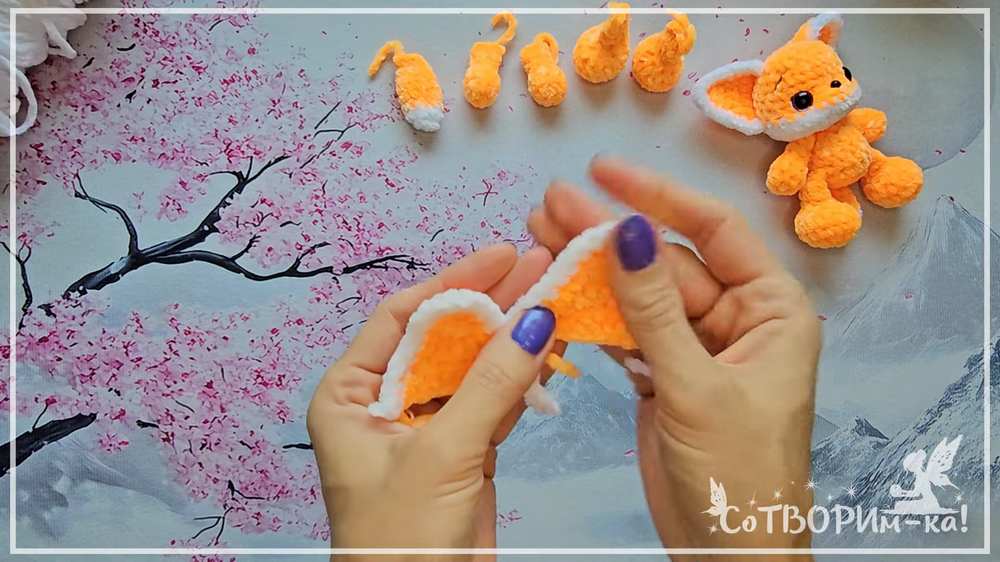
Ears (Make 2):
Worked in flat rows with Main Color.
Row 1: 3 sc in MR, ch 1, turn [3]
Row 2: 1 sc, inc, 1 sc, ch 1, turn [4]
Row 3: 4 sc, ch 1, turn [4]
Row 4: inc, 2 sc, inc, ch 1, turn [6]
Row 5: 6 sc, ch 1, turn [6]
Row 6: inc, 4 sc, inc, ch 1 [8]
Border 1: Crochet sc evenly around the edges. At the very top peak, work 3 sc into the same stitch. End the edge with 2 sc in the last stitch.
Border 2: Attach White yarn and crochet sc around the edges again. Work 3 sc into the top peak as before. FO, leaving a long tail for sewing.
Body:
Start with Main Color.
Round 1: 8 sc in MR [8]
Round 2: 8 inc [16]
Round 3: 16 sc [16]
Round 4 (Attaching legs & tail): 3 sc together with the first leg, 6 sc along the belly, 3 sc together with the second leg, 1 sc, 2 sc together with the tail, 1 sc [16]
Rounds 5-6: 16 sc [16]
Round 7: 3 sc, 3 dec, 7 sc [13]
Round 8: 3 sc, 2 dec, 6 sc [11]
Round 9 (Attaching arms): 3 sc together with the first arm, 3 sc, 3 sc together with the second arm, 2 sc [11].
On the very last stitch of Round 9, change color to White. Do not cut the orange yarn yet.
Head:
Continue from the body with White yarn.
Round 1: 11 inc [22]
Round 2: (1 sc, inc) * 11 [33]
Rounds 3-4: 33 sc [33]. On the last stitch of Round 4, pick the Main Color (Orange) yarn back up.
Round 5: 3 sc, 3 dec, 11 sc, 3 dec, 7 sc [27]. (Note: If you are crocheting the bead nose in, insert the thin hook through the bead and work it as a slip stitch in the exact center of the 11 sc section). Cut the white yarn.
Rounds 6-9: 27 sc [27]
Round 10: (7 sc, dec) * 3 [24]
Insert safety eyes between Rounds 5 and 6 (or slightly higher depending on preference), centering them relative to the nose. Stuff the body firmly.
Round 11: (2 sc, dec) * 6 [18]
Round 12: (1 sc, dec) * 6 [12]. Stuff the head firmly, pushing the stuffing against the walls to shape it.
Round 13: 6 dec [6]
FO. Pull the yarn tail through the front loops of the remaining stitches and pull tight to close the hole. Hide the yarn tail inside the head.
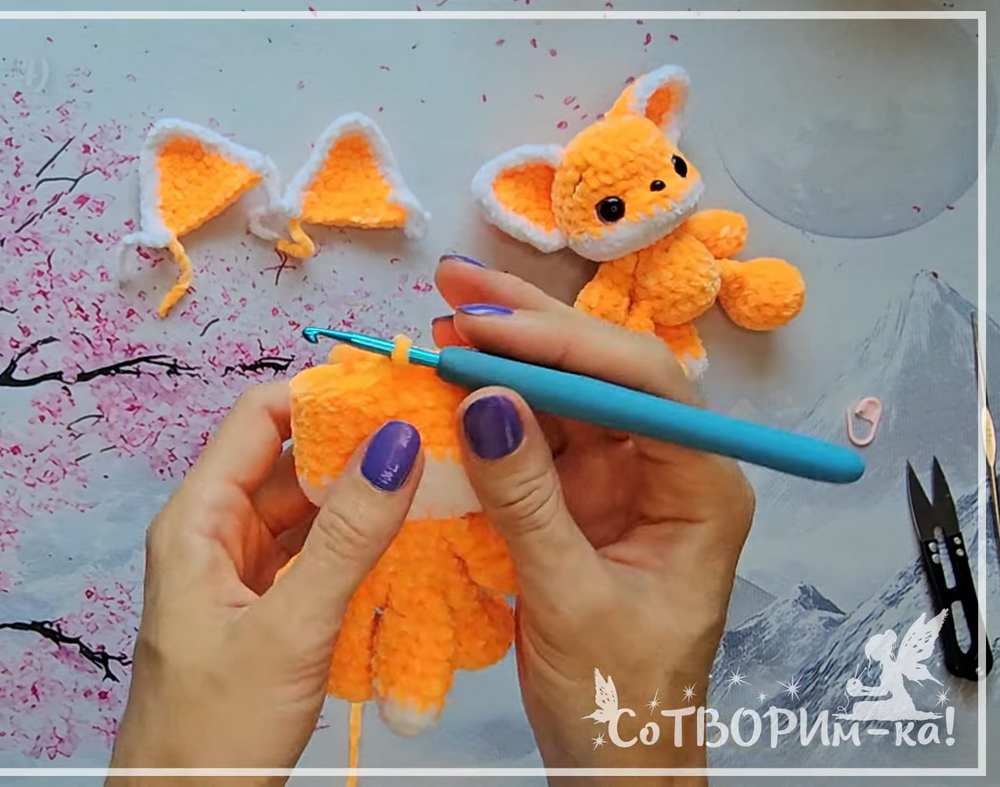
Assembly and Finishing Details:
Face Sculpting: Using strong thread, insert your needle from the bottom of the head and exit at the inner corner of an eye. Re-enter at the outer corner and exit back at the bottom. Pull tight to create eye sockets and tie off. Repeat for the other eye and under the nose.
Embroider the whites of the eyes using white yarn to make them pop.
Embroider simple eyebrows just above the eyes using dark yarn.
Sew the ears to the top of the head, gently folding the upper tips down slightly to give them character.
Scarf: Crochet a simple chain of 70 stitches. Wrap it around the fox’s neck and tie it into a bow.
Video Tutorial to Learn Even Better
Save For Later: