
Free Crochet Kawaii Long-Tail Fox Amigurumi for Fall
Looking for the most irresistible crochet fox amigurumi for fall? Learn how to crochet this kawaii fox with long stuffed tail amigurumi doll following a FREE pattern. This is undeniably the CUTEST & most detailed crochet fox amigurumi I have shared a pattern, so far. The preferred color for this amigurumi fox is dull blue which is for sure a NICE autumn color but you can also switch back to the orange.
Crochet Kawaii Long-Tail Fox Amigurumi
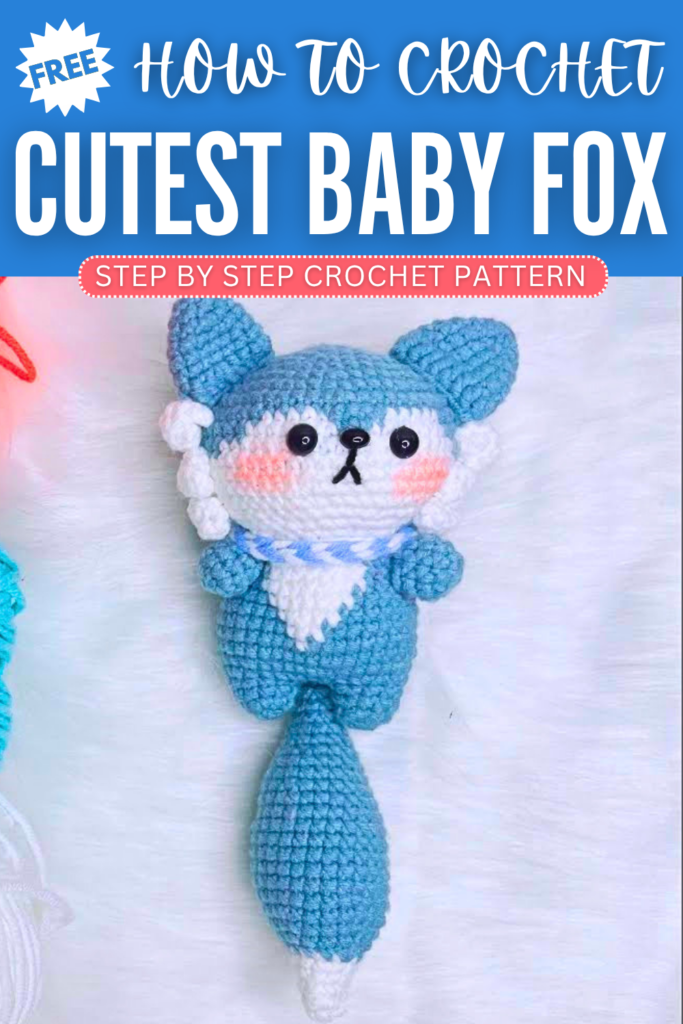
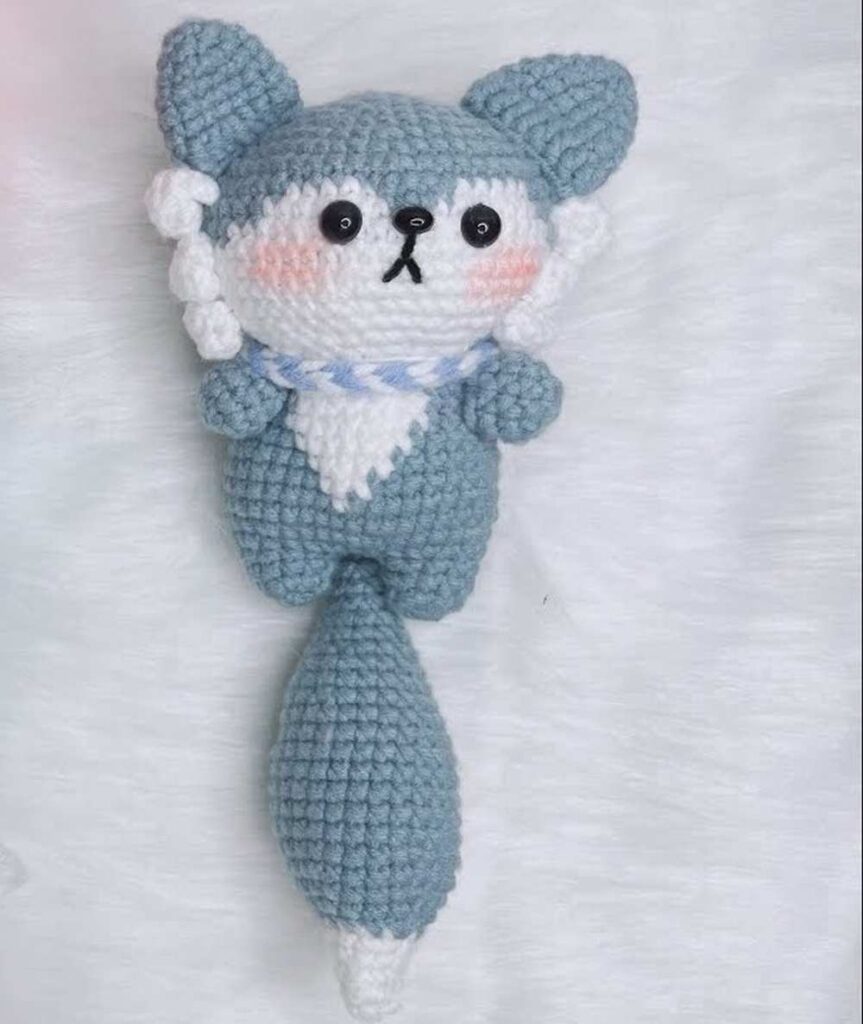
This is gonna be a low-sew fox amigurumi with the Chibi joined legs crochet body and also tapestry face and belly patches. It also has the face fluffs and the blush on the cheeks all making it simply adorable. Now, continue reading for the full crochet fox amigurumi pattern.
About designer: The designer of this fox amigurumi doll is @lenbytun she is an amigurumi designer that prepared some of the most detailed tutorials for crocheting each of the amigurumi she has designed. I liked her crochet animal amigurumi series a lot and so I am presenting her crochet fox amigurumi here!
How to Crochet Kawaii Fox Doll Amigurumi
In the first part, you’ll create the head and face, and in the second part, you’ll make the legs and the lower body of this crochet fox amigurumi.
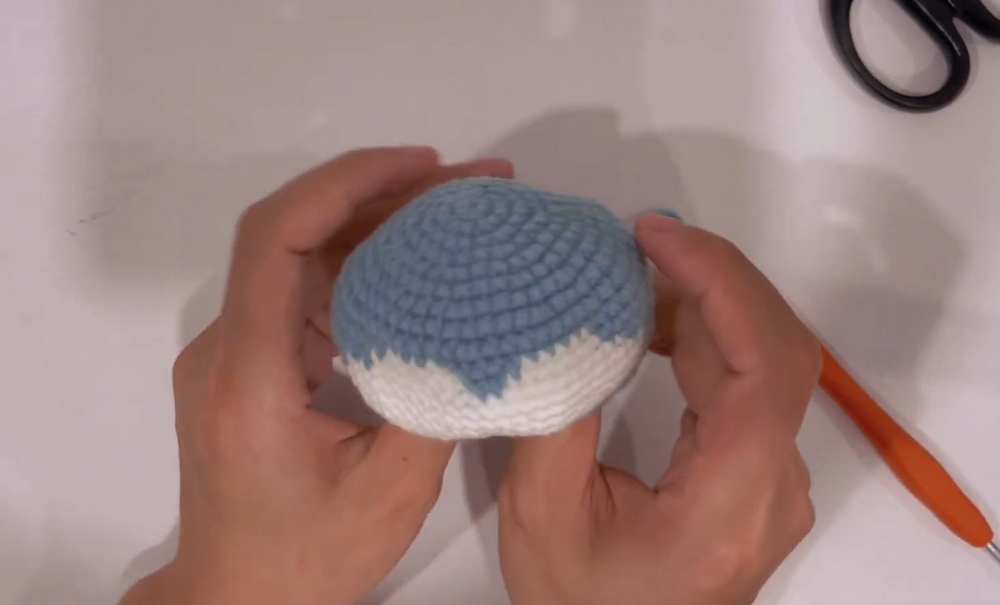
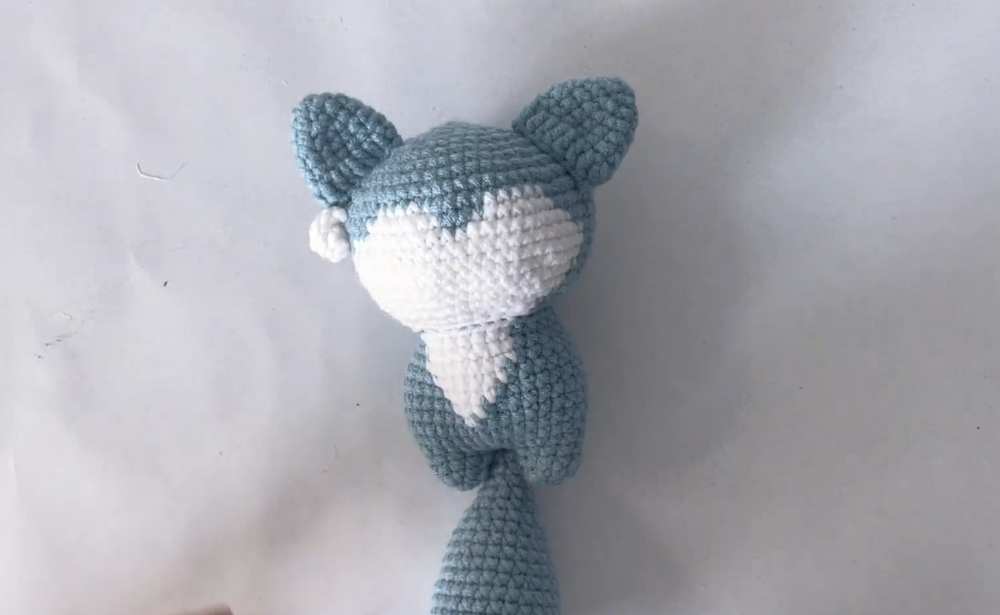
The head starts as a magic ring and increases into a round shape, with careful color changes from blue to white to form the fox’s face.
The second part involves making two little legs and joining them together. You will then continue crocheting around the joined legs to build up the body, again switching between blue and white yarn to make the fox’s belly. The pieces are stuffed as you go.
Materials Needed
Milk cotton yarn in Blue
Milk cotton yarn in White
Crochet hook (Size not explicitly specified, but looks like a standard amigurumi size, e.g., 2.0mm – 2.5mm)
Stitch marker
Scissors
Stuffing (fiberfill)
Abbreviations
MR: Magic Ring
ch: Chain
x (or sc): Single Crochet
v (or inc): Increase (2 single crochets in the same stitch)
a (or dec): Decrease (single crochet 2 stitches together)
slst: Slip Stitch
R: Round
Full Pattern
Part 1: The Head
Note: The pattern uses joined rounds. End each round with a slst and start the next with a ch.
R1 (Blue): MR, 6x. (6)
R2 (Blue): 6v. (12)
R3 (Blue): 6 * (1x, 1v). (18)
R4 (Blue): 6 * (1x, 1v, 1x). (24)
R5 (Blue): 6 * (3x, 1v). (30)
R6 (Blue): 6 * (2x, 1v, 2x). (36)
R7 (Blue): 6 * (5x, 1v). (42)
R8 (Blue): 6 * (3x, 1v, 3x). (48)
R9 (Blue): 6 * (7x, 1v). (54)
R10: (Blue) 20x, (White) 5x, (Blue) 4x, (White) 5x, (Blue) 20x. (54)
R11: (Blue) 19x, (White) 7x, (Blue) 2x, (White) 7x, (Blue) 19x. (54)
R12: (Blue) 17x, (White) 20x, (Blue) 17x. (54)
R13 to R15: (Blue) 15x, (White) 24x, (Blue) 15x. (54)
R16: (Blue) 7x, 1a, 7x, (White) 1a, 2 * (7x, 1a), 2x, (Blue) 5x, 1a, 7x, 1a. (48)
R17: (Blue) 3x, 1a, 6x, 1a, 2x, (White) 1x, 2 * (3x, 1a, 3x), 2x, (Blue) 1x, 1a, 6x, 1a, 3x. (42)
R18: (Blue) 2 * (5x, 1a), (White) 5x, 1a, 5x, 1a, (Blue) 5x, 1a, 5x, 1a. (36)
R19: (Blue) 2x, 1a, 4x, 1a, 2x, (White) 2x, 1a, 4x, 1a, 1x, (Blue) 3x, 1a, 4x, 1a, 2x. (30)
Fasten off, leaving a long tail for sewing. Stuff the head.
Part 2: Legs & Body
Leg 1 (Make 1)
R1 (Blue): MR, 6x. (6)
R2 (Blue): 3 * (1v, 1x). (9)
R3 (Blue): 9x. (9)
Fasten off and cut the yarn.
Leg 2 (Make 1)
R1 to R3: Repeat instructions for Leg 1, but do NOT cut the yarn.
Joining Legs & Body Base
R4 (Blue): Chain 3 from Leg 2. Join to Leg 1 with a slst. ch 1. 9x around Leg 1, 3x along the chain, 9x around Leg 2, 3x along the other side of the chain. slst to join. (24)
R5 (Blue): 6 * (3x, 1v). (30)
R6 (Blue): 6 * (2x, 1v, 2x). (36)
R7 (Blue): 36x. (36)
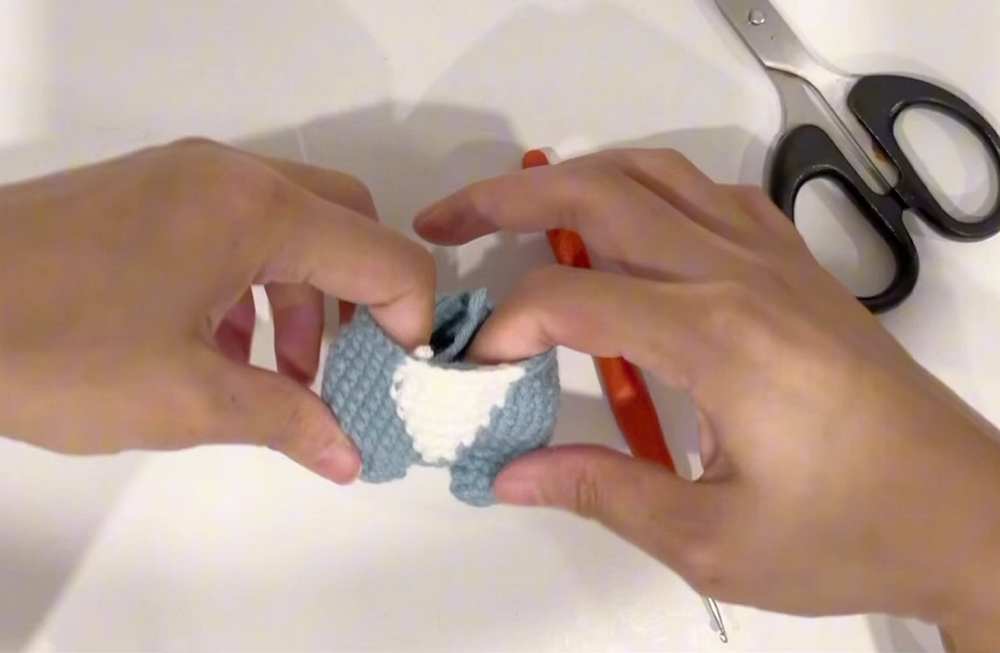
Body Section (Color Changes)
R8: (Blue) 16x, (White) 1x, (Blue) 19x. (36)
R9: (Blue) 15x, (White) 3x, (Blue) 18x. (36)
R10: (Blue) 14x, (White) 5x, (Blue) 17x. (36)
R11: (Blue) 13x, (White) 7x, (Blue) 16x. (36)
R12: (Blue) 12x, (White) 9x, (Blue) 15x. (36)
R13: (Blue) 2x, 1a, 2x, 2x, 1a, 1x, (White) 1x, 1x, 1a, 4x, 1a, (Blue) 2x, 2 * (2x, 1a, 2x). (30)
R14: (Blue) 10x, (White) 8x, (Blue) 12x. (30)
Fasten off. Stuff the body firmly.
Part 3: Final Details & Assembly
Note: The third video had no speech, but here is the pattern based on the video’s on-screen instructions.
Tail (Start with White)
R1: MR, 4x. (4)
R2: 2 * (1x, 1v). (6)
R3: 3 * (1x, 1v). (9)
R4: 3 * (1x, 1v, 1x). (12)
R5: 12x. (12)
Change to Blue yarn.
R6: 3 * (3x, 1v). (15)
R7: 3 * (2x, 1v, 2x). (18)
R8: 3 * (5x, 1v). (21)
R9: 3 * (3x, 1v, 3x). (24)
R10: 3 * (7x, 1v). (27)
R11 to R15: 27x. (27)
R16: 3 * (7x, 1a). (24)
R17: 24x. (24)
R18: 3 * (3x, 1a, 3x). (21)
R19: 21x. (21)
R20: 3 * (5x, 1a). (18)
R21: 3 * (2x, 1a, 2x). (15)
R22: 3 * (3x, 1a). (12)
R23: 12x. (12)
R24: 3 * (1x, 1a, 1x). (9)
R25: 9x. (9)
R26: 3 * (1x, 1a). (6)
Fasten off, leaving a tail for sewing. Stuff the tail.
Large Side Fluffs (Make 2 – White)
Chain 10.
Starting in the 2nd chain from the hook: 1x, 1x, 1x, 3x in one stitch, 4x down the other side of the chain.
Fasten off.
Small Side Fluffs (Make 4 – White)
Chain 5.
Starting in the 2nd chain from the hook: 1x, 1x, 1x, 3x in one stitch, 4x down the other side of the chain.
Fasten off.
Ears (Make 2 – Blue)
R1: MR, 6x. (6)
R2: 3 * (1x, 1v). (9)
R3: 3 * (1v, 1x, 1x). (12)
R4: 3 * (3x, 1v). (15)
R5 to R6: 15x. (15)
R7: 3x, 2 half-double crochets (T), 2 double crochets (F), 1 treble crochet (E), 2 double crochets (F), 2 half-double crochets (T), 3x.
Fasten off.
Arms (Make 2 – Blue)
R1: MR, 6x. (6)
R2: 3 * (1x, 1v). (9)
R3 to R4: 9x. (9)
Fasten off.
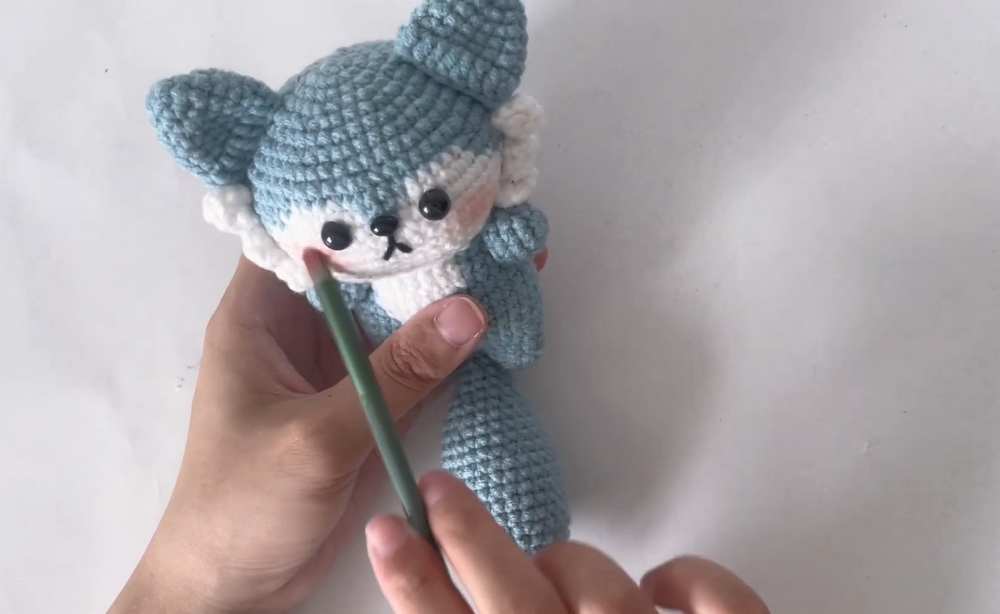
Assembly
Sew the head to the body.
Sew the ears to the top of the head (around row 3).
Embroider the nose and eyes using black yarn.
Sew the large fluffs just below the ears on the sides of the face.
Sew the two smaller fluffs directly below the large fluffs on each side.
Sew the arms to the sides of the body.
Sew the tail to the back of the body.
Use real makeup blush to give the fox rosy cheeks.
Optional: Create a braided scarf using blue and white yarn to tie around the neck.
Video Tutorials to Learn Even Better
Remaining Parts: