





Free Crochet No-Sew SpongeBob SquarePants Plushie Pattern
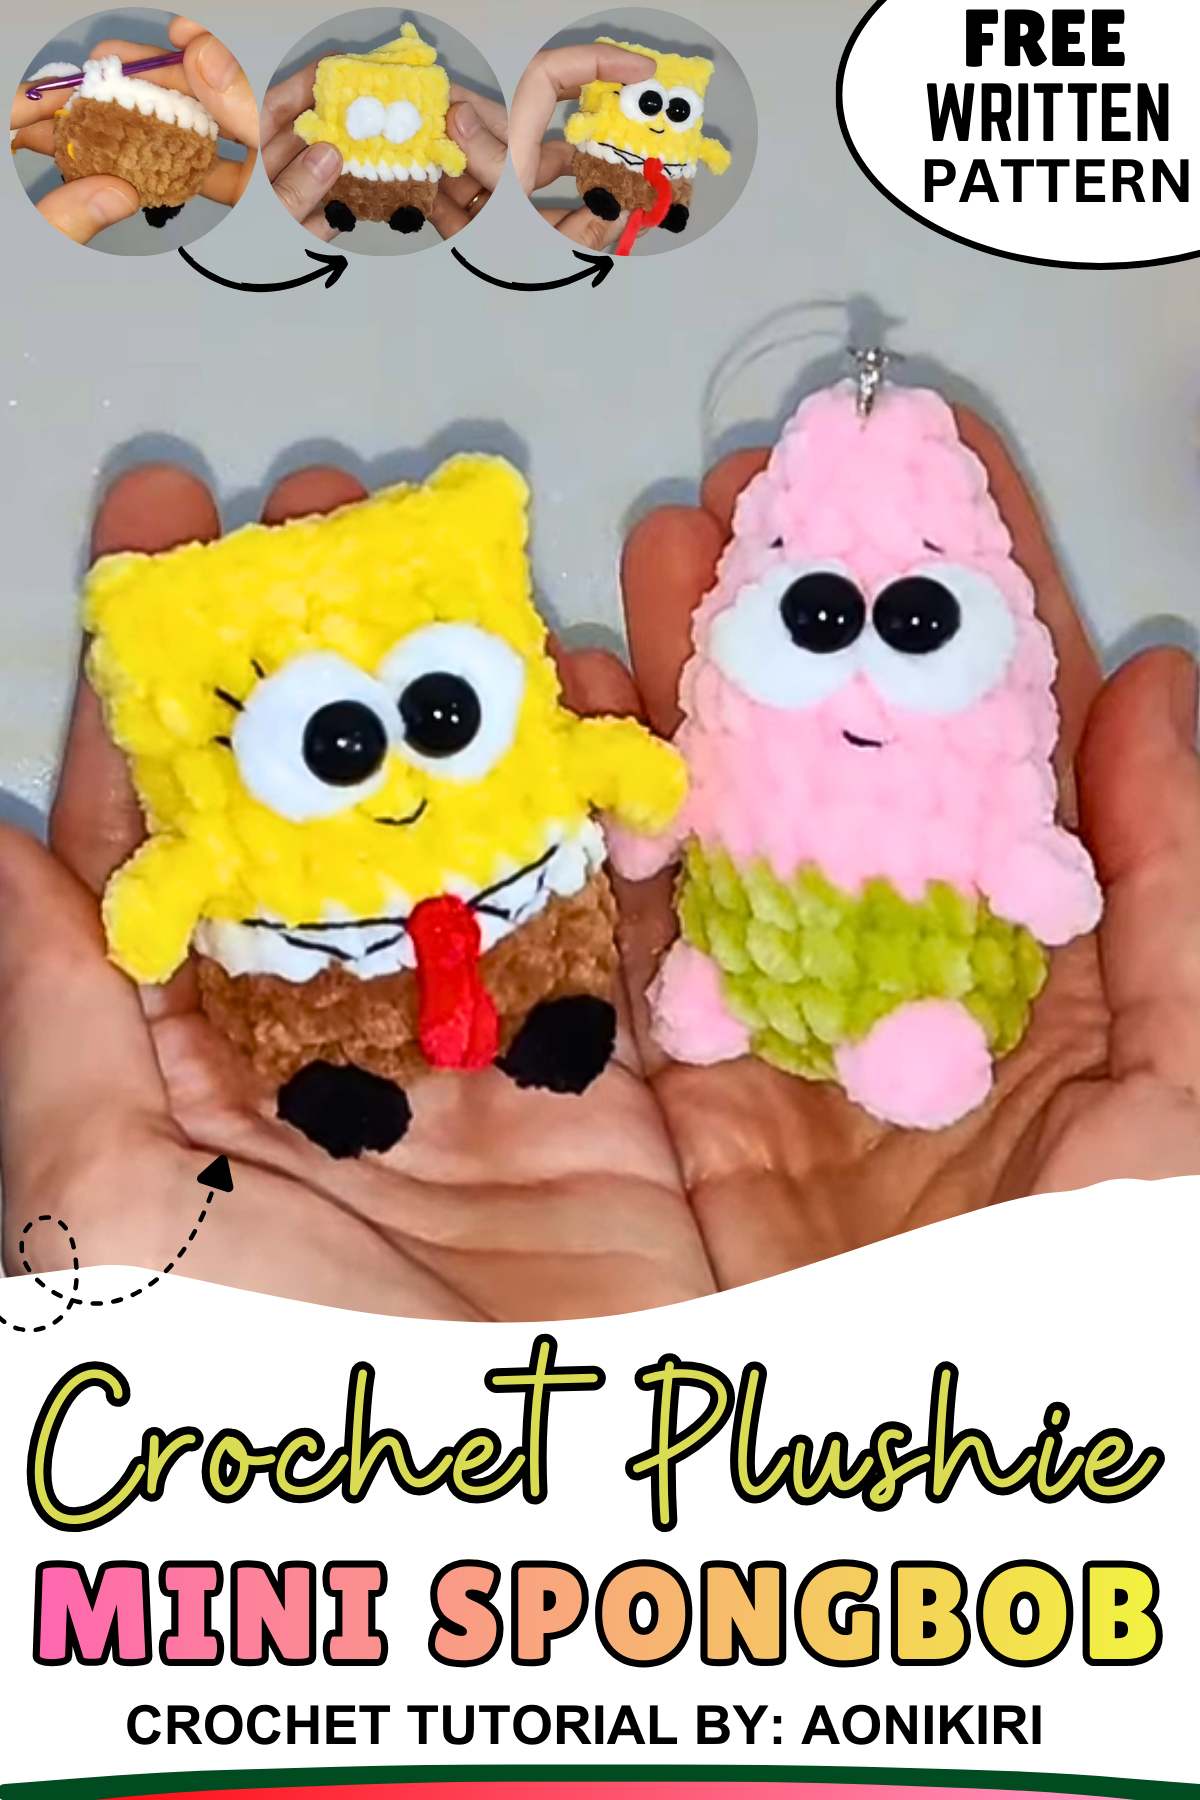
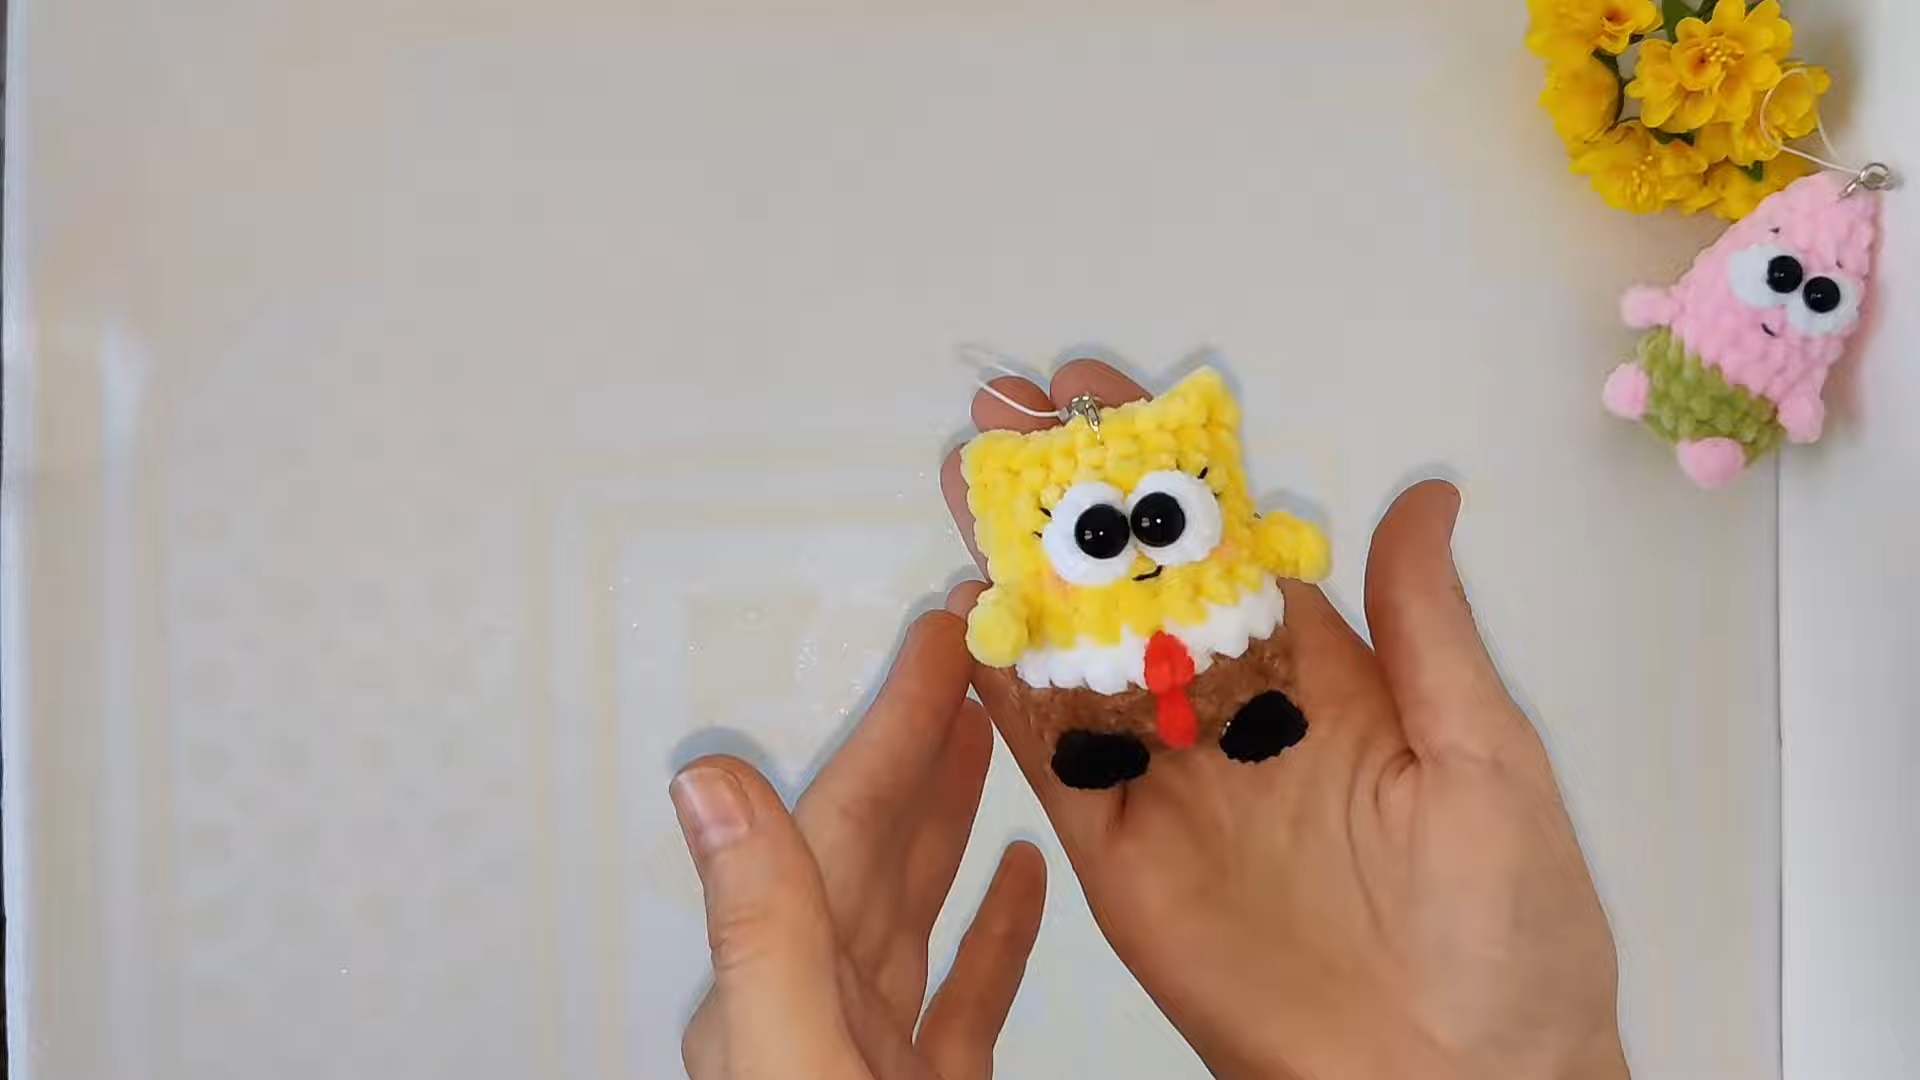
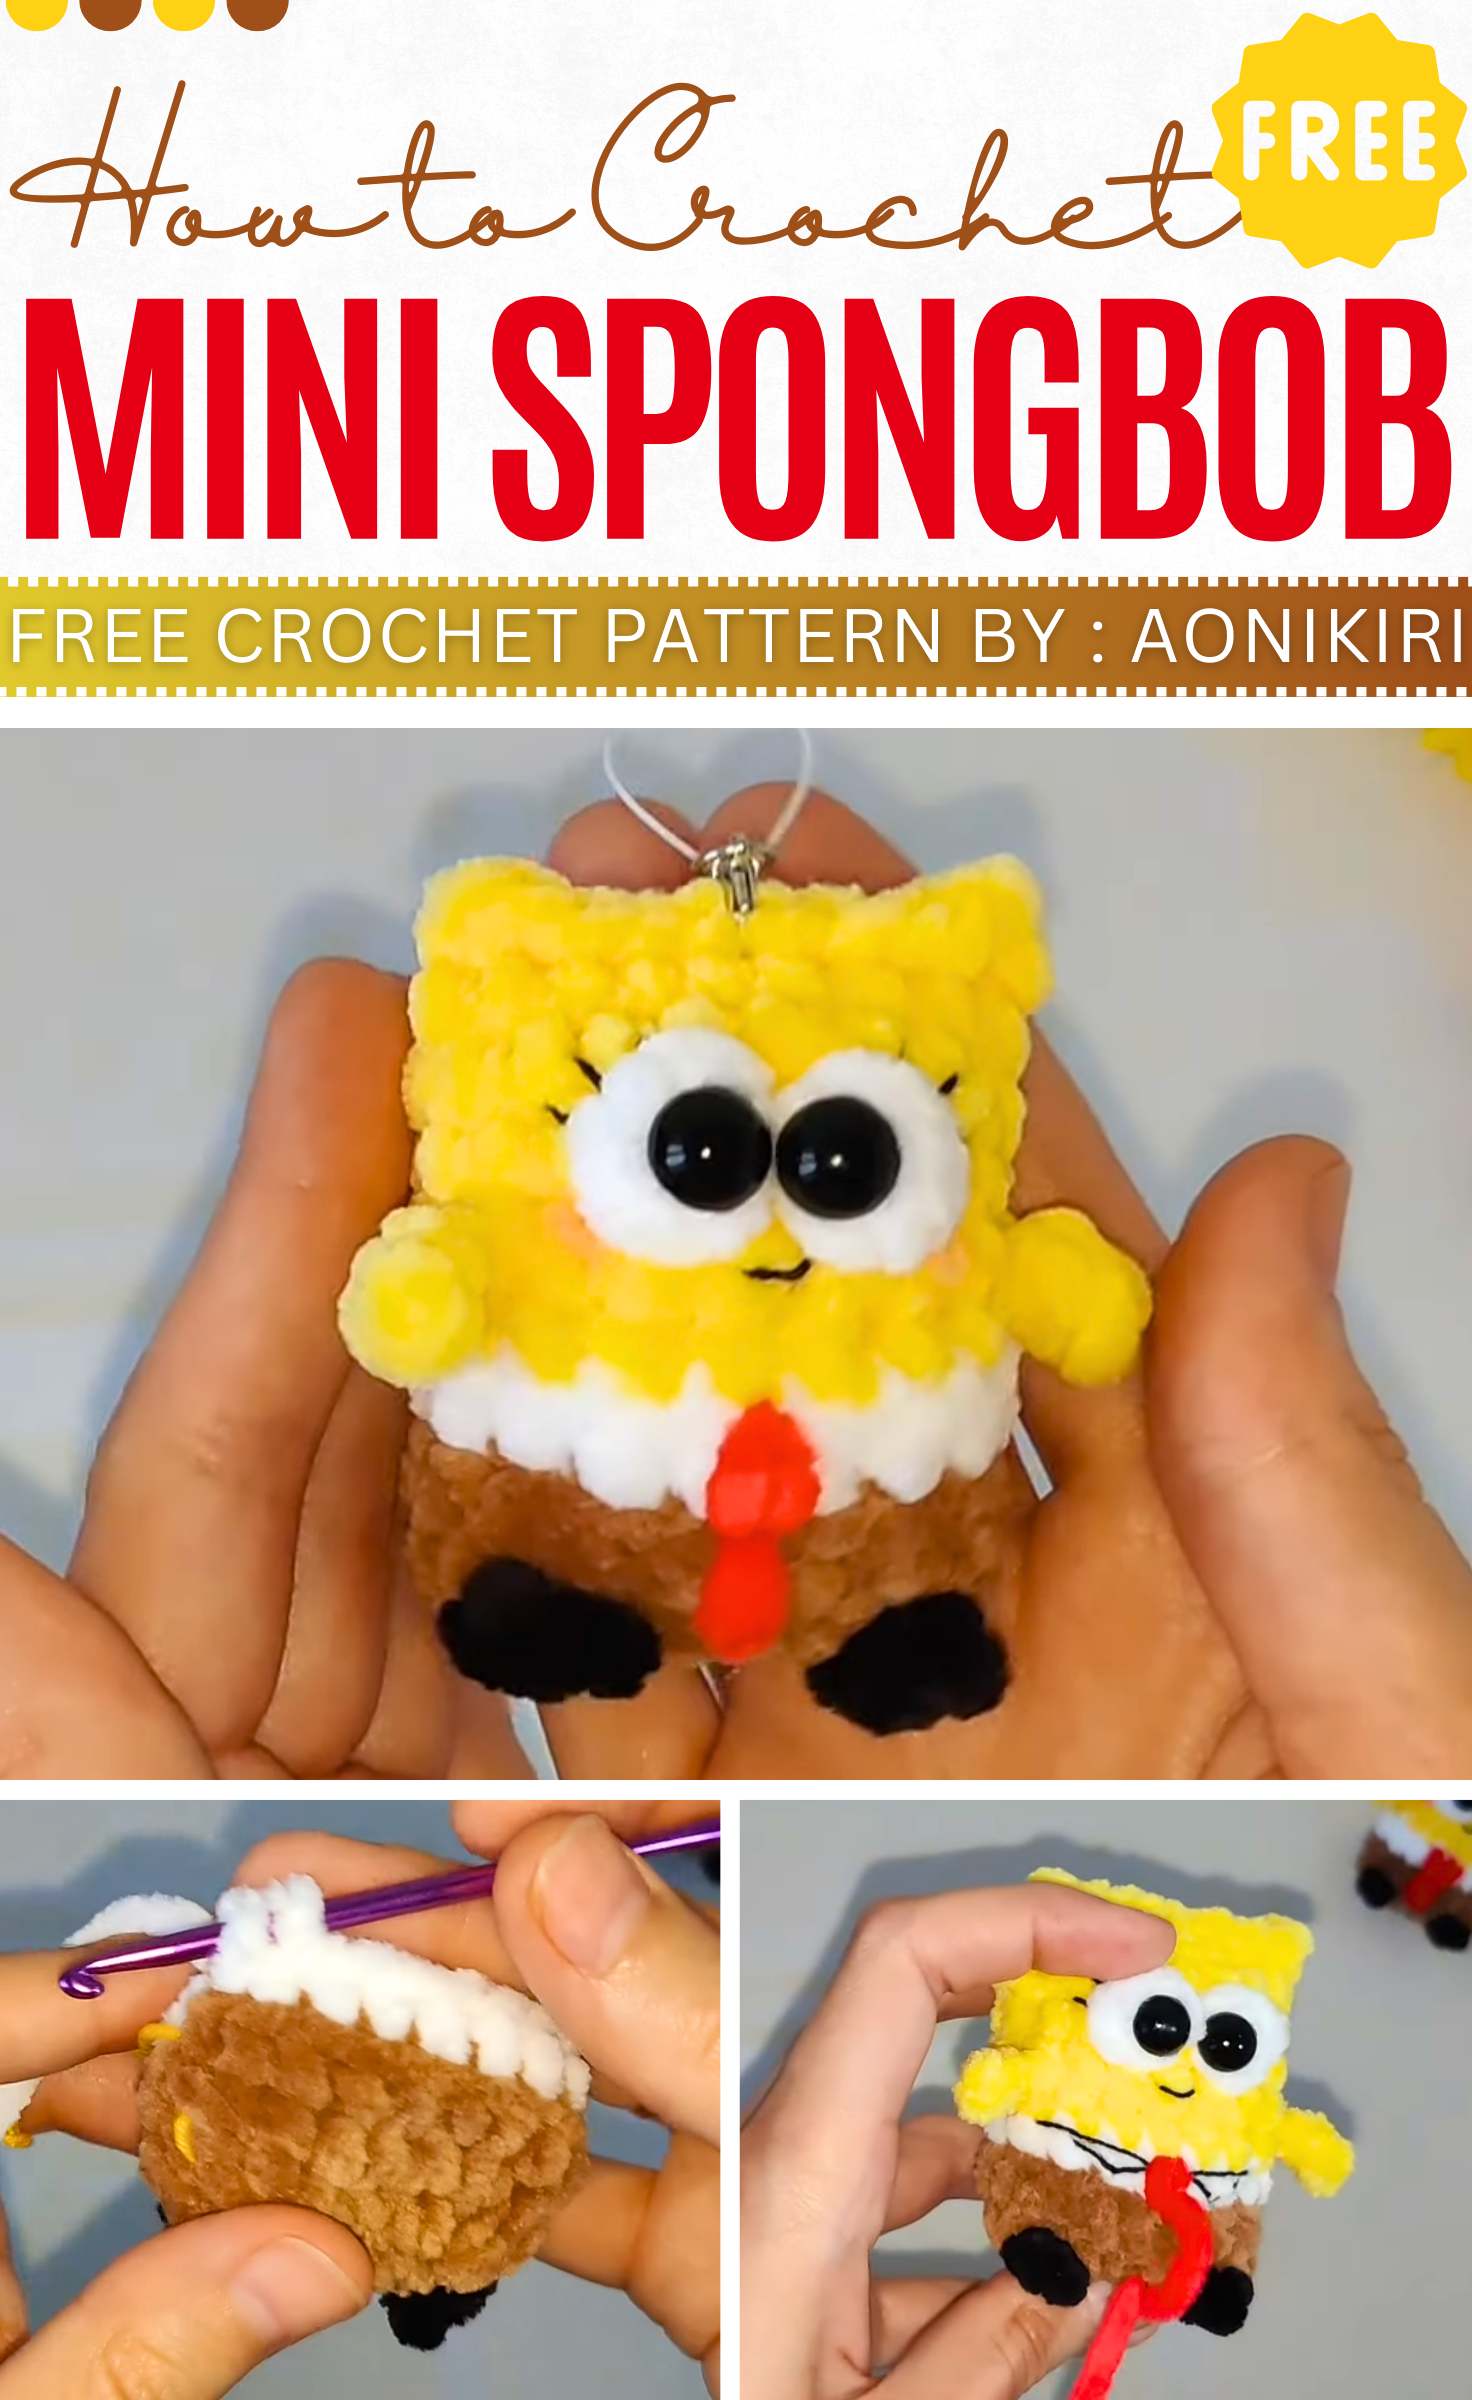
The SpongeBob pattern I shared last time was loved by most of you. That was designed to be a holiday keychain. This time, you can learn how to crochet a no-sew SpongeBob SquarePants plushie free from any additional theme with a free written pattern for beginners. You will love how easy it is to crochet one by yourself in less than 30 minutes.
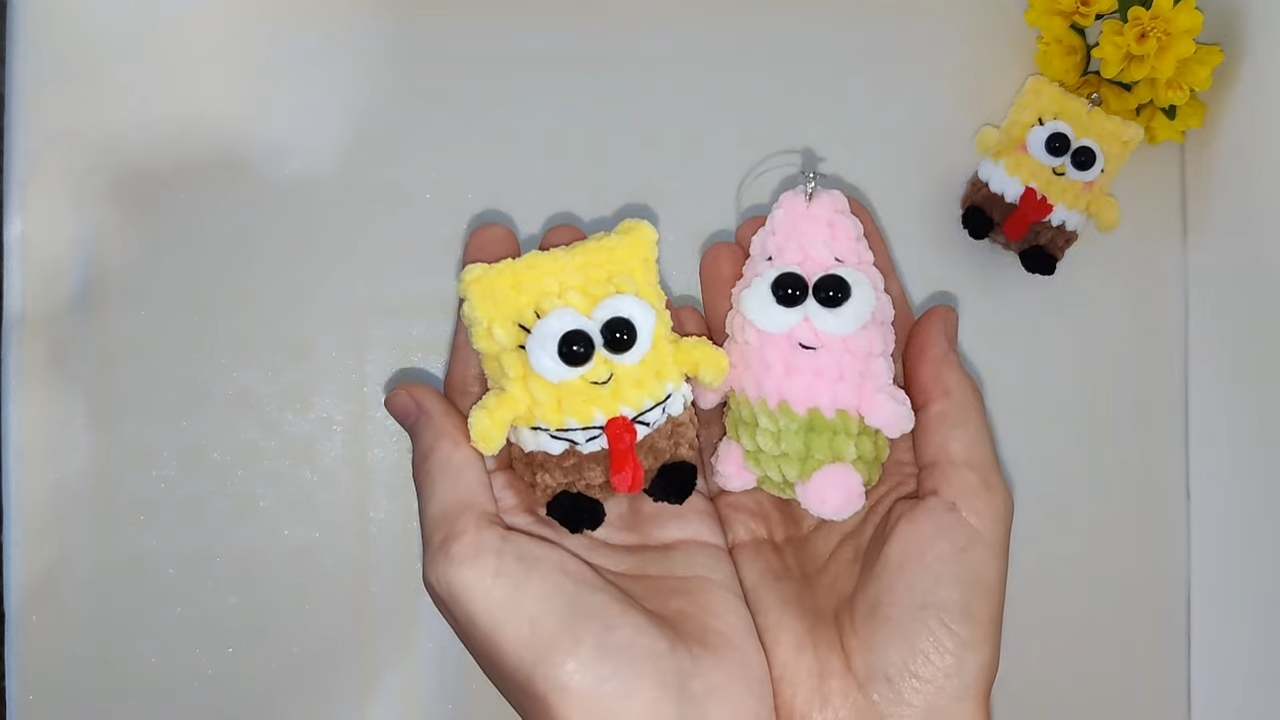
The final size this time is 6.5 cm and looks so cute. The most lovely part is the cute googly eyes achieved using clever crocheting and just regular safety eyes. You can couple this plushie with Patrik Star, which is also easy to crochet.
Crochet Mini Spongebob Plushie Pattern
Designer of the Spongebob Plushie:
The designer of this kawaii SpongeBob plushie for kids is @aonikiri – she has expertise in “no-sew” crochet keychains and small plushies that are always so cute.
Note: For this crochet SpongeBob plushie in particular, I will provide you with the complete pattern using English terms.
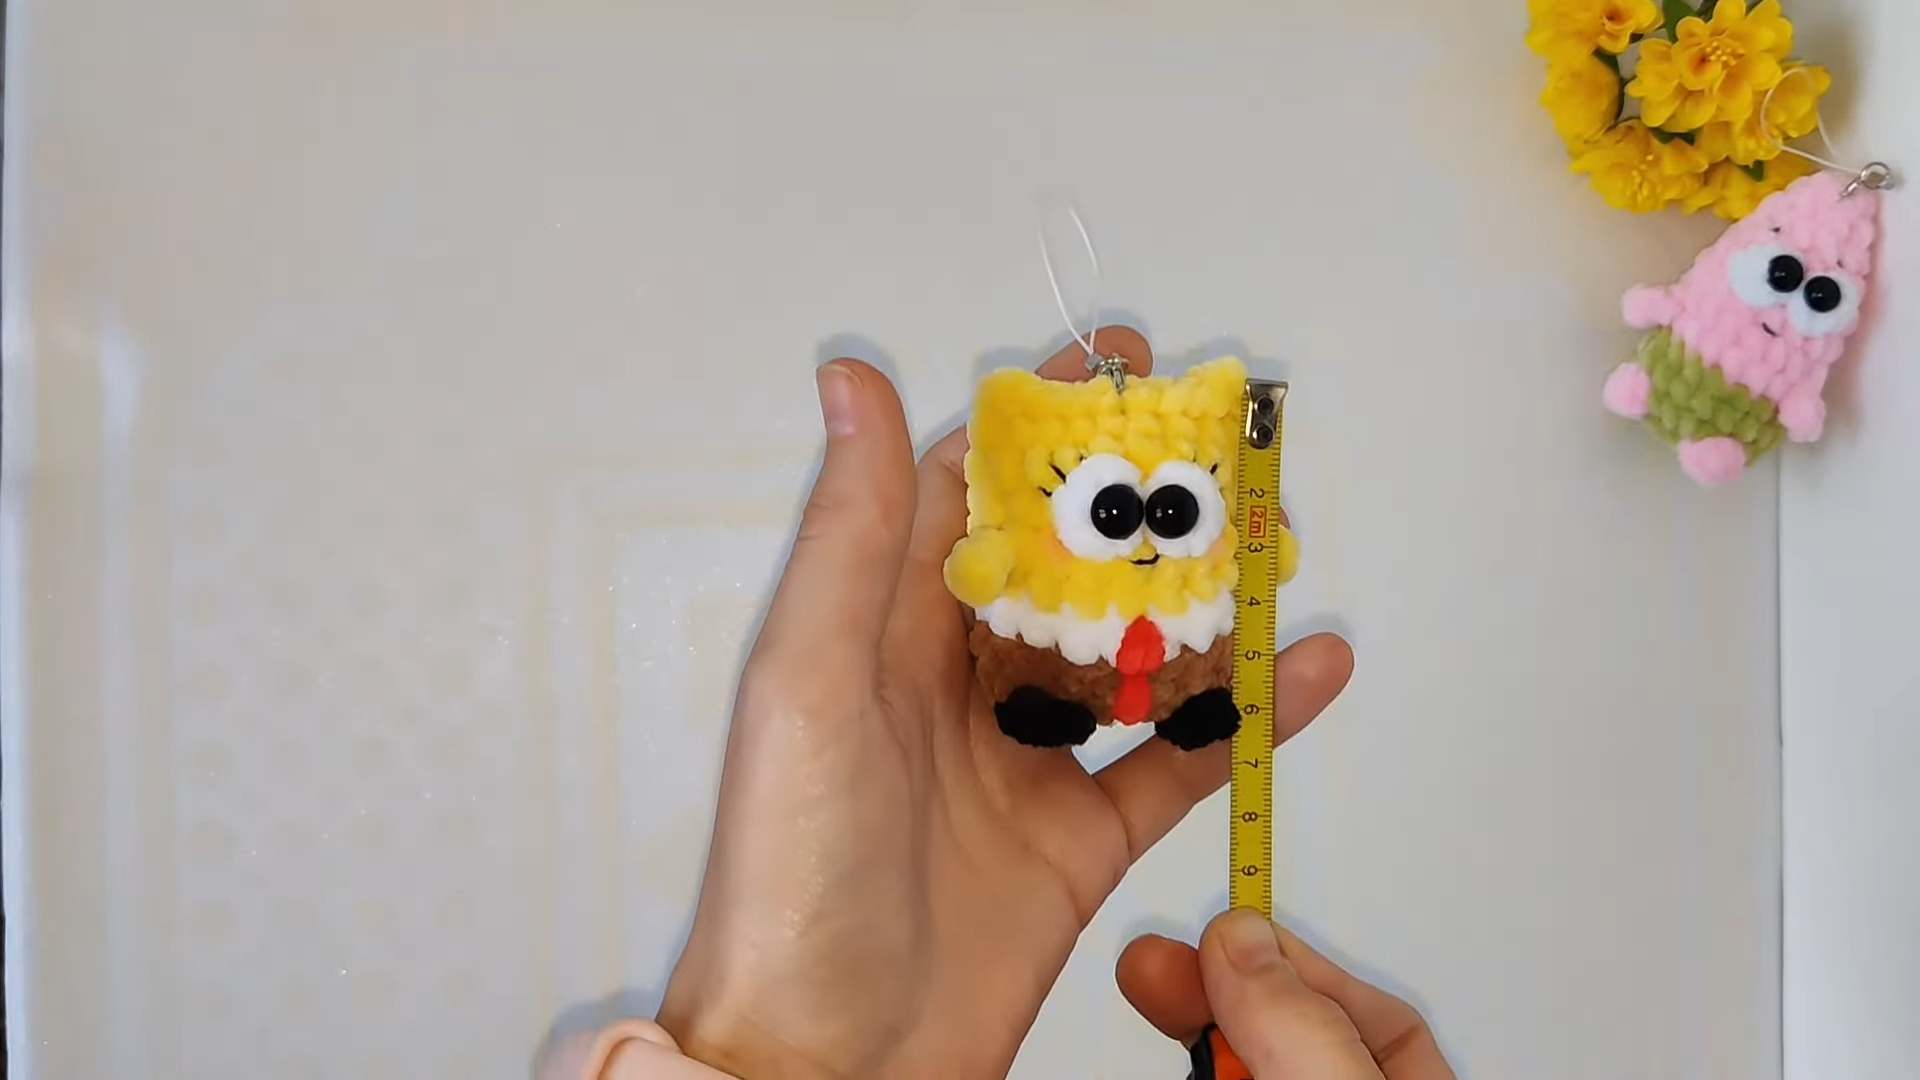
This is the complete written pattern for the SpongeBob cartoon keychain. The pattern is worked in continuous rounds from the bottom up and is designed to be a “no-sew” keychain, meaning the arms and legs are chained directly onto the body.
Abbreviations Used:
MR: Magic Ring
ch: Chain
sl st: Slip Stitch
sc: Single Crochet
hdc: Half Double Crochet
inc: Increase (2 sc in one st)
BLO: Back Loop Only
Puff: Puff Stitch (3 Double Crochet Cluster worked with a common top)
Materials Needed
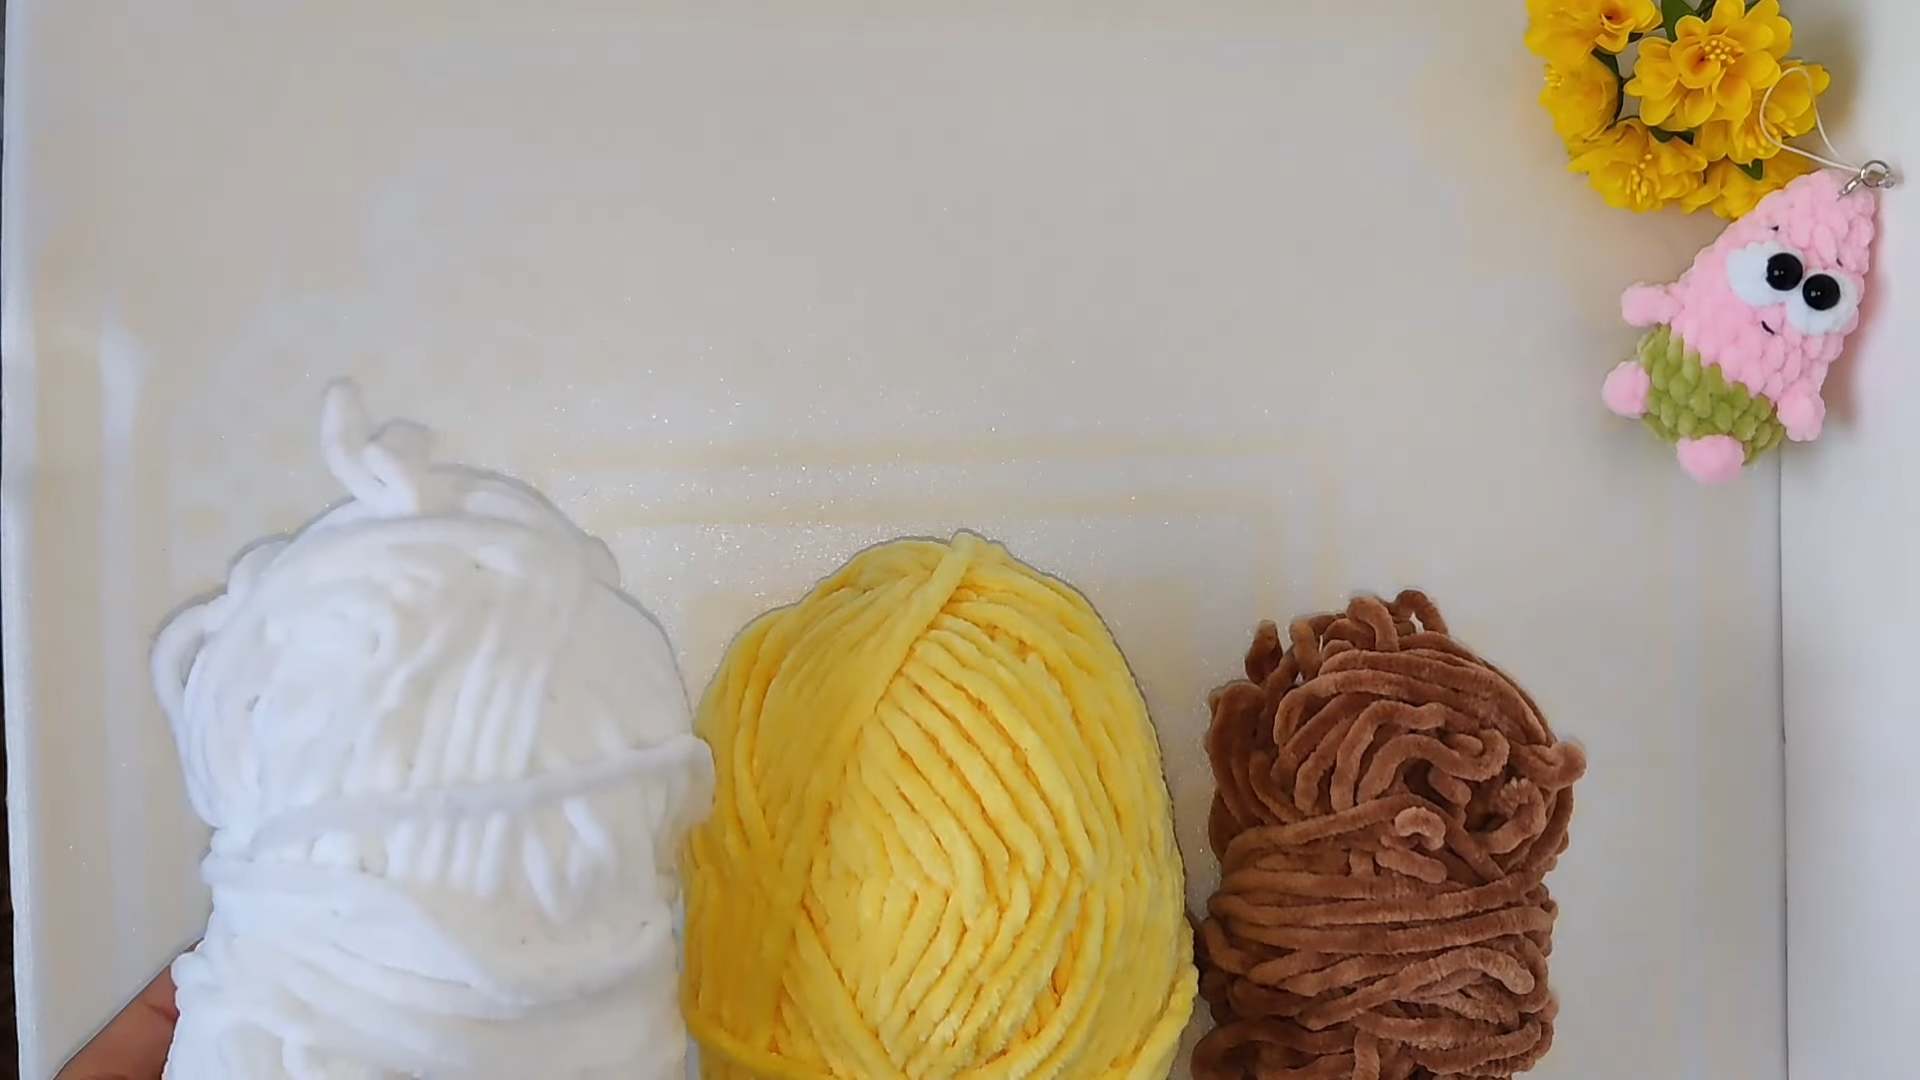
Yarn: Plush yarn (e.g., YarnArt Dolce or Himalaya Dolphin Baby) in:
Brown (Pants)
Yellow (Body)
White (Shirt/Eyes)
Black (Shoes/Legs)
Red (Tie – small amount)
Hook: A hook suitable for your yarn (uses 3.5 mm).
Eyes: Two 10 mm half-bead eyes or safety eyes.
Filler: Polyester fiberfill (stuffing).
Tools: Yarn needle, thin black thread/yarn for mouth and lashes, glue for eyes.
SpongeBob Keychain Pattern
Pants and Legs (Starting with Brown Yarn)
R1 (Legs/Base Row):
Start with Brown yarn, chain 5.
In the 2nd chain from hook: sc, and in the same chain work hdc (do not finish, change to Black yarn).
Leg 1 (Black): ch 2, in the 2nd ch from hook work sc (do not finish, change to Brown yarn).
In the same chain as the previous stitches, work sc (Brown).
Next 2 chains: sc, sc.
Last chain: sc (do not finish, change to Black yarn).
Leg 2 (Black): ch 2, in the 2nd ch from hook work sc (do not finish, change to Brown yarn).
In the same chain as the previous stitches: hdc, sc, hdc, sc. (This places 5 sts in the last chain).
Next 2 chains (on the other side of the starting chain): sc, sc.
In the first chain: sc, hdc. (The row ends here. The Black yarn can be cut and secured).
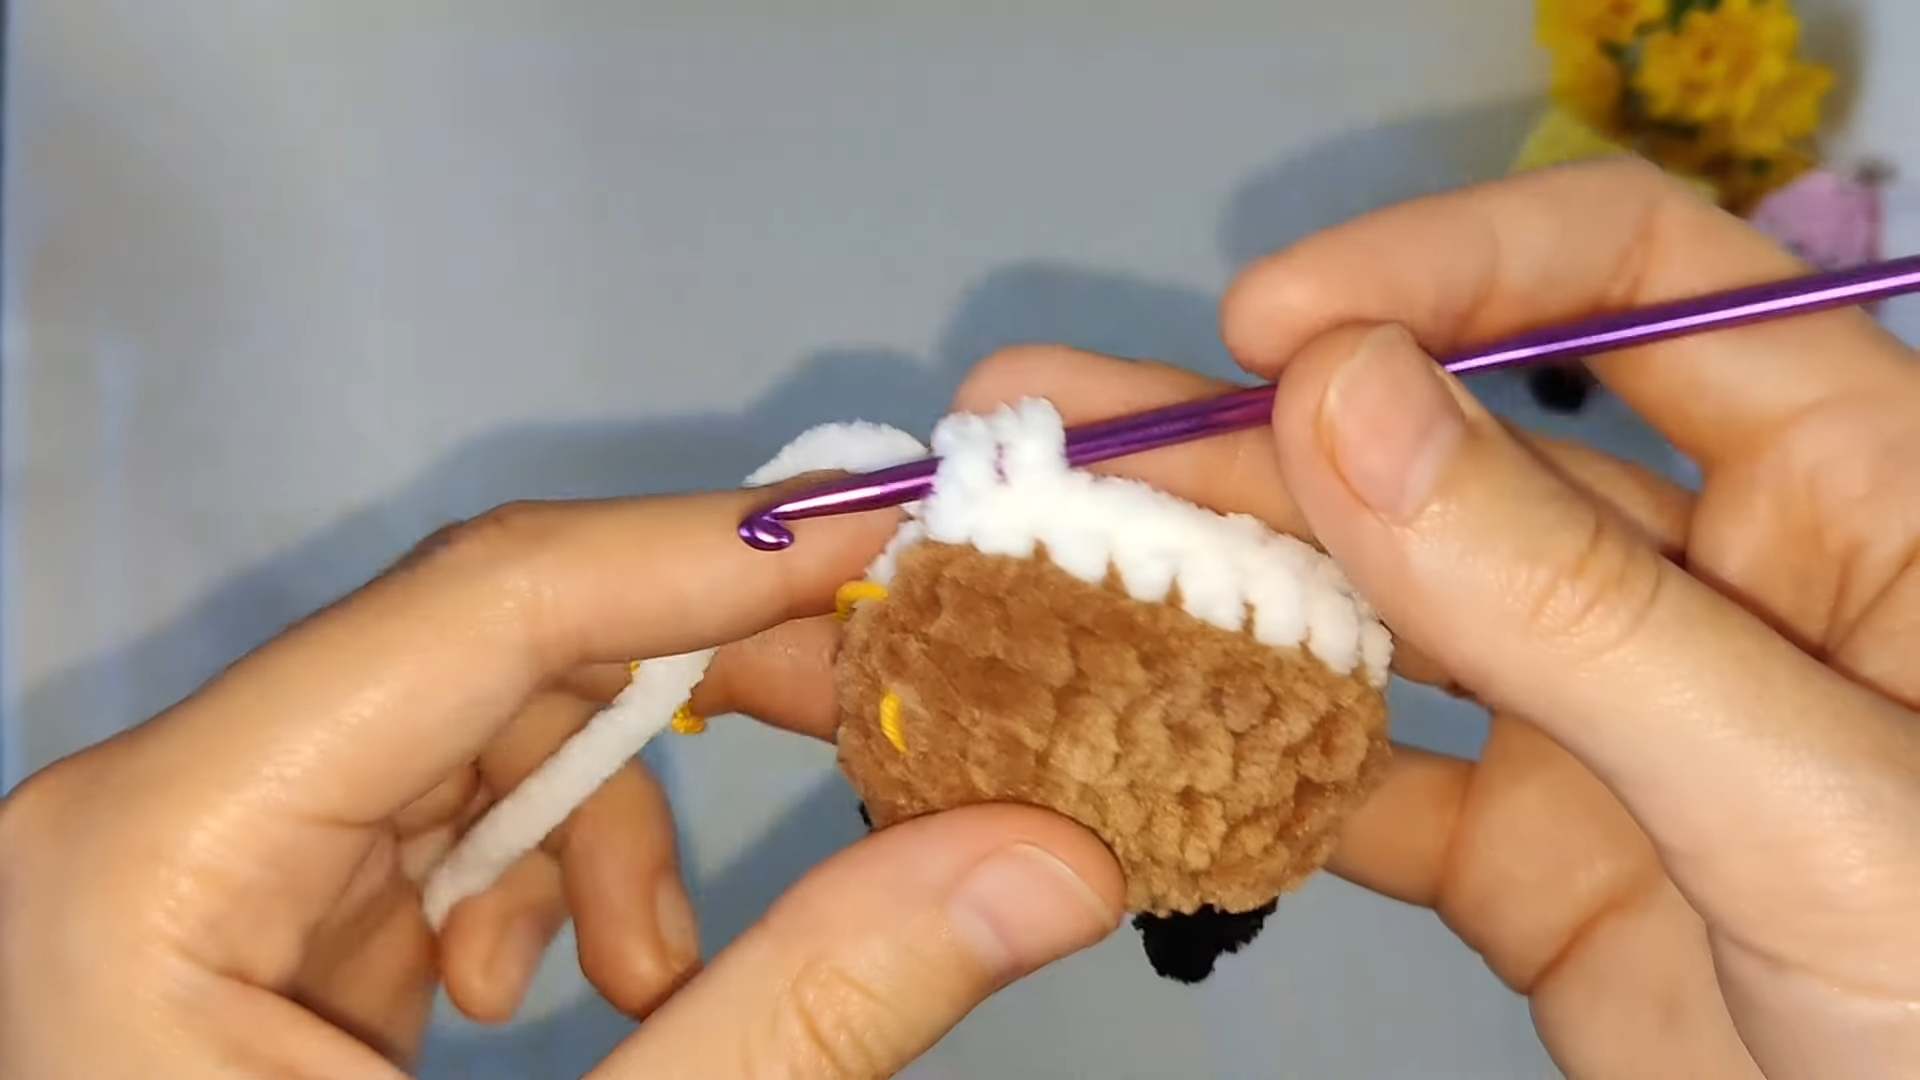
R2 (Pants):
Work (sc, inc) over the first two stitches.
4 sc.
inc. (This increase should be placed near the space left by the leg chain).
sc, inc.
4 sc.
inc. (18 sts)
R3 (Pants):
18 sc around. (18 sts)
Do not complete the last stitch, change to White yarn for the shirt.
Shirt (White Yarn)
R4 (Shirt):
Working in BLO only: 18 sc around. (18 sts)
Do not complete the last stitch; change to Yellow yarn for the body. The White yarn can be cut and secured.
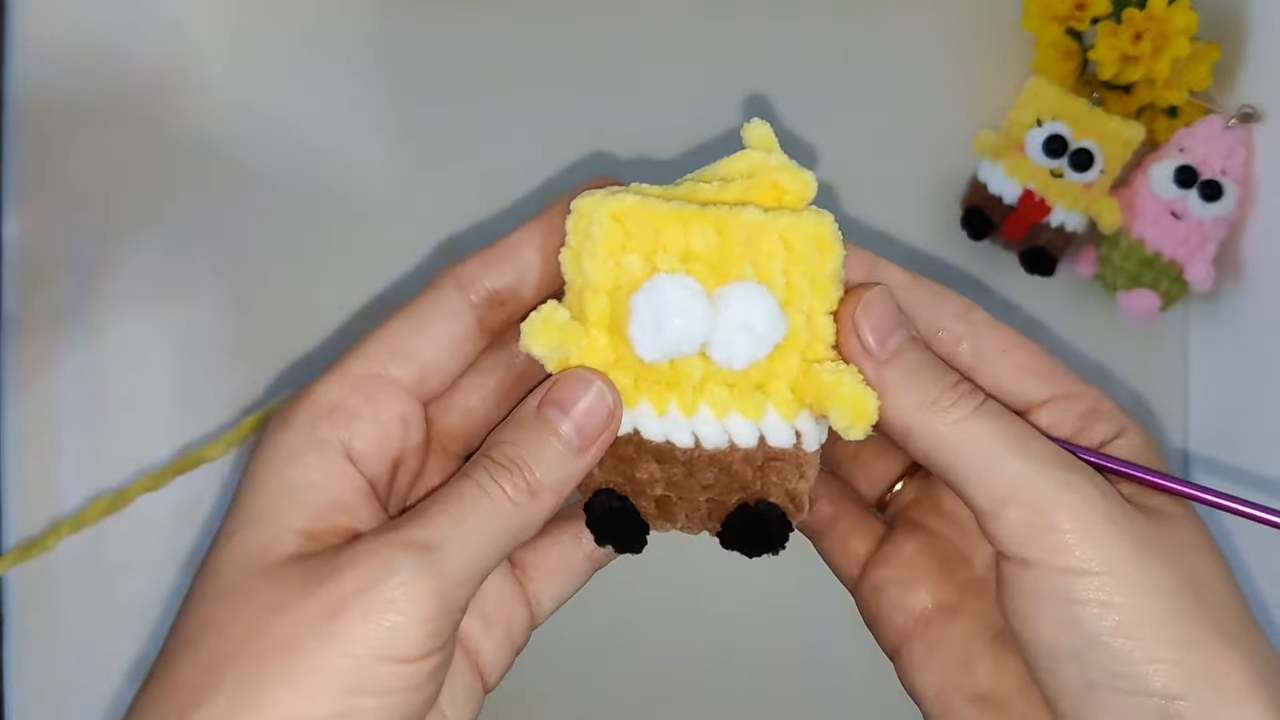
Body and Arms (Yellow Yarn)
R5 (Body/Arms):
2 sc.
Arm 1: ch 3, starting in 2nd ch from hook: sl st, sl st. Then sl st back into the body stitch where the chain began.
7 sc.
Arm 2: ch 3, starting in 2nd ch from hook: sl st, sl st. Then sl st back into the body stitch where the chain began.
9 sc to end. (18 sts)
R6 (Body):
18 sc around. (18 sts)
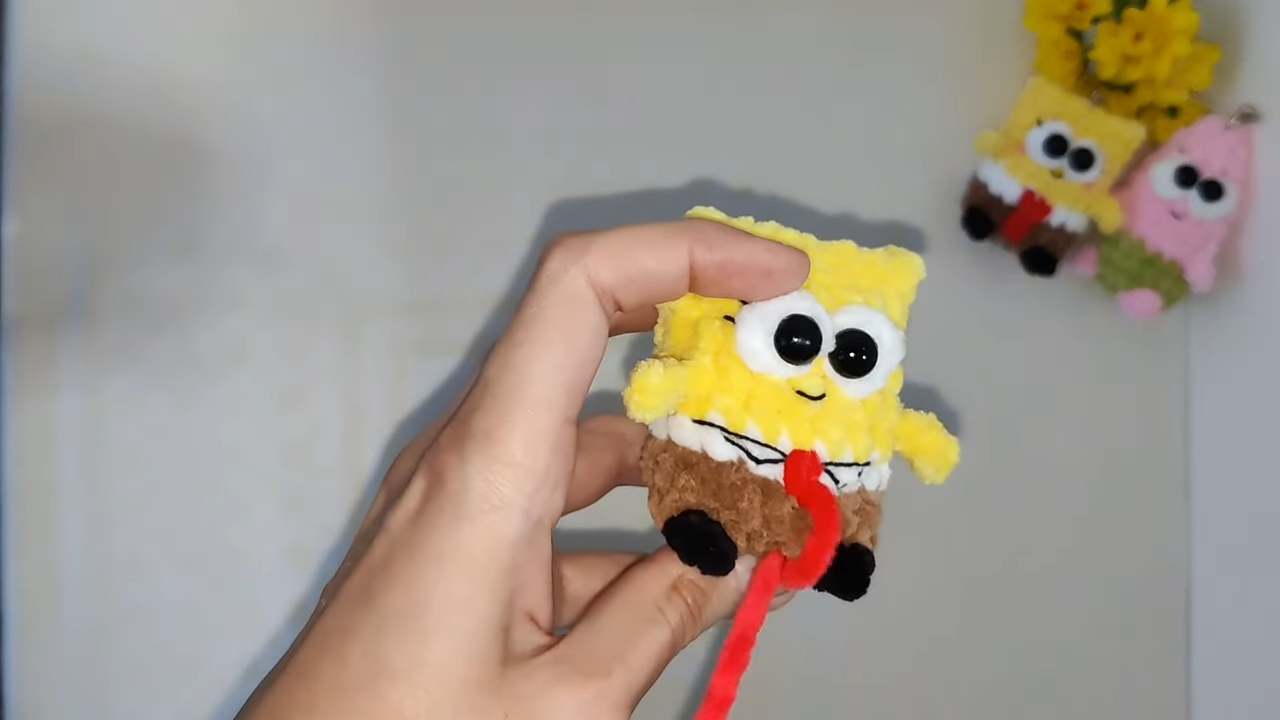
R7 (Body/Eyes):
4 sc.
Eye 1: Change to White yarn. Work a Puff in the next st. Change to Yellow yarn to complete the puff.
sc (Yellow).
Eye 2: Change to White yarn. Work a Puff in the next st. Change to Yellow yarn to complete the puff.
11 sc to end. (18 sts)
The White yarn can be cut and secured.
R8 & R9 (Body):
18 sc around. (18 sts each row)
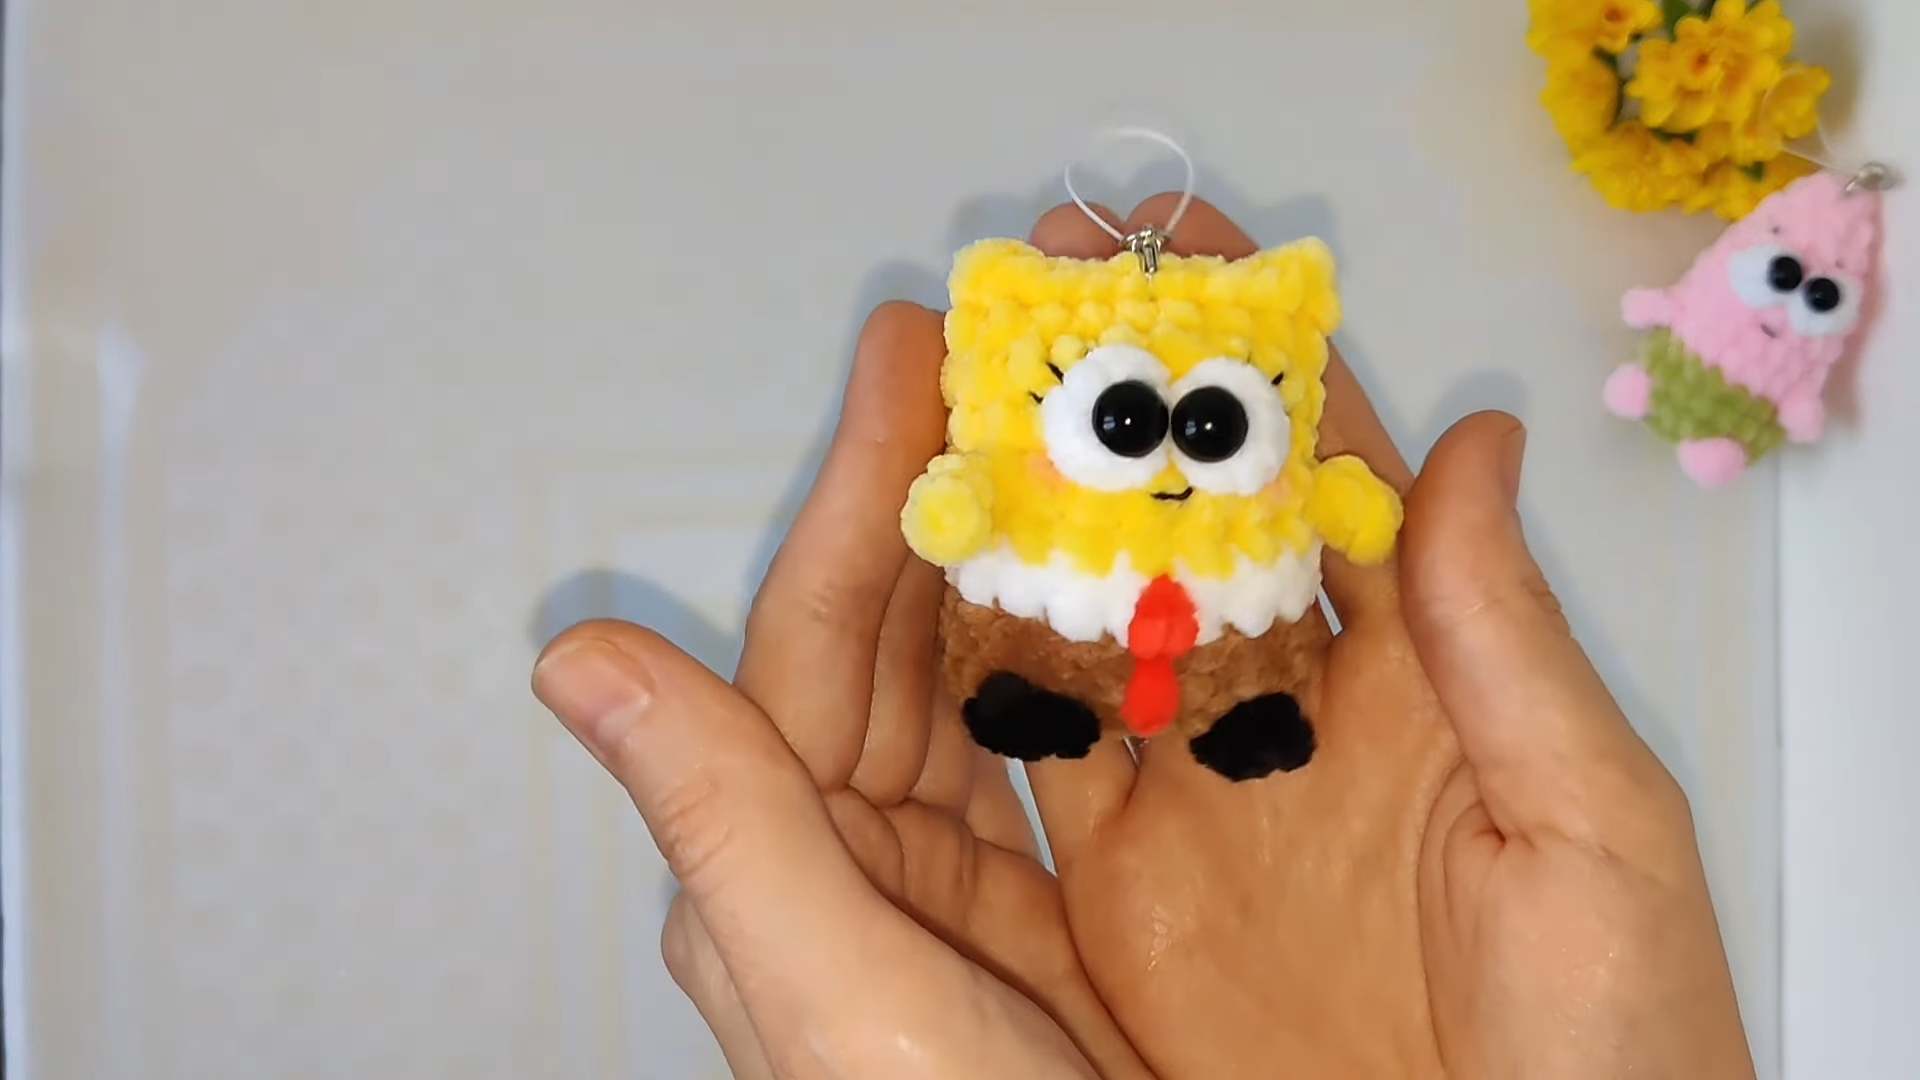
Finishing and Assembly
Stuffing: Firmly stuff the piece with fiberfill, shaping it into a square/rectangle.
Closing: Work a few extra slip stitches to shift the beginning of the round to a corner. Flatten the piece and sl st across the top (9 stitches) to close the opening.
Hiding Ends: Cut and secure the yarn, hiding the tail inside the piece.
Eyes: Glue or insert the 10 mm eyes on the sides of the white puff stitches (Eyes 1 and 2), between R7 and R8.
Mouth and Lashes: Use thin black yarn to embroider a simple smile between R2 and R3. Add eyelashes or freckles as desired.
Tie (Red Yarn): Use a small piece of red plush yarn to embroider a simple, short necktie at the center front of the white shirt (R4).
Pattern for Russians
More Patterns like This
Free Crochet Christmas Dolls From SpongeBob Square Pants Pattern
You may also like
Free Crochet No-Sew Baby Yoda Plushie Pattern for Gifting
Free Crochet No-Sew Duck Plushie Pattern (Funny & Cute)
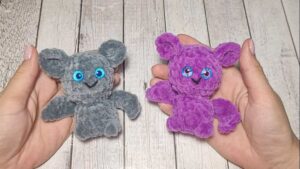
Knitting-Love: Free Crochet No-Sew Bat Plushie Pattern for Halloween
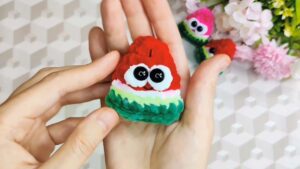
Free Crochet No-Sew Watermelon Plushie with Face Pattern
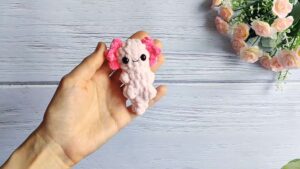
Free Crochet No-Sew Axolotl Plushie Pattern for Beginners