
Free Crochet Mini Kawaii Fox Amigurumi Pattern for Fall
Learn how to crochet a miniature CHUBBY fox amigurumi for fall with this FREE pattern! This is the third of crochet fox amigurumi project for this year and I am excited for this as it is quick and easy to crochet! This will make a last-minute bag charm for your fall tote bag. You can also crochet this fox using this plush yarn to make the CUTEST fall softie. Also makes an irresistible last-minute fall’s LOVE present!
Crochet Mini Kawaii Fox Amigurumi Pattern
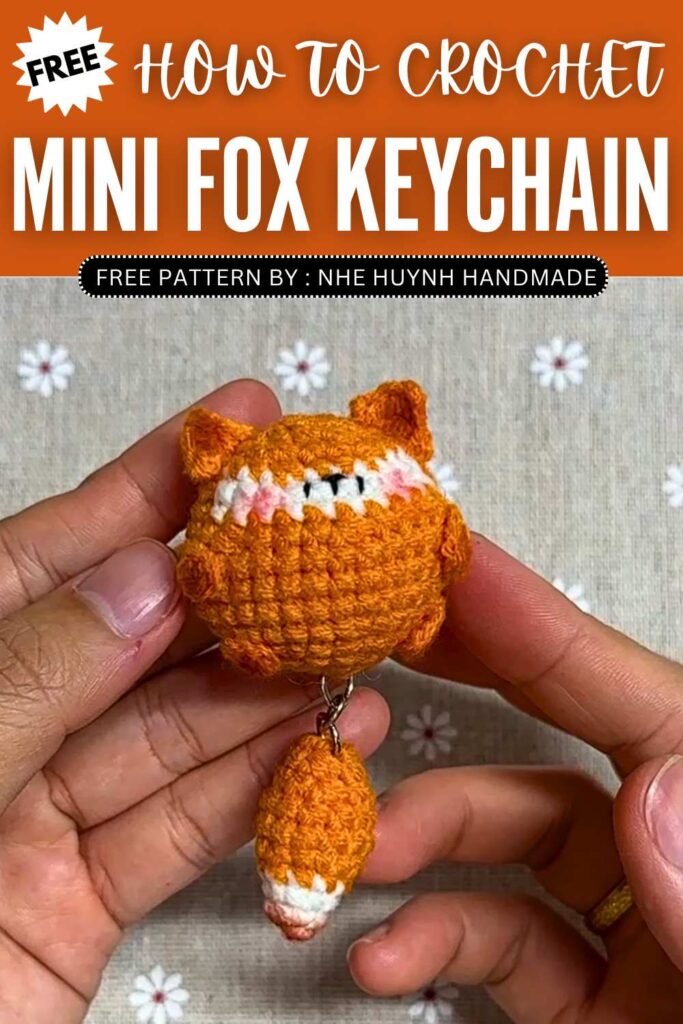
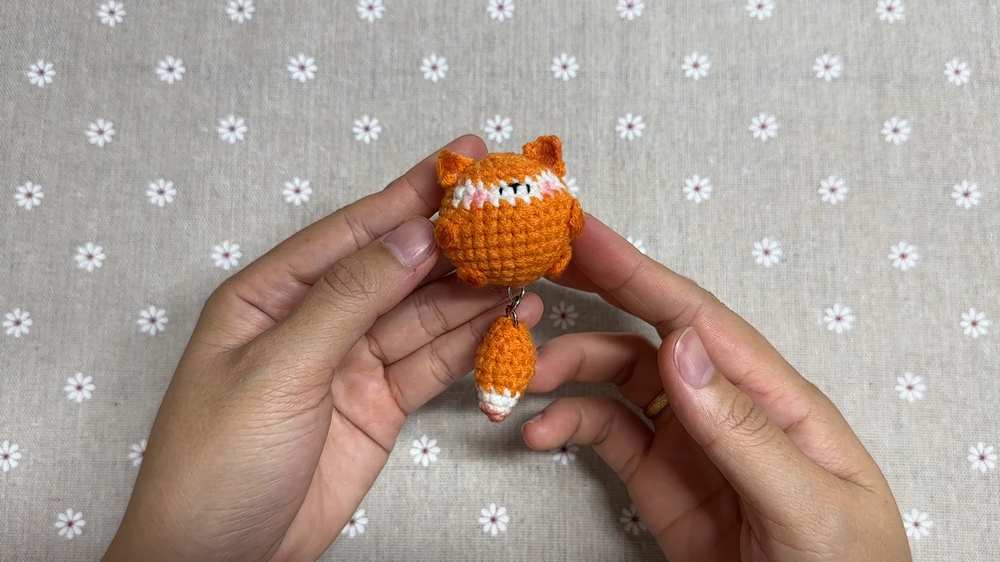
This crochet fox has a separate tail attached with the body using a small keyring so the tail will swing in air as you carry your bag. You will like its kawaii white face patch that only needs simple color-changes. You can also customize it to crochet a red panda fox amigurumi. Anyway, continue reading for the full crochet chubby fox pattern.
About the designer: The designer of this mini kawaii fox amigurumi is @nhehuynh.handmade – she has designed and crocheted some of my favorite crochet amigurumi and keychains. Her unique way to theme up a crochet animal amigurumi and choice colors is simply awesome. That’s why even with not hundreds crochet designs, she is one of my favorite designers.
How to Crochet Chubby Fox Keychain Pattern
This project is a fun and easy crochet tutorial to make an adorable, miniature fox keychain. You will start by crocheting a round, continuous piece for the head and body, switching yarn colors to give the fox a white belly, and stuffing it so it’s plump.
After closing the body, you will embroider a cute sleeping face with black yarn. Finally, you will crochet tiny separate pieces for the pointy ears, little limbs, and a bushy, two-toned tail. After gluing or sewing these pieces on, you just attach your keychain ring and dab on some real blush for rosy cheeks!
Materials Needed
Milk cotton yarn (50g) in Orange (Code 30)
Milk cotton yarn (50g) in White (Code 06)
Crochet hook (Size 2.0 mm)
Keychain ring
Stuffing (fiberfill)
Black embroidery thread or thin yarn (for the facial features)
Glue (for attaching details)
Blush (makeup)
Abbreviations
MR: Magic Ring
ch: Chain
sc: Single Crochet
inc: Increase (2 single crochets in the same stitch)
dec: Decrease (single crochet 2 stitches together)
slst: Slip Stitch
hdc: Half Double Crochet
dc: Double Crochet
R: Round / Row
Full Pattern
Body
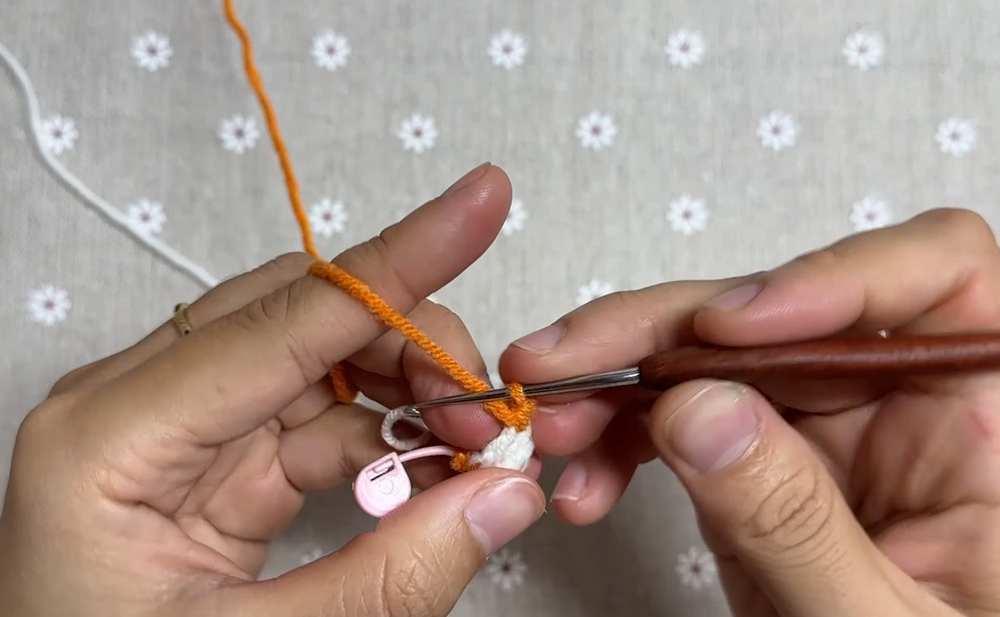
R1: MR, 6 sc, slst
R2: ch, 6 inc, slst
R3: ch, 6 * (sc, inc), slst
R4: ch, 6 * (sc, inc, sc), slst
R5: ch, 6 * (3 sc, inc), slst
R6 to R8: ch, 30 sc, slst (Crochet until you finish R8)
R9: ch, 6 * (3 sc, dec), slst
R10 to R11: ch, 7 sc in orange, switch to white and do 10 sc, switch back to orange and do 7 sc, slst
R12: ch, 6 * (sc, dec, sc), slst
R13: ch, 6 * (sc, dec), slst
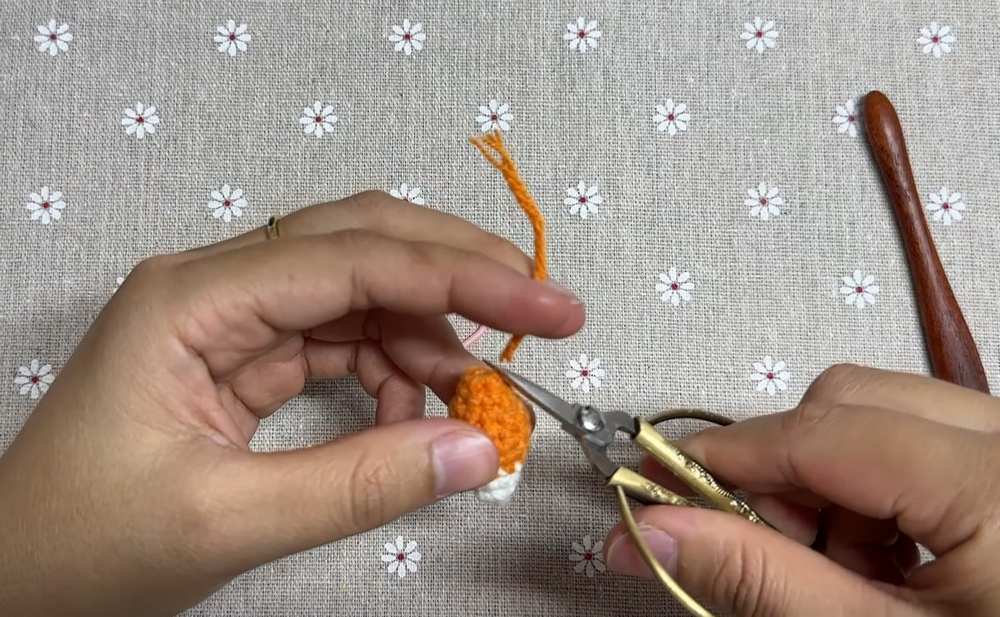
Add stuffing inside the body.
R14: ch, 6 dec, slst
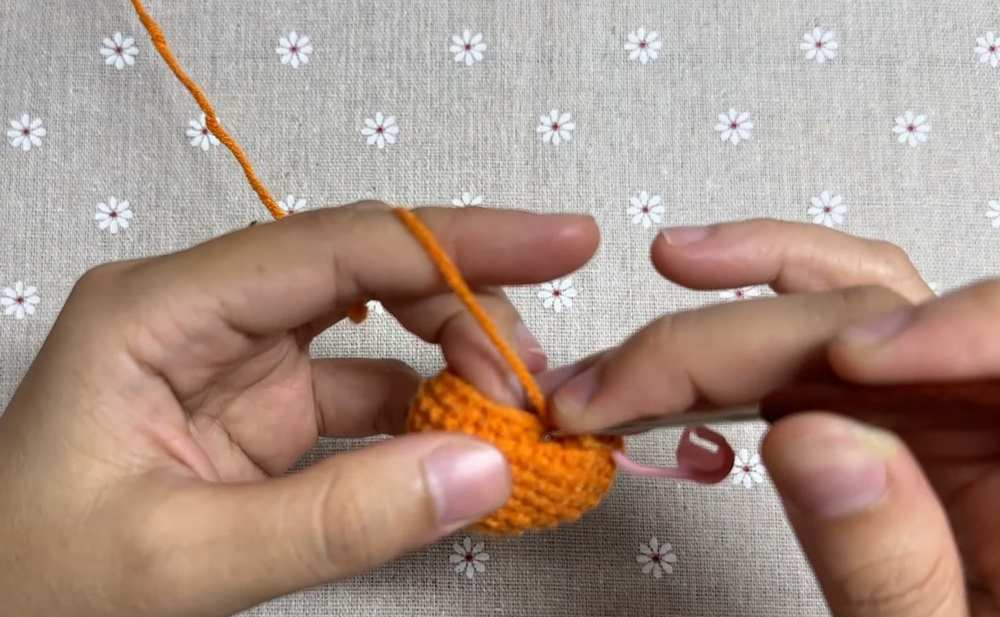
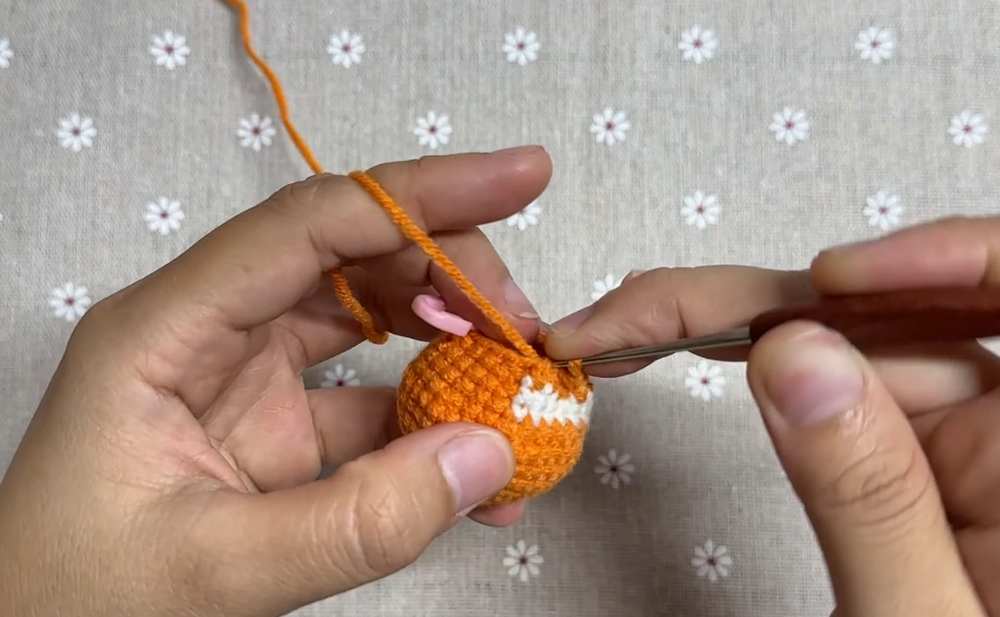
Cut the yarn, pull through, and sew the bottom mouth/hole closed.
Embroider the eyes and nose about 4 stitches in from each side.

Ears (Make 2)
Chain 3, turn your work.
Starting in the 2nd chain from the hook: 1 sc, 1 dc, ch 1. Fasten off.
Arms & Legs (Make 4)
Split your yarn in half to make it thinner.
Chain 4, turn your work.
Starting in the 2nd chain from the hook: 2 hdc, 1 sc. Fasten off.
Tail
R1 (White Yarn): MR, 3 sc, slst
R2 (White Yarn): ch, 3 inc, slst
R3 (White Yarn): ch, 3 * (sc, inc), slst. Note: Change to the orange yarn before finishing the very last stitch of this round.
R4 (Orange Yarn): ch, 9 sc, slst
R5 (Orange Yarn): ch, 3 * (sc, inc, sc), slst
R6 to R7 (Orange Yarn): ch, 12 sc, slst (Crochet until you finish R7)
R8 (Orange Yarn): ch, 3 * (sc, dec, sc), slst
Add stuffing inside the tail.
R9 (Orange Yarn): ch, 3 * (sc, dec), slst, ch 1.
Cut the yarn and weave in the end.
Assembly & Finishing
Glue the ears, arms, and legs onto the body.
Attach the tail to the back.
Secure the keychain ring to the top of the head.
Apply a tiny bit of blush to the cheeks using a brush or cotton swab.
Video Tutorial to Learn More Easily