
How to Crochet Christmas Dog Amigurumi with Santa Hat
A dachshund is just a perfect fit for crocheting as your next Christmas gift. All you need is this so cute Christmas dog amigurumi tutorial from Otakulandia Crochet that will teach how to crochet a Dachshund in an adorable Christmas dress and a crochet Santa hat. If you just want to crochet a realistic Dachshund, part one will guide you on everything.
Christmas Dog Dachshund Amigurumi
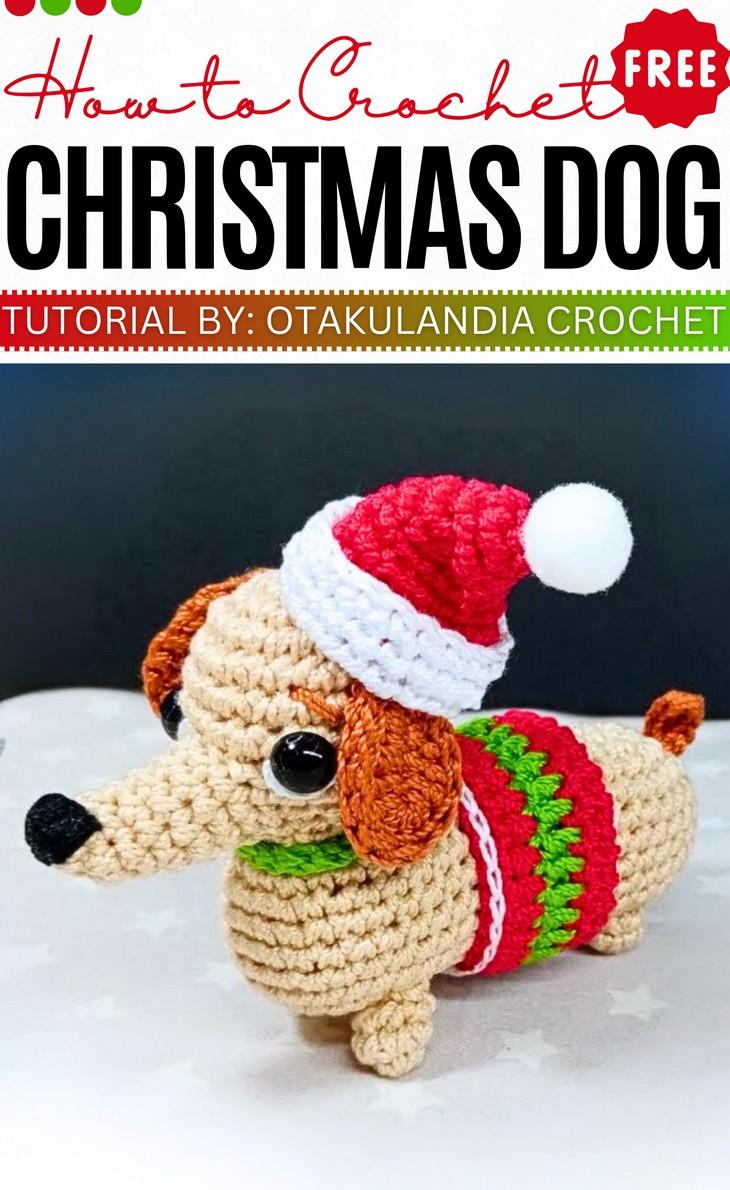
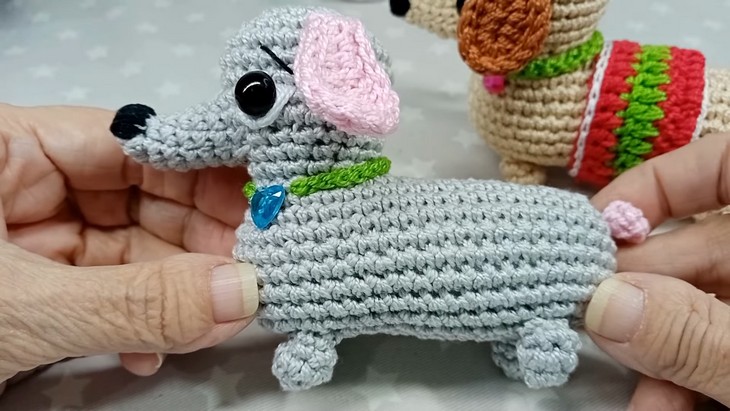
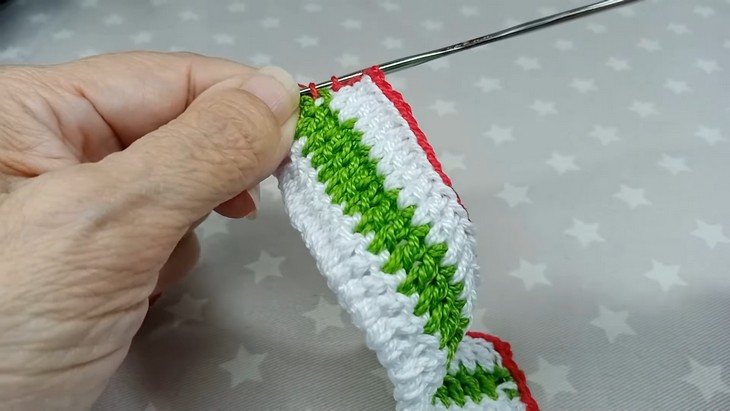
In the second part, you will explore how to crochet a slouchy hat, an ornamented belt, and a striped dog sweater (might be a blanket) that just turns it into an irresistible gift. This sausage dog looks funny with the large googly eyes and can be crocheted either in the grey and pink or brown and beige.
With the two-part tutorial it is perfect for beginners, even though detailed. So, if you are ready to crochet this medium-sized Christmas dog for beginners, continue reading this post till the end. There you will find the complete tutorial. It will certainly be the best gift ever!
Know the designer!
The designer of this Christmas dog amigurumi for kids is @OtakulandiaCrochet – she is one of the designers who excelled in almost all aspects and subjects of amigurumi designing, with a unique presentation.
I will truly appreciate her Christmas series that includes almost every Christmas subject from reindeer to ornaments.
As for dogs, you will also like her dog in turtle shell amigurumi. She also has so many projects for other holidays, so it is worth subscribing to her.
Note: In respect of the creator’s rights, there will be no provision of the written pattern. You will watch the tutorial at the end of this post.
The Material List
To crochet this Christmas dog amigurumi by yourself, gather the following suggested supplies depending upon the part:
For the dachshund:
- Cotton Yarn: Size 5 yarn, held double.
- Grey: For the main body.
- Pink: For the ear details and tail.
- White: For the under-eye areas.
- Black: For the nose and eyebrows.
- Crochet Hook: 1.75 mm.
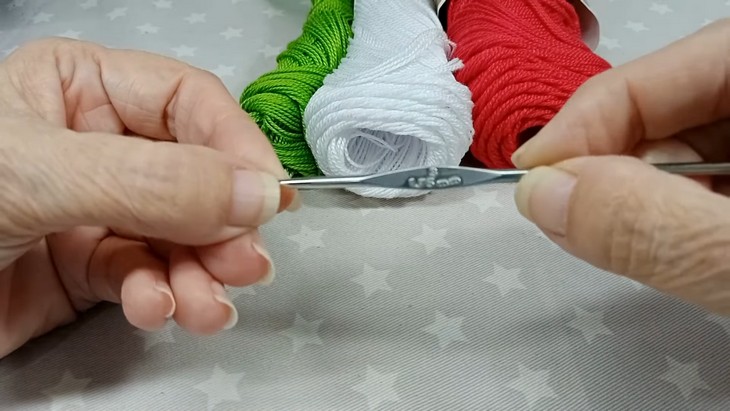
For dresses:
- Green and White: For the blanket stripes.
- Red and White: For the Santa hat.
- Red: Used for the blanket border.
- Silicon
- Pom-Pom
Other Notions:
- Fiberfill/Stuffing.
- Small Scissors.
- Tapestry/Sewing Needle.
- Plastic Pearl Eyes: The tutor uses these, but recommends safety eyes or embroidered eyes for children.
- Hot Glue
Crochet Christmas Dog Amigurumi Tutorial

Abbreviations & Stitches
Check out these quick guides for the common techniques used to crochet this Christmas dog:
- Chain (ch): Yarn over and pull through the loop on your hook to form a foundation chain.
- Single Crochet (sc): Insert hook into the stitch, yarn over, pull up a loop, yarn over again, and pull through both loops.
- Double Crochet (dc): Yarn over, insert hook into the stitch, yarn over, pull up a loop, yarn over, pull through two loops twice.
- Slip Stitch (sl st): Insert hook into the stitch, yarn over, and pull through both the stitch and the loop on your hook.
Amigurumi Stitches:
- Increase (inc): Work two stitches into the same stitch to widen your piece.
- Invisible Decrease (inv dec): Insert hook into the front loops of the next two stitches, yarn over, pull through both loops, yarn over again, and pull through both loops on the hook.