
How to Crochet Christmas Tree Key Cover and Keychain
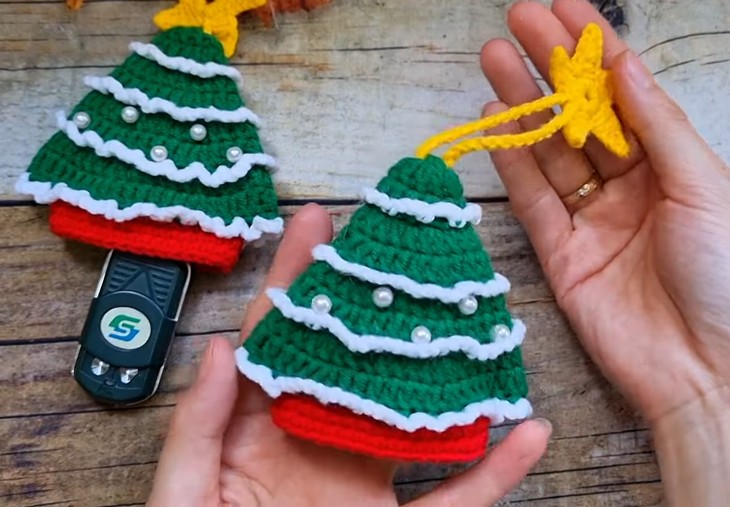
Last time, I suggested turning the Christmas tree I shared a tutorial for into a key pouch. (Really lovely idea!). But to guide you better, I am here with an easy Christmas tree key cover and keychain tutorial for absolute beginners. Just like the previous, you will crochet an unstuffed tiered and snow Christmas tree, but with a twist:
It acts as a cover by pulling the key out for use and then tucking it back inside using holding the star top. You will love how simple it is to achieve this functionality with strings. Now, let’s learn more about this key cover project!

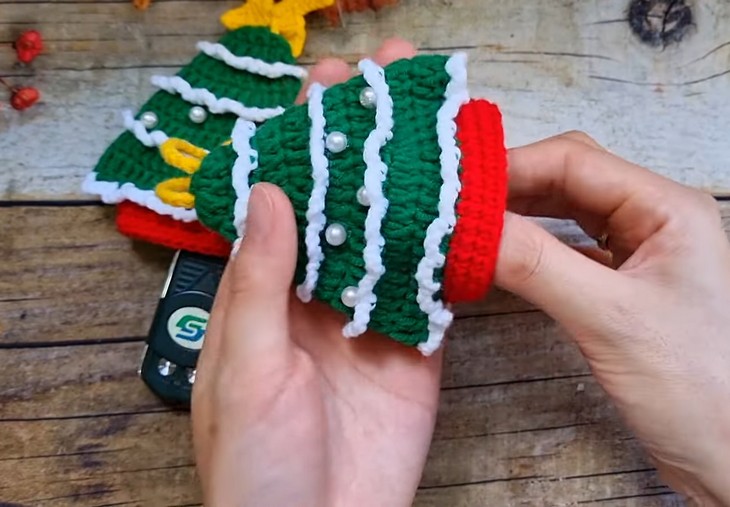
You can also turn it into a normal bag just by using the zipper in the stem part. There are also shiny beads and a white, snowy border all around that well enhances the finished Christmas tree. Luckily, you will crochet this key pouch as a single piece with clever use of color changes and surface-stitching.
So, if you have made up your mind to participate in crocheting this new Christmas tree variation for beginners, continue reading this post till the end. I am sharing regularly new Christmas tutorials, so make sure to follow through with us!

About the Designer: The designer behind this elegant Christmas key cover is @tejidosjossropa – She is equally among my favorite “crochet designers of everything” and “the good teachers” since her simple tutorials are accessible to anyone.
She has tutorials on everything from amigurumi to decorations to clothing, and has over 600 in number.
For Christmas, she has keychains and ornaments for a wreath, a Christmas tree, Santa, and more. Also, she has Christmas wearables. So, make sure to follow her library for more projects.
Note: In respect of the creator’s rights, there will be no provision of the written pattern, but only the tutorials.
Materials for Christmas Tree Key Cover
Gather the following suggested supplies for crocheting this medium-sized Christmas tree keypouch, mentioned in the tutorial:
- Yarn: Milk Cotton, 125g – It is a blend of cotton and milk protein and highly suggested in the community.
- Colors: Green (for the tree), Red (for the trunk), Yellow/Gold (for the star and the hanging cord), and White (for the decorative trim).
- Hook: 2.5 mm
Other Notions:
- Small beads
- Keyring
- Sewing needle
About Christmas Tree Key Cover Tutorial
Quick Summary & Skill Level: Intermediate. You will start with the basic Magic Ring and a round of single crochet for the tree’s tip, then use double crochet and increases for the shape of the tree body.
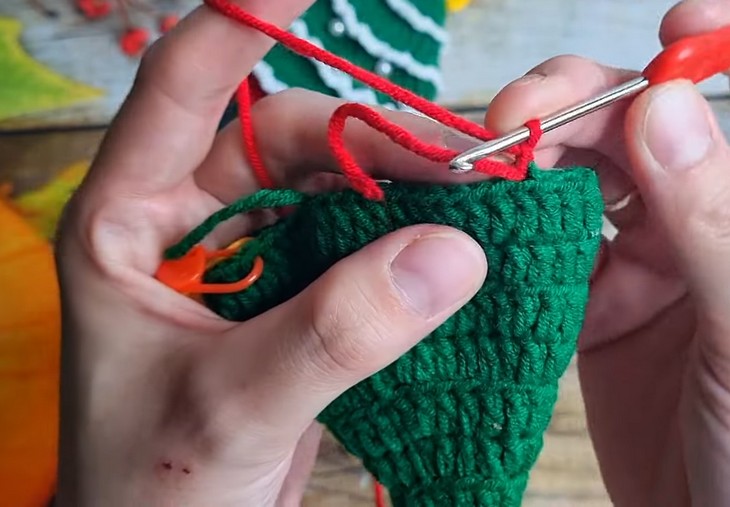
After completing the green tree, a flap is crocheted for the red trunk using single crochet in rows, which is then joined to form the pouch.
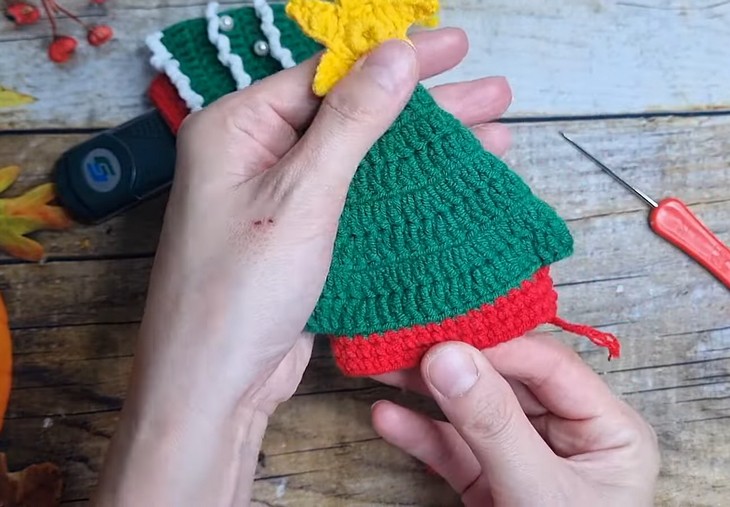
Next, a five-point star is crocheted, and a long chain cord is attached. This chain is pulled through the top of the tree, allowing the key to be hidden inside the red trunk-pouch when the star is pulled up.
Tutorial-Timing: 24 minutes only. Perfect for learning the popular tiered Christmas tree pattern.
Abbreviations for Christmas Tree Cover
Here are the quick guides for the crochet stitches and abbreviations that the tutor will use for crocheting this Christmas tree key cover:
- Chain Stitch (ch) – Yarn over and pull through the loop on the hook.
- Slip Stitch (sl) – Insert the hook, yarn over, pull through the stitch and the loop on the hook.
- Single Crochet (x) – Insert the hook, yarn over, pull through, yarn over again, and pull through both loops.
- Double Crochet (F) – Yarn over, insert the hook, yarn over, pull through, yarn over again, pull through two loops twice.
- Half Double Crochet (t) – Yarn over, insert the hook, yarn over, pull through, yarn over again, and pull through all loops.
- Double Crochet Increase (FV) – Work two double crochet stitches into the same stitch.
Christmas Tree Video Guide
In the end, I would like to thanks the designer for delivering such a nice project for Christmas!