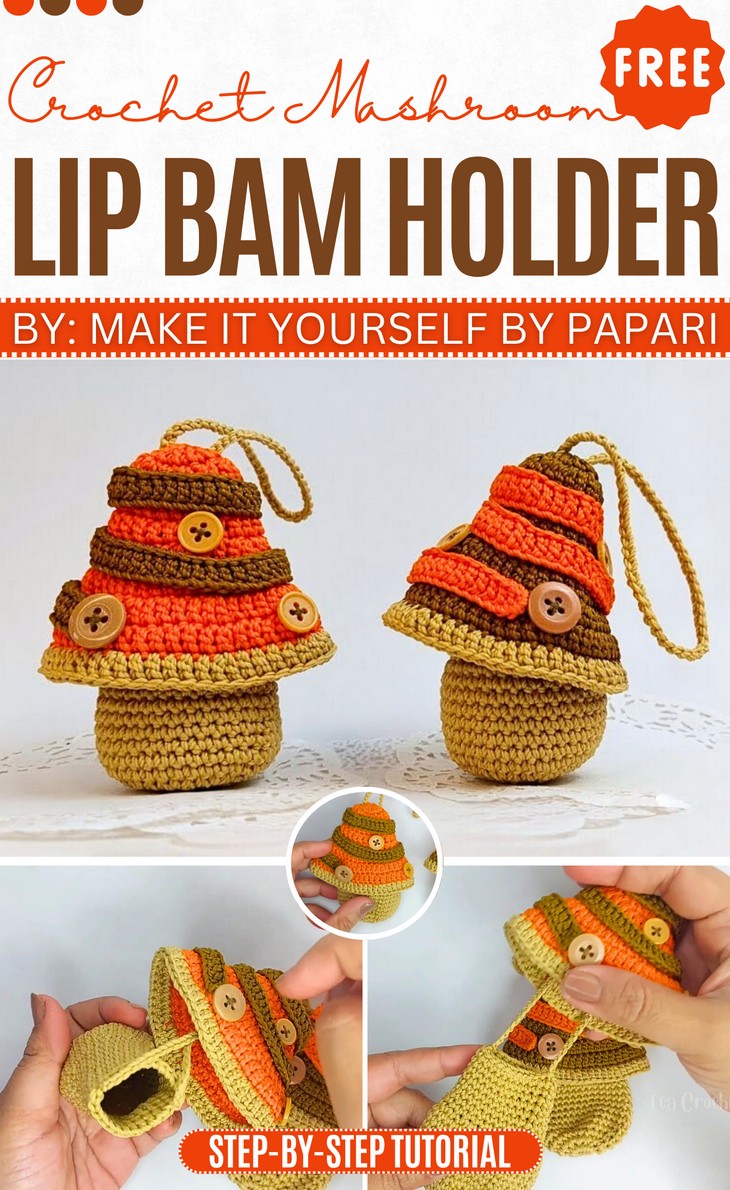
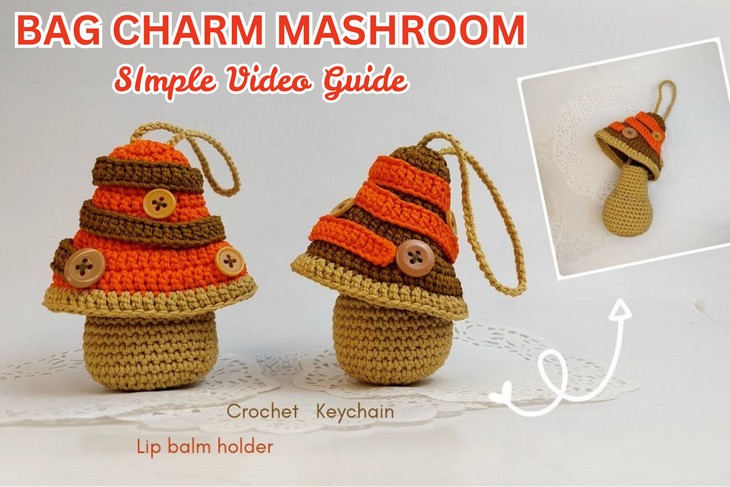
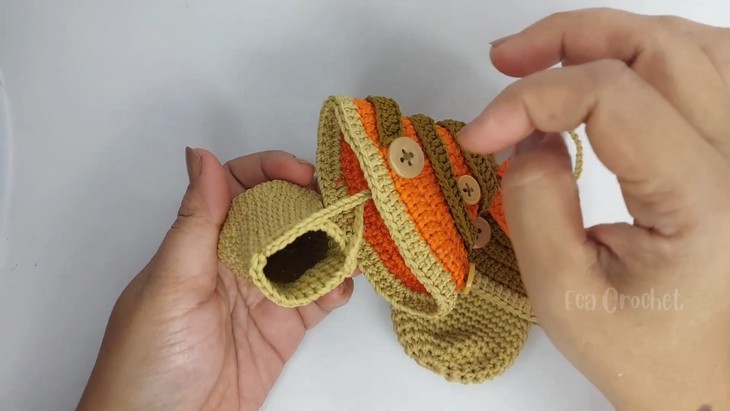
How to Crochet Fall Mushroom Lip Balm Holder & Bag Hanger
Toadstool mushroom, while oh-so-cute, doesn’t seem very suitable for fall, right? So, learn how to crochet this autumn mushroom lip balm holder that can also be used as a bag or key charm. It features your favorite fall colors and unique crochet stripes attachments and buttons. You will get the same cap-pulling functionality along with a fair storage capacity. You can complete crocheting this mushroom hanger within an hour, thanks to the stitch-by-stitch tutorial from Eca Crochet.
If you are interested in crocheting this bag charm for yourself, continue reading this post till the end. There you will find the complete guide video guide!
About the Designer: The designer behind this crochcet mushroom pouch is @EcaCrochet– her crochet bag charms in every shape from the flower to animals and doll are just materpiece. She has made just a good amount of crochet lip bam holder including even the toadstool mushroom lip balm holder, too. She also has given a try to amigurumi and each one has been just awesome and adorable.
Note: In respect for the creator’s pattern rights, there will be no provision of the written pattern. You can watch the tutorial with on-screen written instructions at the end of this post.
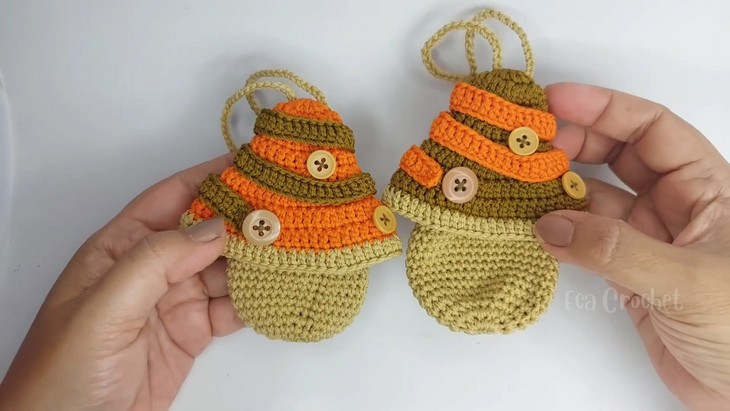
Crochet Fall Keychain & Bag Hanger
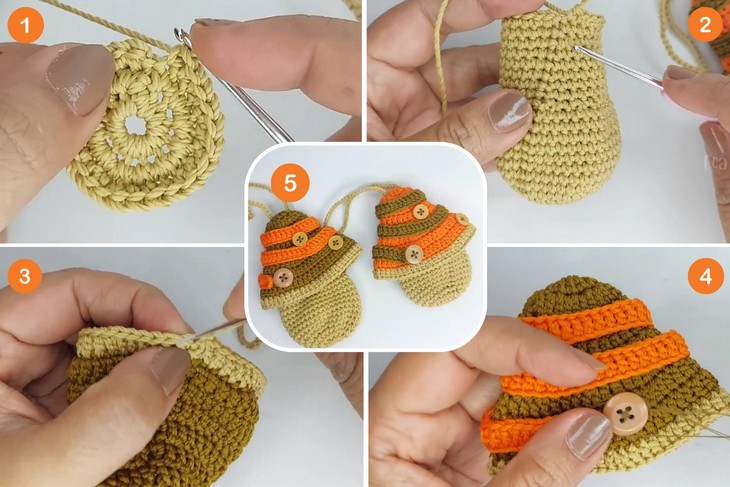
Skill Level: Beginner – Intermediate. Magic ring, single crochet, increasing, double crochet and slip stitch for the mushroom body. Then you will crochet the mushroom cap again by working in the round. Finally, add the decorative chain and attach it using the glue gun, along with buttons, to the mushroom cap before combining the cap and body to complete the project. You will also crochet the strings using the chain stitches.
Video Timing: Approximately 29 minutes only (perfect for learning the popular string and cap pouch while practicing basic crochet stitches.)
Personalization Tips: You can also fill the stuffing inside to crochet a lovely fall mushroom amigurumi. As for color-scheme, you can also choose the same toadstool color combo, the red and white. You can also use the plush yarn for crocheting this mushroom keychain and pouch.
Pattern Type: The on-screen written pattern, plus the CC instructions, are available if you find written instructions easy to follow along with.
Finished Size: Roughly 10 cm x 8 cm (make sure to make a gauge swatch if you are alot concerned with the size)
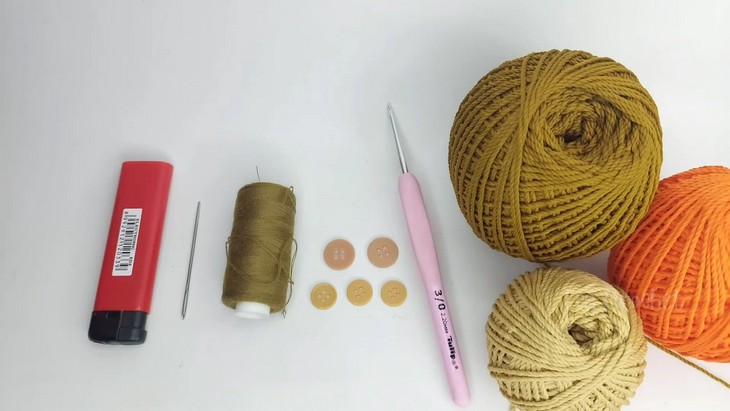
Tools And Materials
To crochet this mushroom pouch and key holder, the following are the crochet materials and tools that the tutor listed:
- Polycherry Yarn In Brown (7602), Dark Mustard (681), Orange (101) – You can use any yarn like the Milk Cotton Yarn in 5ply
- Hook No. 3/0 Or 2.20mm
- Medium Size 4 Hole Buttons And 3 Pcs Small Size
- Tapestry Needle
- Lighters (optional)
- Sewing Needle And Thread
- Glue Gun
Techniques Used
Make sure you understand the following crochet techniques and stitches for crocheting this mushroom holder:
- Magic Ring: Begin by making a loop with the yarn, then pull a loop through with your hook to create a starting point that can be tightened by pulling the tail end.
- Single Crochet (SC): Insert the hook into the designated stitch, yarn over, pull through the stitch, yarn over again, and pull through both loops on the hook.
- Slip Stitch (SS): Insert the hook into the stitch, yarn over, and pull through both the stitch and the loop on your hook in one go.
- Chain Stitch: Yarn over and pull through the loop on your hook to form a chain; repeat to create a desired length.
- Increase (Inc): Work two single crochet stitches into the same stitch to increase the number of stitches.
- Decrease (Dec): To decrease, insert your hook into the next stitch, yarn over and pull through, insert into the following stitch, yarn over and pull through; then yarn over and pull through all loops on the hook.
- Double Crochet (DC): Yarn over, insert hook into the designated stitch, yarn over again and pull through the stitch, yarn over and pull through two loops, repeat this step to complete the stitch.
- Gluing and Sewing for Assembly: Apply a thin layer of fabric glue to secure parts when necessary, or use a tapestry needle and matching yarn to carefully sew pieces together, knotting securely to finish.