
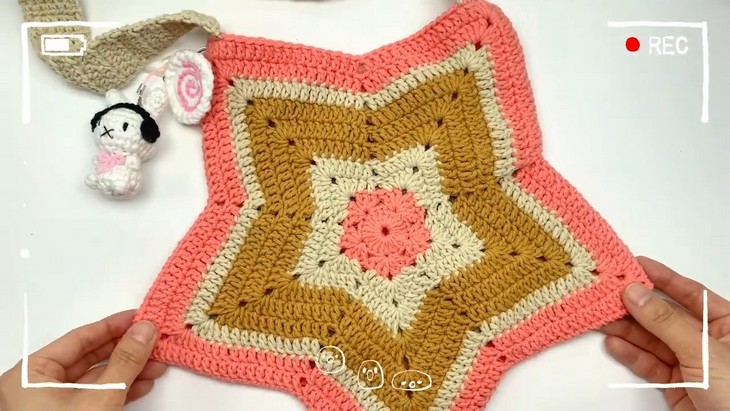
How to Crochet Fall Star Bag (Tutorial for Beginners)
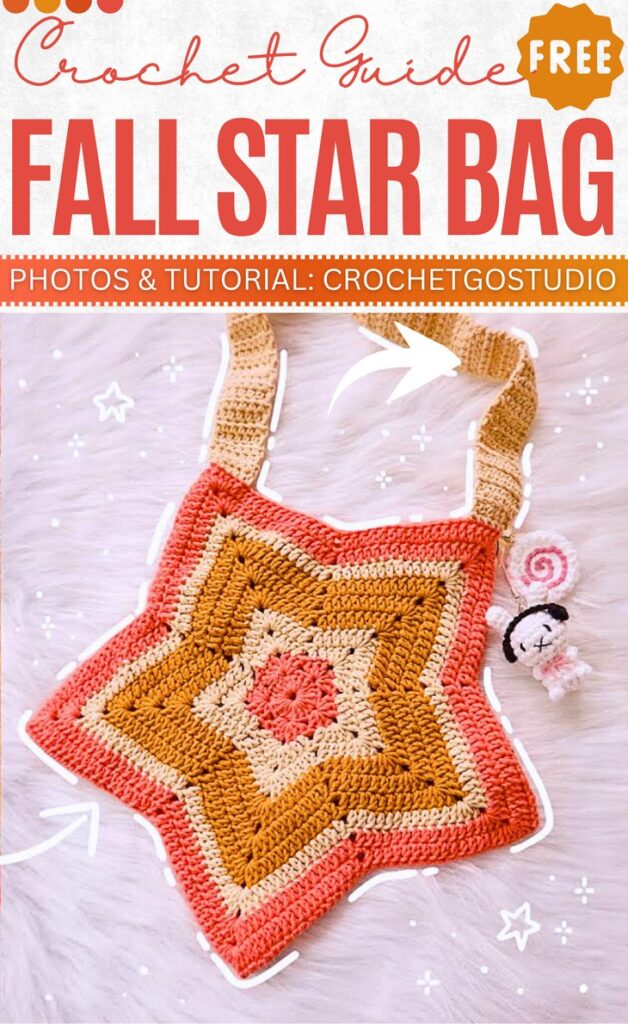
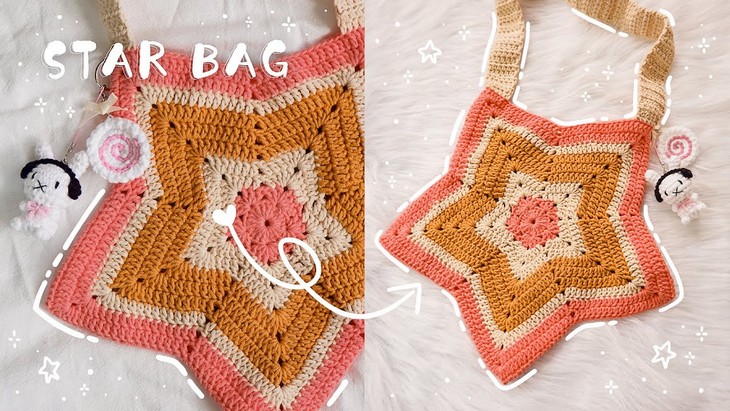
Need a beautiful crochet accessory with autumn colors? Learn how to crochet this fall star bag from Crochet Go Studio that can be worn cross-body or over one shoulder. This star-shaped bag features stripes of orange, autumn gold, and beige, plus a comfortable ribbed strap or handle. This star bag works outward in the rounds, making it easily adjustable. For the complete step-by-step tutorial for crocheting this fall star bag, read this post till the end.
It will be worth crocheting as both a Halloween and d fall accessory. Let’s dive into the details!
@CrochetGoStudio is the creator of this crochet star bag pattern and the tutorial. Therefore, there will be no provision of a written pattern, but a tutorial at the end. This post will aim to make this project easy for beginners.
Skill Level: Beginner to Intermediate (It highlights detailed techniques for creating patterns, changing threads, and constructing the bag’s body and strap). Overall, with the help of the tutorial, this fall project becomes super easy.
Tutorial Timing: 15 Minutes Only (perfect for learning using rolled edge stitchingcolor-changes and making the ribbed straps)
Personalization Tips: You can also choose other color combos, including the shades of pink and ocean blue for adopting for for general purpose.
Pattern Type: An on-screen written pattern is available if you find written instructions easy to follow along with.
Supplies Used
The following are the materials and tools that were recommended by the tutor to crochet this fall star bag for beginners:
- Milk Cotton Yarn 4ply in orange, beige, and brown
- 3.5mm crochet hook
- Yarn Needle
Stitch and Technique Guide
Here is a list of the techniques used in the Star Bag tutorial and quick guide for crocheting each stitch:
- Magic Ring (Circular Cast-On): Create a loop of yarn, crochet into it, and pull the tail tight to form a neat center for your work.
- Long Stitches (Double Crochet): Yarn over, insert the hook into the stitch, and complete the double crochet for creating texture and structure.
- Pull-Out Stitch: Crochet into the last stitch of the round to secure and close the round neatly.
- Changing Threads: Attach a new color by looping the yarn onto the hook and beginning crochet with the new thread.
- Chain Stitches: Create flexible gaps by chaining stitches, essential for forming the star bag’s intricate designs.
- Skip Stitches: Leave specified stitches unworked to shape patterns or spacing in your design.
- Rolled Edge Stitching: Sew edges together smoothly by rolling the fabric’s edges and stitching firmly.
- Medium-Long Stitches (Half Double Crochet): Yarn over, insert the hook, pull through yarn, and complete the half double crochet for a balance of height and density.
- Bag Strap Crocheting: Crochet rows of medium-long stitches without increases or decreases to achieve a consistent strap length.
How is it done?
This video tutorial demonstrates how to crochet a beautiful star-shaped bag that can be worn cross-body or on one shoulder. The project involves working in the round, using basic stitches such as long stitches (double crochet), chain stitches, and pull-out stitches.
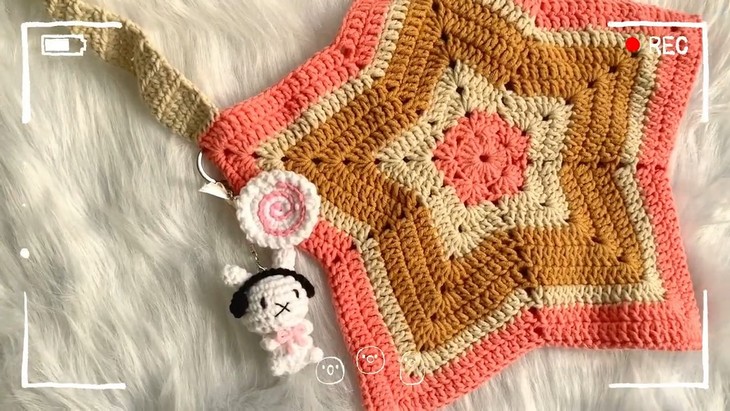
The tutorial begins with casting on a magic ring and proceeds with step-by-step guidance on building the star-shaped design through patterned increases, chain gaps, and changes in thread.
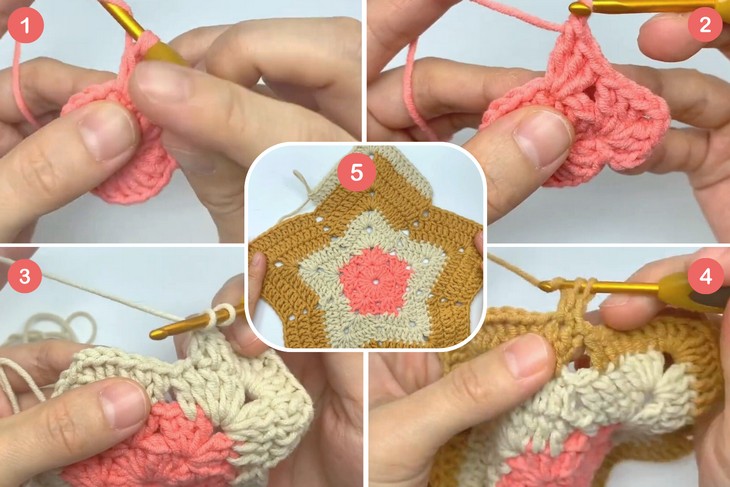
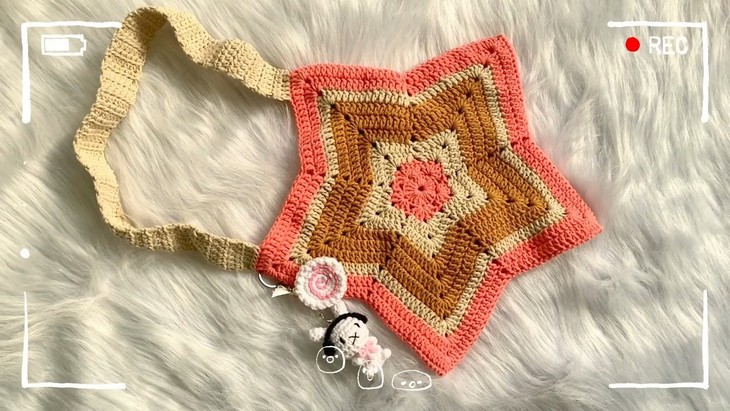
Once the two star panels are completed, they are sewn together with a rolled edge stitching method, leaving an opening for the bag. The strap is crocheted using medium-long stitches (half double crochet) to an adjustable length and attached to complete the bag.
The video is beginner-friendly and perfect for those looking to create a stylish and personalized bag.