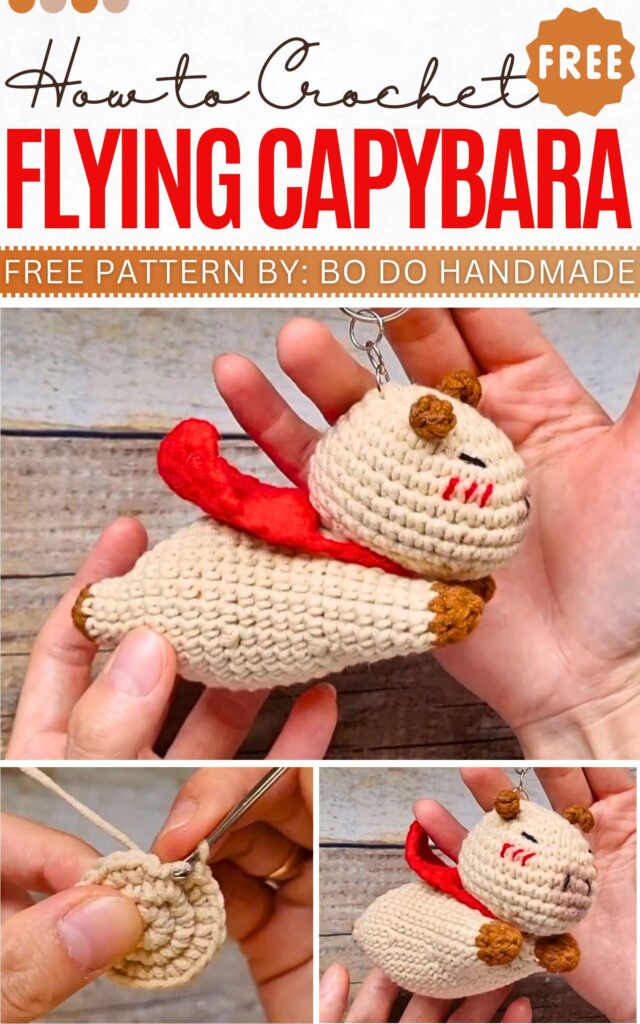
Free Crochet Flying Capybara Pattern for Kids
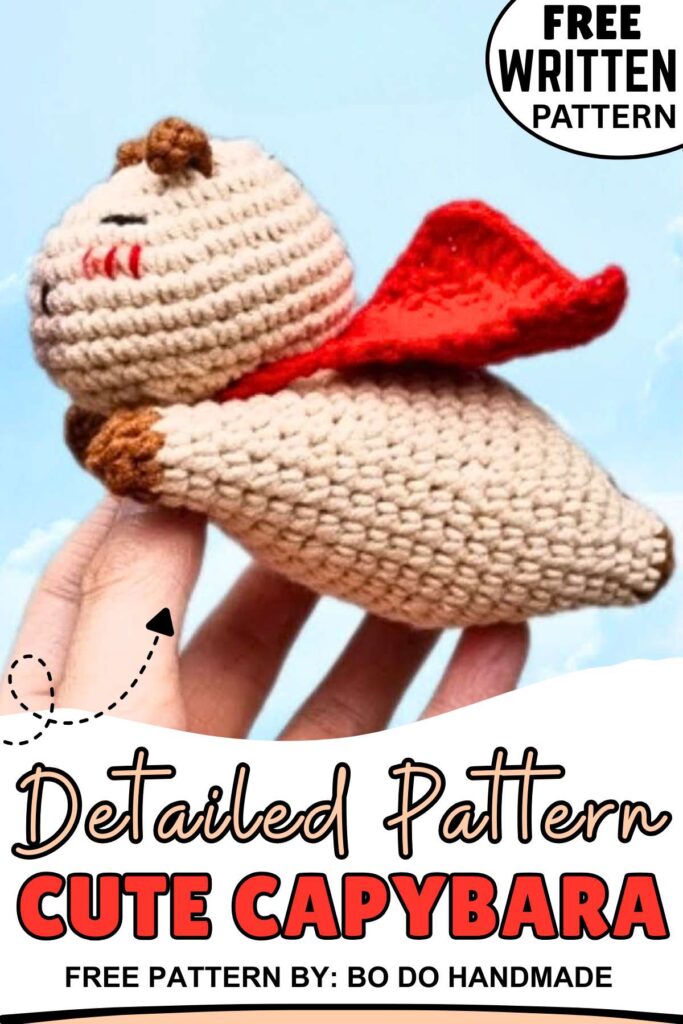
Today, I have a very fun and different variation of sleeping capybara amigurumi. So, in this post, there will be a free written pattern to crochet a flying capybara amigurumi that is of medium size.
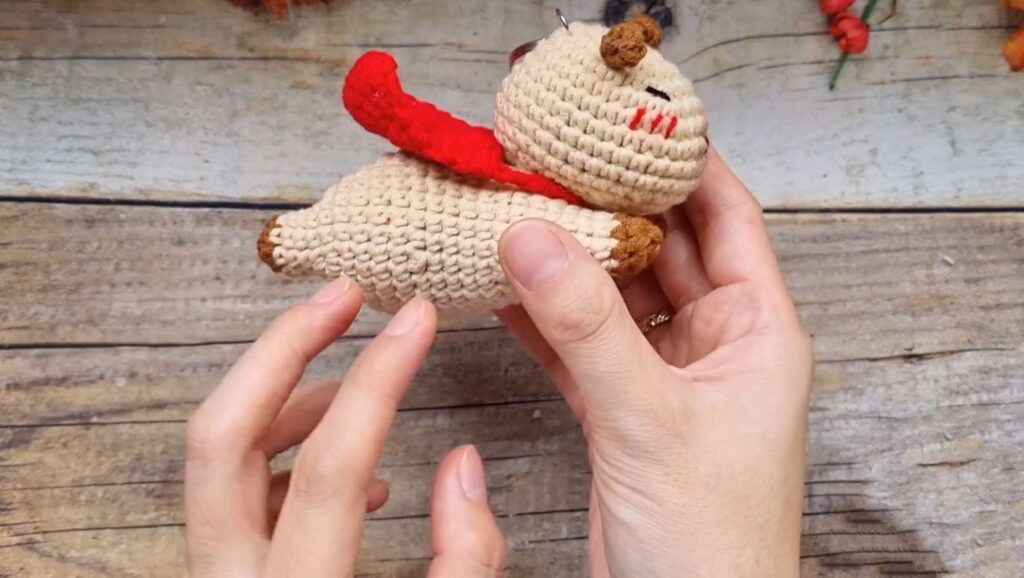
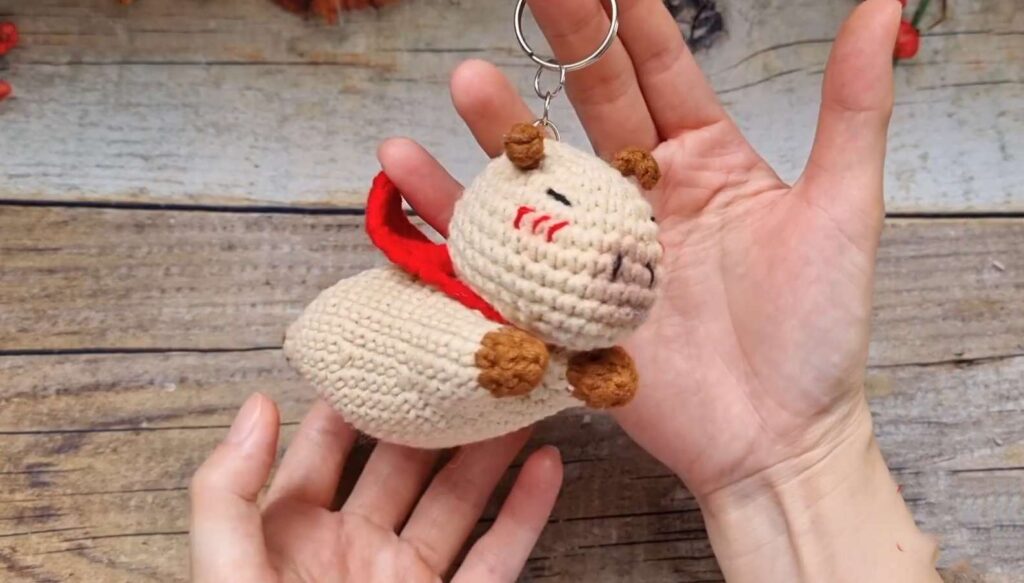
This amigurumi capybara will be crocheted in three parts (the head, body, and cape), so you can call it low-sew. I have named it superhero capybara, but with the sleeping eye embroidery, it looks funny.
Crochet Superhero Capybara
Designer of a capybara amigurumi
Bi Do Handmade is an expert in crocheting and designing crochet amigurumi, bag charms, and pouches. Her tutorials always have detailed written instructions in two languages on the screen. So, make sure to subscribe to her channel.
Note: For this amigurumi in particular, we shall share the written pattern that is complete and checked.
Crochet Hero Capybara Pattern
For this capybara pattern, the US terms will be used and written using abbreviations alone:
Abbreviations
The following are abbreviations I will be using for writing the pattern for the superhero capybara:
-
MR: Magic Ring
-
Ch: Chain
-
Sl st: Slip stitch
-
Sc: Single crochet
-
Inc: Increase (2 sc in one stitch)
-
Dec: Decrease (2 sc together)
-
Hdc: Half double crochet
-
Dc: Double crochet
-
Sk: Skip
-
St(s): Stitch(es)
-
[ ] * n: Repeat instructions in brackets n times
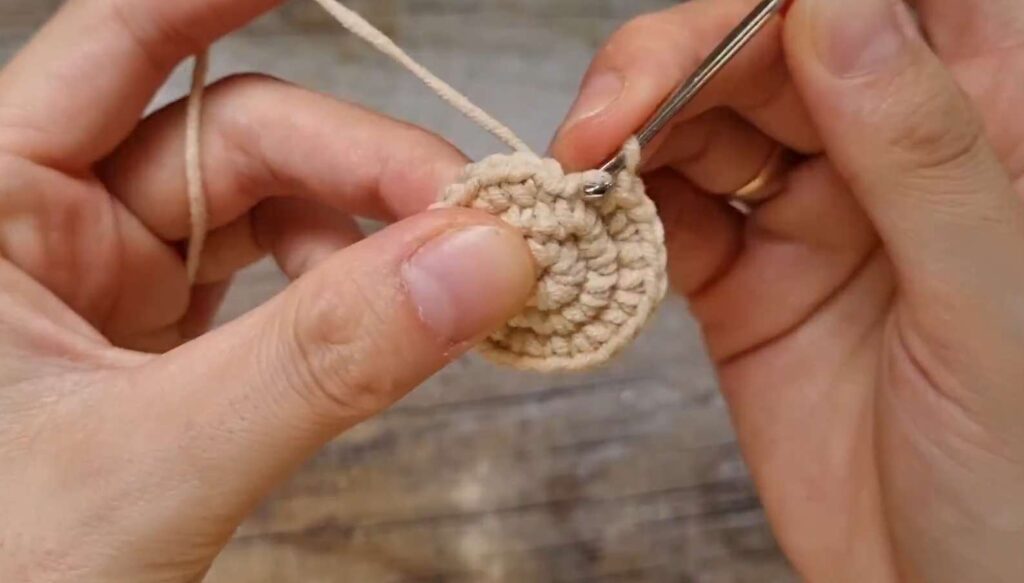
Head Pattern
-
R1: MR, 8 sc (8)
-
R2: 8 inc (16)
-
R3: [1 sc, 1 inc] * 8 (24)
-
R4: 6 sc, [2 sc, 1 inc] * 3, 9 sc (27)
-
R5: 6 sc, [3 sc, 1 inc] * 3, 9 sc (30)
-
R6: 6 sc, [4 sc, 1 inc] * 3, 9 sc (33)
-
R7–R9: 33 sc (33)
-
R10: 6 sc, [4 sc, 1 dec] * 3, 9 sc (30)
-
R11: [3 sc, 1 dec] * 6 (24)
-
R12: 2 dec, 5 sc, 4 dec, 5 sc, 1 dec (17)
-
R13: 1 dec, 5 sc, 2 dec, 6 sc, 1 sc into the final dec st (14)
-
Finish: Stuff with fiberfill and sew the remaining gap closed.
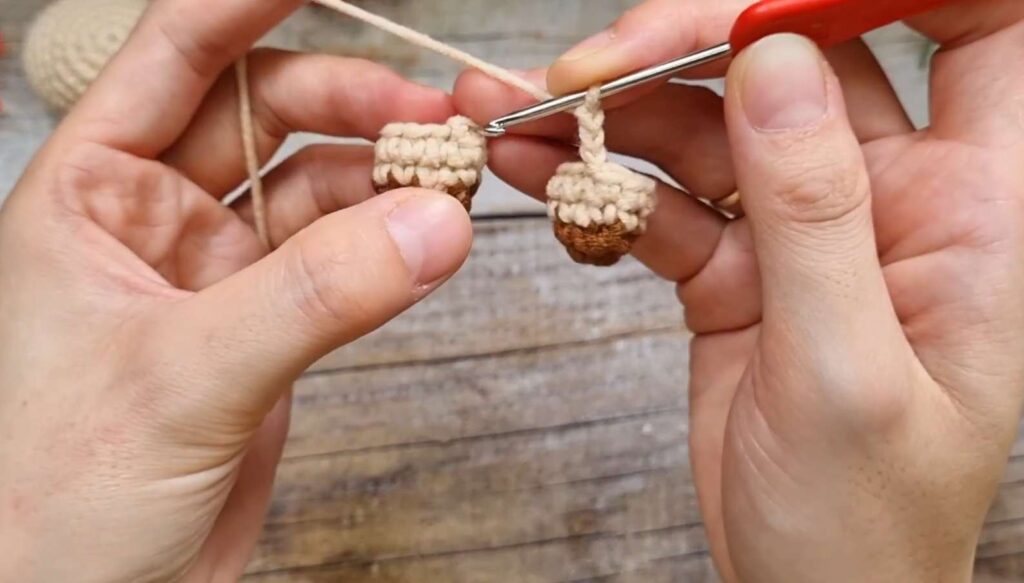
Legs (Make 2)
-
R1: (In dark brown) MR, 6 sc (6)
-
R2: [1 sc, 1 inc] * 3 (9)
-
R3–R4: (Change to body color) 9 sc (9)
-
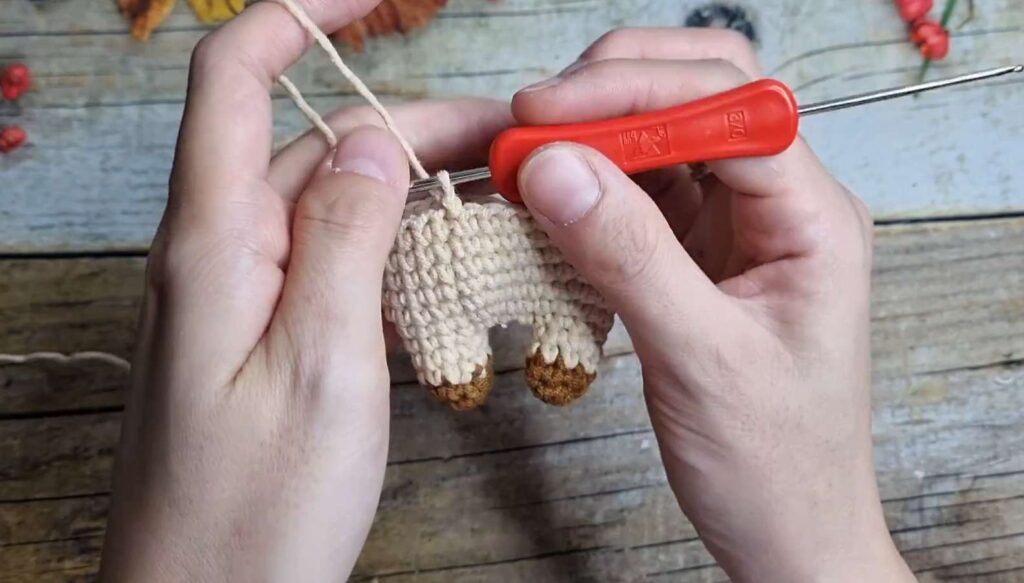
Join: On the second leg, Ch 3 and join to the first leg with a sl st.
Body Pattern
-
R5: 9 sc (around first leg), 3 sc (along one side of Ch), 9 sc (around second leg), 3 sc (along other side of Ch) (24)
-
R6: [3 sc, 1 inc] * 6 (30)
-
R7: [4 sc, 1 inc] * 6 (36)
-
R8–R11: 36 sc (36)
-
R12: [4 sc, 1 dec] * 6 (30)
-
R13–R16: 30 sc (30)
-
R17: [3 sc, 1 dec] * 6 (24)
-
R18–R21: 24 sc (24)
-
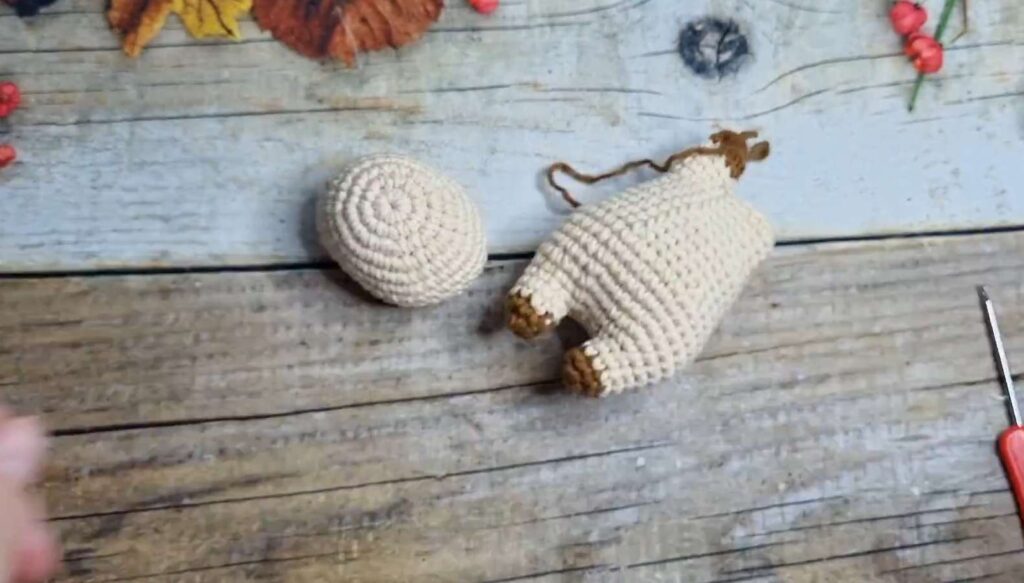
Finish: Fasten off, leaving a long tail for assembly.
Arms (Make 2)
-
Step 1: Ch 4, then Ch 2.
-
Step 2: Starting in the 3rd ch from hook: 3 hdc, 1 sc.
-
Finish: Fasten off and sew to the sides of the body/head junction.
Superhero Cape
-
R1: Ch 14. Starting in 3rd ch from hook: 14 dc. Ch 2, turn.
-
R2: Sk 1, 13 dc. Ch 2, turn.
-
R3: Sk 1, 12 dc. Ch 2, turn.
-
R4: Sk 1, 11 dc. Ch 2, turn.
-
R5: Sk 1, 10 dc.
-
Tie: Ch 15, sl st into the first st of R5 to create a neck loop.
Assembly & Details
-
Eyes: Embroider horizontal lines using black thread between R2 and R3 of the head.
-
Nose: Embroider small vertical lines centered below the eyes.
-
Cheeks: Use pink thread or blush for small horizontal lines below the eyes.
-
Connection: Glue or sew the head onto the narrower top part of the body.
-
Cape: Slide the neck loop over the head and position the cape on the back.