
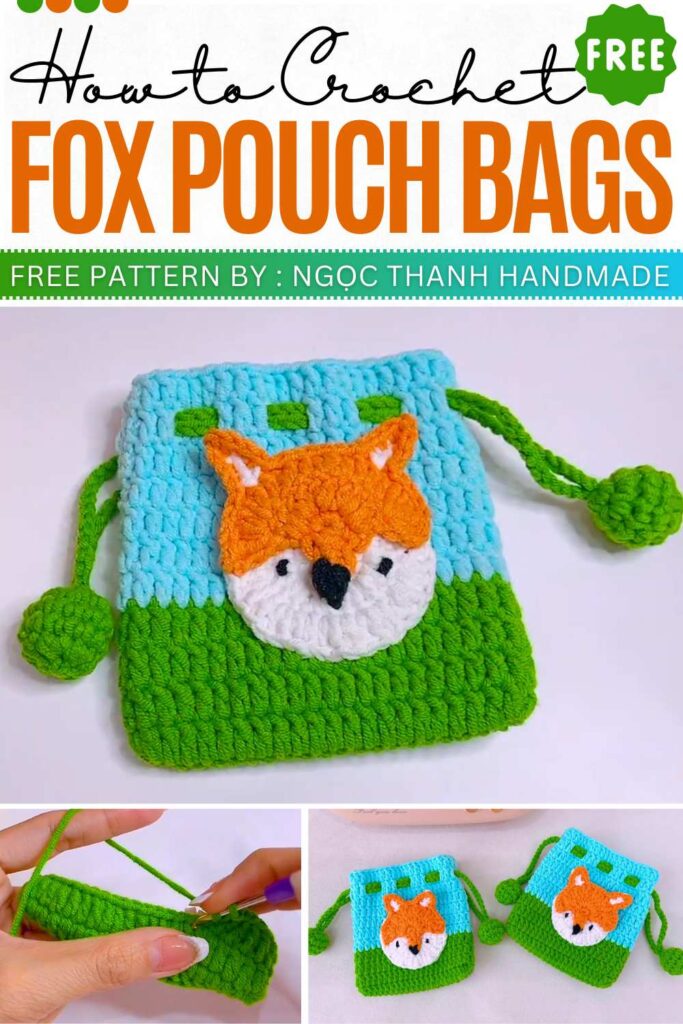
Crochet Fox Drawstring Pouch Bag Pattern Free
We have shared many of the crochet pouch bags before but this one is quite interesting with its simple construction and cute fox applique. If you already know the basic pouch then all you need to learn the fox applique given at the end of the pattern.
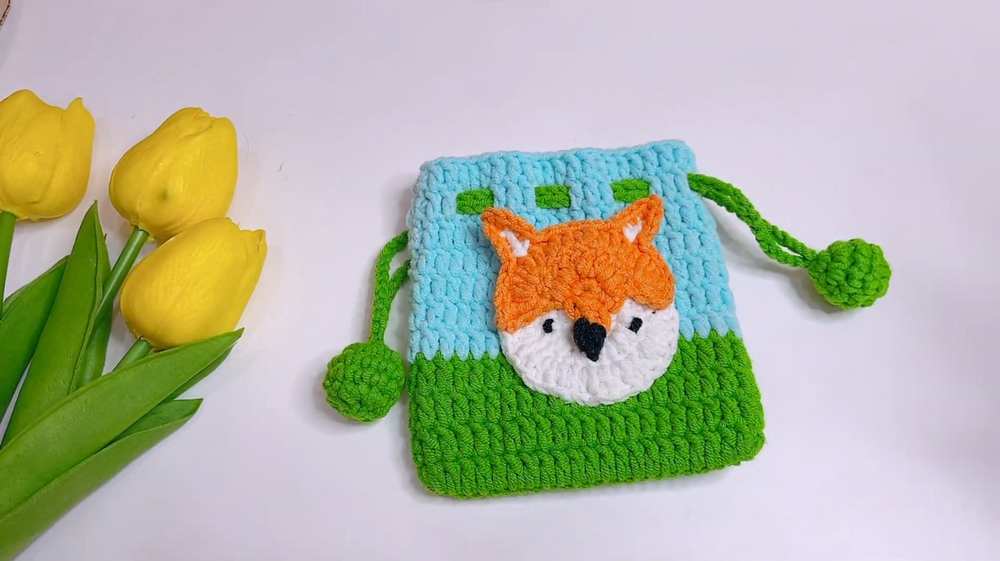
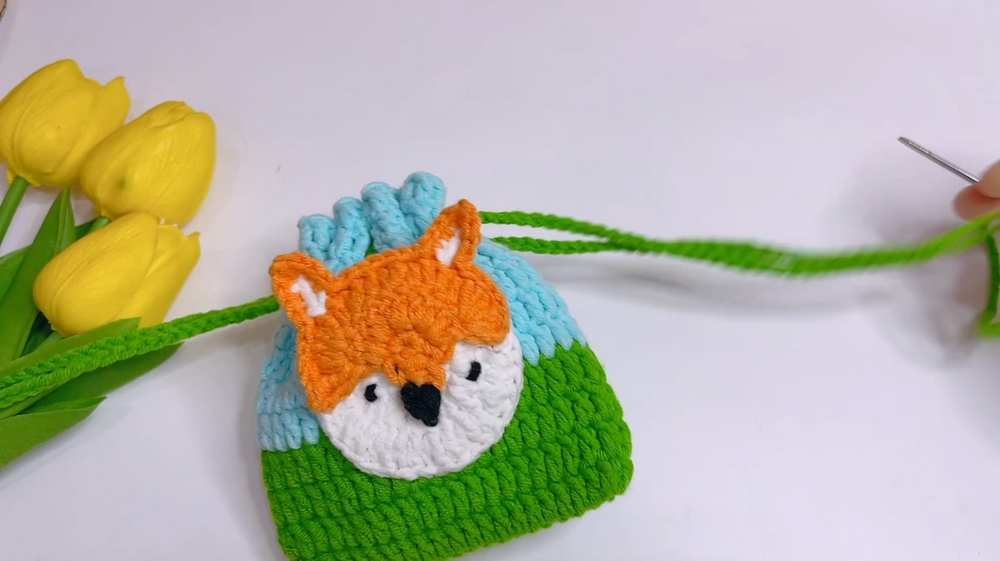
you can use this bag as a dice bag or go for storing coins, ting toys and small good. It looks quite good in the green and blue combo but you can use the small stash yarn for the lower part, and the bigger chunk for the upper part. The best part? I also added the video tutorial at the end for beginners!
Crochet Fox Pouch Bag Pattern
The designer behind this avocado keychain is Ngọc Thanh Handmade – she has quite a good grasp on kawaii amigurumi designing with added cuteness and surprises.
6 Free Crochet Wacky Animal Keychain Patterns
https://mycraftybasket.com/crochet-wacky-animal-keychain/
Materials
- Yarn: Milk Cotton 125g (Green, Light Blue, Orange, White, and a small amount of Black).
- Hook: 2.5 mm.
- Accessories: Fiberfill (stuffing for the drawstring stoppers), Yarn needle, Scissors.
Abbreviations
- MR: Magic Ring
- ch: Chain
- sc: Single crochet
- sl st: Slip stitch
- dc: Double crochet
- tr: Treble crochet
- hdc: Half double crochet
- inc: Increase (2 stitches in 1 stitch)
- w: 3 stitches in 1 stitch
- dec: Decrease (2 stitches together)
Pattern Instructions
1. Main Bag
- R1: ch 23.
- R2: 20 dc, 1 w, 19 dc, 1 inc, sl st. [44]
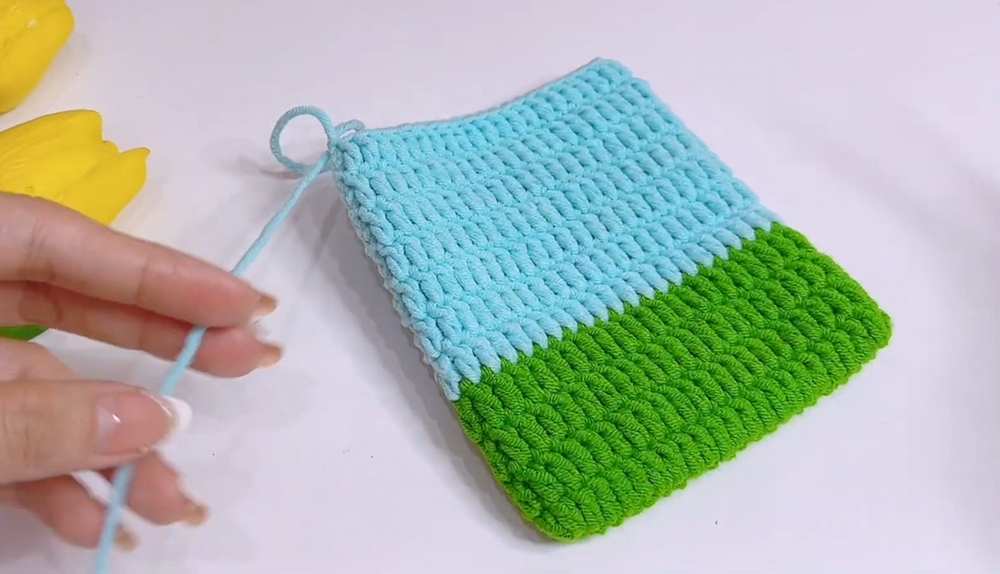
- R3–R6 (Green): 44 dc each row.
- R7–R12 (Blue): 44 dc each row. FO.
2. Face (White Base)
- R1: MR, 12 dc, sl st.
- R2: 12 inc (dc), sl st. [24]
- R3: (1 dc, 1 inc) * 12, sl st. [36] FO.
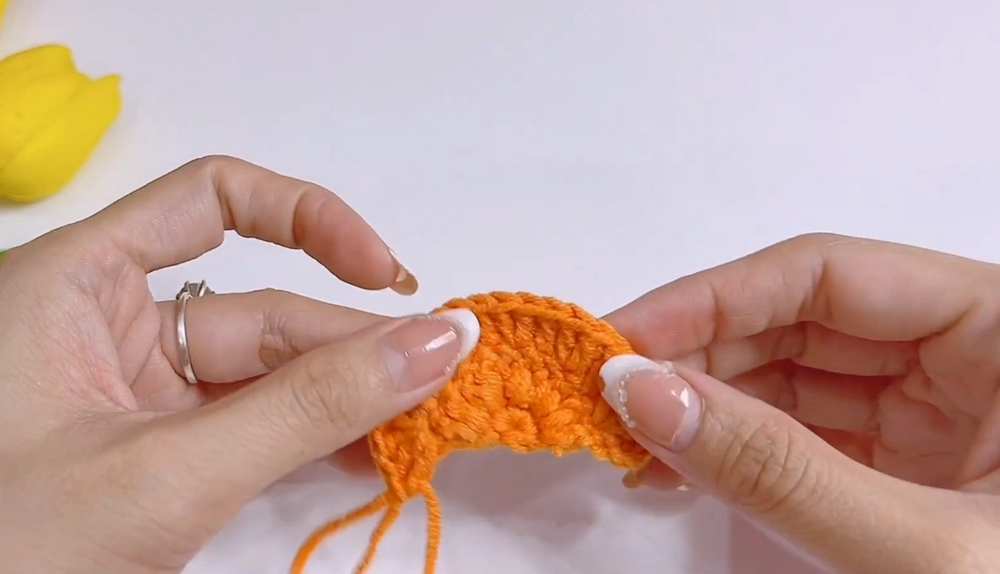
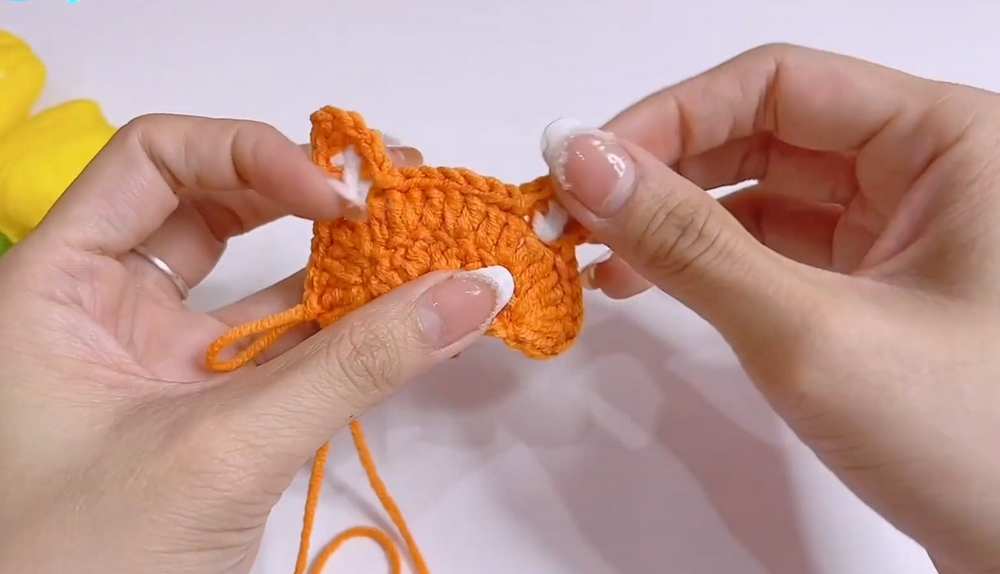
3. Face Overlay (Orange)
- R1: MR, 6 sc, turn (don’t join).
- R2: 5 inc (dc), turn.
- R3: 5 dc in 1st st, (1 dc, 1 inc) * 4, 5 dc in last st. FO.
4. Ears (White & Orange Border)
- Inner Ear (White): Start at st 7 of Orange Overlay. ch 2, 1 dc, 1 tr in same st. FO. Repeat on opposite side.
- Border (Orange): Join at side. 6 sl st, 3 sc, (sc, ch 2, sc) at ear tip, 3 sc, sl st across top, repeat for 2nd ear, 6 sl st. FO.
5. Nose (Orange & Black)
- Orange: ch 3, 2 hdc, sl st.
- Black: ch 2, 2 dc cluster (keep loops on hook, pull through all), sl st. FO.
6. Drawstring & Stoppers
- Cord (Green): ch 80. Make 2.
- Stopper (Green): R1: MR, 6 sc. R2: 6 inc [12]. R3–R4: 12 sc. R5: 6 dec. Stuff before closing.
Assembly in Detail
-
Face Construction:
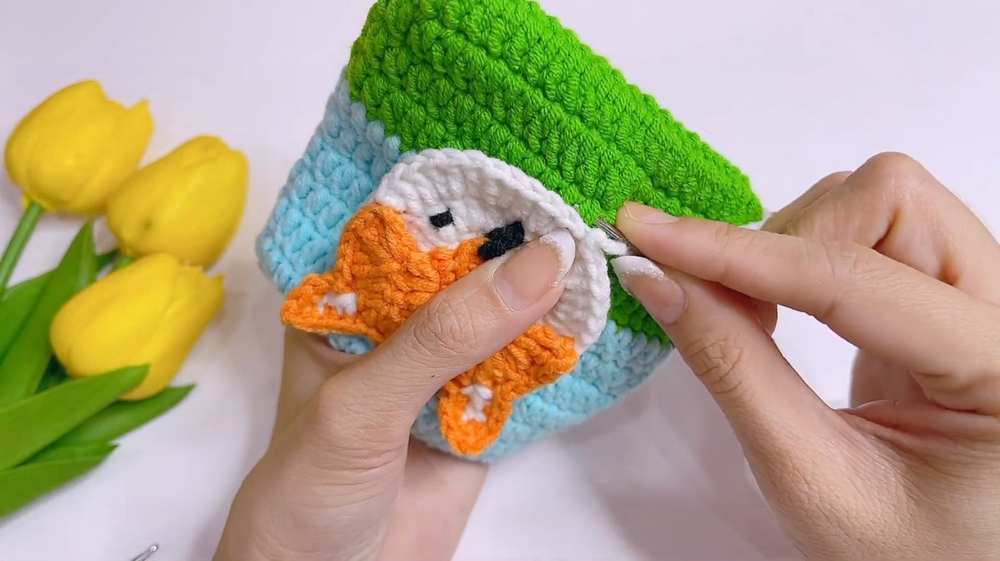
- Place the Orange Overlay centered on the White Base. Use a yarn needle and orange yarn to sew along the edges of the orange section, securing it firmly to the white circle.
- Position the Nose at the bottom center where the orange and white meet. Sew the orange base of the nose first, then the black tip.
- Using black yarn, embroider two small horizontal lines or “V” shapes for the Eyes on the orange section, roughly level with the top of the nose.
-
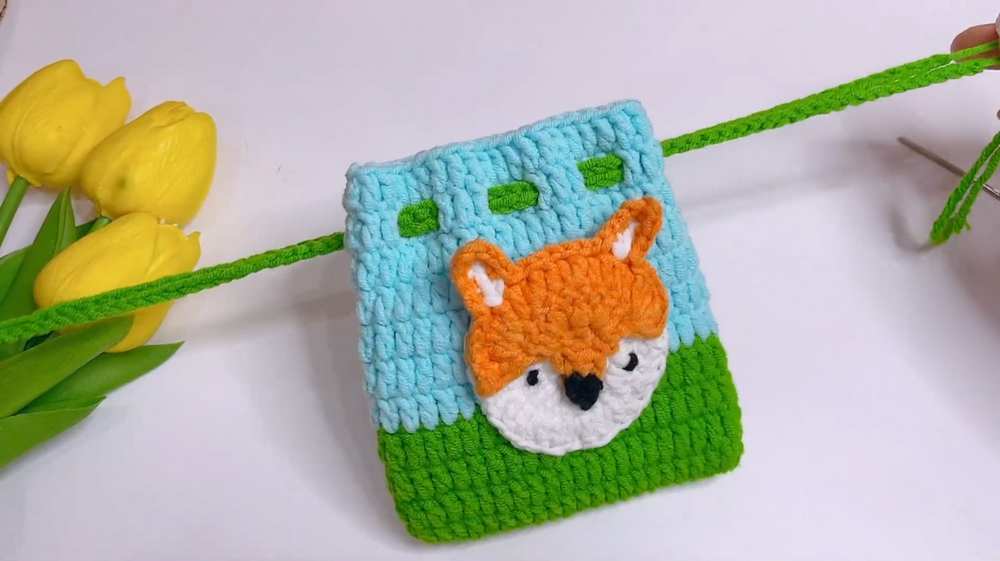
Attaching Face to Bag:
- Center the completed fox face on the front of the bag, approximately 2 rows down from the top edge (around R10).
- Sew through the stitches of the White Base and the bag fabric. Ensure you only sew through the front layer of the bag so it remains open.
-
Installing Drawstrings:
- Thread the first 80-ch cord into a needle. Weave it in and out of the dc stitches in the top row (R12), starting from the left side, going all the way around, and exiting back on the left side.
- Repeat with the second 80-ch cord, but start and end on the right side of the bag.
- Pull both cords to ensure the bag cinches evenly.
-
Attaching Stoppers:
- Take one end of a drawstring and pull the yarn tail through the center of a Stopper ball.
- Knot the drawstring tail inside the ball to prevent it from slipping out.
- Add fiberfill stuffing to the ball.
- Use a needle to weave through the final 6 stitches of the ball, pull tight to close, and hide the yarn tail inside. Repeat for the other side.
-
Final Touches:
- Weave in all remaining yarn tails on the inside of the bag to ensure a clean finish and prevent unraveling.
Video Pattern
Pattern (UK Terminology)
1. Main Bag
- R1: ch 23.
- R2: 20 tr, 1 w, 19 tr, 1 inc, sl st. [44]
- R3–R6 (Green): 44 tr each row.
- R7–R12 (Blue): 44 tr each row. FO.
2. Face (White Base)
- R1: MR, 12 tr, sl st.
- R2: 12 inc (tr), sl st. [24]
- R3: (1 tr, 1 inc) * 12, sl st. [36] FO.
3. Face Overlay (Orange)
- R1: MR, 6 dc, turn (don’t join).
- R2: 5 inc (tr), turn.
- R3: 5 tr in 1st st, (1 tr, 1 inc) * 4, 5 tr in last st. FO.
4. Ears (White & Orange Border)
- Inner Ear (White): Start at st 7 of Orange Overlay. ch 2, 1 tr, 1 dtr in same st. FO. Repeat on opposite side.
- Border (Orange): Join at side. 6 sl st, 3 dc, (dc, ch 2, dc) at ear tip, 3 dc, sl st across top, repeat for 2nd ear, 6 sl st. FO.
5. Nose (Orange & Black)
- Orange: ch 3, 2 htr, sl st.
- Black: ch 2, 2 tr cluster (keep loops on hook, pull through all), sl st. FO.
6. Drawstring & Stoppers
- Cord (Green): ch 80. Make 2.
- Stopper (Green): R1: MR, 6 dc. R2: 6 inc [12]. R3–R4: 12 dc. R5: 6 dec. Stuff before closing.
Assembly in Detail
-
Face Construction:
- Place the Orange Overlay centered on the White Base. Use a yarn needle and orange yarn to sew along the edges of the orange section, securing it firmly to the white circle.
- Position the Nose at the bottom center where the orange and white meet. Sew the orange base of the nose first, then the black tip.
- Using black yarn, embroider two small horizontal lines or “V” shapes for the Eyes on the orange section, roughly level with the top of the nose.
-
Attaching Face to Bag:
- Center the completed fox face on the front of the bag, approximately 2 rows down from the top edge (around R10).
- Sew through the stitches of the White Base and the bag fabric. Ensure you only sew through the front layer of the bag so it remains open.
-
Installing Drawstrings:
- Thread the first 80-ch cord into a needle. Weave it in and out of the tr stitches in the top row (R12), starting from the left side, going all the way around, and exiting back on the left side.
- Repeat with the second 80-ch cord, but start and end on the right side of the bag.
- Pull both cords to ensure the bag cinches evenly.
-
Attaching Stoppers:
- Take one end of a drawstring and pull the yarn tail through the center of a Stopper ball.
- Knot the drawstring tail inside the ball to prevent it from slipping out.
- Add fiberfill stuffing to the ball.
- Use a needle to weave through the final 6 stitches of the ball, pull tight to close, and hide the yarn tail inside. Repeat for the other side.
-
Final Touches:
- Weave in all remaining yarn tails on the inside of the bag to ensure a clean finish and prevent unraveling.