
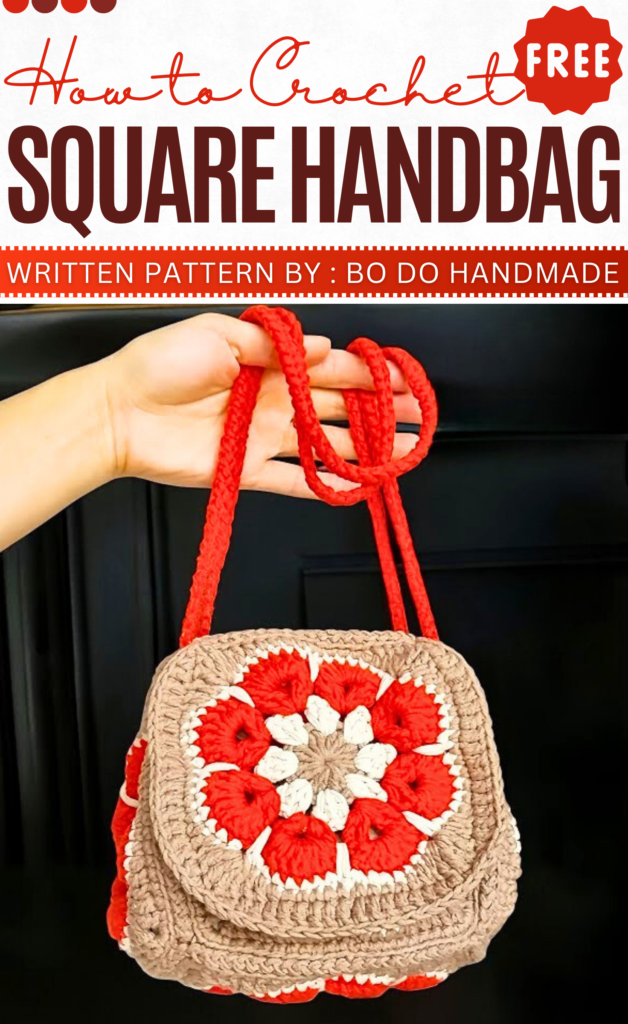
Crochet Granny Square Handbag Pattern Free
Here we have a bag made by joining several crochet squares together. This clever bag has a sliding strap, so you can carry it by hand, wear it on your shoulder, or pull it long for a crossbody look. It is the perfect size for your phone and small items, with a secure flap and button to keep your things safe.
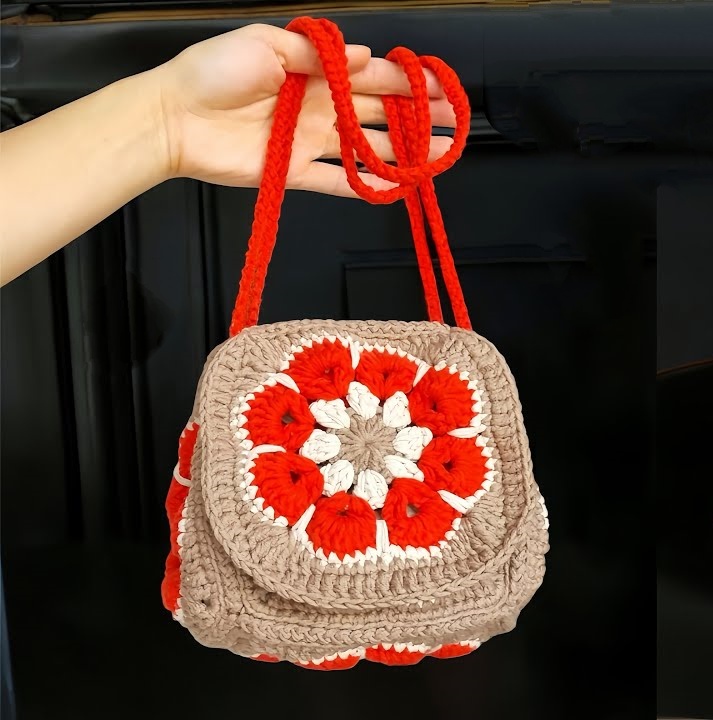
Easy Crochet Square Handbag
About The Creator:
Bi do Handmade has been an expert in crocheting and designing crochet amigurumi, bag charms, and pouches. Also visit her YouTube channel for more exciting projects.
Crochet Square Handbag Pattern
Materials:
-
Yarn: Milk Cotton yarn (125g), held double throughout.
-
Hook: 4.0 mm
-
Accessories: Magnetic snap button, yarn needle, scissors.
Abbreviations (US Terms):
-
ch: Chain
-
sc: Single crochet
-
hdc: Half double crochet
-
dc: Double crochet
-
tr: Treble crochet
-
sl st: Slip stitch
-
st(s): Stitch(es)
-
sp: Space
Pattern Notes:
-
The bag consists of 6 granny squares in total: 1 for the base, 1 each for front/back, 1 each for sides (total 4 for the body), and 1 for the flap (partial/modified).
-
The squares are joined using a slip stitch join or sewing.
-
The strap is adjustable and can be worn crossbody or as a shoulder bag.
Part 1: Granny Square Motif (Make 5)
(Make 5 full squares for the Base, Front, Back, and Sides)
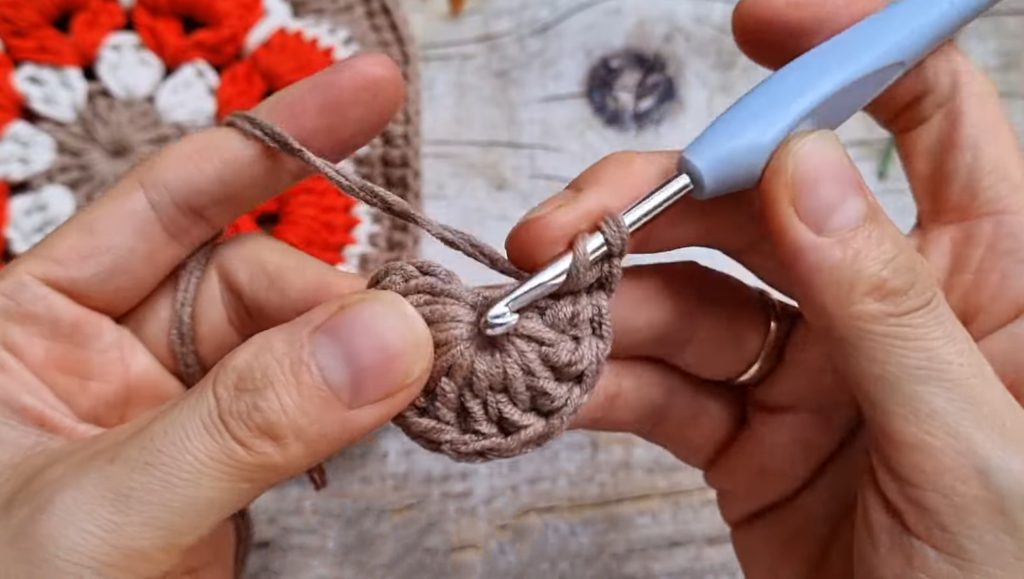
Rnd 1:
-
Start with a Magic Ring.
-
Ch 3 (counts as first dc).
-
Work 15 dc into the ring. (Total 16 sts including ch-3).
-
Join with sl st to top of ch-3. Fasten off.
Rnd 2:
-
Join new color in any space between two dc posts (not into the stitch loop, but between the posts).
-
Ch 3 (counts as dc), 2 dc in same space. (First cluster made).
-
Ch 1.
-
Skip next 2 dc posts, work 3 dc in next space, ch 1.
-
Repeat from * to * around until you have 8 clusters.
-
Join with sl st to top of starting ch-3. Fasten off.
Rnd 3:
-
Join new color in any ch-1 space.
-
Ch 3 (counts as dc), 1 dc in same space, ch 3, 2 dc in same space. (First pattern repeat).
-
Move to next ch-1 space: 2 dc, ch 3, 2 dc.
-
Repeat from * to * in each ch-1 space around.
-
Join with sl st to top of starting ch-3. Fasten off.
Rnd 4:
-
Join new color (e.g., Red) in any ch-3 space.
-
Ch 3 (counts as dc), 7 dc in same space. (Total 8 dc).
-
Move to next ch-3 space: Work 8 dc.
-
Repeat from * to * around. (8 groups of 8 dc).
-
Join with sl st to top of starting ch-3. Fasten off.
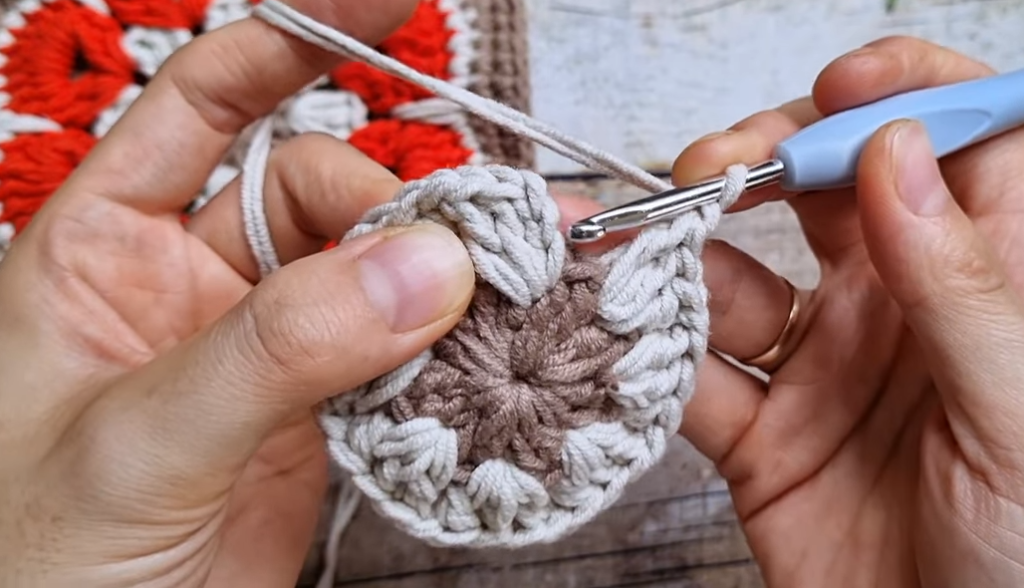
Rnd 5:
-
Join new color (e.g., Cream/White) in the first st of any 8-dc group.
-
Sc in first 7 sts.
-
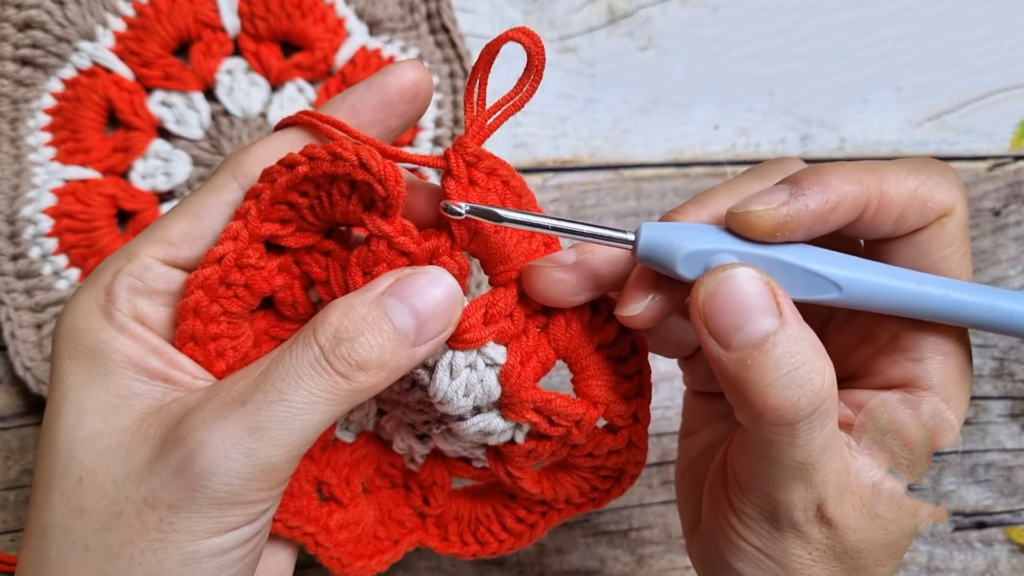
Work a “Long SC” (Spike Stitch): Insert hook into the space between groups from Rnd 3 (two rows below), pull up a long loop, yo and pull through 2 loops.
-
Sc in next 7 sts.
-
Repeat around, placing a Long SC between each petal group.
-
Join with sl st to first sc. Fasten off.
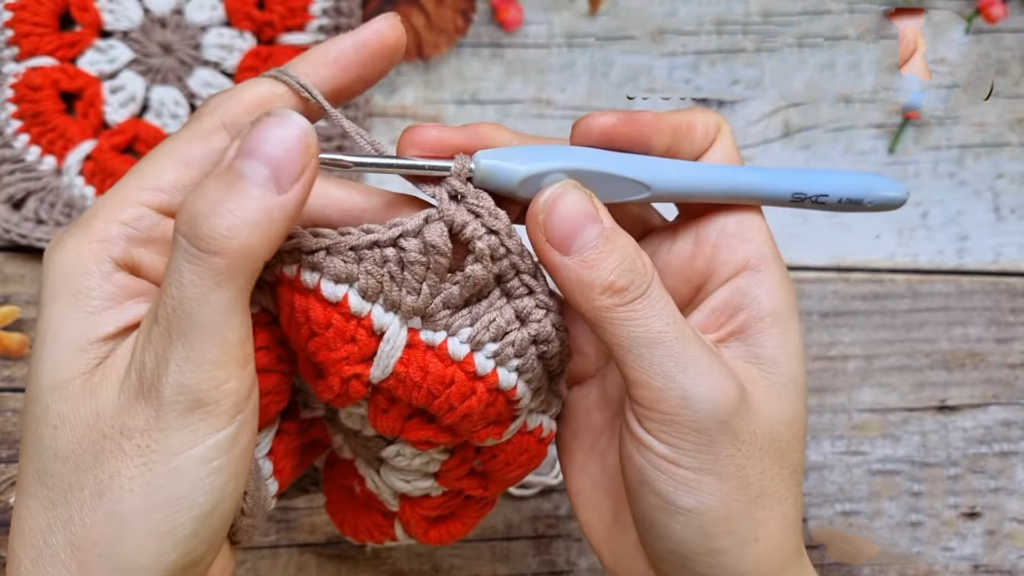
Rnd 6 (Squaring the Circle):
-
Join new color in the “Long SC” stitch from previous round.
-
Corner 1: Ch 4 (counts as tr), 1 tr, ch 1, 2 tr in same st.
-
Side 1:
-
Dc in next 2 sts.
-
Hdc in next st.
-
Sc in next 4 sts.
-
Sc in next “Long SC”.
-
Sc in next 4 sts.
-
Hdc in next st.
-
Dc in next 2 sts.
-
-
Corner 2: In next “Long SC” work: 2 tr, ch 1, 2 tr.
-
Repeat Side and Corner pattern around.
-
Join with sl st to top of starting ch-4.
Rnd 7:
-
Ch 1, sc in each st around.
-
In corners (ch-1 sp): Work 3 sc.
-
Join with sl st. Fasten off. weaving in ends.
Part 2: Flap Square (Make 1)
Work Rnds 1–5 exactly as the Main Motif. Work Rnd 6 normally. Stop after Rnd 6. Do not work Rnd 7.
Part 3: Assembly
Layout:
-
Place one square in the center (Base).
-
Place four squares around the base (Front, Back, Left, Right).
-
Place the Flap square attached to the top of the Back square.
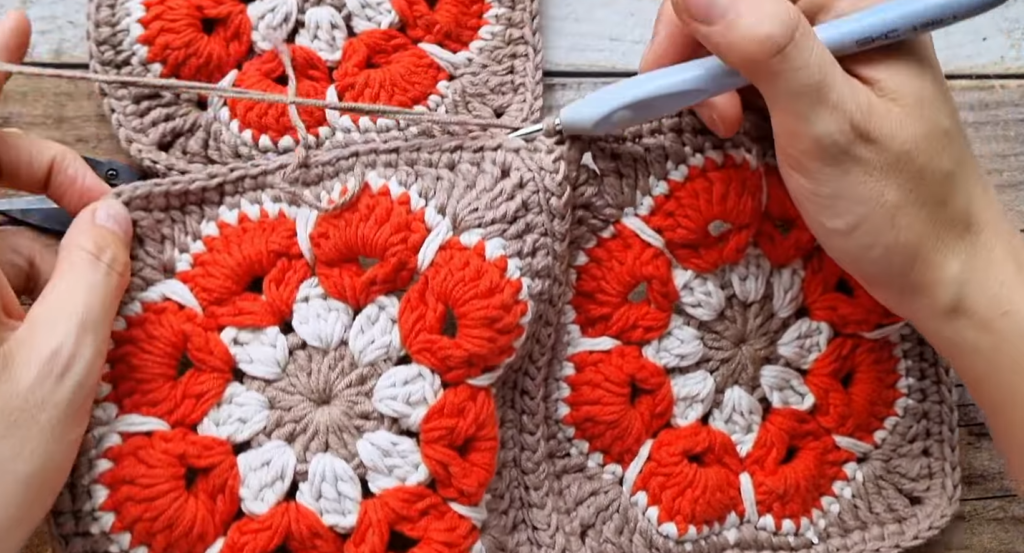
Joining (Slip Stitch Seam):
-
Join Base to Sides: Place squares with right sides facing out (or in, depending on preference for visible seam). Join yarn at corner. Sl st through both loops of both squares along the edge. Repeat for all 4 sides connecting to the base.
-
Join Sides to Front/Back: Fold up the sides to form a box. Sl st along the vertical edges to close the corners.
-
Attach Flap: Sl st the bottom edge of the Flap square to the top edge of the Back square.
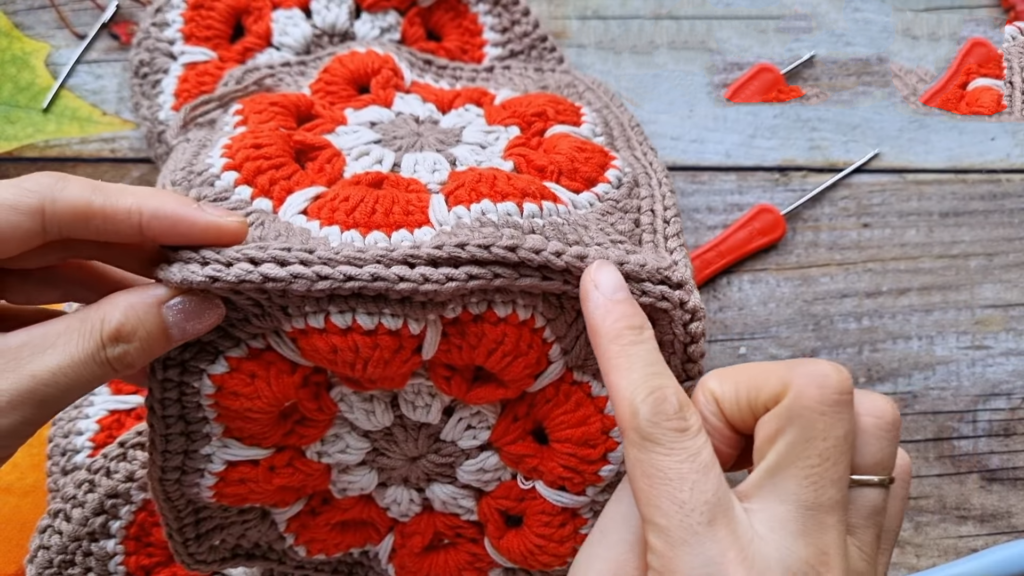
Edging:
-
Attach yarn to the top opening of the bag.
-
Work a round of sc evenly around the opening and the edges of the flap to finish.
Part 4: Strap
Cord Construction:
-
Cut a very long strand of yarn (approx. 3-4 meters, folded). Or make a crochet cord:
-
Ch 2. Sc in 2nd ch from hook.
-
Turn work slightly to find the loop on the side/back. Insert hook, yo, pull through, yo pull through 2 loops.
-
Turn work, insert hook under 2 side loops, yo pull up loop, yo pull through 2 loops. (Romanian Cord technique).
-
Continue until strap is approx 120cm long.

Threading:
-
Thread the strap through the gaps in the corners of the top squares (Front, Right, Back, Left).
-
Tie the ends together securely using a sliding knot or fixed knot to allow the strap to double up (for a shoulder bag) or pull single (for crossbody).
Finishing
-
-
Sew the magnetic snap button to the inside of the flap and the corresponding spot on the front body panel.
-
Weave in any remaining ends.
-