
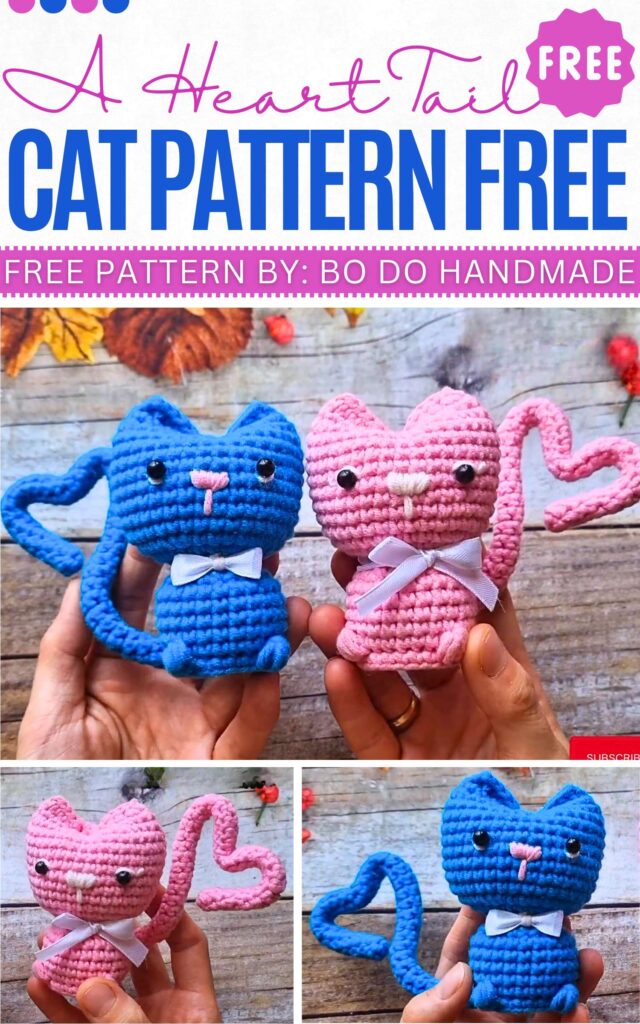
Crochet Heart Tail Cat Pattern For Valentines Day
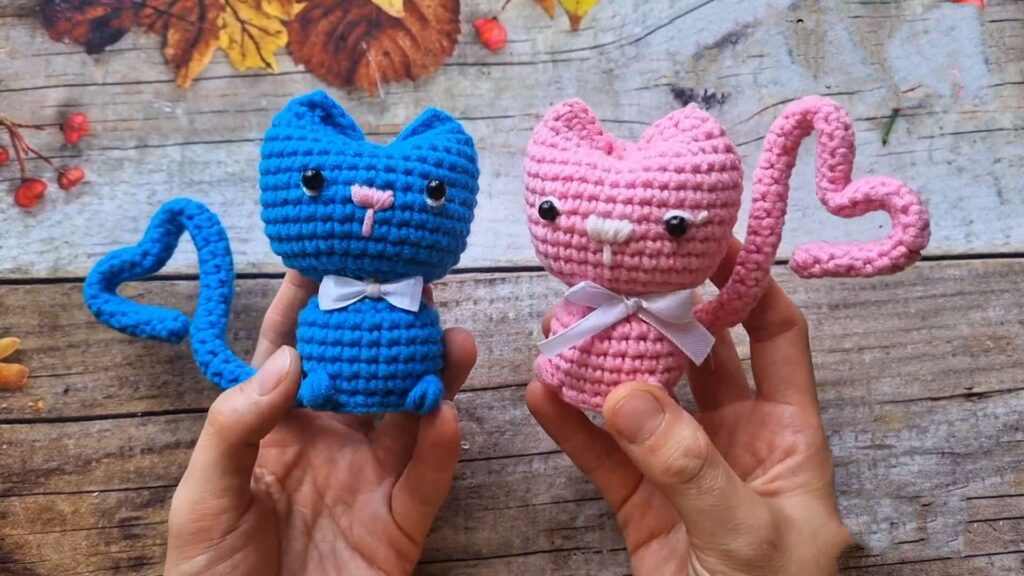
This Crochet Heart Tail Cat pattern is a cute and simple crochet project. It combines a heart shape with a small cat, which makes it a perfect gift for Valentines day. The heart body and long bendable tail give the cat a lovely and playful style. It is easy to like and suitable for anyone who enjoys making small crochet items.
Basic crochet techniques are used throughout, and the pieces are joined carefully to create the final shape. The pattern explains the steps clearly, making the overall process easy to follow without complicated construction.
Crochet Heart Tail Cat Pattern
Bi do Handmade is an had been an expert in crocheting and designing crochet amigurumi, bag charms, and pouches. Also visit her youtube channel for more exiting projects.
More Crochet Cats:
I will have to write the free crochet teddy bear pattern below in US terms:
Step-by-step Pattern
Materials:
-
Milk Cotton yarn (125g)
-
2.5 mm crochet hook
-
Fiberfill stuffing
-
Yarn needle
-
Wire/Pipe cleaner (for the tail)
-
Ribbon/Accessories for decoration
Abbreviations:
-
MR: Magic Ring
-
Ch: Chain
-
St(s): Stitch(es)
-
Sc: Single Crochet
-
Inc: Increase (2 sc in the same st)
-
Dec: Decrease (sc 2 together, invisible decrease recommended)
-
Sl st: Slip Stitch
-
Hdc: Half Double Crochet
-
BLO: Back Loop Only (or indicated loop)
Instructions
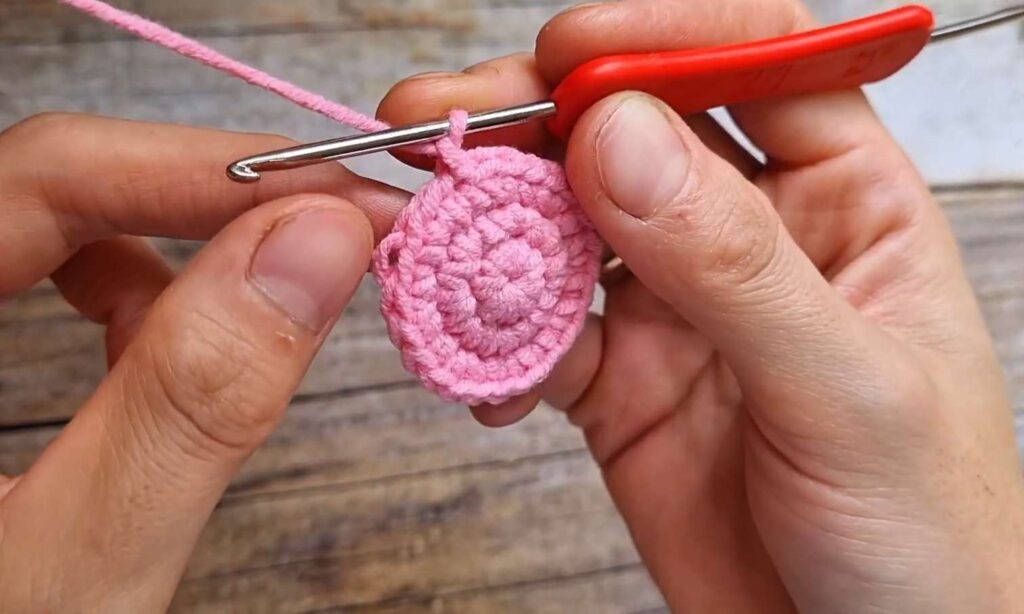
Body (Bottom Up)
-
R1: MR, 8 sc. Sl st to 1st st to join. (8)
-
R2: Ch 1. Inc in each st around. Sl st to join. (16)
-
R3: Ch 1. 1 sc, inc rep around. Sl st to join. (24)
-
R4 (Legs): Ch 1. 8 sc in BLO.
-
Create Leg 1: In the next st (BLO), yo, insert hook, pull up loop 5 times (pull loop up to double height of sc). Yo and pull through all loops on hook. Ch 1 to secure.
-
6 sc in BLO.
-
Create Leg 2: In the next st (BLO), yo, insert hook, pull up loop 5 times. Yo and pull through all loops. Ch 1 to secure.
-
8 sc in BLO. Sl st to join.
-
-
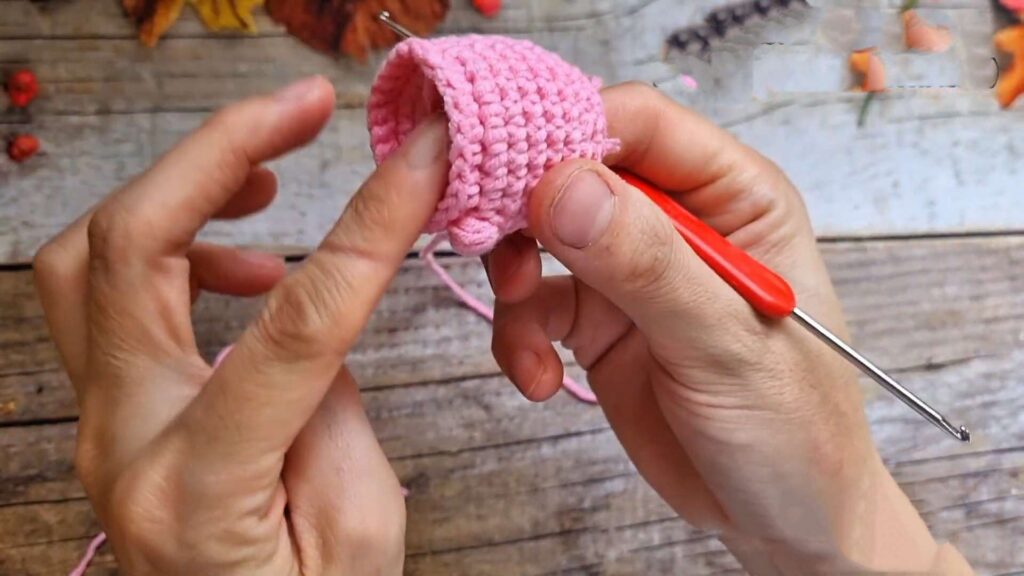
R5: Ch 1. Sc in each st around. (When working into the leg puff stitch, insert hook into the securing chain/top of the stitch). (24)
-
R6–R8: Ch 1. Sc in each st around. Sl st to join. (24)
-
R9: Ch 1. 1 sc, dec rep around. Sl st to join. (16)
-
R10: Ch 1. Sc in each st around. Sl st to join. (16)
-
Fasten off leaving a long tail for sewing.
Base Extension
-
Turn the body upside down to access the unworked loops of R3.
-
Attach yarn to the front loop of a stitch.
-
Work 1 sc in each unworked loop around R3. (24)
-
Sl st to join. Fasten off and weave in ends. (This creates a stable base).
Head
-
R1: MR, 8 sc. (8)
-
R2: Inc in each st around. (16)
-
R3: 1 sc, inc rep around. (24)
-
R4: 3 sc, inc rep around. (30)
-
R5: 2 sc, inc, 2 sc rep around. (36) (Staggered increase: 4 sc, inc total per section)
-
R6–R12: Sc in each st around. (36)
-
R13: 2 sc, dec, 2 sc rep around. (30)
-
R14: 3 sc, dec rep around. (24)
-
Stuff head firmly.
-
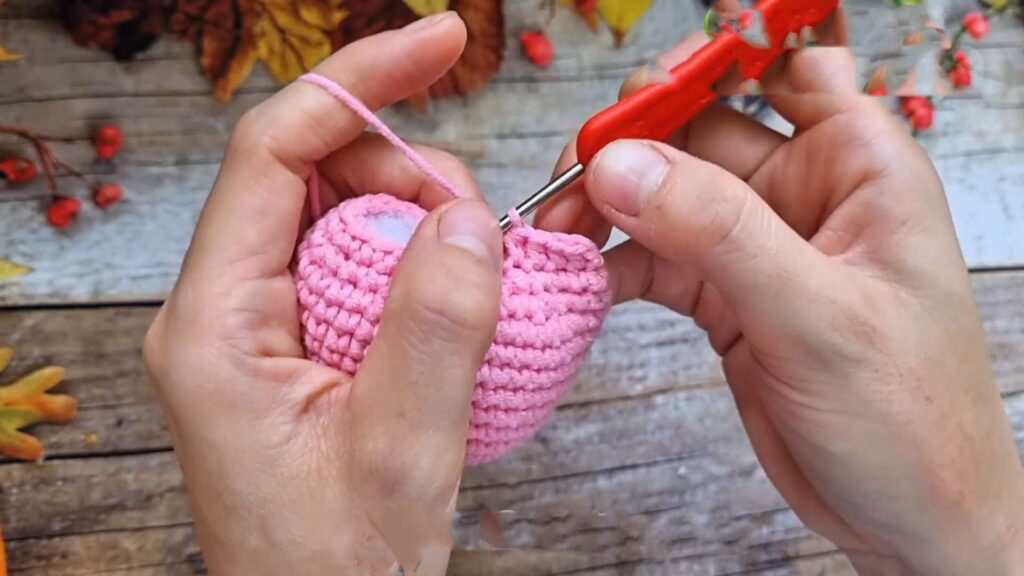
R15 (Ears Closure):
-
Flatten the top opening. You will crochet through both layers to close and form ears.
-
Ear 1: 4 hdc (through both layers). In the 5th st, work 1 sc. In the 6th st, work 1 sl st.
-
Top of Head: Sl st in next st. Sc in next st.
-
Ear 2: 4 hdc in remaining sts (through both layers).
-
-
Fasten off and weave in ends.
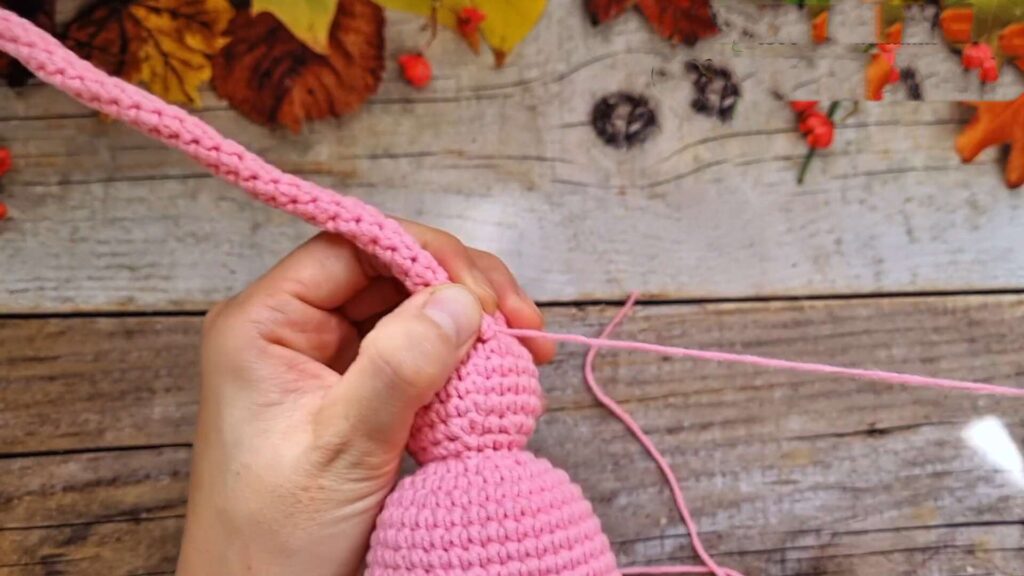
Tail
-
R1: MR, 5 sc. (5)
-
R2–End: Sc in each st around spirally until desired length is reached.
-
Turn inside out so the “wrong side” (nubby side) is facing out, if preferred.
-
Insert doubled-over wire into the tail.
-
Sew tail to the back of the body.
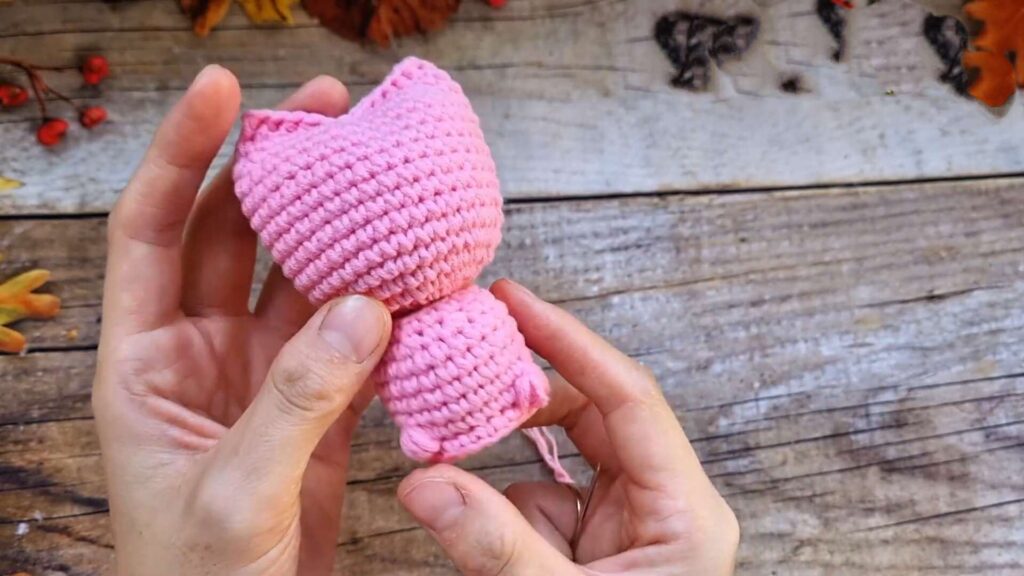
Assembly & Finishing
-
Connect Head & Body: Sew the neck opening of the body to the bottom of the head (approx. R2/R3 area).
-
Sculpting: Insert a needle with yarn from the top center of the head (between ears) down through the body and out the bottom center, then back up. Pull tight to indent the top of the head (accentuating ears) and flatten the bottom. Knot securely and hide ends inside.
-
Face: Embroider eyes and nose.
-
Decor: Add a ribbon bow or other accessories.
Video Tutorial
UK Pattern
Body (Bottom Up)
-
R1: MR, 8 dc. Join with ss. (8)
-
R2: Ch 1. Inc in each st around. Join with ss. (16)
-
R3: Ch 1. (1 dc, inc) rep around. Join with ss. (24)
-
R4 (Legs): Ch 1. Work in BLO:
-
8 dc.
-
Leg 1: In next st (BLO), Yarn over, insert hook, pull up loop x 5 times. Yarn over, pull through all loops. Ch 1 to lock.
-
6 dc.
-
Leg 2: In next st (BLO), Yarn over, insert hook, pull up loop x 5 times. Yarn over, pull through all loops. Ch 1 to lock.
-
8 dc. Join with ss.
-
-
R5: Ch 1. dc in each st around. (Work into top of Leg/chain). (24)
-
R6–R8: Ch 1. dc in each st around. Join with ss. (24)
-
R9: Ch 1. (1 dc, dec) rep around. Join with ss. (16)
-
R10: Ch 1. dc in each st around. Join with ss. (16)
-
Fasten off, leave long tail for sewing.
Base Extension
-
Turn body over to access unworked front loops of R3.
-
Join yarn. Work 1 dc in each loop around. (24)
-
Fasten off, weave in ends.
Head
-
R1: MR, 8 dc. (8)
-
R2: Inc in each st around. (16)
-
R3: (1 dc, inc) rep around. (24)
-
R4: (3 dc, inc) rep around. (30)
-
R5: (2 dc, inc, 2 dc) rep around. (36)
-
R6–R12: dc in each st around. (36)
-
R13: (2 dc, dec, 2 dc) rep around. (30)
-
R14: (3 dc, dec) rep around. (24)
-
Stuff head firmly.
-
R15 (Ears Closure):
-
Flatten top opening. Crochet through both layers to close.
-
Ear 1: 4 htr, 1 dc in next st, 1 ss in next st.
-
Top: 1 ss in next st, 1 dc in next st.
-
Ear 2: 4 htr in remaining sts.
-
-
Fasten off, weave in ends.
Tail
-
R1: MR, 5 dc. (5)
-
R2–End: dc in each st around spirally until desired length.
-
Insert wire. Sew to back of body.
Assembly
-
Join: Sew body to head.
-
Sculpt: Pass yarn from top of head (between ears) through body to bottom center and back up. Pull tight to flatten bottom and indent top. Knot securely.
-
Details: Embroider face and add accessories.