
Free Crochet Icecream Pouch Bag Pattern
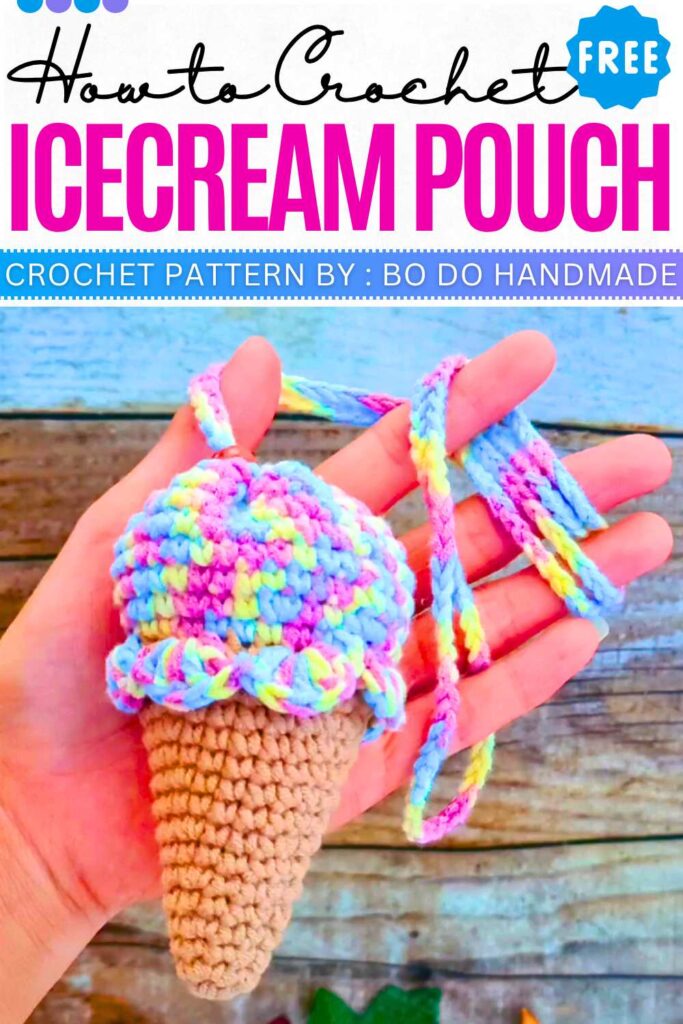
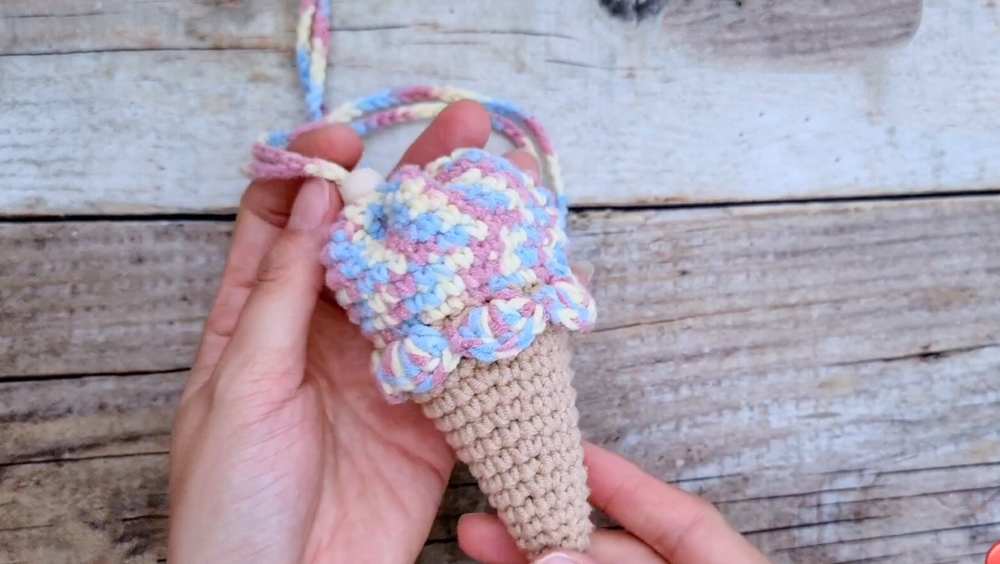
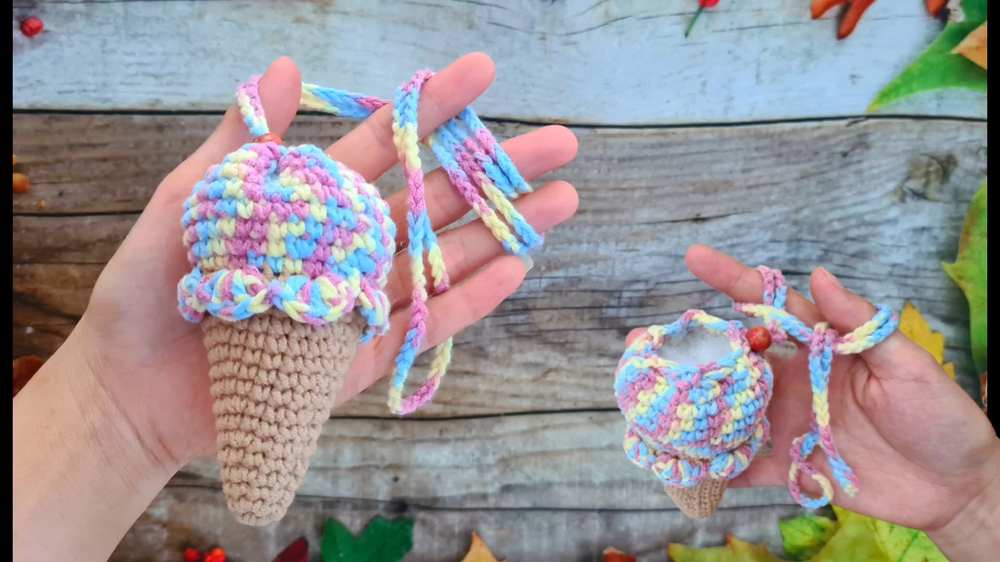
For summers we are presenting you the crochet ice cream pouch bag to gift your loved ones. The pattern easily allows you to make a cute crochet bag that looks like an ice cream cone. It is a small pouch with a drawstring top and a long strap so a child can wear it. The bottom part looks like a tan waffle cone, and the top part looks like colorful melting ice cream made with puff stitch. It is a fun and useful gift for kids to carry small things.
Crochet Ice Cream Pouch Bag
Bi Do Handmade has been an expert in crocheting and designing crochet hats, bag charms, and pouches. Also, visit her YouTube channel for more exciting projects.
Free Crochet Ice-Cream Bag Pattern For Summerhttps://mycraftybasket.com/crochet-ice-cream-bag/
Ice Cream Garlic Bag Crochet Pattern & Assembly
Materials
- Yarn: Milk Cotton (125g), ~1.75mm – 2.0mm thickness
- Hook: 3.5 mm
- Wooden bead (for drawstring toggle)
- Scissors
- Yarn needle (or smaller hook for weaving)
Abbreviations
- MR: Magic Ring
- Ch: Chain
- Sl st: Slip stitch
- Sc: Single crochet
- Inc: Increase (2 sc in 1 st)
- Dc: Double crochet
- FLO: Front loop only
- BLO: Back loop only
- St(s): Stitch(es)
- Rnd: Round
Pattern Summary
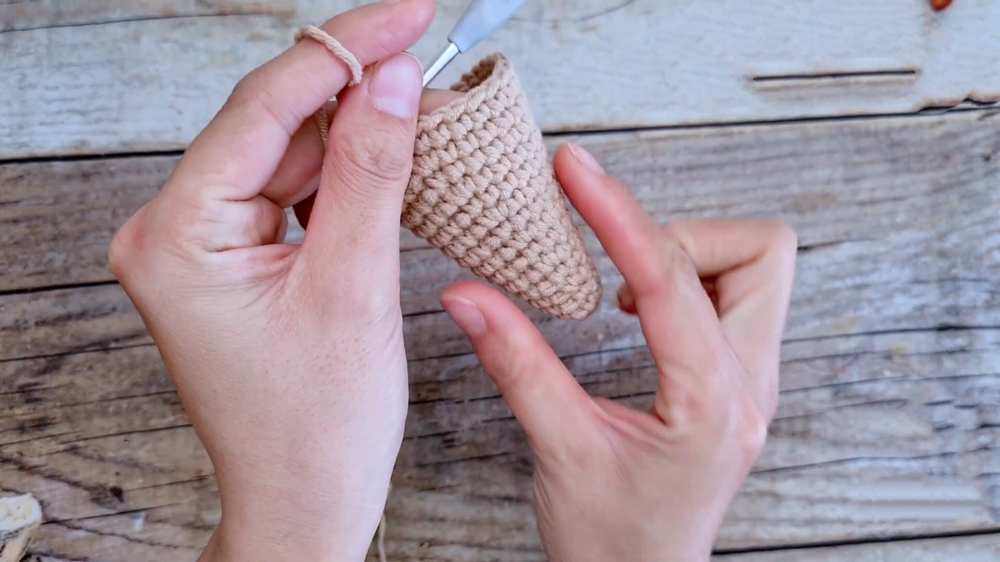
Cone (Bottom Section)
- Rnd 1: MR, 6 sc (6)
- Rnd 2: (1 sc, inc) × 3 (9)
- Rnd 3: 9 sc (9)
- Rnd 4: (2 sc, inc) × 3 (12)
- Rnd 5: 12 sc (12)
-
Rnd 6: (3 sc, inc) × 3 (15)
Continue alternating increase rounds and even rounds until Rnd 15 or desired height. - Fasten off.
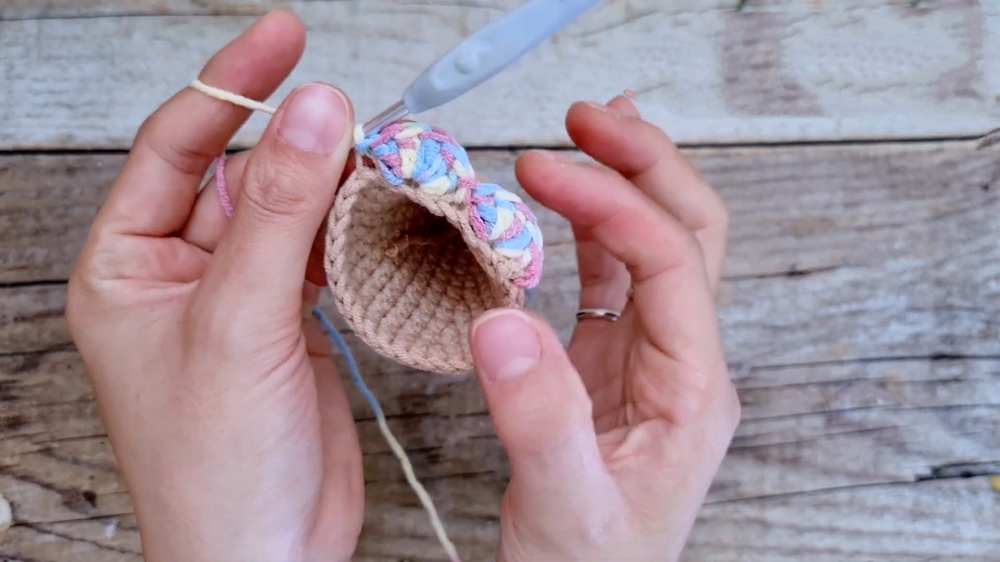
Ice Cream Scoop (Top Section)
- Rnd 1 (Ruffle/Drip): Join new color in FLO of last cone rnd. [Skip 1 st, 5 dc in next st, skip 1 st, sl st in next st] repeat around.
- Rnd 2 (Transition): Sc in each BLO of the last cone rnd.
- Rnd 3: (2 sc, inc) repeat around to expand width.
- Rnd 4+: Sc in each st until scoop is ~1/2 height of the cone.
Detailed Assembly
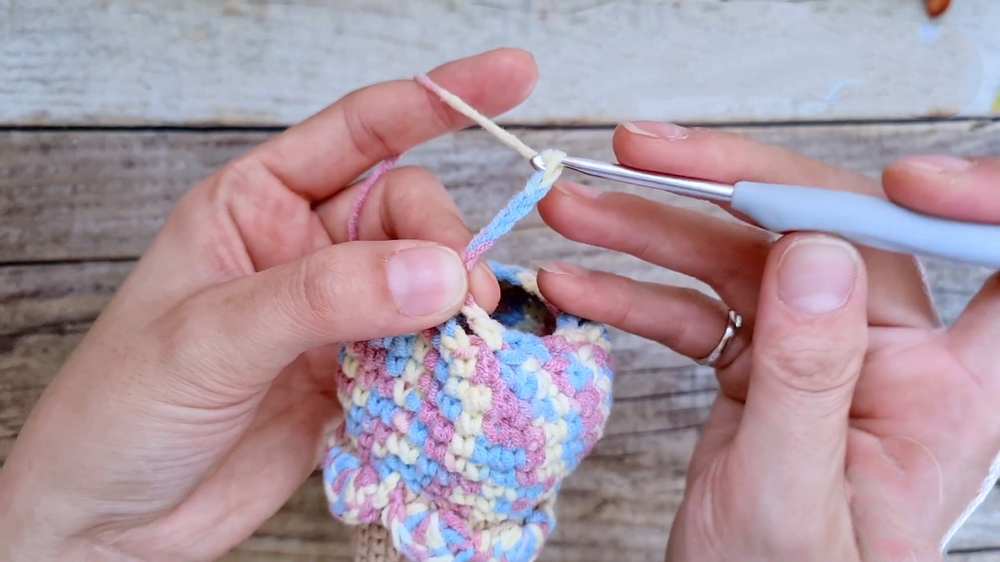
Creating the Drawstring Eyelets
- Work 1 sc in the first st of the final scoop round.
- Ch 1, skip 2 sts.
- Sc in the 3rd st.
- Repeat [Ch 1, skip 2, sc 1] around the entire mouth of the bag to create gaps for the cord.
- Sl st to the first sc to join.
Strap and Drawstring Integration
- Do not fasten off after the eyelet round. Ch 160 (or length needed for a crossbody strap).
- Cut a long tail and pull through the last ch.
- Thread the tail into a needle or use a small hook to weave the strap end through the eyelets.
- Starting from the first eyelet, weave the cord over and under through every gap around the circumference.
- Bring the end back to the starting point.
Finishing the Closure
- Locate the eyelet directly opposite the strap’s starting point.
- Pull a loop of the strap through this opposite eyelet to create two “handles” or pull-strands.
- Thread both ends of the yarn/strap through the center hole of a wooden bead.
- Tie a secure knot at the ends of the strap to prevent the bead from slipping off.
- Weave in any remaining yarn tails inside the bag using a needle or small hook to hide them completely.
- Slide the bead up to cinch the bag closed or down to open the mouth.
Video Pattern:
Pattern Instructions (UK Terms)
Cone (Bottom Section)
- Rnd 1: MR, 6 dc (6)
- Rnd 2: (1 dc, inc) × 3 (9)
- Rnd 3: 9 dc (9)
- Rnd 4: (2 dc, inc) × 3 (12)
- Rnd 5: 12 dc (12)
-
Rnd 6: (3 dc, inc) × 3 (15)
Continue alternating increase rounds and even rounds until Rnd 15 or desired height. - Fasten off.
Ice Cream Scoop (Top Section)
- Rnd 1 (Ruffle/Drip): Join new color in FLO of last cone rnd. [Skip 1 st, 5 tr in next st, skip 1 st, sl st in next st] repeat around.
- Rnd 2 (Transition): Dc in each BLO of the last cone rnd.
- Rnd 3: (2 dc, inc) repeat around to expand width.
- Rnd 4+: Dc in each st until scoop is ~1/2 height of the cone.
Detailed Assembly
Creating the Drawstring Eyelets
- Work 1 dc in the first st of the final scoop round.
- Ch 1, skip 2 sts.
- Dc in the 3rd st.
- Repeat [Ch 1, skip 2, dc 1] around the entire mouth of the bag to create gaps for the cord.
- Sl st to the first dc to join.
Strap and Drawstring Integration
- Do not fasten off after the eyelet round. Ch 160 (or length needed for a crossbody strap).
- Cut a long tail and pull through the last ch.
- Thread the tail into a needle or use a small hook to weave the strap end through the eyelets.
- Starting from the first eyelet, weave the cord over and under through every gap around the circumference.
- Bring the end back to the starting point.
Finishing the Closure
- Locate the eyelet directly opposite the strap’s starting point.
- Pull a loop of the strap through this opposite eyelet to create two “handles” or pull-strands.
- Thread both ends of the yarn/strap through the center hole of a wooden bead.
- Tie a secure knot at the ends of the strap to prevent the bead from slipping off.
- Weave in any remaining yarn tails inside the bag using a needle or small hook to hide them completely.
- Slide the bead up to cinch the bag closed or down to open the mouth.