
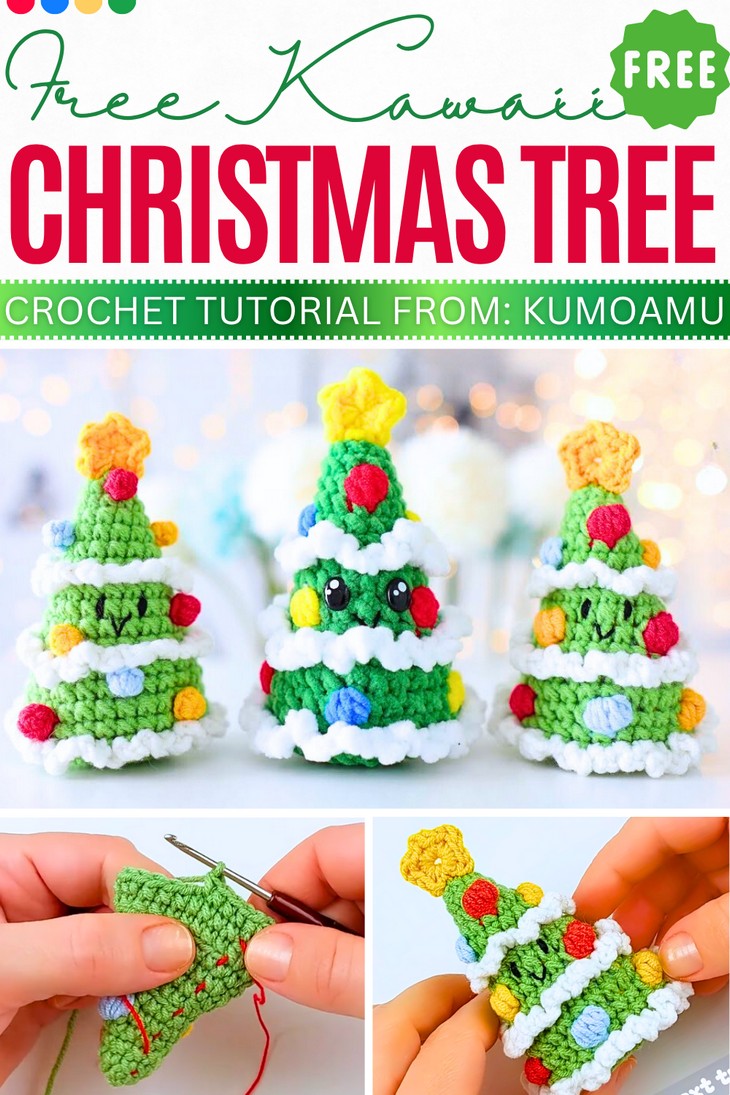
How to Crochet Kawaii Christmas Tree Plushie for Kids
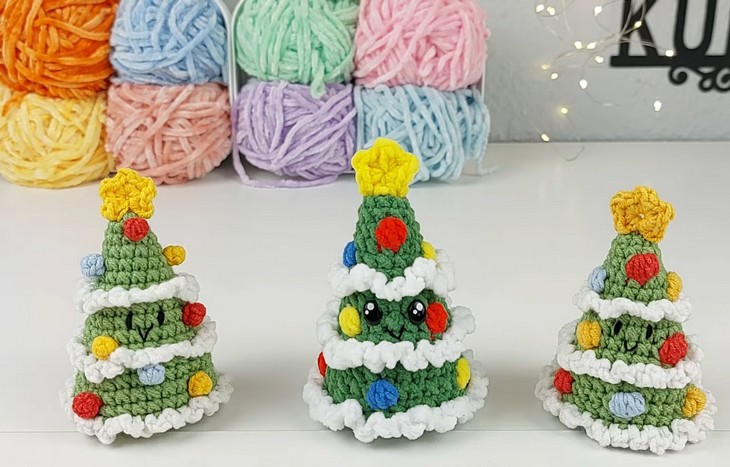
Colorful, kawaii, and kid-friendly, today’s Christmas tree idea is a lot more special! So, learn how to crochet this kawaii Christmas tree plushie following a stitch-by-stitch tutorial by KumoAmu that is a must-have Christmas gift. This amigurumi tree has an oh-so cute smiling mouth with kawaii safety, the snow ruffle edging, bobble stitch pom-poms in 4 different colors, and the popular star top.
All these features make this tree plushie distinguishable from the previous tutorial we shared. The whole pattern completes without any sewing and without a stem; they can be placed on desktops for welcoming guests.
In the tutorial, you will also learn a different embroidery-only mouth. So, if you are ready to crochet this medium-sized Christmas tree ornament, continue reading this post till the end. There you will find the complete tutorial. It will certainly be the best gift ever!
Crochet Kawaii Christmas Tree Gift
About the Designer: The designer of this new Christmas tree amigurumi for kids is @KumoAmu – Hannah’s channel is currently quite new, but her kickstart of festive plushie set tutorials is out of this world!
I love her Christmas plushie series, which includes Santa plushie, snowman, reindeer, and more in the future. The tutorials are described as “beginner-friendly” and “last-minute.” So, follow her library.
Note: In respect of the creator’s rights, there will be no provision of the written pattern. You will watch the tutorial at the end of this post.
Material List for Kawaii Christmas Tree
To follow through with the tutorial, gather the following suggested supplies for crocheting this kawaii Christmas tree:
Yarn (50 g / 135 m, in white, yellow, and orange.) Use plush or standard yarn like Milk Cotton, which is a blend of milk protein and cotton fibre!
- You can use 1.5mm yarn thickness.
Hook (2.5 mm)
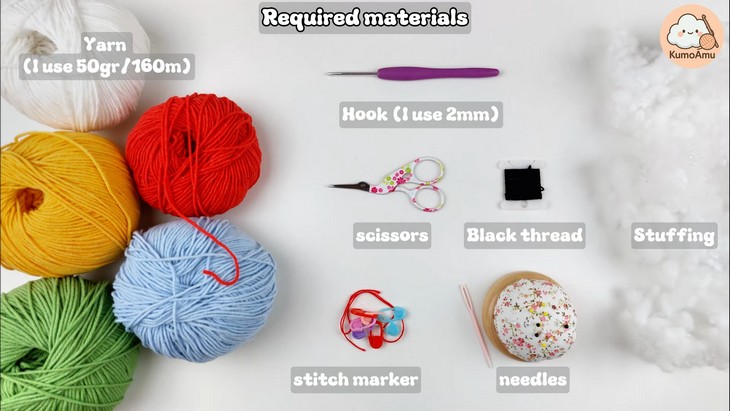
Other Supplies:
Scissors
Stuffing (fiberfill for inside the crochet toy)
Stitch marker
- Embroidery fibre
5 mm kawaii eyes (safety eyes for amigurumi)
Needles (for sewing parts together)
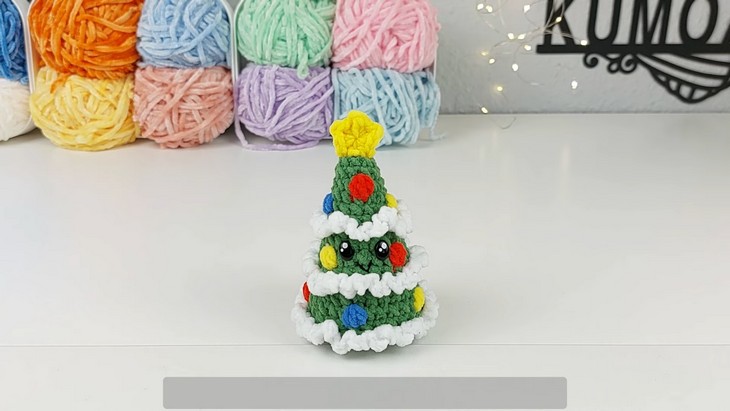
About Crochet Kawaii Christmas Tree Amigurumi
Fast Summary & Skill Level: Beginner – Intermediate. You will crochet this Christmas tree by working with multiple yarns simultaneously for the color pom-pom buds. Working in the round, crochet the base cone of the tree by increasing single crochet and crocheting the bobble stitch many times as you go.
You will keep on growing the radius of your tree just as you need and close the bottom using decrease. You will have to work the surface-stitching in the FLO using a pattern of chain 3 and slip stitch in the next loop.
For the bottom, you will be using the stitches of larger heights, like the last one, also needs treble crochet for this snow ruffle. A star is also crocheted by working in the rounds.
Tutorial-Timing: 32 Minutes
Abbreviations for Kawaii Christmas Tree Tutorial
Check out these quick guides for the techniques used to crochet this Christmas tree:
- Single Crochet (sc): Insert hook, yarn over, pull up a loop, yarn over, pull through both loops.
- inc: Work 2 single crochets into the same stitch.
- Slip Stitch (sl st): Insert hook into stitch, yarn over, and pull through both the stitch and loop on the hook.
- Chain (ch): Yarn over and pull through the loop on the hook to crochet a new chain.
Decrease (dec): Insert hook into two stitches, yarn over, pull through both, yarn over, pull through remaining loops.

Advanced Techniques:
- BO (bobble): Work 5 incomplete dc in same stitch (leaving last loop of each on hook), yarn over, pull through all loops.
- BLO: Work stitch only in the back loop of each stitch.Front Loop Only (FLO): Work the designated stitch into the front loop of the stitch only, leaving the back loop unworked.
- Front Loop Only (FLO): Work the designated stitch into the front loop of the stitch only, leaving the back loop unworked.