
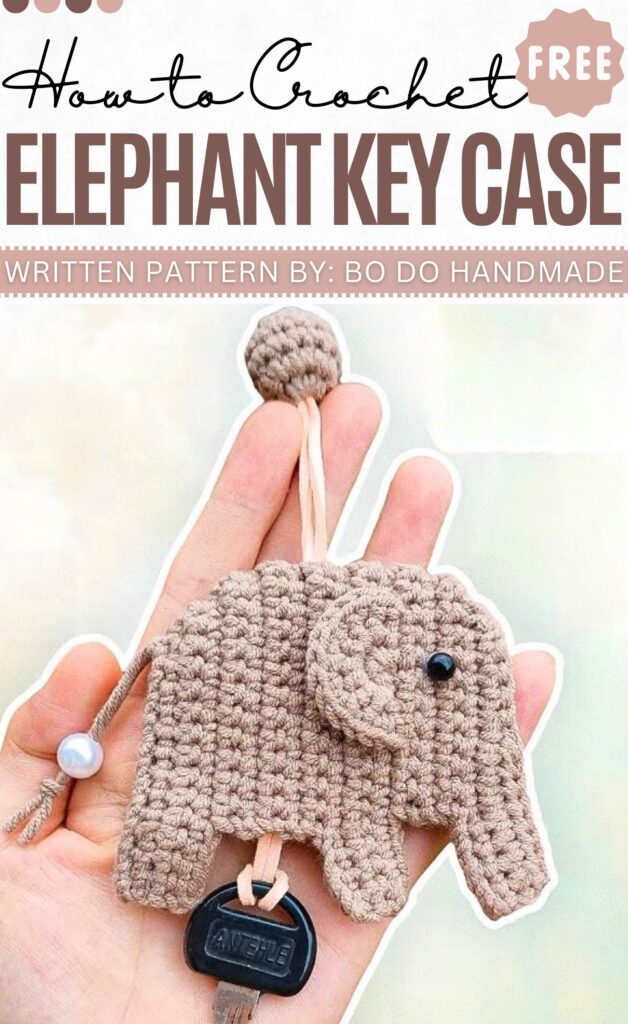
Crochet Key Case Written Pattern & Video Tutorial
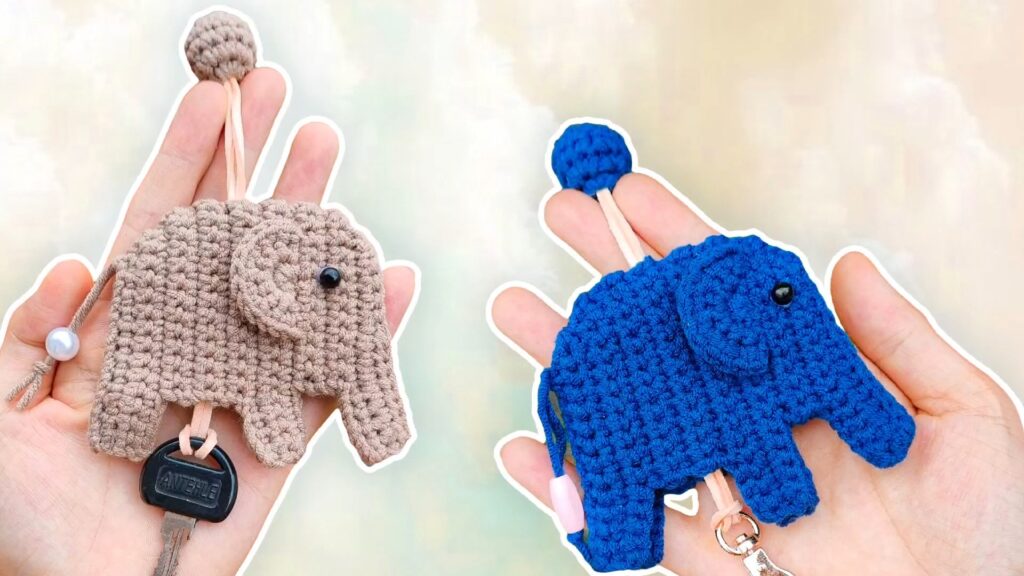
This project is a cute elephant bag that hides your keys inside. It is special because it looks like a toy but keeps your keys from scratching things in your bag. You can use the top loop to hang it on your wrist or backpack.
Adorable Crochet Key Case
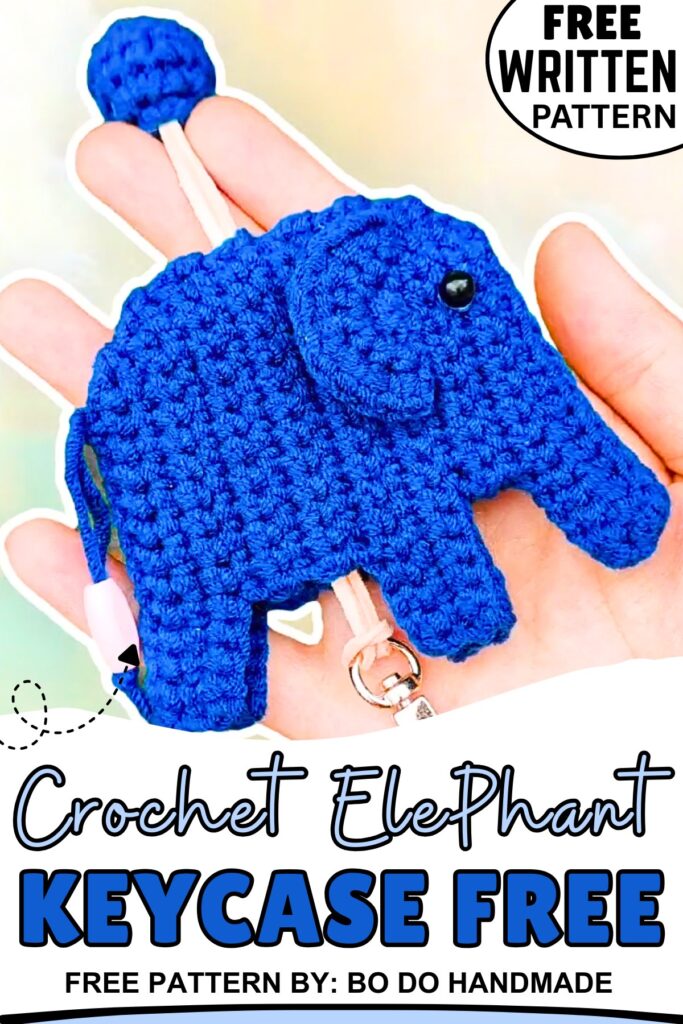
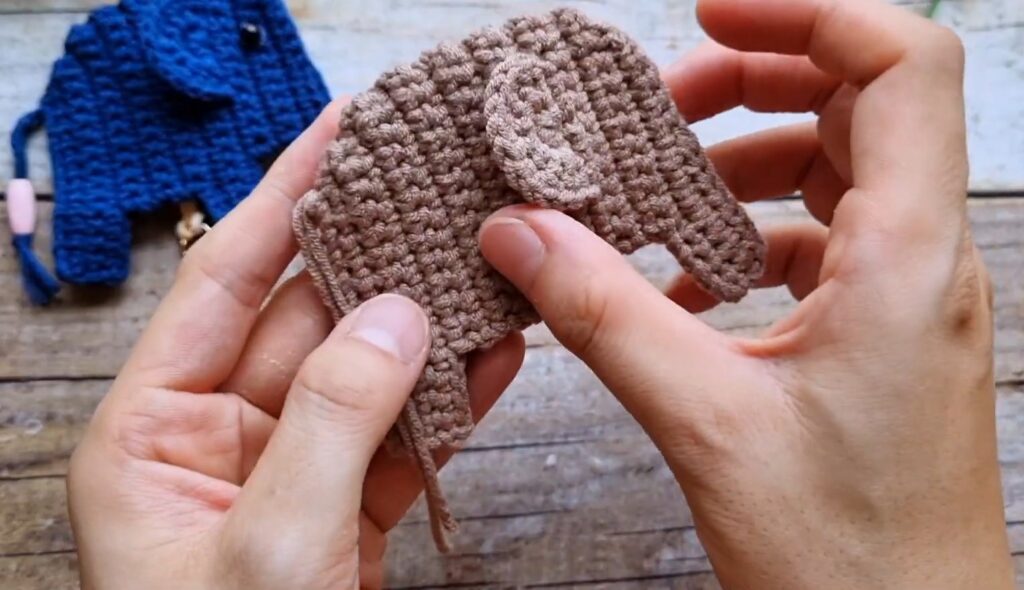
To make it, you crochet two flat elephant shapes and sew them together, leaving the bottom open. You then make two small ears and a little round cap. Finally, you pull a string through the top, attach your keys, and add eyes to finish.
About The Creator:
Bi do Handmade has been an expert in crocheting and designing crochet amigurumi, bag charms, and pouches. Also visit her YouTube channel for more exciting projects.
Let’s Crochet Elephant Key Case
Terminology: US Terms Abbreviations:
-
ch: chain
-
sc: single crochet
-
hdc: half double crochet
-
inc: increase (2 sc in one st)
-
dec: decrease (sc 2 together)
-
st(s): stitch(es)
-
sl st: slip stitch
-
MR: Magic Ring
-
FO: Fasten off
Body (Make 2)
Leave a long tail at the beginning for the tail.
-
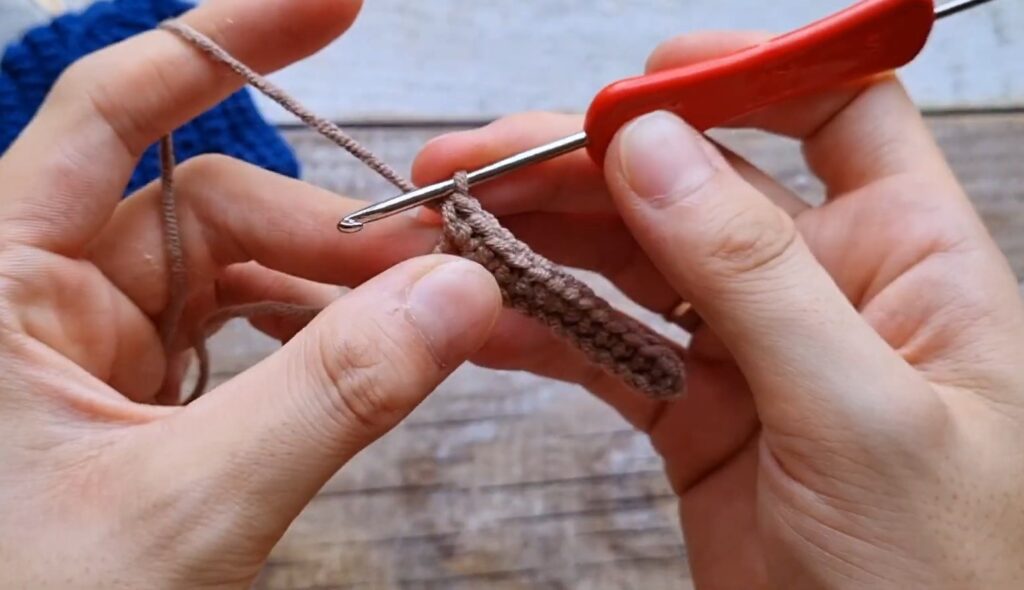
Row 1: Ch 13.
-
Row 2: Sc in 2nd ch from hook, sc in next 10 ch, inc in last ch. (13 sts)
-
Row 3: Ch 1, turn. Inc in first st, sc in next 12 sts. (14 sts)
-
Row 4: Ch 1, turn. Sc in next 13 sts, inc in last st. (15 sts)
-
Row 5: Ch 1, turn. Inc in first st, sc in next 10 sts. Leave remaining 4 sts unworked. (12 sts)
-
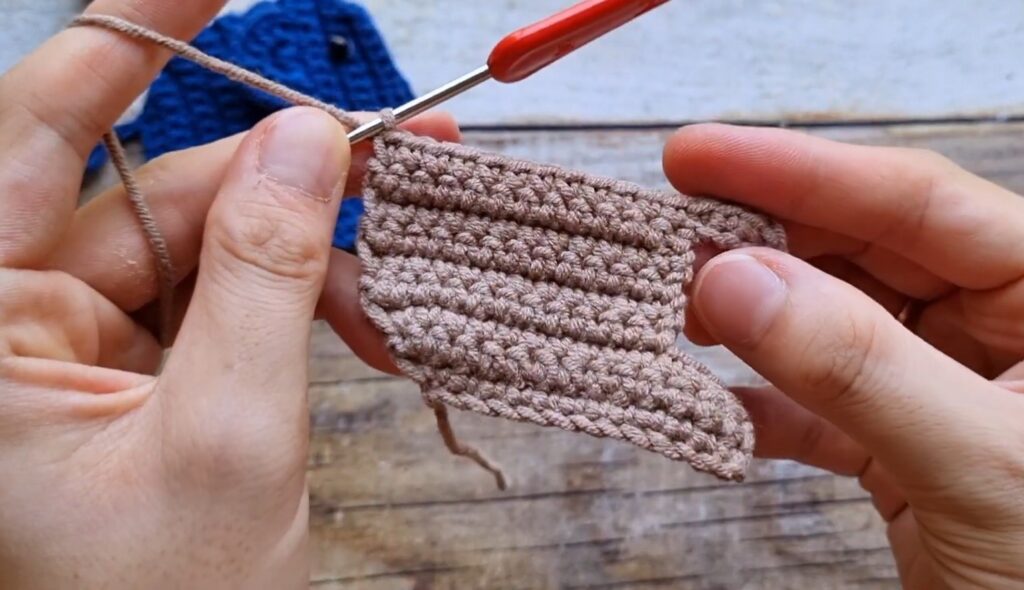
Row 6-8: Ch 1, turn. Sc in each st across. (12 sts)
-
Row 9: Ch 1, turn. Sc in each st across. Ch 5. (12 sts + 5 ch)
-
Row 10: Turn. Sc in 2nd ch from hook and next 3 ch, sc in next 12 sts of body. (16 sts)
-
Row 11-12: Ch 1, turn. Sc in each st across. (16 sts)
-
Row 13: Ch 1, turn. Sc in next 11 sts. Leave remaining 5 sts unworked. (11 sts)
-
Row 14: Ch 1, turn. Sc in each st across. (11 sts)
-
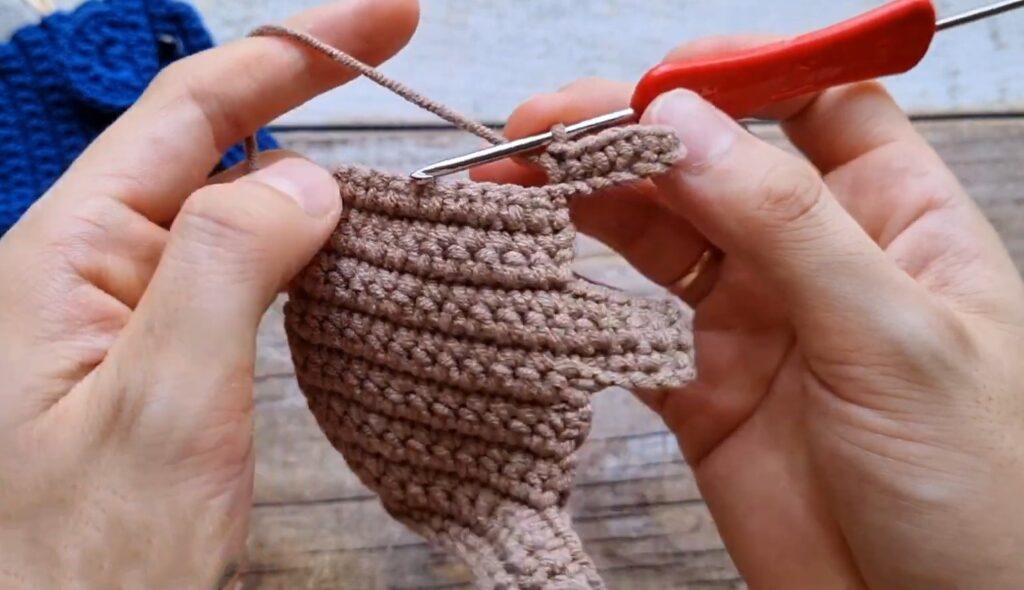
Row 15: Ch 1, turn. Skip first st, sc in next 10 sts. Ch 6. (10 sts + 6 ch)
-
Row 16: Turn. Sc in 2nd ch from hook and next 4 ch (5 sc on chain), sc in next 8 sts on body, dec over last 2 sts. (14 sts)
-
Row 17: Ch 1, turn. Skip first st, sc in next 5 sts, hdc in next 7 sts, sc in last st. (13 sts)
-
FO. Weave in ends (except the starting tail).
Ear (Make 2)
-
Row 1: Start with MR, 4 sc into ring. Join with sl st.
-
Row 2: Ch 1, turn. Inc in each st across. (8 sts)
-
Row 3: Ch 1, turn. Sc 1, inc repeat 4 times. (12 sts)
-
FO. Leave a long tail for sewing.
Pull Tab / Bell
-
Rnd 1: MR, 6 sc. (6 sts)
-
Rnd 2: Inc in each st around. (12 sts)
-
Rnd 3-4: Sc in each st around. (12 sts)
-
Rnd 5: Dec repeat 6 times. (6 sts)
-
Stuff lightly.
-
Rnd 6: Dec until closed.
-
FO.
Assembly
-
Ears: Sew one ear to the head section of each body panel.
-
Body: Place the two body panels together. Sew them together around the edge (legs, trunk, back), leaving the straight edge at the bottom (belly) open for the keys.
-
Tail: Use the starting tails to braid or twist a small tail at the back. Add a bead if desired.
-
Cord: Attach a cord to the Pull Tab/Bell. Thread the cord up through the opening between the legs and out through the top of the back/head. Attach a key ring to the bottom of the cord inside the body.
-
Eyes: Glue on small eyes or embroider them near the trunk.
Video Tutorial:
Pattern In UK Terms
Terminology: UK Terms Abbreviations:
-
ch: chain
-
dc: double crochet
-
htr: half treble crochet
-
inc: increase (2 dc in one st)
-
dec: decrease (dc 2 together)
-
st(s): stitch(es)
-
ss: slip stitch
-
MR: Magic Ring
-
FO: Fasten off
Body (Make 2)
Leave a long tail at the beginning for the tail.
-
Row 1: Ch 13.
-
Row 2: Dc in 2nd ch from hook, dc in next 10 ch, inc in last ch. (13 sts)
-
Row 3: Ch 1, turn. Inc in first st, dc in next 12 sts. (14 sts)
-
Row 4: Ch 1, turn. Dc in next 13 sts, inc in last st. (15 sts)
-
Row 5: Ch 1, turn. Inc in first st, dc in next 10 sts. Leave remaining 4 sts unworked. (12 sts)
-
Row 6-8: Ch 1, turn. Dc in each st across. (12 sts)
-
Row 9: Ch 1, turn. Dc in each st across. Ch 5. (12 sts + 5 ch)
-
Row 10: Turn. Dc in 2nd ch from hook and next 3 ch, dc in next 12 sts of body. (16 sts)
-
Row 11-12: Ch 1, turn. Dc in each st across. (16 sts)
-
Row 13: Ch 1, turn. Dc in next 11 sts. Leave remaining 5 sts unworked. (11 sts)
-
Row 14: Ch 1, turn. Dc in each st across. (11 sts)
-
Row 15: Ch 1, turn. Skip first st, dc in next 10 sts. Ch 6. (10 sts + 6 ch)
-
Row 16: Turn. Dc in 2nd ch from hook and next 4 ch (5 dc on chain), dc in next 8 sts on body, dec over last 2 sts. (14 sts)
-
Row 17: Ch 1, turn. Skip first st, dc in next 5 sts, htr in next 7 sts, dc in last st. (13 sts)
-
FO. Weave in ends (except the starting tail).
Ear (Make 2)
-
Row 1: Start with MR, 4 dc into ring. Join with ss.
-
Row 2: Ch 1, turn. Inc in each st across. (8 sts)
-
Row 3: Ch 1, turn. Dc 1, inc repeat 4 times. (12 sts)
-
FO. Leave a long tail for sewing.
Pull Tab / Bell
-
Rnd 1: MR, 6 dc. (6 sts)
-
Rnd 2: Inc in each st around. (12 sts)
-
Rnd 3-4: Dc in each st around. (12 sts)
-
Rnd 5: Dec repeat 6 times. (6 sts)
-
Stuff lightly.
-
Rnd 6: Dec until closed.
-
FO.
Assembly
-
Ears: Sew one ear to the head section of each body panel.
-
Body: Place the two body panels together. Sew them together around the edge (legs, trunk, back), leaving the straight edge at the bottom (belly) open for the keys.
-
Tail: Use the starting tails to braid or twist a small tail at the back. Add a bead if desired.
-
Cord: Attach a cord to the Pull Tab/Bell. Thread the cord up through the opening between the legs and out through the top of the back/head. Attach a key ring to the bottom of the cord inside the body.
-
Eyes: Glue on small eyes or embroider them near the trunk.