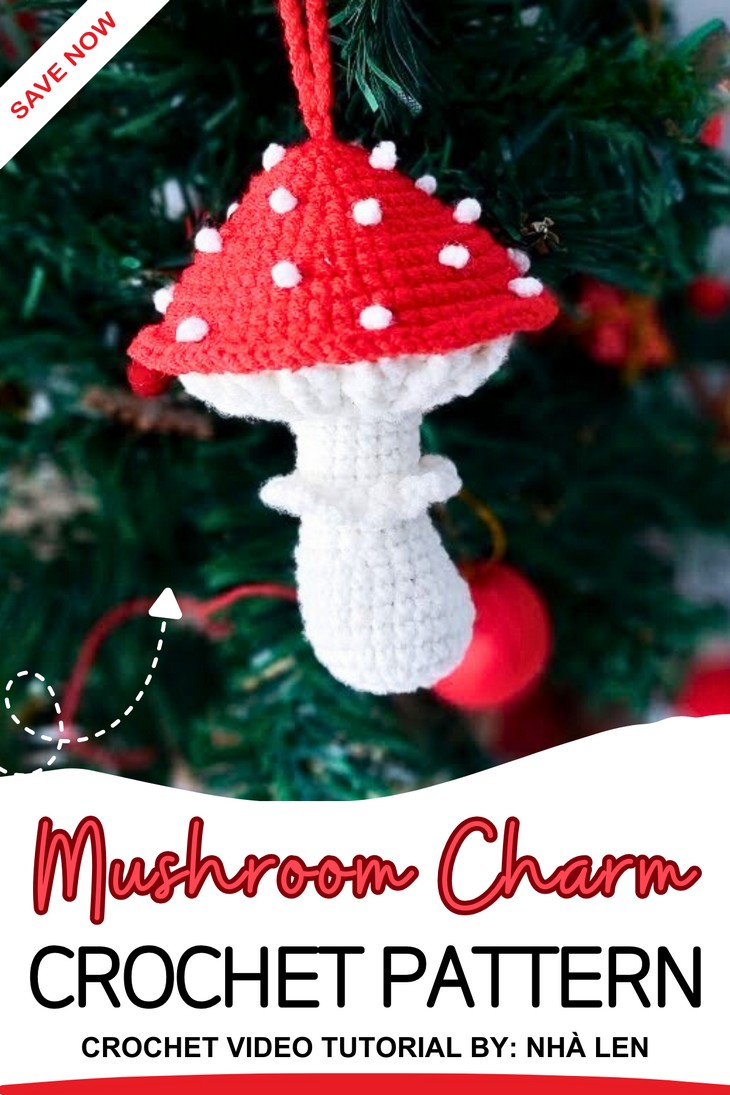
How to Crochet Life-Like Toadstool Mushroom for Christmas & Fall
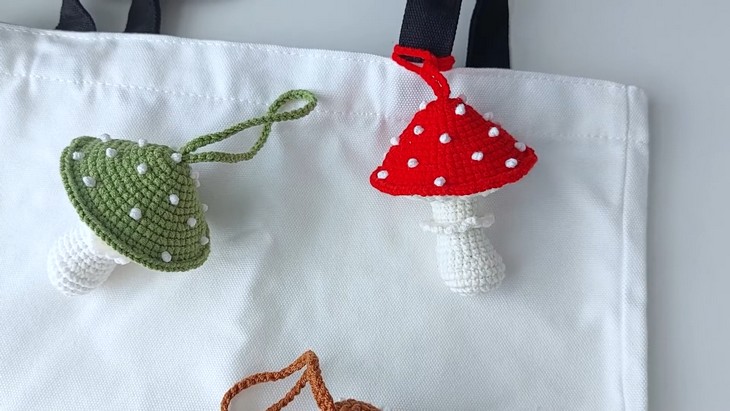
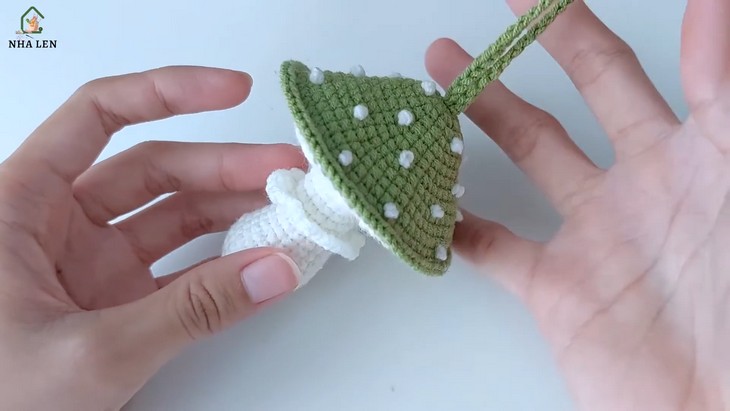
A crochet mushroom will never be as irresistible as the one designed by NHA LEN! So, learn how to crochet this super elegant and accurate toadstool bag charm and beautify your Christmas tree or fall bags with a stitch-by-stitch tutorial for beginners. This amigurumi mushroom also features the mushroom ring in the stem, spores or 3D white spots, and a unique but lovely shape of the cap. You can crochet this toadstool in any of three colors: red, green, and even dark red. You can also complete crocheting one within an hour!
So, if you are ready for crocheting this life-like toadstool charm, continue reading this post till the end. There you will find the complete tutorial!
About the Designer: The designer behind this is ghost and mini pumpkin project @nhalen – she is one of my favorite all-arounders in amigurumi, like An_design, including dolls, but mostly mini plushies that are always super detailed and cute. From mini animals to popular characters like Harry Potter and holiday amigurumi, her library is one of the most diverse. With tutorials for projects like a couple of bunnies and various florals, her library offers a rich resource of crochet projects.
Note: In respect of the creator’s pattern rights, there will be no provision of the written pattern. You can watch the tutorial with on-screen written instructions at the end of this post.
Crochet Ornament Mushroom Tutorial
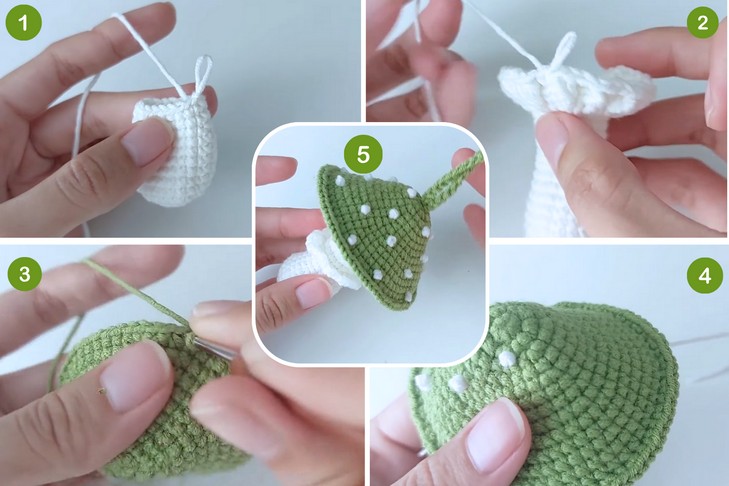
Skill Level: Beginners – Intermediate. Working in the round, you will first crochet the amigurumi mushroom stem starting from the bottom to upward using single crochet, chain, slip stitch, increase, and decrease until you reach the center. Working in the BLO, begin the mushroom cap base, which also uses double crochet, cluster, Front and Back Post Double Crochet for a texture. To maintain the structure of the base, you will use the sewing and then, by surface stitching, make the ring around. Then the cap also uses the basic amigurumi. For spots, the embroidery and chain for string.
Tutorial Timing: Approximately 52 Minutes. (perfect for learning the FPDC and BPDC that is also used in crochet wearables, plus a unique 3D embroidery for the cap spot. You will also learn the surface stitching, perfect your sewing, and hide yarn ends. So, the tutorial is worth watching and clever.)
Personalization Tips: The tutor offers three customizations: green, red, or brown yarn for the cap. You can also use the yarn as a string if your chains are not settling straight. You can also skip the post stitches as not necessary if yours don’t seem neat.
Pattern Type: A detailed on-screen written pattern is available if you find written instructions easy to follow along with.
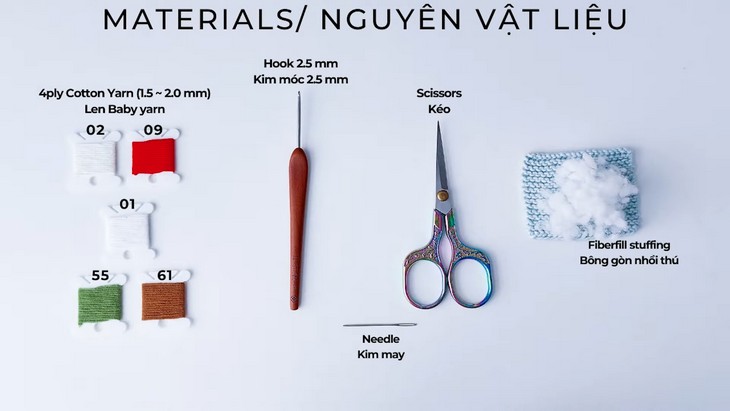
Materials & Needed
You will have to collect the following suggested tools and materials for crocheting this Christmas mushroom amigurumi, mentioned in the tutorial:
- 4ply Cotton Yarn (1.5 ~ 2.0 mm) / Len Baby yarn
- Color codes: 02 (white), 09 (red), 01 (white), 55 (green), 61 (brown)
- Hook 2.5 mm / Kim móc 2.5 mm
- Scissors
- Needle
- Fiberfill stuffing
Abbreviations Used
Here’s a quick guide for crocheting each stitch and technique in the toadstool pattern:
- ch (chain): Yarn over, pull through loop on hook.
- slst (slip stitch): Insert hook, yarn over, pull through stitch and loop on hook in one motion.
- sc (single crochet): Insert hook, yarn over, pull up a loop, yarn over, pull through both loops.
- dc (double crochet): Yarn over, insert hook, yarn over, pull up loop, yarn over, pull through 2 loops twice.
- inc (increase stitch – 2sc into same st): Work 2 single crochets into the same stitch.
- dec (decrease stitch – 2sc together): Insert hook into next stitch, pull up loop, repeat in next stitch, yarn over, pull through all loops.
- BLO (Back Loop Only): Work the stitch into the back loop only of the stitch.
- FLO (Front Loop Only): Work the stitch into the front loop only of the stitch.
- BPdc (Back Post double crochet): Yarn over, insert hook from back to front around post of stitch, yarn over, complete as double crochet.
- FPdc (Front Post double crochet): Yarn over, insert hook from front to back around post of stitch, yarn over, complete as double crochet.