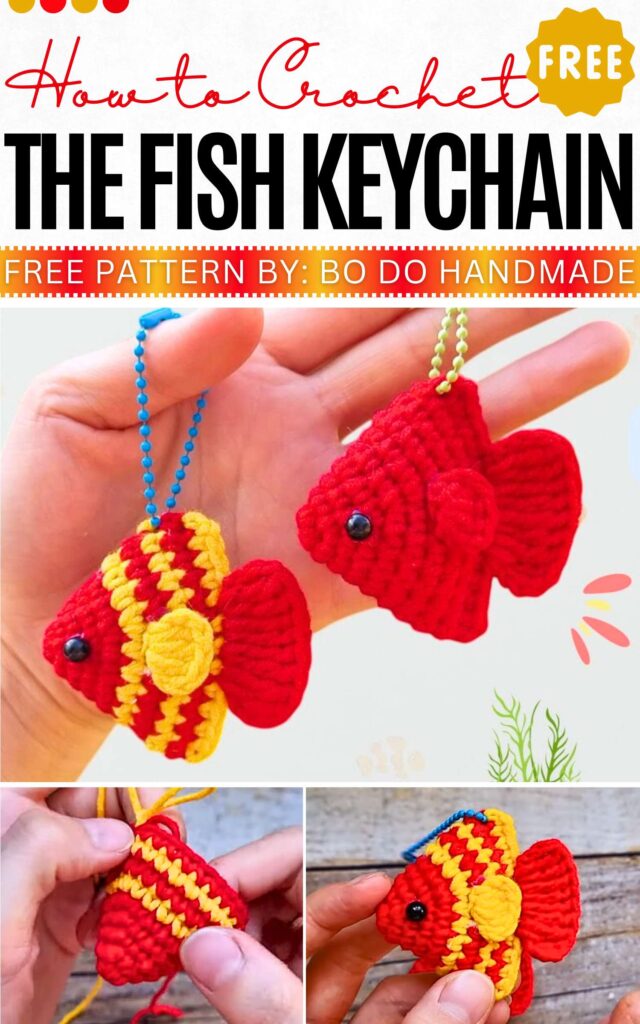
Free Crochet Mini Fish Keychain Pattern for New Year
For Chinese New Year, if you want to try something cute and different, crochet this mini fish keychain in red and white. In other colors, it will also be perfect for any time of the year when you need a fish keychain.
The base pattern is of a popular butterflyfish, which is actually simple and easy for beginners.
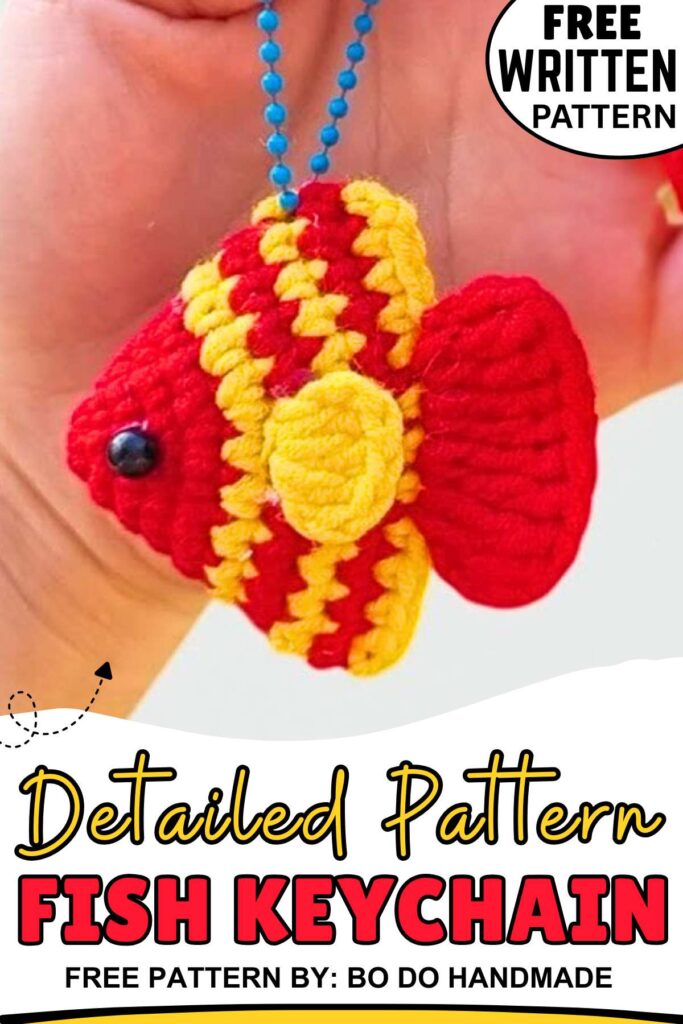
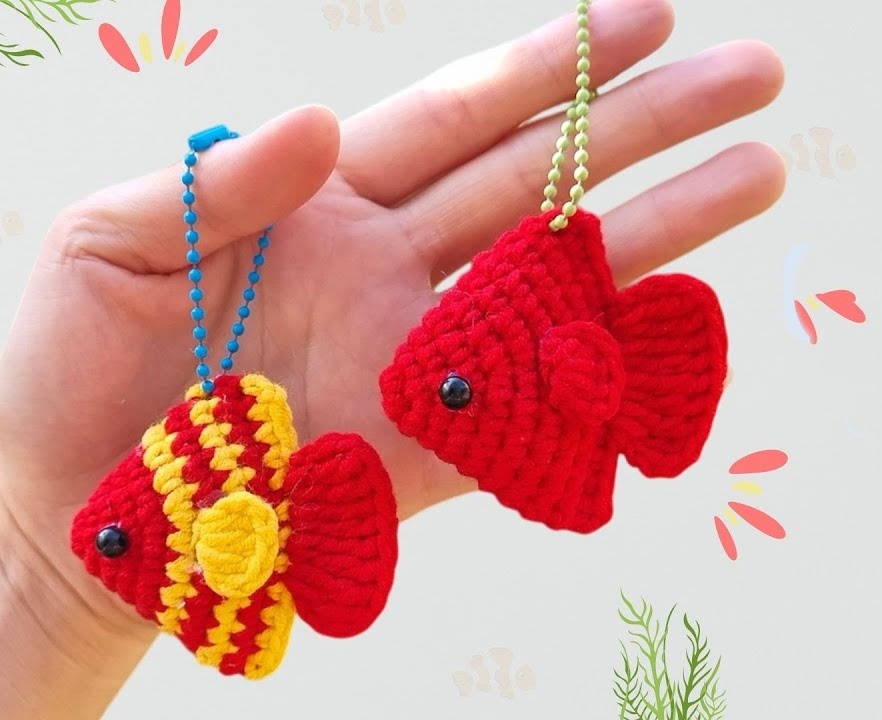
In this post, I will share a complete and free written pattern on how to crochet this little fish in both US and UK terms. Use the finished one as a bag charm. It looks so cute with the striped body.
Crochet Fish Keychain
Bi do Handmade is an had been an expert in crocheting and designing crochet amigurumi, bag charms, and pouches.
Note: For this amigurumi in particular, we shall share the written pattern that is complete and checked.
Crochet Fish Keychain Pattern
Here is the complete written pattern for crocheting the fish keychain that you will love:
Materials
-
Yarn: Milk Cotton (125g) or similar weight
-
Hook: 2.5 mm
-
Other: Fiberfill stuffing, keychain ring, eyes (glue or sew-on), tapestry needle
Abbreviations (US Terms)
-
MR: Magic Ring
-
ch: Chain
-
sc: Single Crochet
-
inc: Increase (2 sc in one stitch)
-
dc: Double Crochet
-
tr: Treble Crochet (yarn over twice)
-
sl st: Slip Stitch
-
st(s): Stitch(es)
-
[…] x N: Repeat instructions in brackets N times
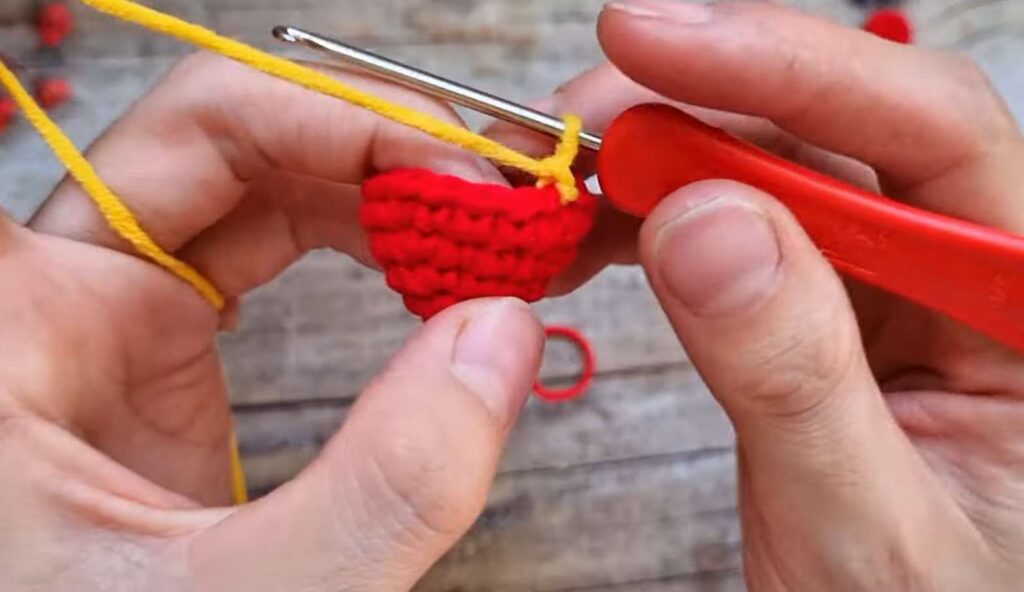
Body
Work in joined rounds. Slip stitch to the first sc to join at the end of each round and ch 1 to start new round.
-
R1: MR, 6 sc. Join. (6)
-
R2: ch 1, [1 sc, inc] x 3. Join. (9)
-
R3: ch 1, [2 sc, inc] x 3. Join. (12)
-
R4: ch 1, [3 sc, inc] x 3. Join. (15)
-
R5: ch 1, [4 sc, inc] x 3. Join. (18)
-
R6: ch 1, [5 sc, inc] x 3. Join. (21)
-
R7: ch 1, [6 sc, inc] x 3. Join. (24)
-
R8 – R9: ch 1, 24 sc. Join. (24)
-
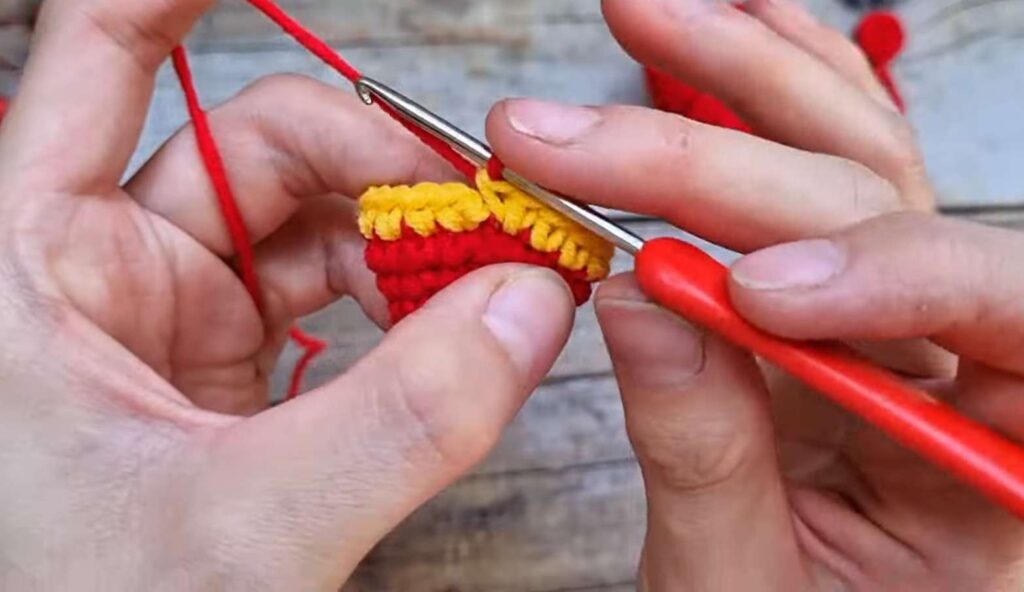
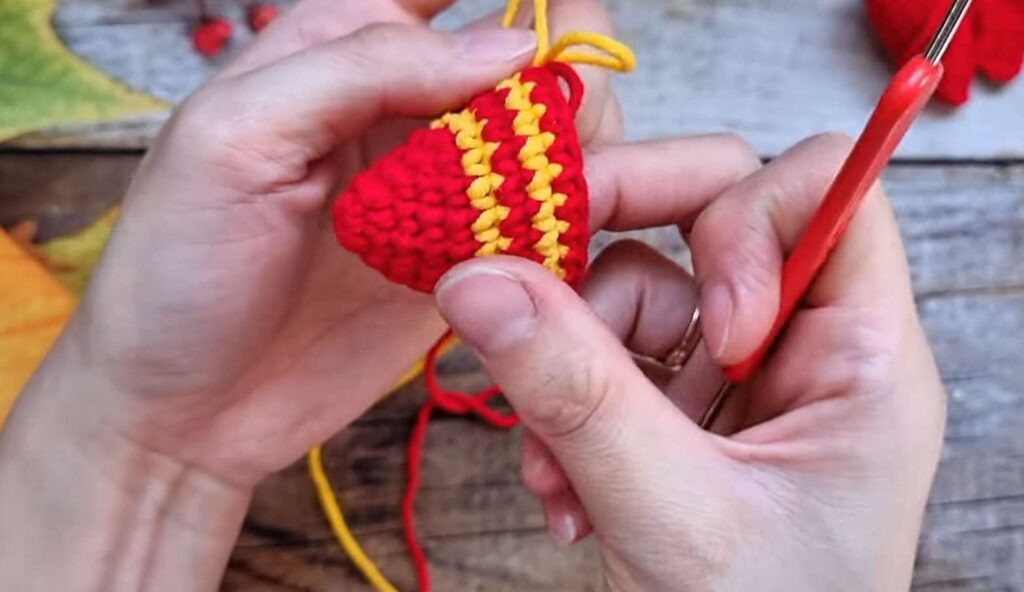
Note: For a striped version, alternate colors every few rows.
-
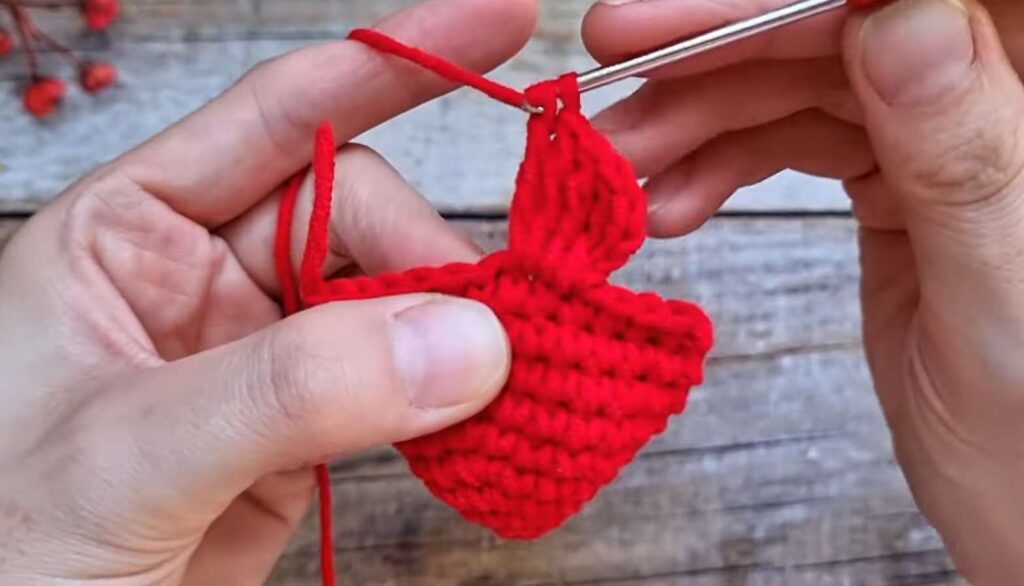
Flatten the piece so the opening aligns. Stuff the body lightly with fiberfill.
-
R10 (Closing): Working through both layers of the flattened opening, crochet 12 sc across to close. (12)
Tail
Work directly onto the 12 stitches of R10. Divide stitches into 3 parts: 4 sts (right), 4 sts (middle), 4 sts (left).
-
Skip the first 4 sts. Join yarn with a sl st in the 5th st.
-
ch 4.
-
Work 2 tr in the same st (5th st).
-
Work 2 tr in each of the next 3 sts (sts 6, 7, and 8). (Total 8 tr)
-
ch 4, sl st into the same st as the last tr (8th st).
-
Fasten off and weave in ends.
Side Fins (Make 2)
-
Create MR.
-
ch 3.
-
Work 3 dc into MR.
-
ch 3.
-
sl st into MR.
-
Tighten the ring. Fasten off, leaving a tail for sewing/attaching.
Assembly
-
Glue or sew eyes to the sides of the head.
-
Attach one fin to each side of the body (using glue or yarn tails).
-
Attach the keychain ring to the top of the fish.
UK Pattern
Abbreviations (UK Terms)
-
MR: Magic Ring
-
ch: Chain
-
dc: Double Crochet (equivalent to US sc)
-
inc: Increase (2 dc in one stitch)
-
tr: Treble Crochet (equivalent to US dc)
-
dtr: Double Treble Crochet (equivalent to US tr – yarn over twice)
-
sl st: Slip Stitch
-
st(s): Stitch(es)
-
[…] x N: Repeat instructions in brackets N times
Body
Work in joined rounds. Slip stitch to the first dc to join at the end of each round and ch 1 to start new round.
-
R1: MR, 6 dc. Join. (6)
-
R2: ch 1, [1 dc, inc] x 3. Join. (9)
-
R3: ch 1, [2 dc, inc] x 3. Join. (12)
-
R4: ch 1, [3 dc, inc] x 3. Join. (15)
-
R5: ch 1, [4 dc, inc] x 3. Join. (18)
-
R6: ch 1, [5 dc, inc] x 3. Join. (21)
-
R7: ch 1, [6 dc, inc] x 3. Join. (24)
-
R8 – R9: ch 1, 24 dc. Join. (24)
Flatten the piece so the opening aligns. Stuff lightly.
-
R10 (Closing): Working through both layers, 12 dc across to close. (12)
Tail
Work directly onto the 12 stitches of R10. Skip the first 4 sts.
-
Join yarn with a sl st in the 5th st.
-
ch 4.
-
Work 2 dtr in the same st.
-
Work 2 dtr in each of the next 3 sts. (Total 8 dtr)
-
ch 4, sl st into the same st as the last dtr.
-
Fasten off and weave in ends.
Side Fins (Make 2)
-
Create MR.
-
ch 3.
-
Work 3 tr into MR.
-
ch 3.
-
sl st into MR.
-
Tighten ring. Fasten off.
Assembly
-
Glue or sew eyes to sides.
-
Attach fins to sides.
-
Attach keychain ring to top.