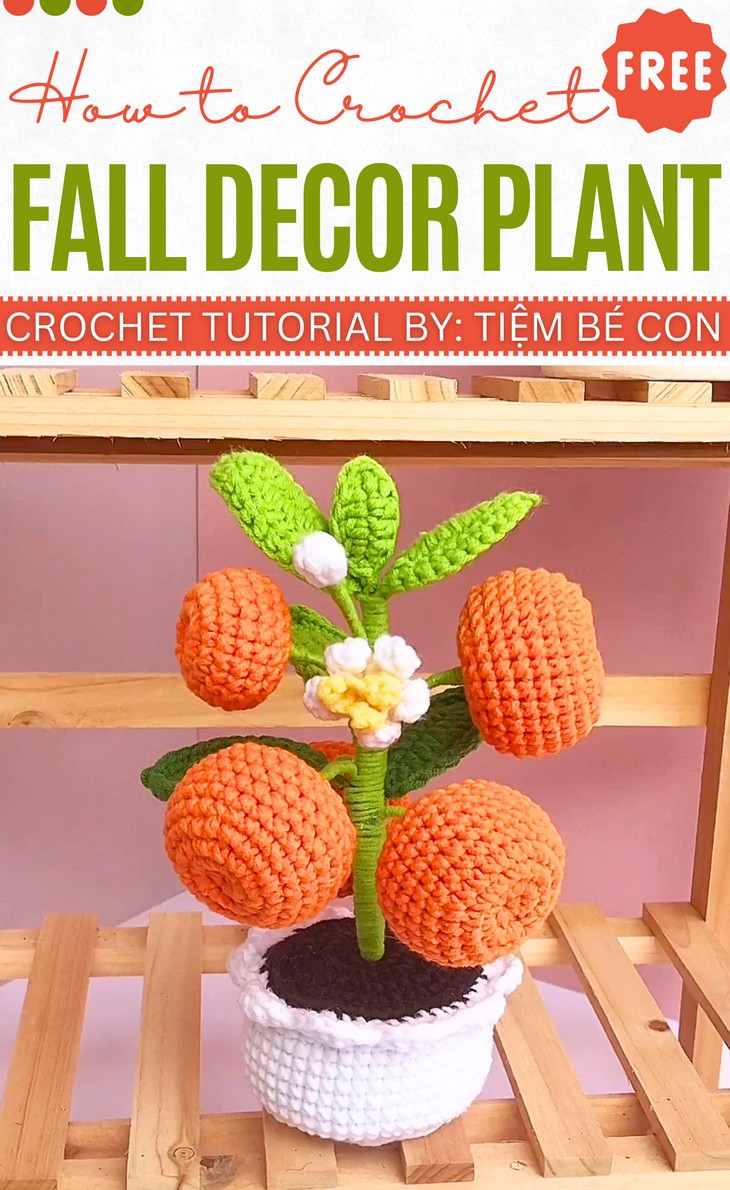
How to Crochet Mini Orange Plant Pot For Fall
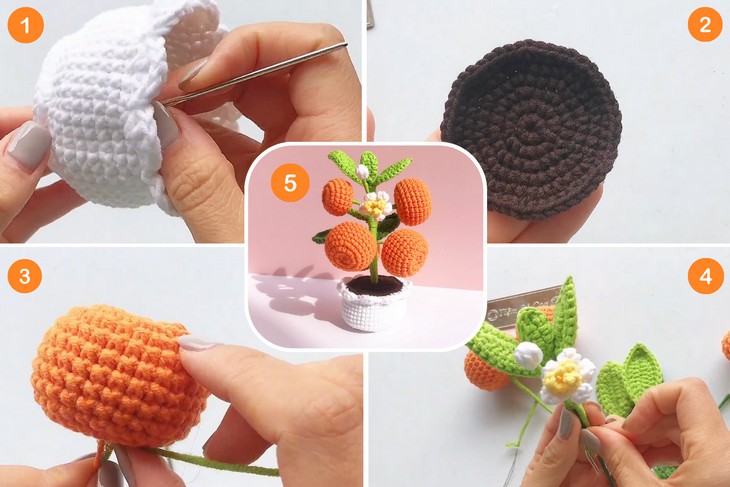
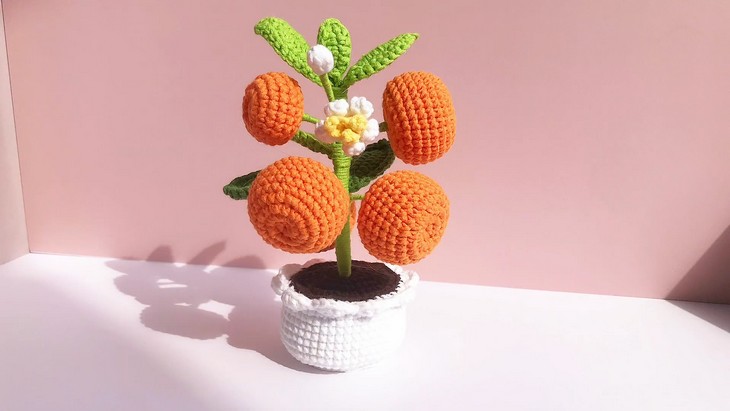
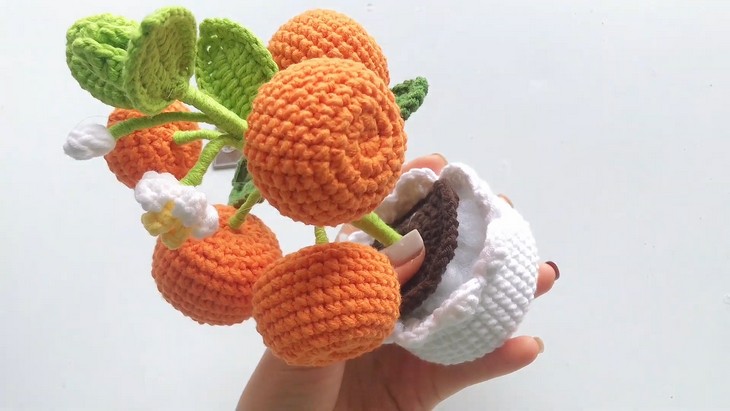
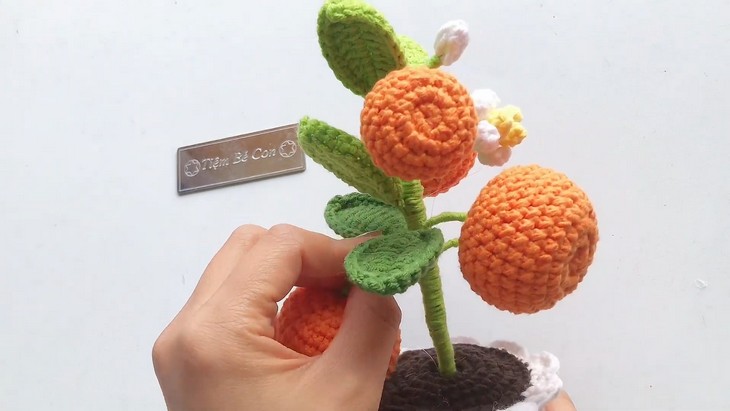
If you are looking for a lively and detailed fall decor, here is an easy project for you. With a stitch-by-stitch tutorial, learn how to crochet this mini orange plant that features the ripe orange amigurumi (actually the kumquat), blooming flower, flower bud, and leaves. This plant stands on a stuffed pot and therefore, can be placed on your window or desktop. This crochet fruit plant can also be used as a jewelry holder. With oranges in different sizes, this is a super realistic crochet project.
So, if you have made up your mind to crochet this orange plant fall decor by yourself, continue reading this post till the end. It is worth crocheting!
About the Designer: The designer behind this crochet fall flower and fruit plant project is @TiemBeCon – I will call her “The most creative crochet designer” as she always adapts the themes in a unique way to crochet any amigurumi and accessory like a witch capybara and Reindeer watch. Her crochet projects are always so colorful and never miss to be seasonal and celebration-special. So, you can find the fall, Christmas and Halloween projects in her channel. You will find her flower swings and bouquets much more appealing.
Note: In respect for the creator’s pattern rights, there will be no provision of the written pattern. You can watch the tutorial with on-screen written instructions at the end of this post.
Crochet Mini Kumquat Plant Pot Tutorial
Skill Level: Intermediate. (You’ll need magic ring, chain stitch, single crochet, double crochet, half double crochet, triple crochet, increases, decreases, slip stitch, and working in back which she calls the proportional. You will also need sewing and color changes, plus expertise in crocheting the advanced stitches that need the basic stitches again.)
Tutorial Timing: Approximately 27 minutes only. (Perfect for getting your hands on a complex amigurumi project and practicing the basic amigurumi techniques. You will also learn many new stitches that the tutor doesn’t name.)
Personalization Tips: The pattern for crocheting the orange amigurumi is very generic. So, you can also crochet this plant project for fall as an apple plant, and even a lemon or pumpkin plant!
Pattern Type: An on-screen written pattern is available if you find written instructions easy to follow along with.
Materials Used
The following are the materials and tools that the tutor used in crocheting this orange plant pot:
Hook: 2.5 mm
Milk Cotton yarn 125 g (I think 4ply yarn is used)
Stuffing
Carton
Branch zinc

Crochet Stitch Guide
The following are the crochet techniques and stitches that the tutor uses for crocheting this orange plant:
- Single Crochet (sc): Insert the hook in the stitch, yarn over, pull through, yarn over again, and pull through both loops on the hook.
- Increase (inc): Work two stitches into the same stitch to increase the stitch count.
- Chain (ch): Yarn over and pull through the loop on the hook to form a chain for the foundation or spacing.
- Double Crochet (dc): Yarn over, insert the hook into the stitch, yarn over again, pull through, yarn over, pull through two loops, yarn over, and pull through the remaining two loops.
- Triple Crochet (tr): Yarn over twice, insert the hook into the stitch, yarn over again, pull through, yarn over, pull through two loops at a time until one loop remains.
- Half Double Crochet (hdc): Yarn over, insert the hook into the stitch, yarn over again, pull through (three loops on hook), yarn over, and pull through all three loops.
- Slip Stitch (slst): Insert the hook into the stitch, yarn over, pull through the stitch and the loop on the hook for joining or closing rounds.
- Decrease (des): Insert hook into the stitch, yarn over, pull through (two loops on hook), insert hook into next stitch, yarn over, pull through (three loops on hook), yarn over, pull through all three loops.