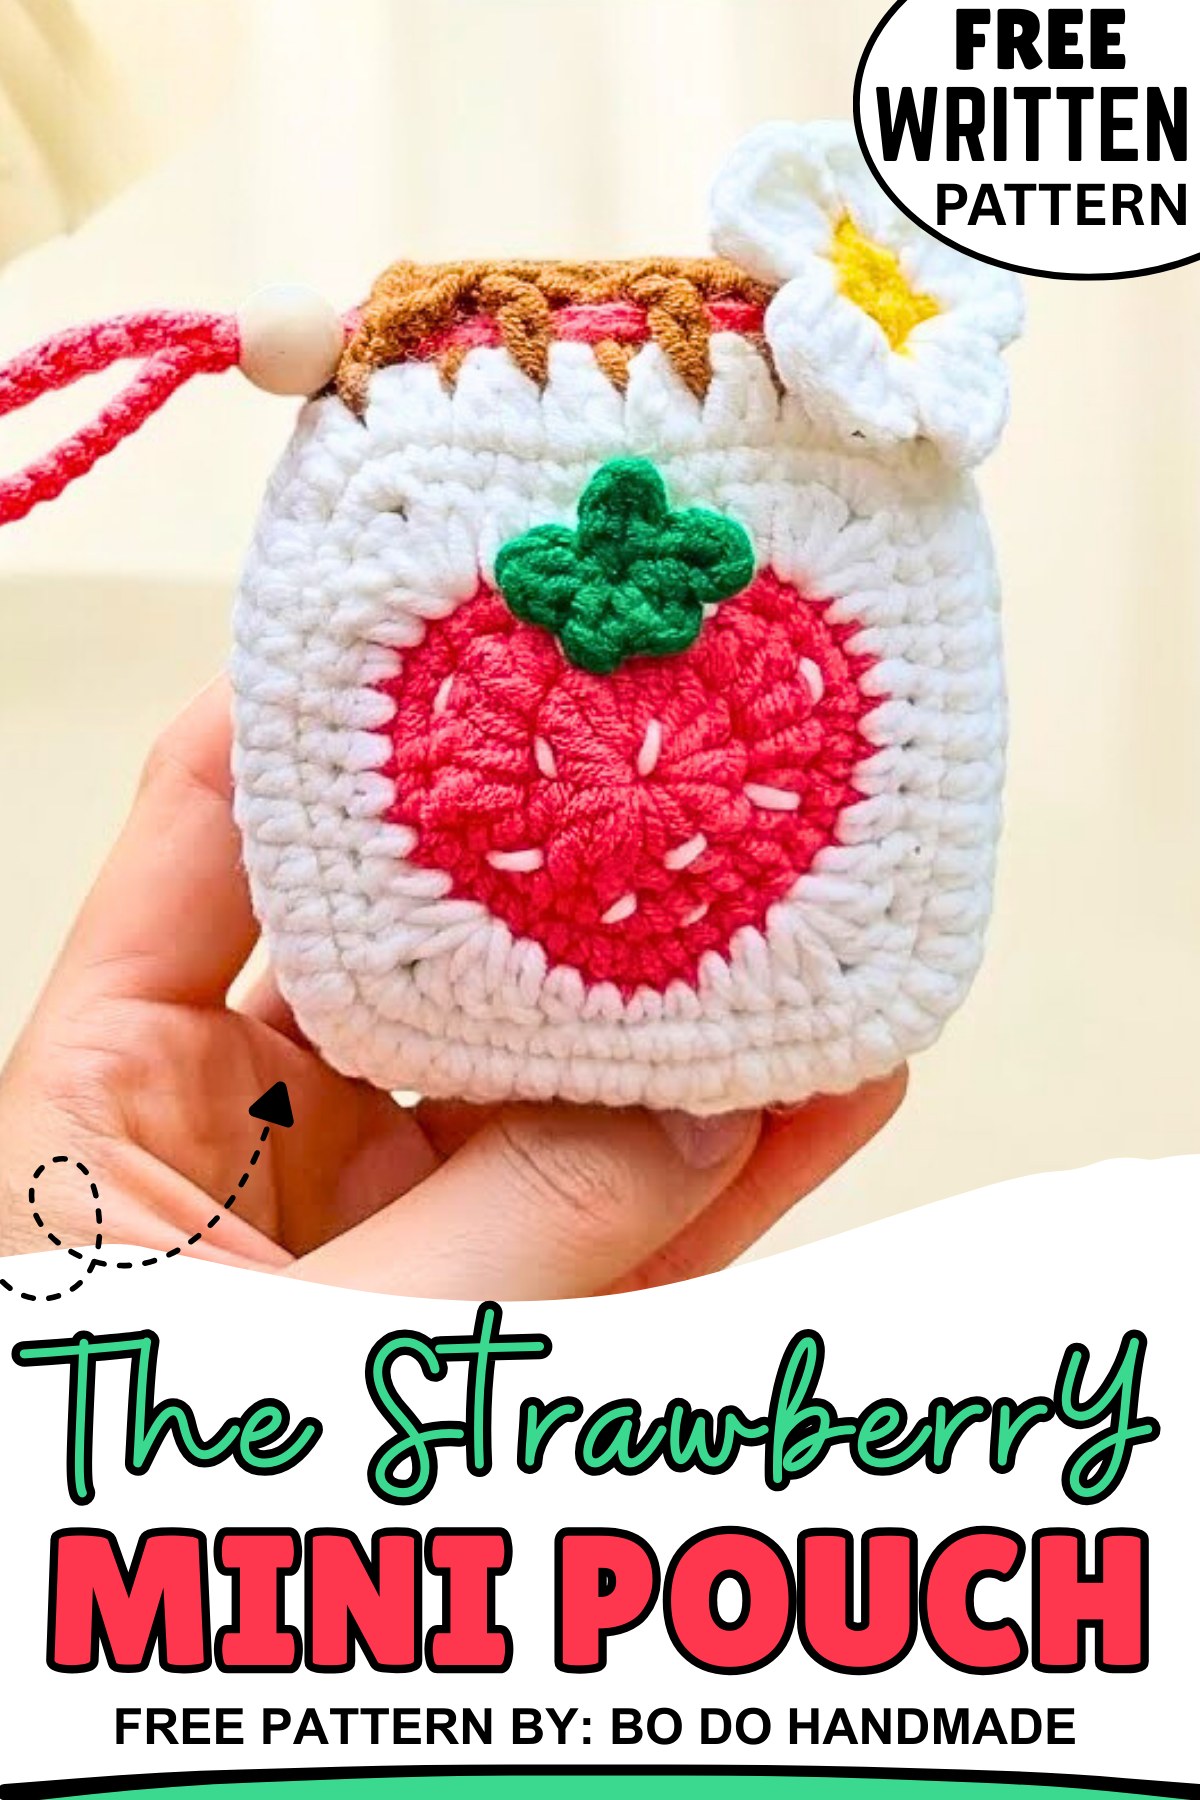
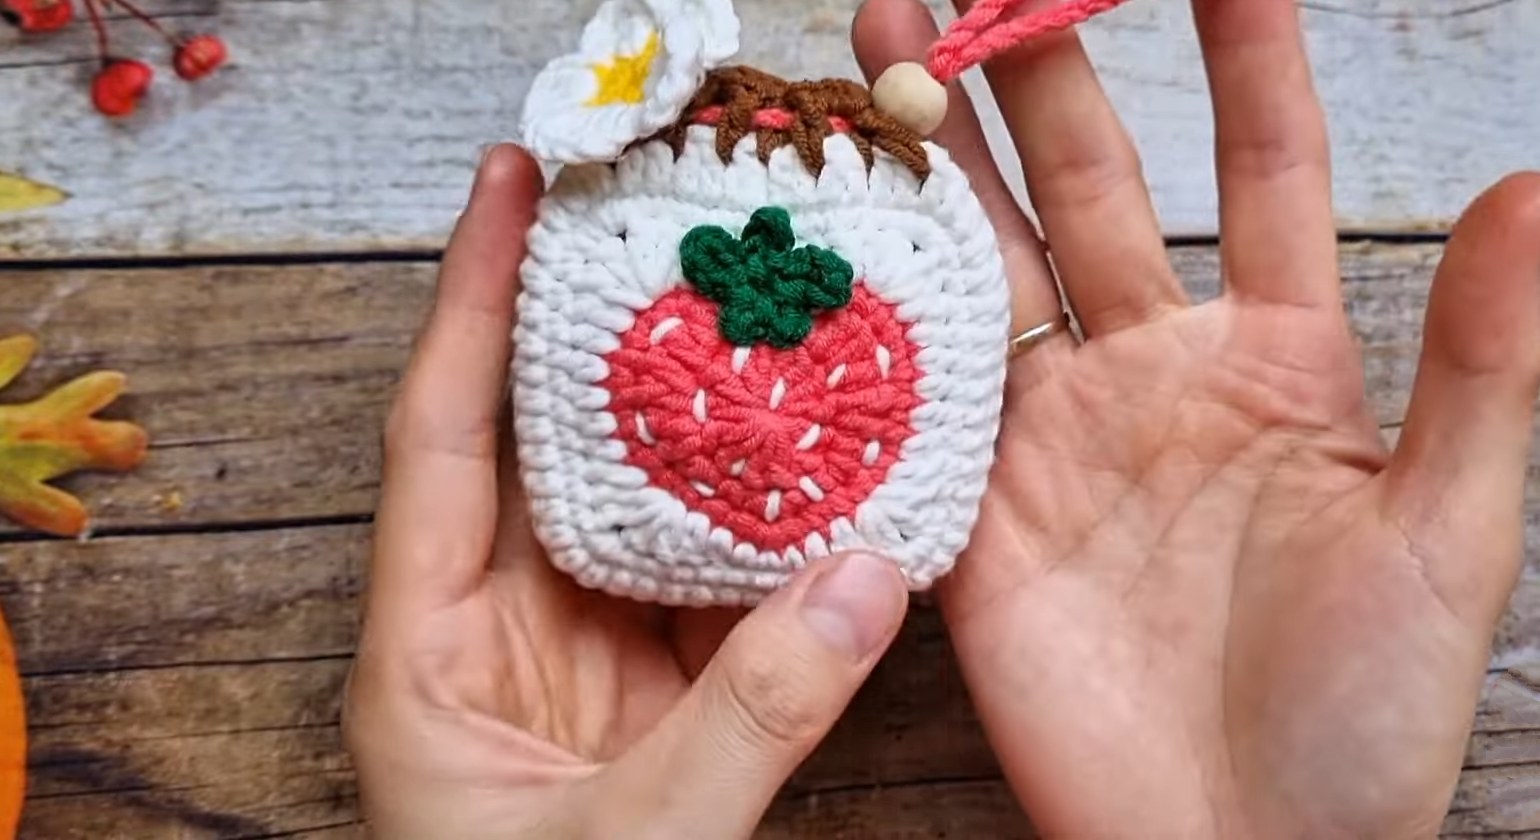
Crochet Mini Strawberry Pouch Bag Pattern Free
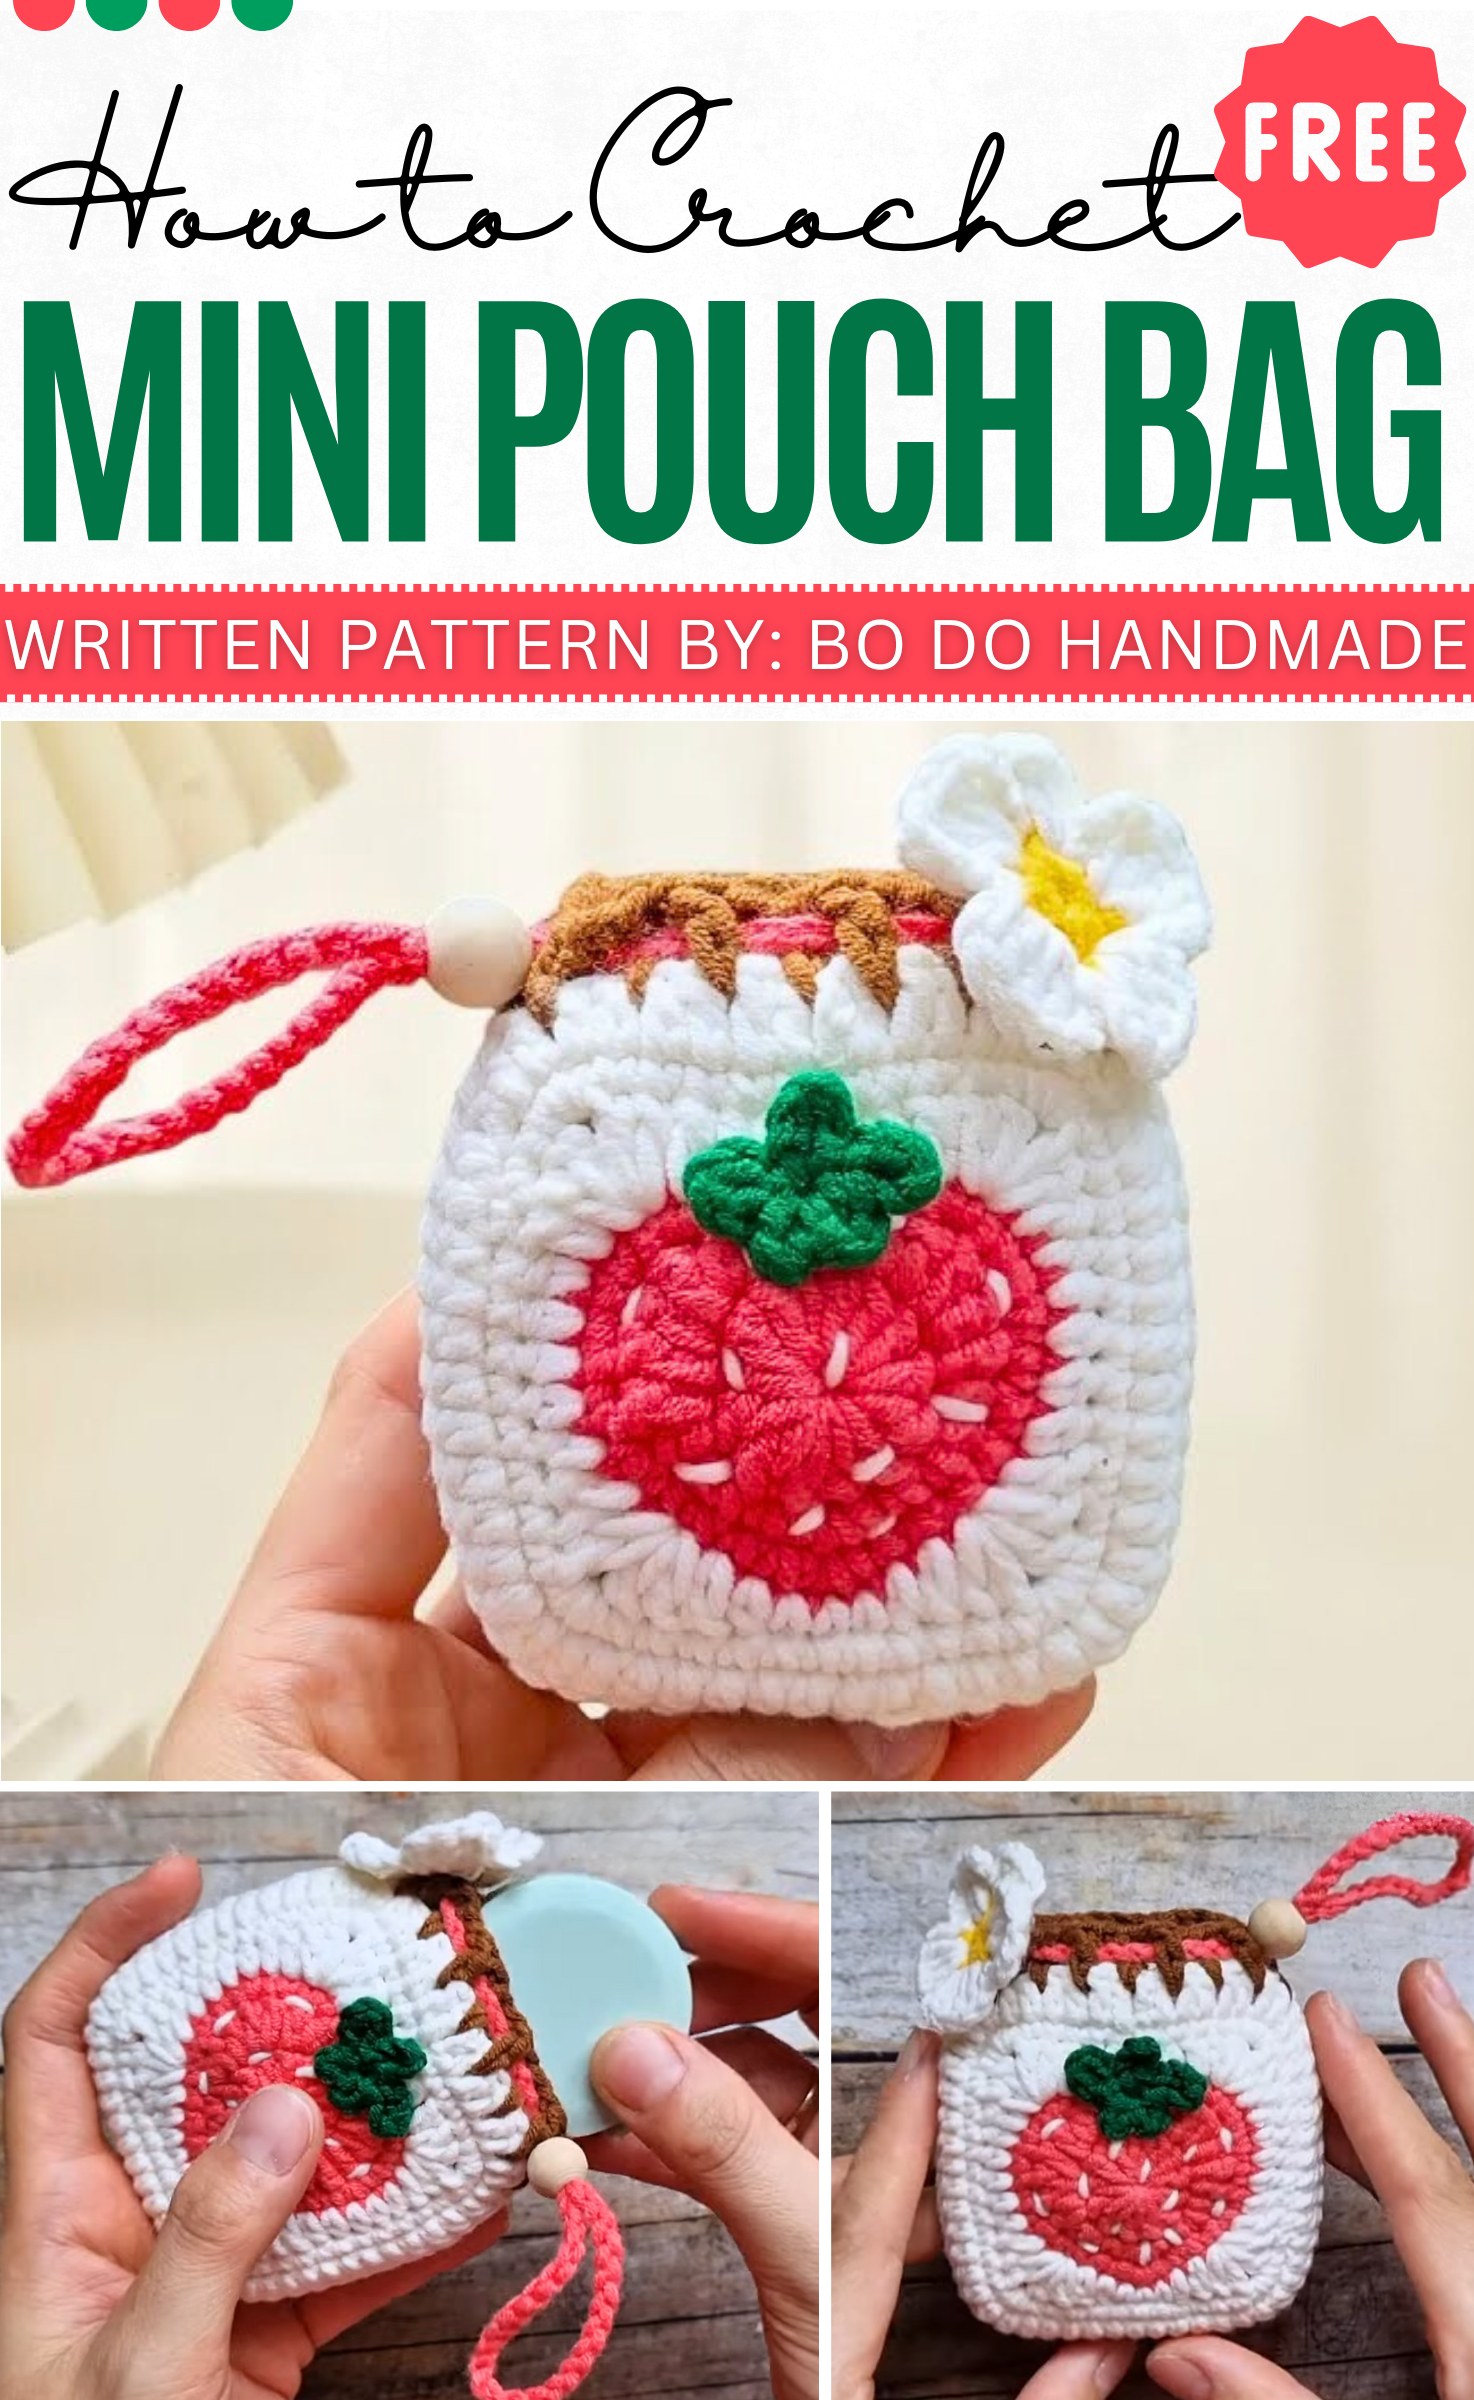
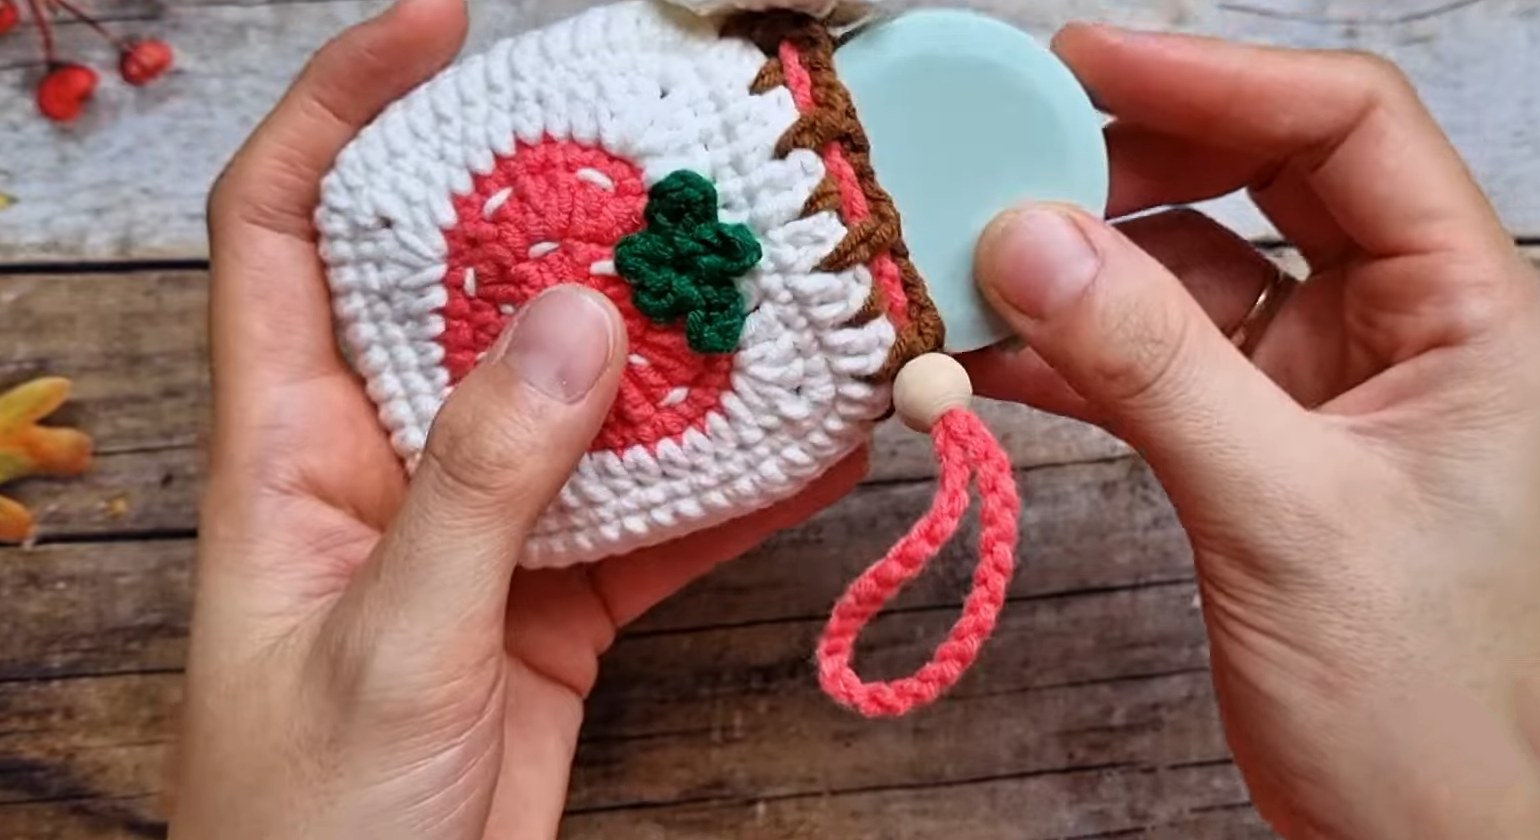
Learn to make a mini pouch bag that has 3D little red strawberry on it. It is small and cute, perfect for holding tiny things like keys, coins, or lip balm. The clean design and fun fruit motif make it a happy little accessory you can carry or gift to someone. To never lose your small items again, let’s crochet this cute pouch!
Crochet Mini Strawberry Pouch Bag Pattern
About the Creator:
Bi do Handmade has been an expert in crocheting and designing crochet amigurumi, bag charms, and pouches. Also visit her YouTube channel for more exciting projects.
Crochet Strawberry Pouch Bag Pattern
Materials
-
Yarn: Milk Cotton (125g) in Red (or strawberry color), Green (leaves), White (flowers), and Yellow (flower center).
-
Hook: 2.5 mm
-
Other: Wooden bead (for drawstring stopper), needle for weaving ends.
Abbreviations (US Terms)
-
MR: Magic Ring
-
ch: Chain
-
sl st: Slip Stitch
-
sc: Single Crochet
-
hdc: Half Double Crochet
-
dc: Double Crochet
-
inc: Increase (2 sc in one st)
-
st(s): Stitch(es)
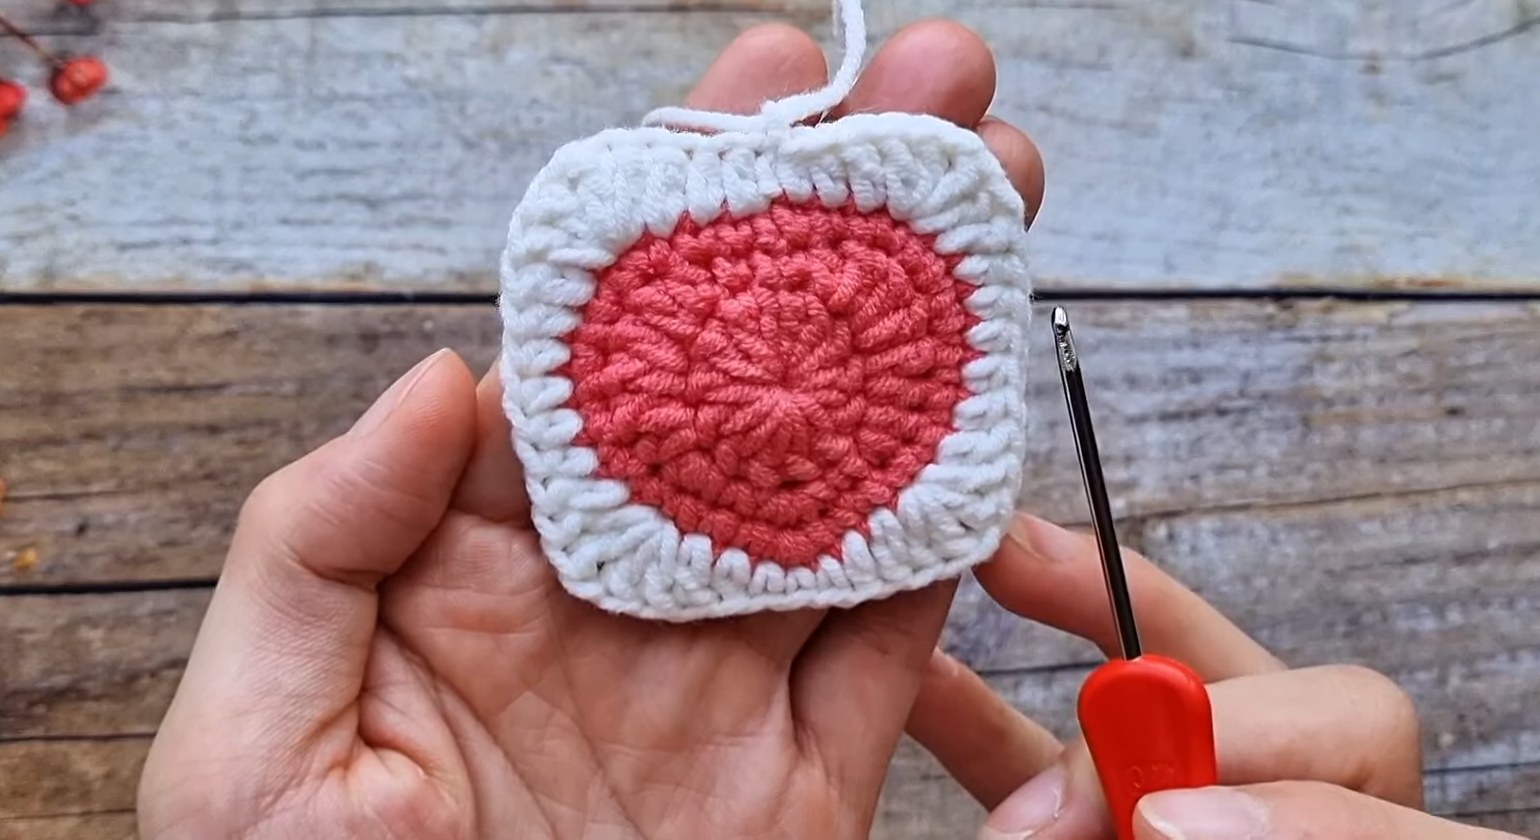
Strawberry Body
-
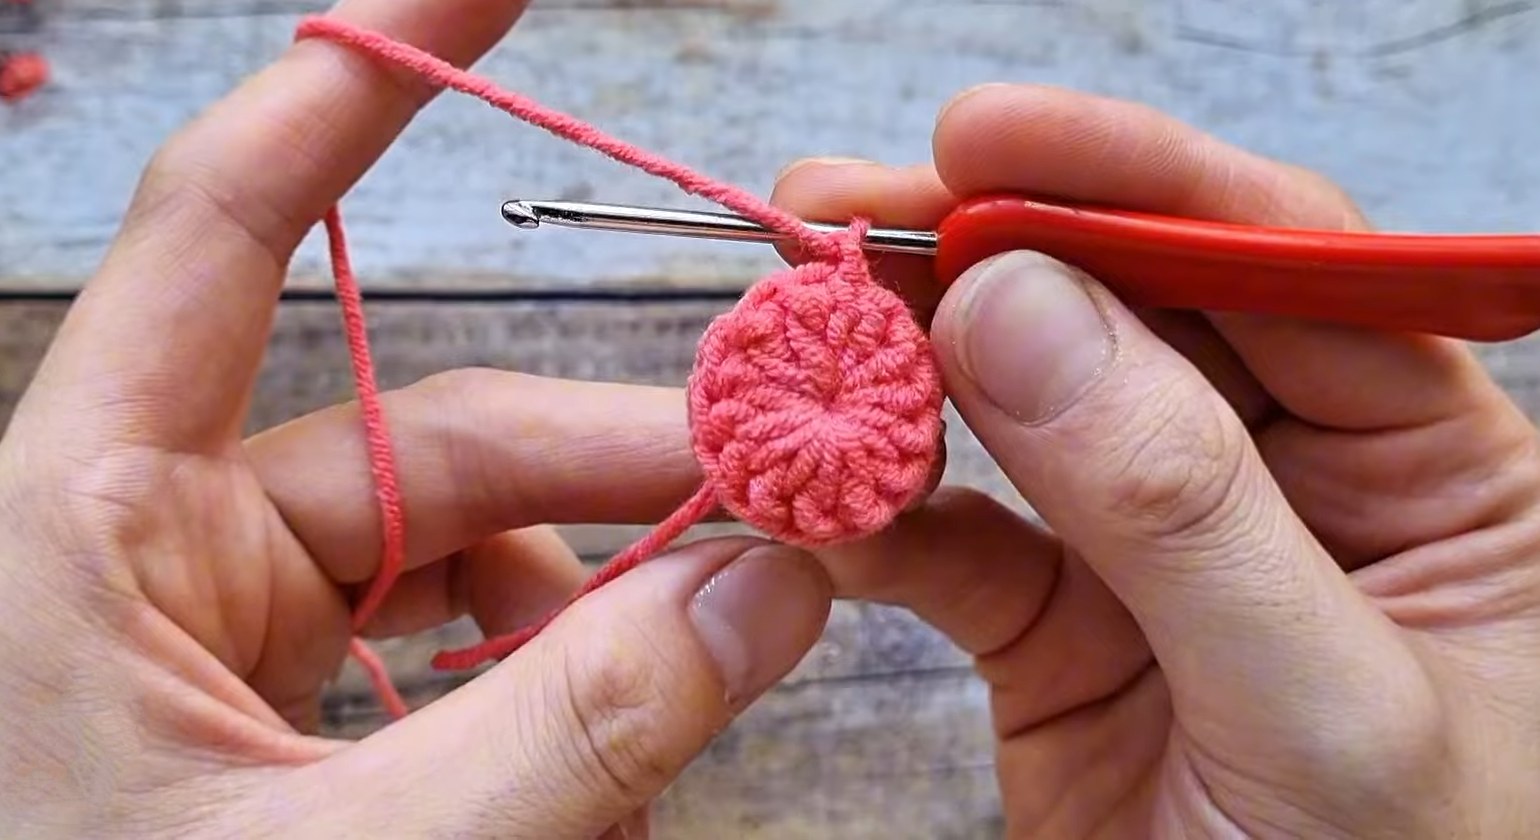
R1: Create MR, ch 2. Work 13 dc into the ring. Join with sl st to the first dc. (13)
-
R2:
-
sc in 1st st.
-
(hdc, dc) in 2nd st.
-
2 dc in 3rd st.
-
(dc, hdc) in 4th st.
-
(hdc, sc) in 5th st.
-
sc in 6th st.
-
3 sc in 7th st (Tip).
-
Mirror the other side:
-
sc in 8th st.
-
(sc, hdc) in 9th st.
-
(hdc, dc) in 10th st.
-
2 dc in 11th st.
-
(dc, hdc) in 12th st.
-
sc in 13th st.
-
Join with sl st.
-
-
R3:
-
sc in next 2 sts.
-
inc in next 3 sts.
-
sc in next 6 sts.
-
3 sc in next st (Tip center).
-
sc in next 6 sts.
-
inc in next 3 sts.
-
sc in last 2 sts.
-
Change color to Green (Leaf/Stem) in the last pull-through of the sl st.
-
-
R4 (Square Base):
-
hdc in next 2 sts.
-
dc in next st.
-
Corner 1: (2 dc, ch 1, 2 dc) in next st.
-
dc in next st.
-
hdc in next 5 sts.
-
dc in next st.
-
Corner 2: (2 dc, ch 1, 2 dc) in next st.
-
dc in next st.
-
hdc in next st.
-
sc in next 3 sts.
-
Mirror: hdc, dc.
-
Corner 3: (2 dc, ch 1, 2 dc) in next st.
-
dc, hdc in next 5 sts, dc.
-
Corner 4: (2 dc, ch 1, 2 dc) in next st.
-
dc, hdc in next 2 sts.
-
Join with sl st.
-
-
R5: ch 1. sc in each st around. In the ch-1 corner spaces, work 3 sc. Join with sl st.
-
R6: ch 2 (counts as first dc part of height, but pattern uses dc stitches). dc in each st around. (No increases at corners, this builds the wall). Join with sl st.
-
Cut yarn leaving a long tail (approx 30-40cm) for sewing.
-
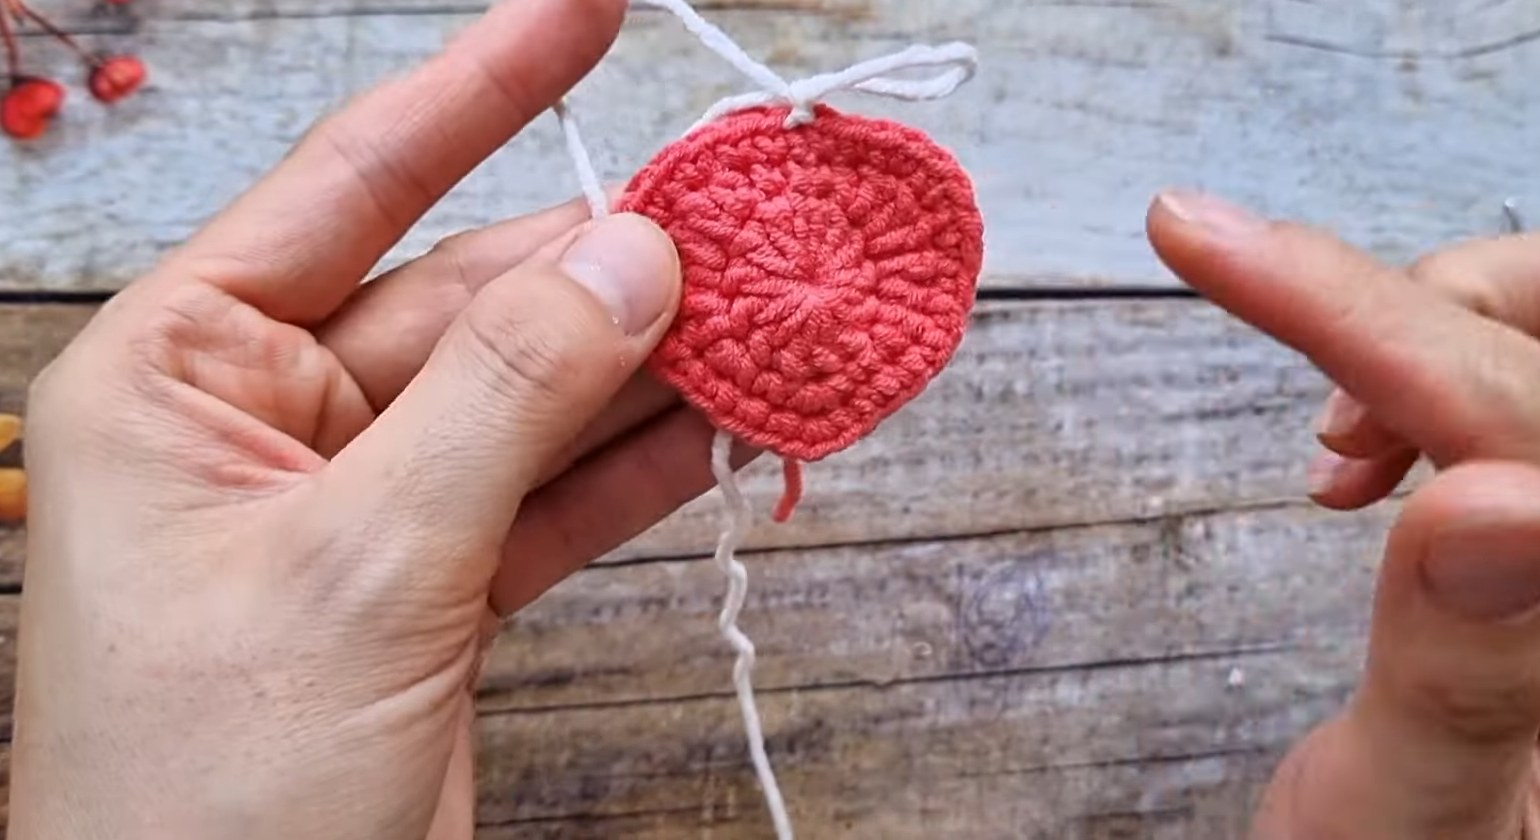
Decoration: Using white yarn and a needle, embroider small “seeds” on the red strawberry part.
-
Make 2 panels.
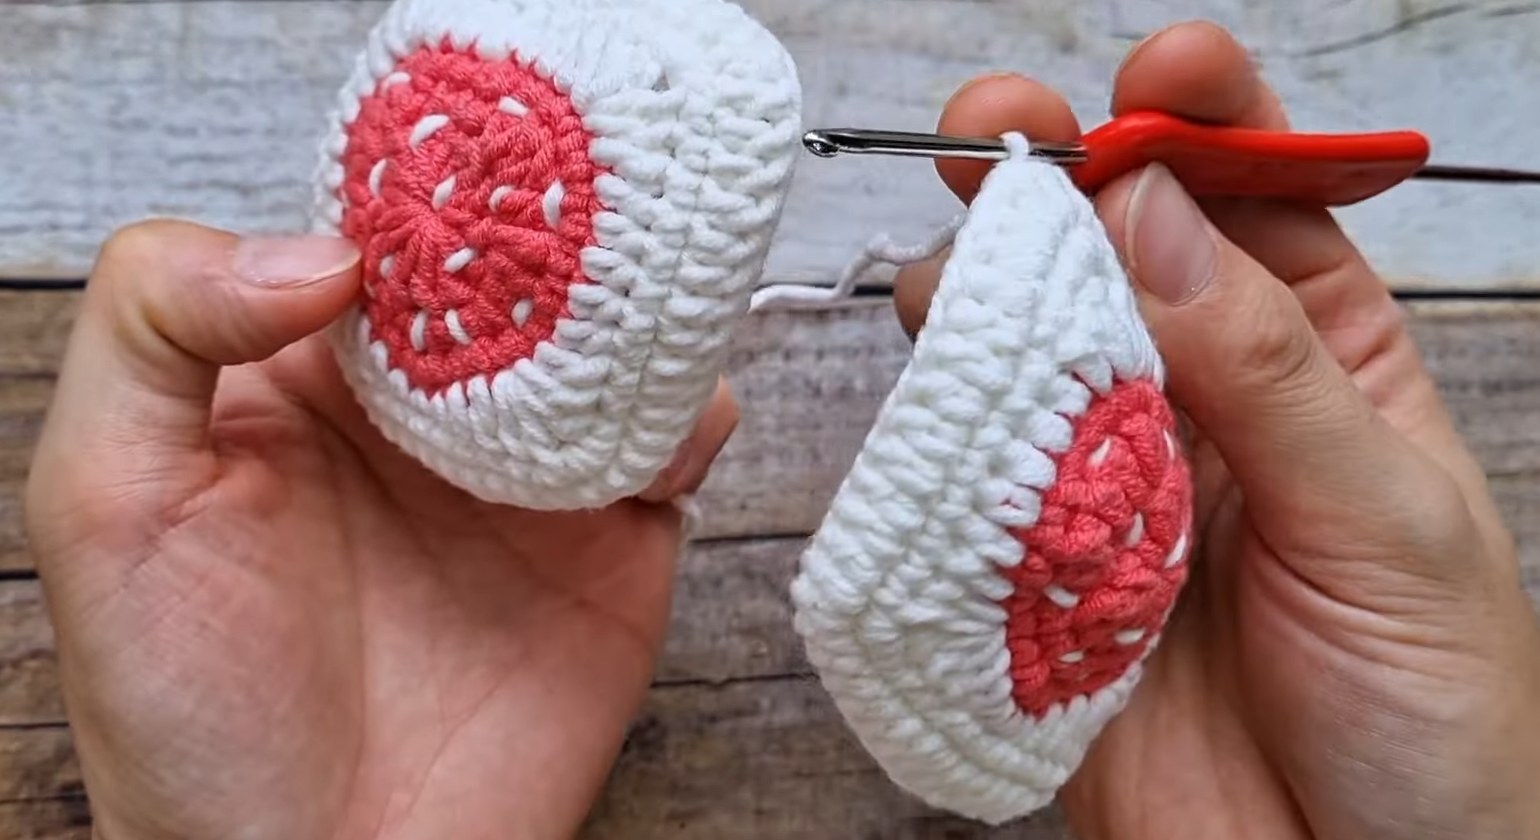
Assembly (Joining Panels)
-
Place the two panels with wrong sides facing each other.
-
Starting from the center top (green edge), join yarn and sl st through both loops of both panels to seam them together around the bottom (U-shape), leaving the top green edge open.
-
Fasten off and weave in ends.
Strawberry Leaves (Front Detail)
-
R1: MR.
-
Leaf 1-4: (ch 7, sl st back to MR, ch 3, sl st to MR, ch 3, sl st to MR, ch 6, sl st to MR).
-
Stem: ch 5, sl st in 2nd ch from hook and back down to MR.
-
Adjust chain lengths to vary leaf sizes if desired.
-
Fasten off. Sew or glue to the top center of the front panel.

Drawstring Casing (Top Edge)
-
Join yarn at the side seam of the opening.
-
R1: ch 3 (counts as dc), ch 1, skip 1 st, dc in next st. Repeat around. Join with sl st to 2nd ch of starting ch 3.
-
Fasten off.
Drawstring & Flower Charm
-
Drawstring: Make a chain approx 55-60 ch long (double the width of the bag opening).
-
Threading: Weave the chain through the casing (dc spaces) created in the top edge. Join the two ends of the chain with a sl st to form a loop.
-
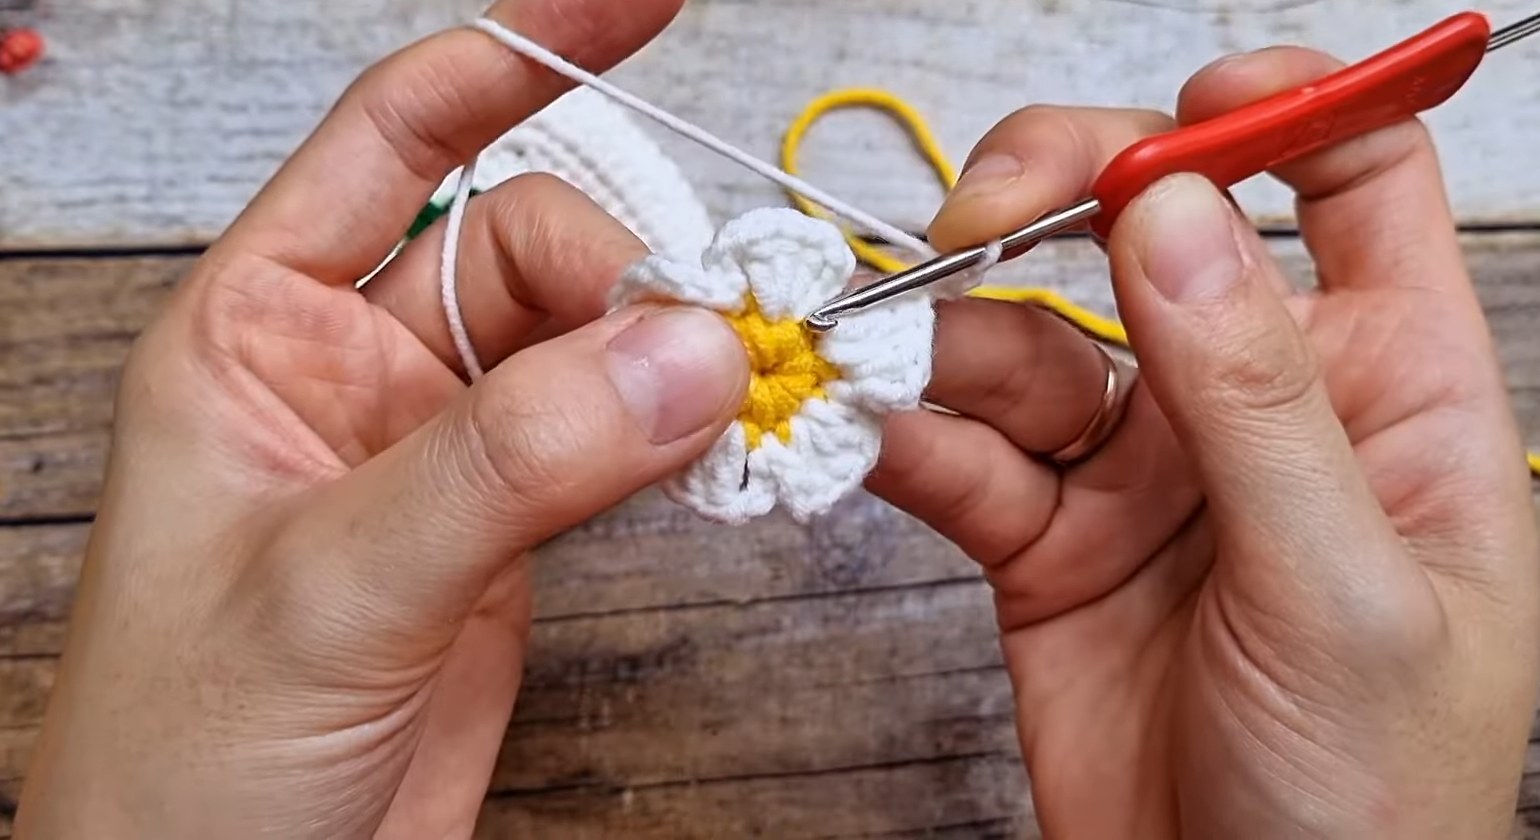
Flower Charm (to cover join):
-
Center: (Yellow) MR, ch 1, 9 sc into ring. Change to White. Join.
-
Petals: (White) ch 3, 3 dc in same st, ch 3, sl st in next st. Repeat 5 times.
-
Fasten off.
-
-
Finishing: Sew the flower over the joined ends of the drawstring. Thread a wooden bead onto the loop end of the drawstring to act as a slider/stopper.
Pattern In UK Terms
Strawberry Body
-
R1: Create MR, ch 2. Work 13 tr into the ring. Join with ss to the first tr. (13)
-
R2:
-
dc in 1st st.
-
(htr, tr) in 2nd st.
-
2 tr in 3rd st.
-
(tr, htr) in 4th st.
-
(htr, dc) in 5th st.
-
dc in 6th st.
-
3 dc in 7th st (Tip).
-
Mirror the other side:
-
dc in 8th st.
-
(dc, htr) in 9th st.
-
(htr, tr) in 10th st.
-
2 tr in 11th st.
-
(tr, htr) in 12th st.
-
dc in 13th st.
-
Join with ss.
-
-
R3:
-
dc in next 2 sts.
-
inc in next 3 sts.
-
dc in next 6 sts.
-
3 dc in next st (Tip centre).
-
dc in next 6 sts.
-
inc in next 3 sts.
-
dc in last 2 sts.
-
Change colour to Green (Leaf/Stem) in the last pull-through of the ss.
-
-
R4 (Square Base):
-
htr in next 2 sts.
-
tr in next st.
-
Corner 1: (2 tr, ch 1, 2 tr) in next st.
-
tr in next st.
-
htr in next 5 sts.
-
tr in next st.
-
Corner 2: (2 tr, ch 1, 2 tr) in next st.
-
tr in next st.
-
htr in next st.
-
dc in next 3 sts.
-
Mirror: htr, tr.
-
Corner 3: (2 tr, ch 1, 2 tr) in next st.
-
tr, htr in next 5 sts, tr.
-
Corner 4: (2 tr, ch 1, 2 tr) in next st.
-
tr, htr in next 2 sts.
-
Join with ss.
-
-
R5: ch 1. dc in each st around. In the ch-1 corner spaces, work 3 dc. Join with ss.
-
R6: ch 2 (counts as first tr part of height, but pattern uses tr stitches). tr in each st around. (No increases at corners, this builds the wall). Join with ss.
-
Cut yarn leaving a long tail (approx 30-40cm) for sewing.
-
Decoration: Using white yarn and a needle, embroider small “seeds” on the red strawberry part.
-
Make 2 panels.
Assembly (Joining Panels)
-
Place the two panels with wrong sides facing each other.
-
Starting from the centre top (green edge), join yarn and ss through both loops of both panels to seam them together around the bottom (U-shape), leaving the top green edge open.
-
Fasten off and weave in ends.
Strawberry Leaves (Front Detail)
-
R1: MR.
-
Leaf 1-4: (ch 7, ss back to MR, ch 3, ss to MR, ch 3, ss to MR, ch 6, ss to MR).
-
Stem: ch 5, ss in 2nd ch from hook and back down to MR.
-
Adjust chain lengths to vary leaf sizes if desired.
-
Fasten off. Sew or glue to the top centre of the front panel.
Drawstring Casing (Top Edge)
-
Join yarn at the side seam of the opening.
-
R1: ch 3 (counts as tr), ch 1, skip 1 st, tr in next st. Repeat around. Join with ss to 2nd ch of starting ch 3.
-
Fasten off.
Drawstring & Flower Charm
-
Drawstring: Make a chain approx 55-60 ch long (double the width of the bag opening).
-
Threading: Weave the chain through the casing (tr spaces) created in the top edge. Join the two ends of the chain with a ss to form a loop.
-
Flower Charm (to cover join):
-
Centre: (Yellow) MR, ch 1, 9 dc into ring. Change to White. Join.
-
Petals: (White) ch 3, 3 tr in same st, ch 3, ss in next st. Repeat 5 times.
-
Fasten off.
-
-
Finishing: Sew the flower over the joined ends of the drawstring. Thread a wooden bead onto the loop end of the drawstring to act as a slider/stopper.