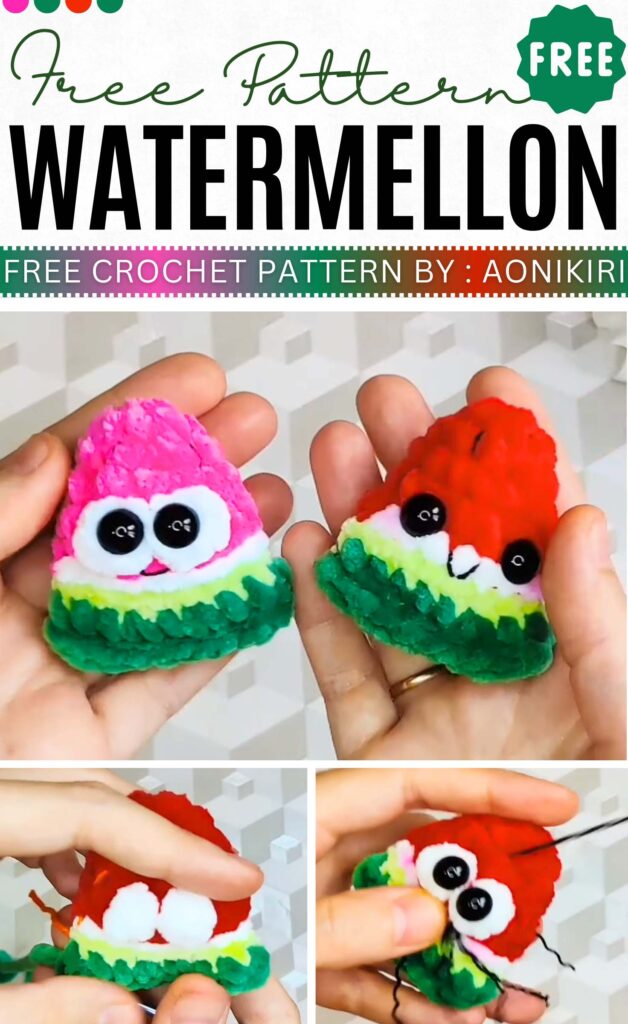
Free Crochet No-Sew Watermelon Plushie with Face Pattern
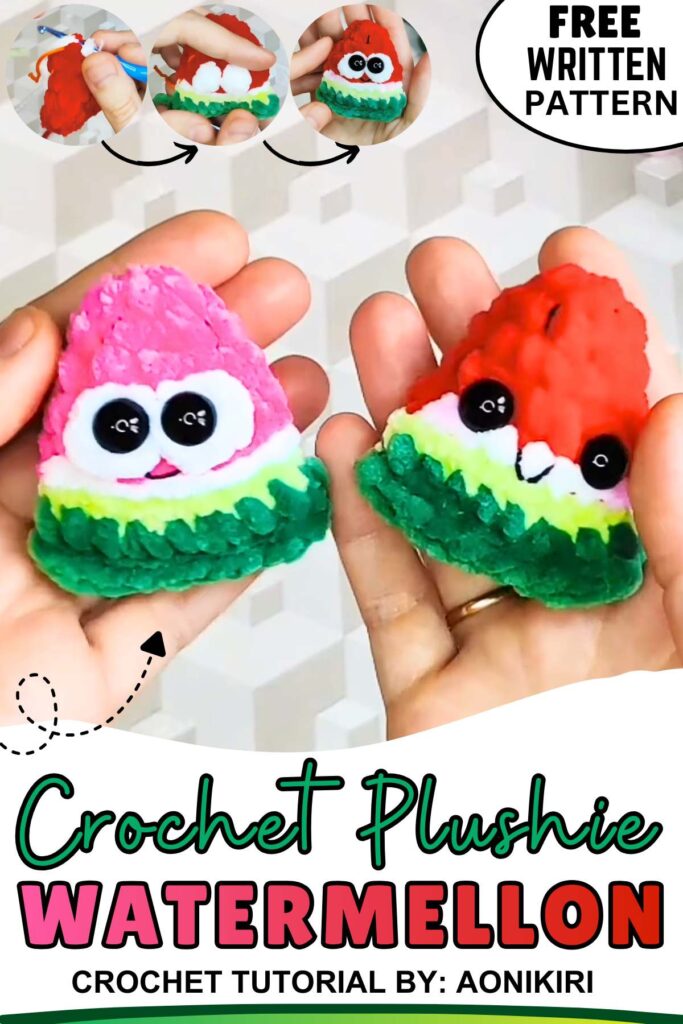
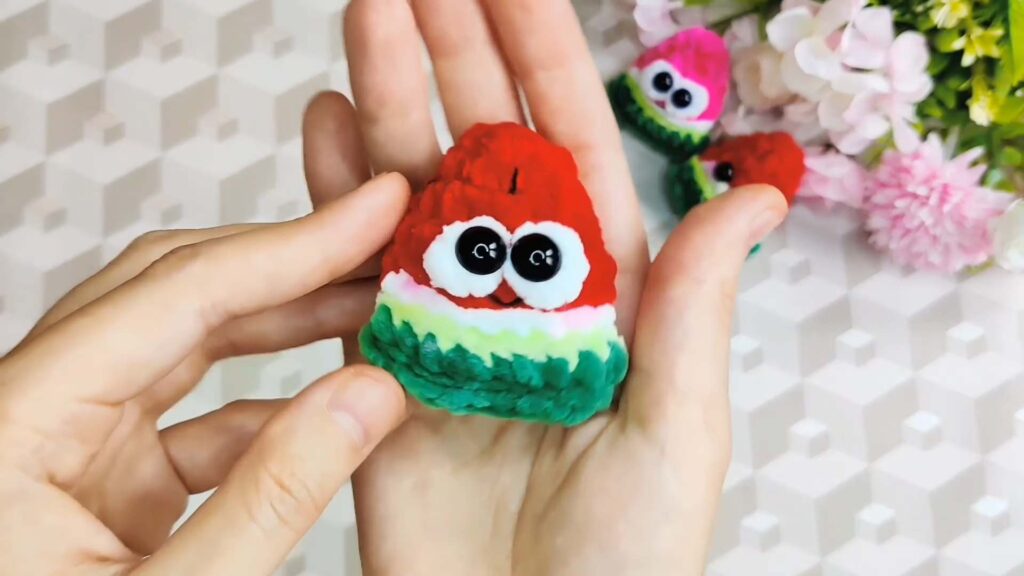
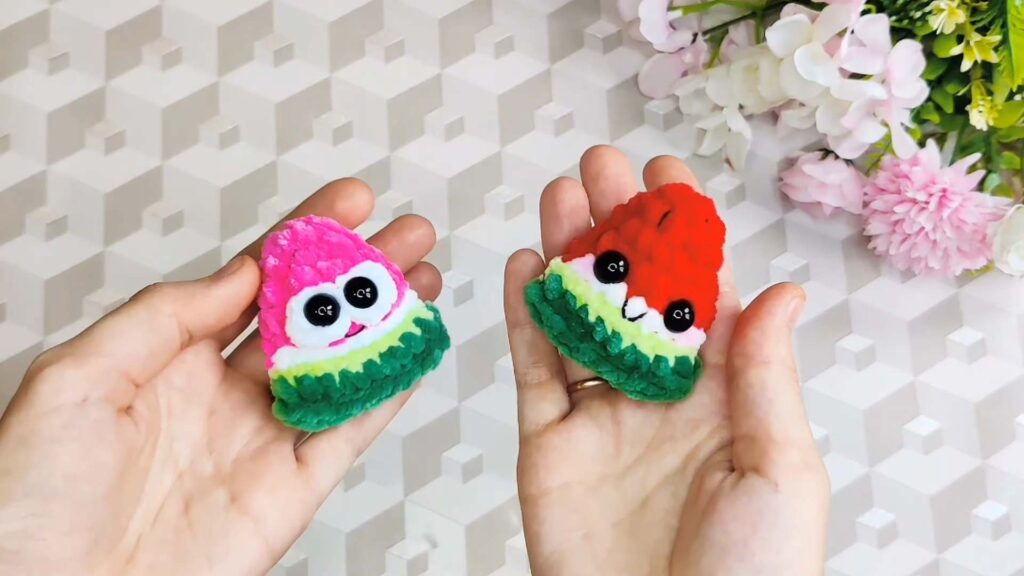
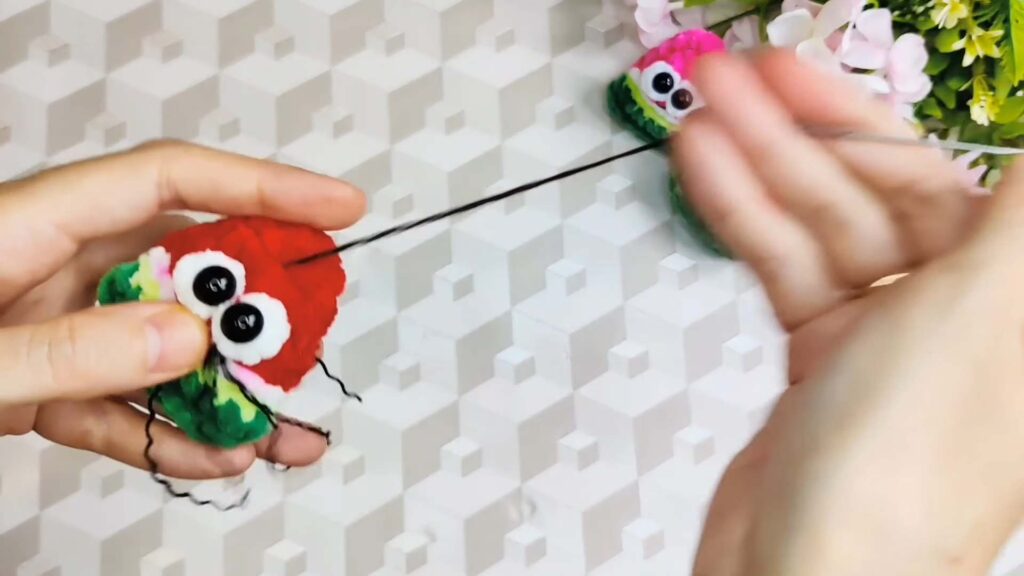
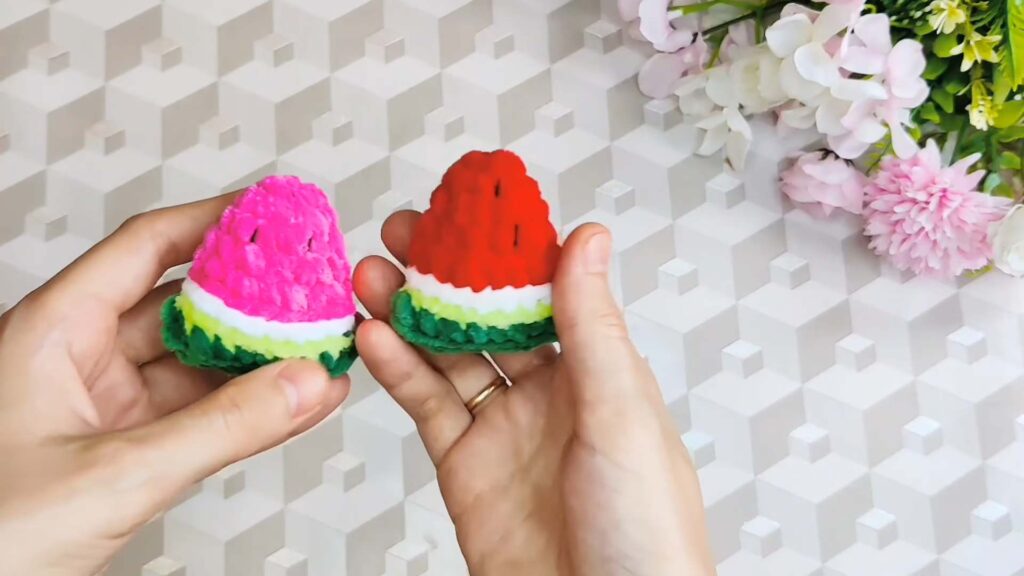
Crochet watermelon slice will never be that cute and quick to crochet. So, follow this free written pattern to crochet these mini no-sew watermelon plushies in two versions: one with standard safety eyes and one with googly eyes. I am especially in love with the googly eye watermelon since it looks so kawaii and cute.
The variation does not stop there; you can also crochet one using purple instead of red, and it actually looks nice. You can easily complete crocheting this watermelon plushie within 15 minutes. So, don’t miss crocheting a pair for gifting!
Crochet Mini Watermelon Plushie Pattern
Watermelon plushies are one of the easiest and great for mastering seamless switching of colors and the oval base. They will just do so well at any craft fair as a dessert plushie.
Following this pattern, you will also learn how to design the googly eyes using crocheting instead of buying them. They give any plushie a very cute look and a 3D eye feel.
Designer of the Watermelon Plushie:
The designer of this watermelon kawaii plushie for kids is @aonikiri – she has expertise in “no-sew” crochet keychains and small plushies that are always so cute.
Note: For this crochet watermelon plushie in particular, I will provide you with the complete pattern using English terms.
Abbreviations Used:
MR: Magic Ring
ch: Chain
sl st: Slip Stitch
sc: Single Crochet
inc: Increase (2 sc in one st)
Puff: Puff Stitch (3 Double Crochet Cluster with a common top)
BLO: Back Loop Only (work stitch in the back loop only)
Materials Needed
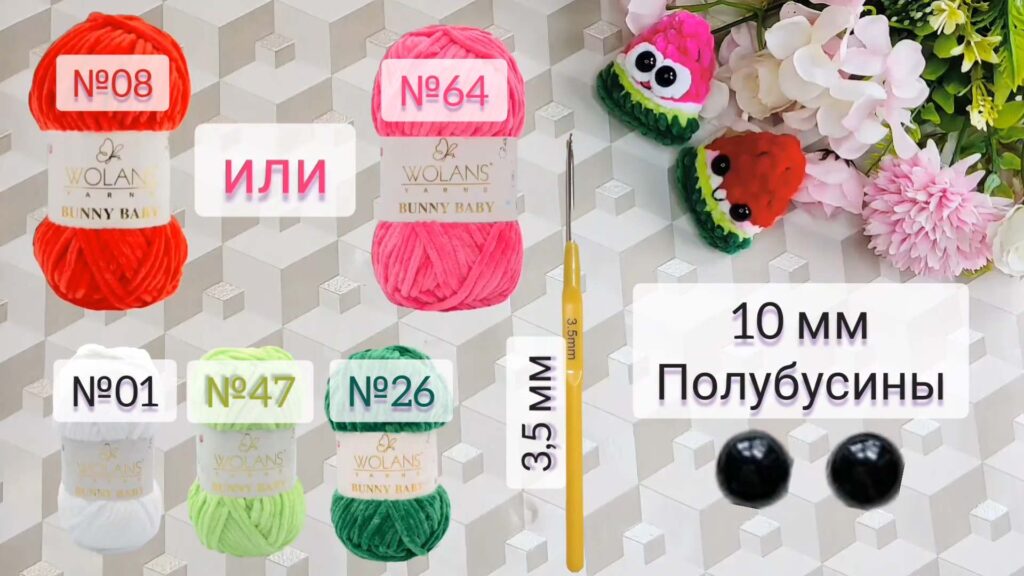
Here are the supplies needed for this cute no-sew plushie:
- WOLANS Bunny Baby Plush yarn no. 08, 64, 26, 47, and 01.
Alize Soft yarn no. 617 - Crochet Hook: 3.5 mm
- Safety Eyes: 10 mm
Watermelon Keychain Crochet Pattern (No Sew)
Red/Pink Part (The Meat)
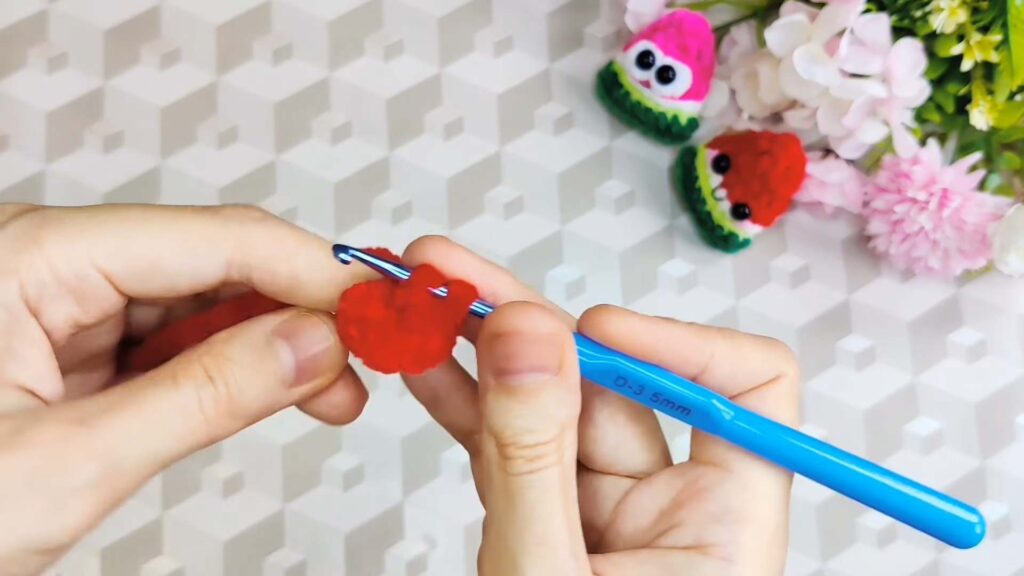
Start with Red or Pink yarn.
R1: In a MR, work 6 sc. (6)
R2: (inc, sc) repeat 3 times. (9)
R3: (2 sc, inc) repeat 3 times. (12)
R4: (inc, 3 sc) repeat 3 times. (15)
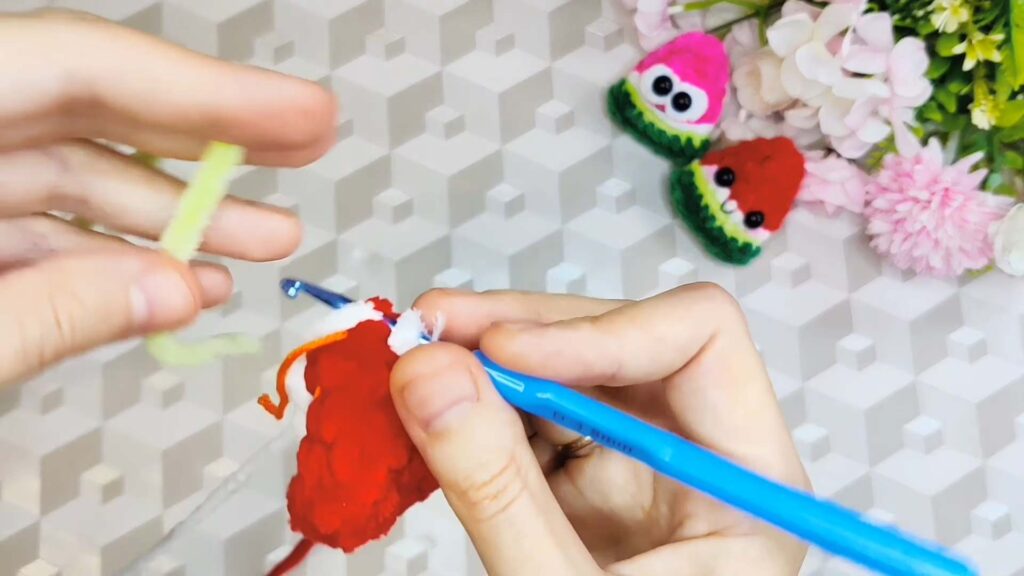
R5 (Eyes):
inc (Red).
Eye 1: Change to White yarn. Work a Puff in the next st. Close the Puff with Red yarn.
sc (Red).
Eye 2: Change to White yarn. Work a Puff in the next st. Close the Puff with Red yarn.
sc (Red).
inc (Red).
4 sc (Red).
inc (Red).
4 sc (Red). (18 sts)
Secure the White yarn (tie off/hide) but do not cut the Red yarn yet.
White Part (Inner Rind)
R6: Change to White yarn. Working in the BLO only:
Work 18 sl st around. (18 sl st)
Do not complete the last sl st, change to Light Green/Salad yarn. (The Red yarn can now be cut).
Light Green Part (Outer Rind)
R7: With Light Green yarn, working in the BLO only:
Work 18 sl st around. (18 sl st)
Do not complete the last sl st, change to Dark Green yarn. (The Light Green yarn can be cut).
Dark Green Part (Crust)
R8: With Dark Green yarn, working in the BLO only:
3 sc, inc, 5 sc, inc, 5 sc, inc, sc.
sl st into the last stitch. (21 sc, 1 sl st)
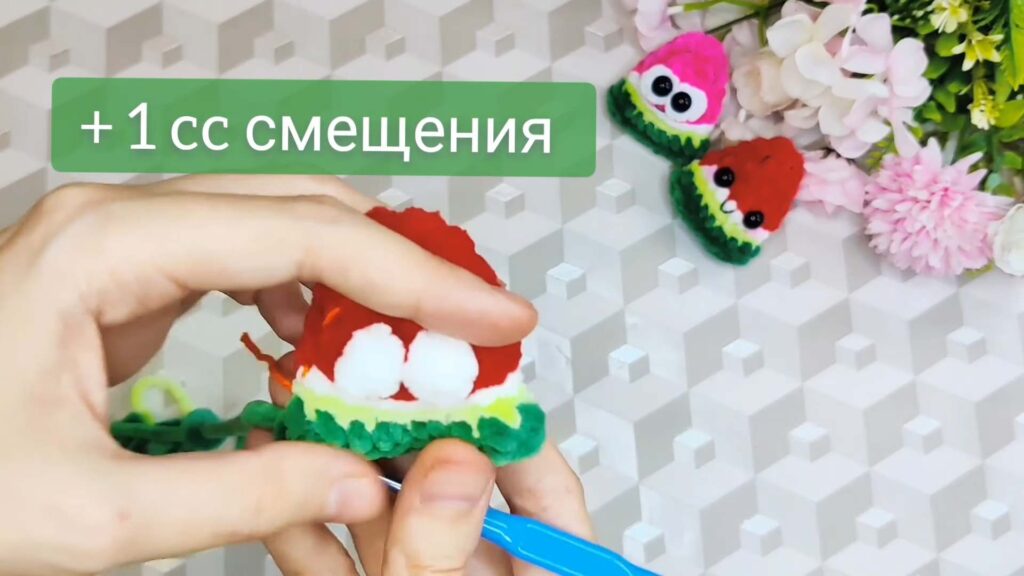
Finishing and Closing
Shift: Work 1 sl st to move the join to the center/side.
Stuffing: Stuff the piece firmly with fiberfill, ensuring the stuffing is pushed to the edges so the bottom remains flat.
Closing: Fold the piece flat. You will now join the front and back rows together:
Work a sl st by inserting the hook through the back loop of a stitch in the front layer and the front loop of the stitch in the back loop.
Continue to sl st across the opening to close the watermelon completely.
Cut the yarn, leaving a long tail for securing/hanging.
Details and Embellishments
Secure: Use the tail and a needle to sew the final opening and hide the tail inside the piece.
Mouth and Seeds: Use thin Black yarn to embroider a small mouth under the eyes. Embroider small V-shapes (seeds) on the red part of the watermelon.
Cheeks (Optional): Use a small amount of blush or pink/red makeup to gently dust the cheeks under the eyes.