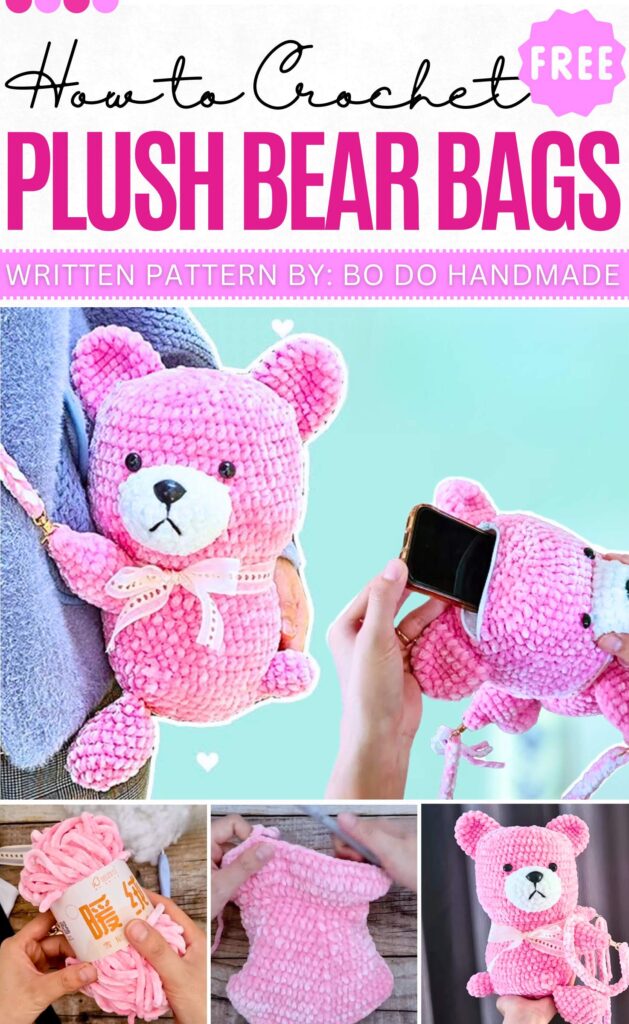
Crochet Plush Bear Bag Pattern & Video Tutorial
This soft bear bag is a perfect gift for Valentine’s Day. It is made with thick, fuzzy yarn that feels very cuddly and soft. Since the yarn is chunky, you can finish this project very quickly. It is just the right size to hold a phone, snacks, or small toys for kids and animal lovers.
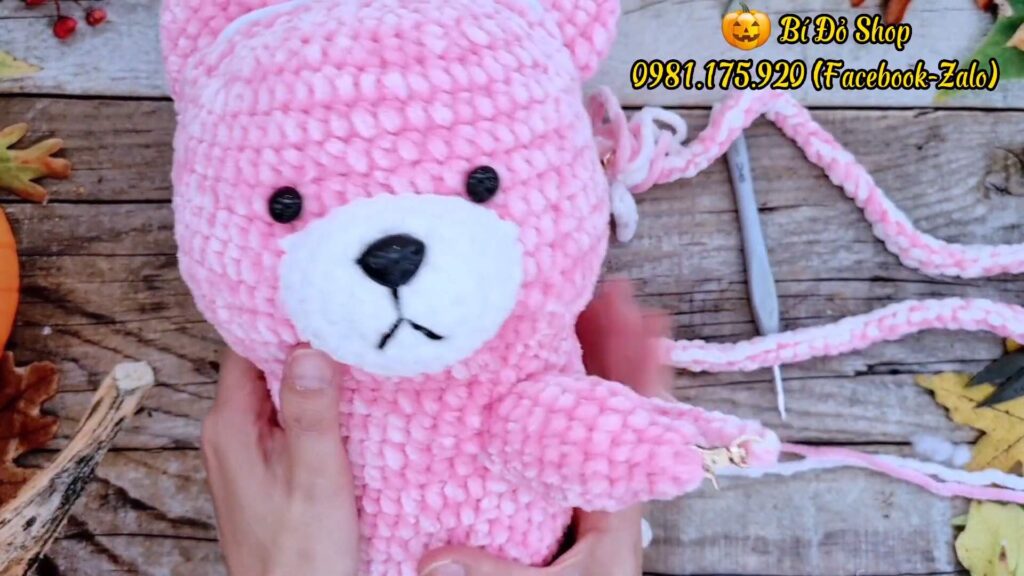
Crochet Plush Bear Bag Pattern
About The Creator:
Bi do Handmade has been an expert in crocheting and designing crochet amigurumi, bag charms, and pouches. Also visit her YouTube channel for more exciting projects.
This Pattern Is Divided Into Two Parts:
Materials
-
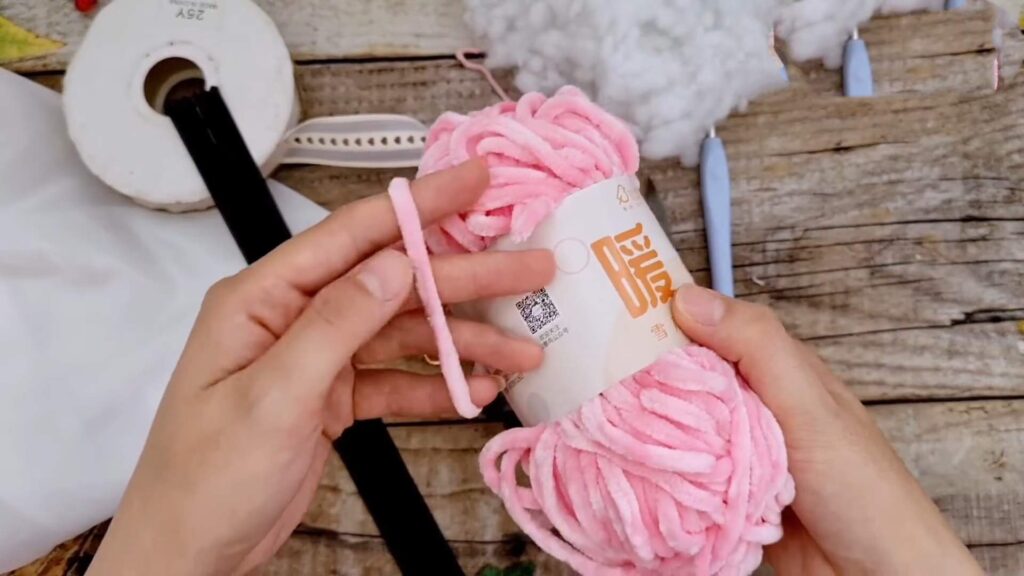
Velvet yarn (6-7mm)
-
4.0mm Hook
-
Stitch markers, needle, scissors
-
Zipper, lining fabric, strap hardware
-
Safety eyes/nose
Abbreviations
-
ch: chain
-
sc: single crochet
-
hdc: half double crochet
-
inc: increase (2 sts in same st)
-
dec: decrease (hdc2tog)
-
sl st: slip stitch
-
st(s): stitch(es)
-
rep: repeat
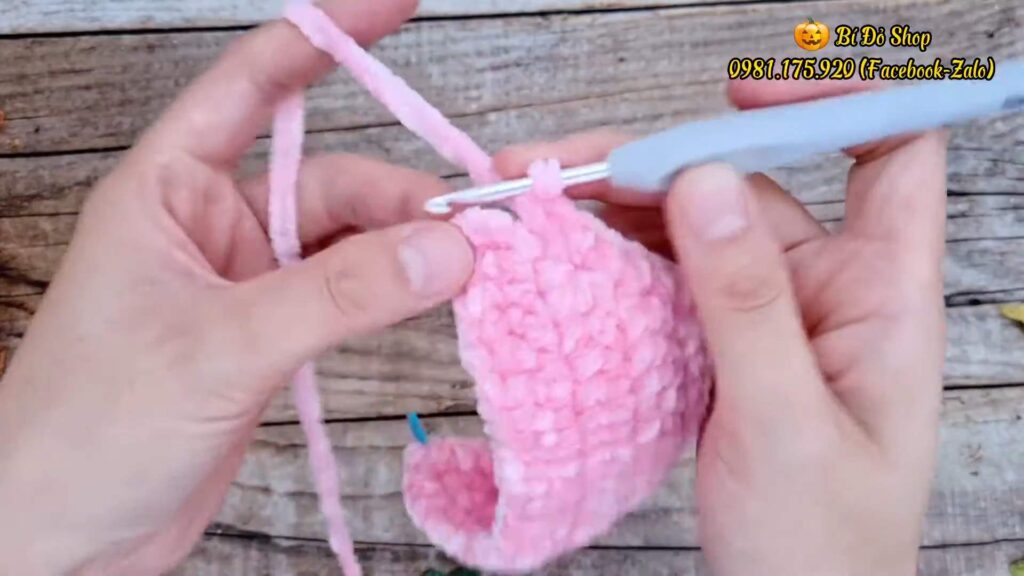
Part 1: Base (Triangle)
Work in rows, turning after each row.
-
Row 1: Ch 2. 2 sc in 2nd ch from hook. (2) [02:39]
-
Row 2: Ch 1, turn. 2 sc in first st, 2 sc in last st. (4) [03:02]
-
Row 3: Ch 1, turn. 2 sc in first st, sc in next 2, 2 sc in last st. (6) [03:32]
-
Row 4: Ch 1, turn. 2 sc in first st, sc across, 2 sc in last st. (8) [04:04]
-
Rows 5–14: Rep Row 4 pattern (inc at start and end, sc across middle) until base is ~7-8cm tall. [05:26]
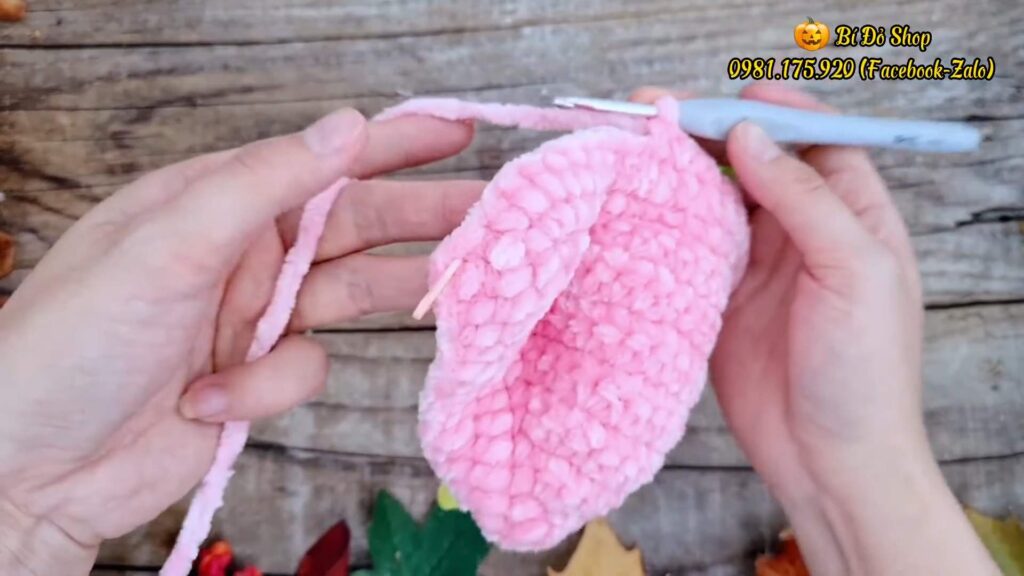
Base Border
-
Round 1: Sc around the entire triangle.
-
Note: Determine the exact center of the Top Edge (between Belly Corner 1 & 2) and mark it (Center Belly). [12:11]
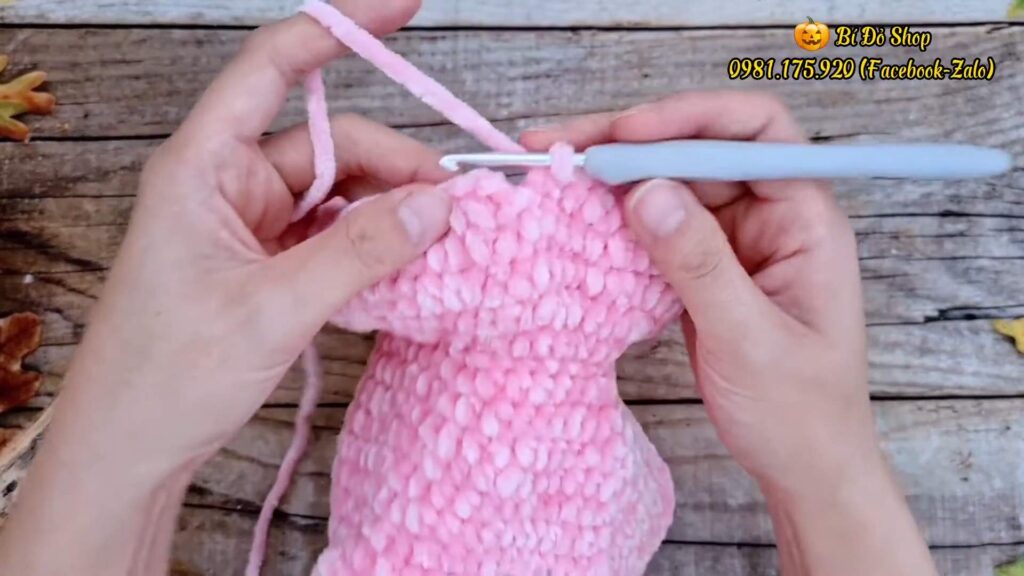
Part 2: Body (Lower Section)
Work in rounds. Dec at the marked Tail and Belly spots to shape the cup.
-
Round 1: Ch 2, hdc in same st. Hdc around, except:
-
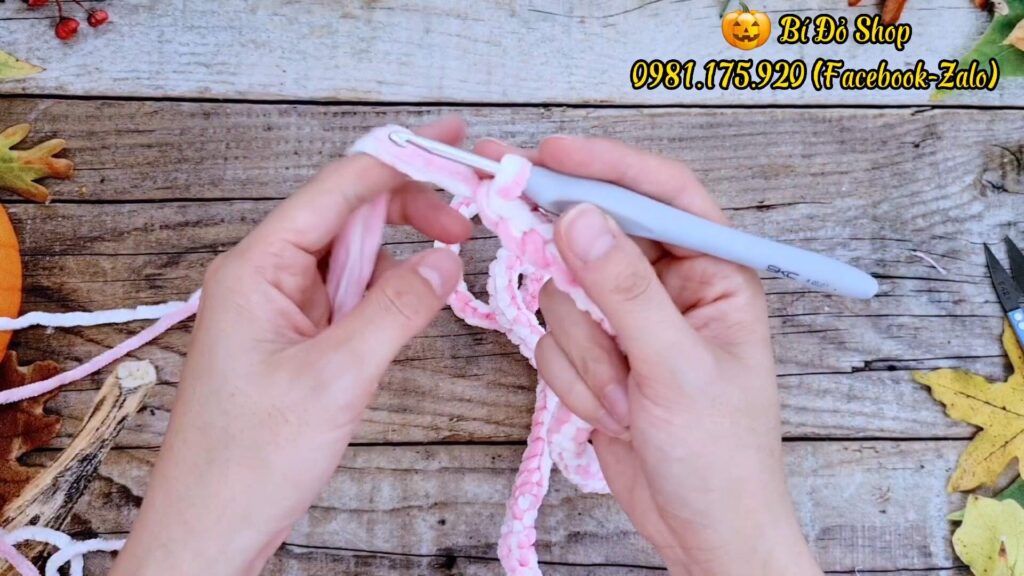
Rounds 2–10: Ch 2. Hdc around, making 1 dec at the Tail marker and 1 dec at the Belly marker in each round (Dec uses the previous dec st + next st). [15:39]
-
Round 11: Ch 1. Sc in each st around. Join with sl st. [19:13]
Part 3: Head (Upper Section)
Increases create the chubby cheeks.
-
Round 12: Ch 2. Hdc in next 2 sts, inc. Rep around. Join. [20:19]
-
Round 13: Ch 2. Hdc in next 3 sts, inc. Rep around. Join. [21:32]
-
Rounds 14–15: Ch 2. Hdc in each st around (No inc). [22:48]
-
Round 16 (Dec): Ch 2. Hdc in next 3 sts, dec. Rep around. Join. [23:41]
-
Rounds 17+: Ch 2. Hdc in each st around until Head height matches Body height (approx. same number of rows). [25:28]
-
Fasten off.

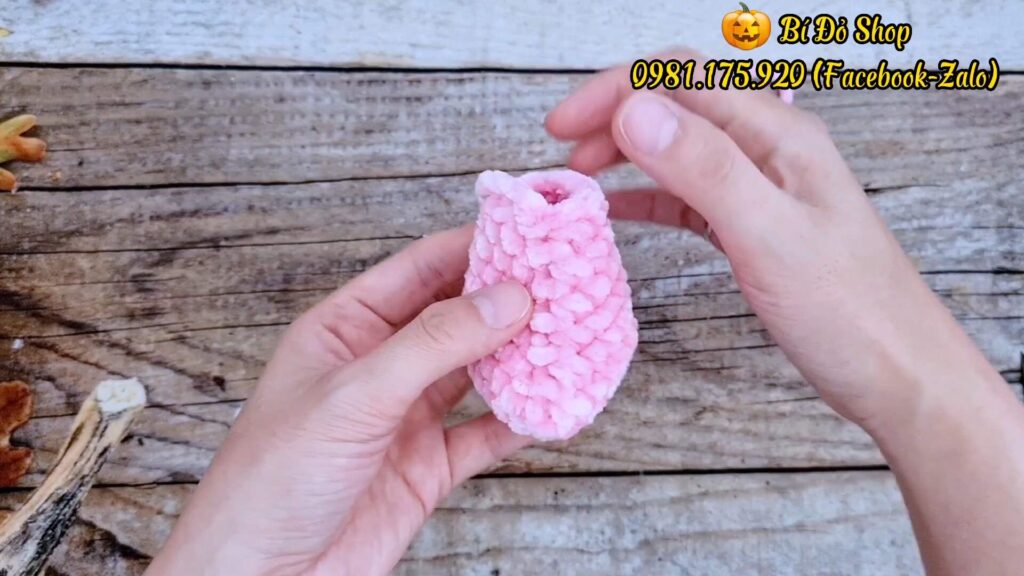
Part 4: Top Closure (Zipper Flaps)
Flatten bag sideways so Tail is on one side and Belly is on the other. Mark the two side folds. Leave marked sts unworked (gaps for zipper). Attach yarn to one side (front or back).
-
Row 1: Ch 2. Hdc in next 2 sts, dec. Rep across. Turn. [28:11]
-
Row 2: Ch 2. Hdc in next 1 st, dec. Rep across. Turn. [30:13]
-
Row 3: Ch 2. Dec across entire row. Turn. [31:13]
-
Row 4: Ch 2. Dec until closed. Fasten off. [31:46]
-
Repeat Rows 1–4 for the other side.
Finishing
-
Stuff lightly with polyfill. [32:55]
-
Sew zipper into the top opening.
-
Attach eyes, nose, and strap D-rings.
Video Tutorial:
Part 2
Abbreviations:
-
MR: Magic Ring
-
ch: Chain
-
sc: Single Crochet
-
inc: Increase (2 sc in one st)
-
dec: Decrease (sc 2 together)
-
sl st: Slip Stitch
-
st(s): Stitch(es)
-
(…) x N: Repeat instructions in parentheses N times
-
[N]: Total number of stitches in the round
1. Tail (Đuôi)
-
R1: MR, 6 sc. Sl st to join, ch 1. [6]
-
R2: 6 inc. Sl st, ch 1. [12]
-
R3: Sc in each st around. Sl st, ch 1. [12]
-
R4–R6: Repeat R3 (Sc in each st). [12]
-
Fasten off, leaving a long tail for sewing.
2. Ears & Snout (Tai & Mũi)
Make 3 pieces total: 2 for Ears, 1 for Snout.
-
R1: MR, 6 sc. Sl st, ch 1. [6]
-
R2: 6 inc. [12]
-
R3: (1 sc, inc) x 6. [18]
-
R4: (2 sc, inc) x 6. [24]
-
R5–R8 (approx): Sc in each st around. Continue until desired depth/height is reached (approx. 3-4 rounds of plain sc).
-
Fasten off, leaving a long tail.
-
Note: For the Snout, embroider a nose with black yarn and sew onto the face in an oval shape. For Ears, flatten and sew to the head.
3. Legs (Chân)
Make 2.
-
R1–R4: Follow the same pattern as the Ears/Snout (expand to 24 sts).
-
R1: 6 sc, R2: 12 sc, R3: 18 sc, R4: 24 sc.
-
-
R5 (Decrease Round): Ch 1. Skip first st. Sc in 2nd st (mark this st). Sc in each st until 2 sts remain. Dec (sc2tog) over last 2 sts. Sl st to marked st. [22]
-
R6+: Repeat the logic of R5 for every subsequent round:
-
Skip 1st st, sc across, dec over last 2 sts.
-
-
Continue repeating this decrease row until the leg reaches the desired height/taper relative to the body.
-
Fasten off, leave long tail.
4. Arms (Tay)
Make 2.
-
R1: MR, 7 sc. Sl st, ch 1. [7]
-
R2: Sc in each st around. [7]
-
R3: Sc in each st around. [7]
-
R4 (Increase): Inc in every st around. [14]
-
R5+: Sc in each st around. [14]
-
Repeat R5 until the arm reaches the desired length.
-
Fasten off, leave long tail.
5. Strap (Dây đeo)
Material: Double strand of yarn (hold 2 strands together).
-
Leave a long starting tail (approx. 2-3 times the desired strap length).
-
Insert hook through the loop of a Lobster Clasp.
-
Pull up a loop with the working yarn.
-
Pattern:
-
Wrap the loose tails (from front to back) over the hook.
-
Yarn Over with working yarn and pull through both loops on hook.
-
Repeat: Wrap tails front-to-back over hook, YO with working yarn, pull through.
-
-
Continue until strap is desired length.
-
Attach the second Lobster Clasp at the end, secure knots, and hide ends.
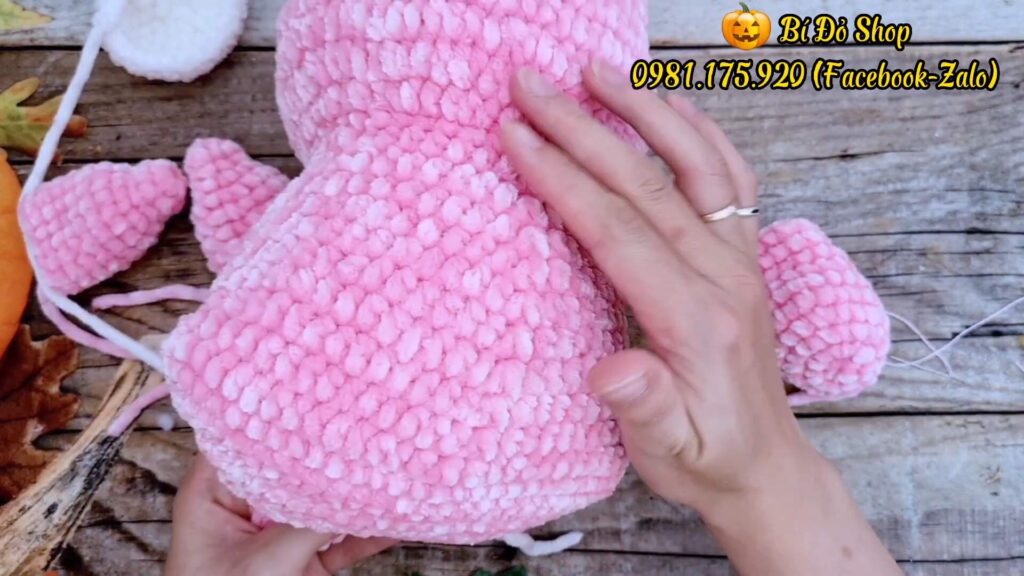
Assembly & Finishing
-
Stuffing:
-
Stuff the Body firmly.
-
Stuff the Tail, Legs, and the wide part of the Arms.
-
Do not stuff the Ears (flatten them).
-
-
Sewing:
-
Zipper: Sew zipper to the top opening of the body.
-
Ears: Sew to the top back of the head (behind zipper).
-
Legs: Sew to the bottom sides of the body (angled slightly outward).
-
Arms: Sew to the sides of the body, above the legs. Flatten the top (skinny) part of the arm when sewing.
-
Snout: Sew to the center front. Shape it into a horizontal oval while sewing.
-
-
Lining (Optional):
-
Cut fabric to match body shape (folded).
-
Insert into body and sew lining edge to the zipper tape.
-
-
Strap: Clip the lobster clasps to the stitches on the Arms (specifically mentioned to attach near the 7-st starting circle area of the arms).