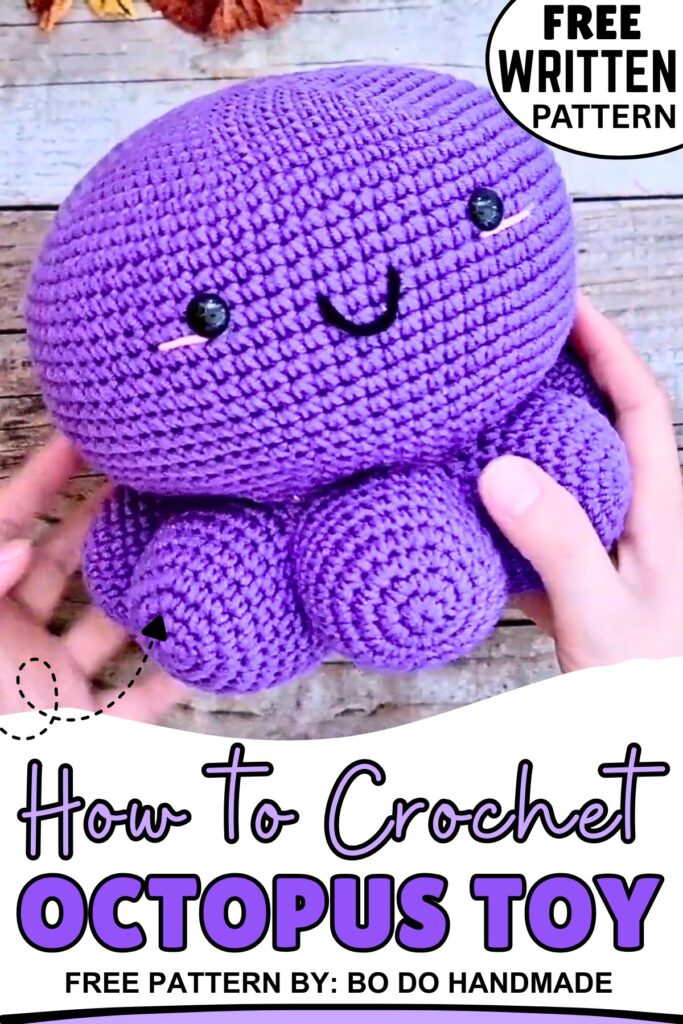
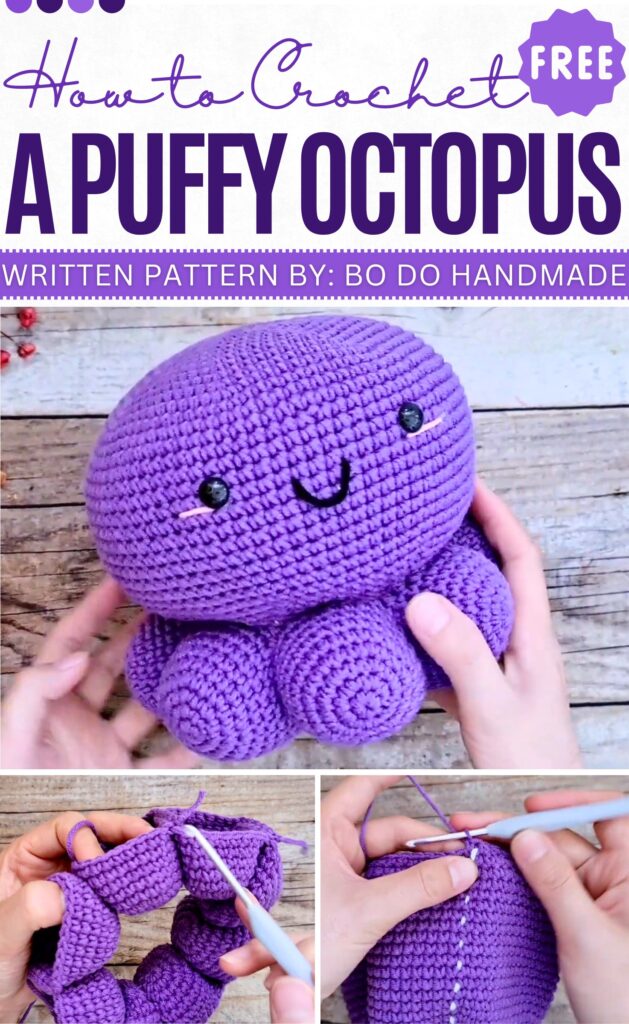
Crochet Puffy Octopus Amigurumi Pattern Free
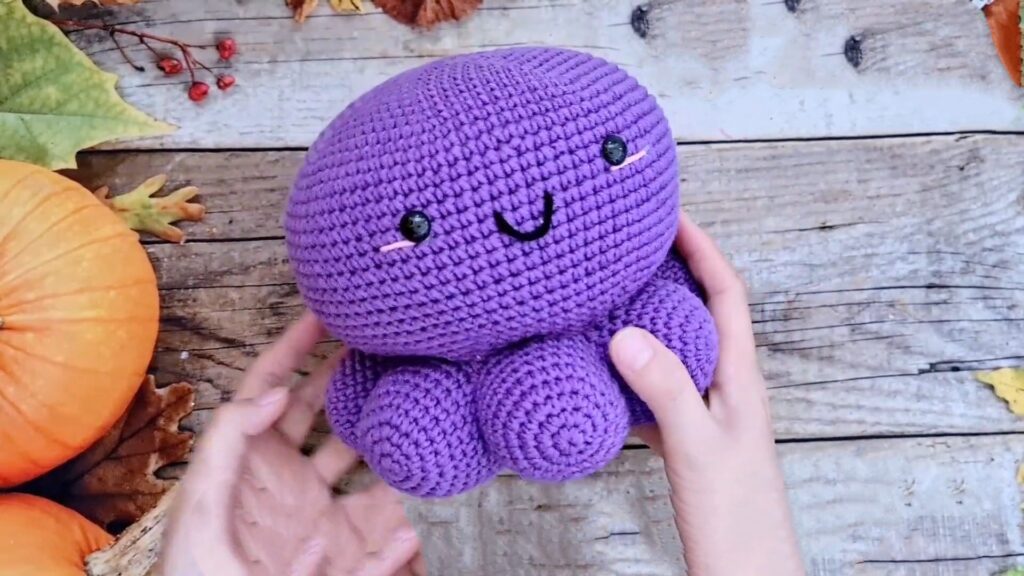
This pattern shows you how to make a large, cuddly crochet octopus. What makes this version special is that it is made of several different parts joined together to look like a big, friendly sea creature. It is quite big when finished, measuring about 22 cm wide, making it a perfect handmade gift or a soft decoration for a room.
About The Creator:
Bi do Handmade has been an expert in crocheting and designing crochet amigurumi, bag charms, and pouches. Also visit her YouTube channel for more exciting projects.
Let’s Crochet Puffy Octopus Amigurumi
Abbreviations (US Terms)
-
MR: Magic Ring
-
ch: Chain
-
sc: Single Crochet
-
inc: Increase (2 sc in one stitch)
-
dec: Decrease (sc2tog)
-
st(s): Stitch(es)
-
sl st: Slip stitch
-
[ ] x N: Repeat instructions in brackets N times
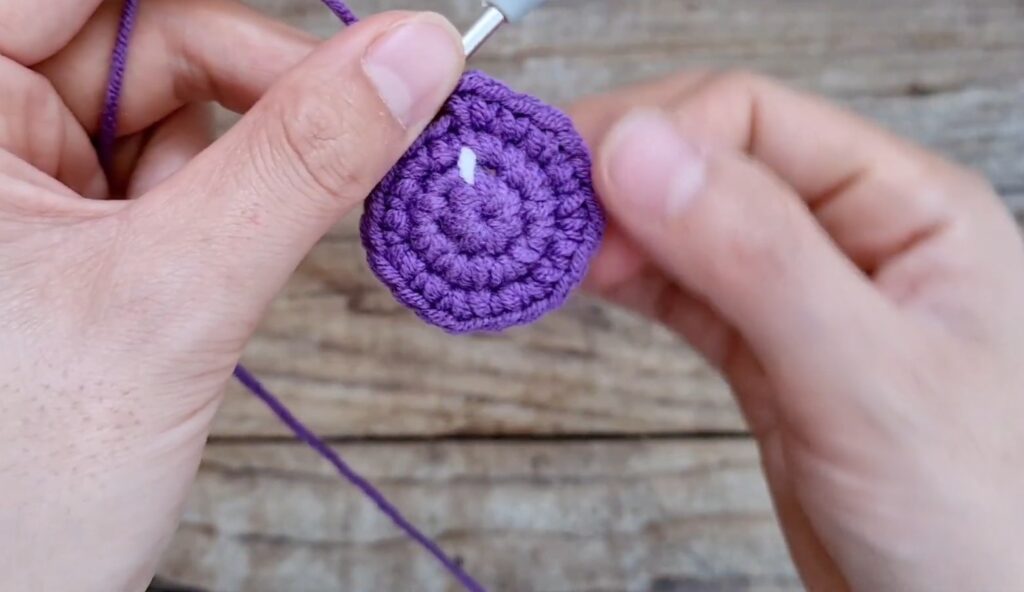
1. Tentacles / Legs (Make 8)
Worked in continuous spiral.
-
R1: 7 sc in MR (7)
-
R2: 7 inc (14)
-
R3: [1 sc, inc] x 7 (21)
-
R4: [2 sc, inc] x 7 (28)
-
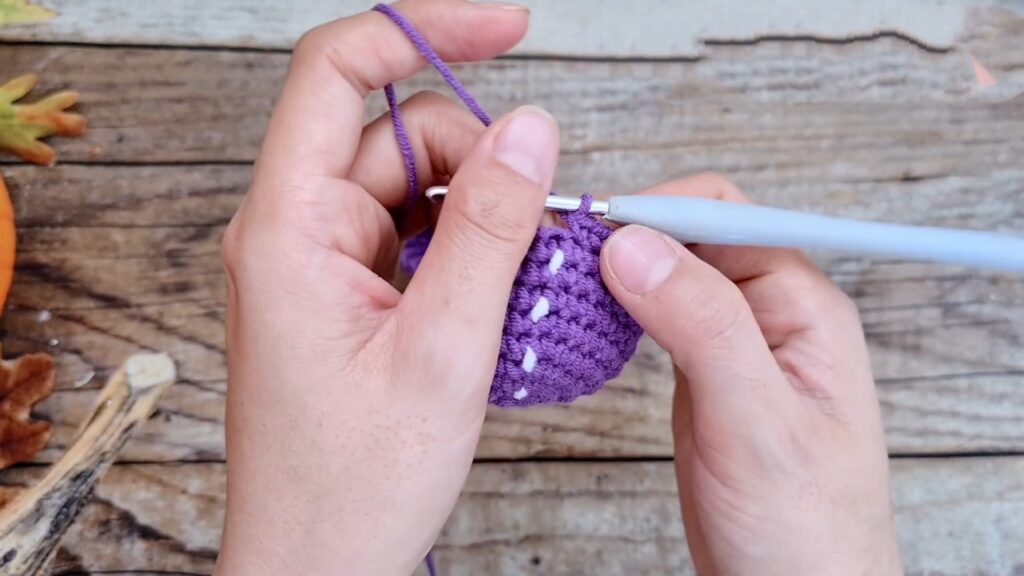
R5–R10 (approx): sc in each st (28) — Note: Add more rounds for a taller leg.
-
Fasten off for the first 7 legs. Do not fasten off the 8th leg.
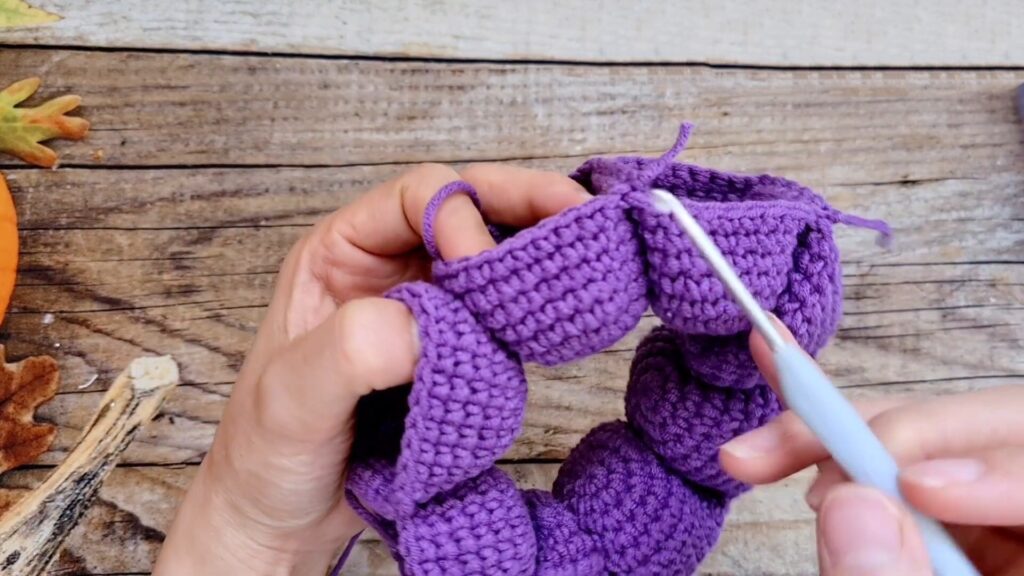
2. Joining the Legs
Hold the 8th leg and a finished leg together.
-
Join: Join legs by crocheting through both layers for 7 sc.
-
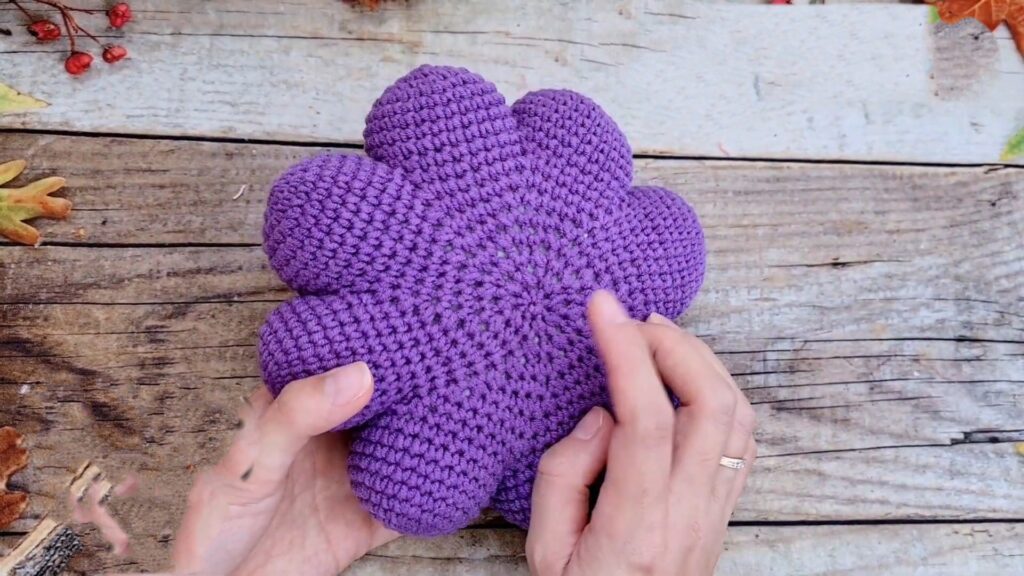
Continue joining all 8 legs in a circle, leaving 7 unworked stitches on the outer edge and 7 unworked stitches on the inner edge of each leg.
-
Once all 8 are joined in a ring, the bottom of the octopus will have a large hole.
3. Bottom Base (Closing the Leg Gap)
Work into the 7 unworked inner stitches of each leg.
-
R1: [7 sc, dec over the join] x 8.
-
R2: [6 sc, dec] x 8.
-
R3: [5 sc, dec] x 8.
-
R4: Continue decreasing (4 sc, dec… then 3 sc, dec…) until the hole is small.
-
Finish: Stuff the legs firmly as you close. Fasten off and weave in ends.
-
Repeat for the other side of the legs to create a double-sided base if desired, or keep flat.
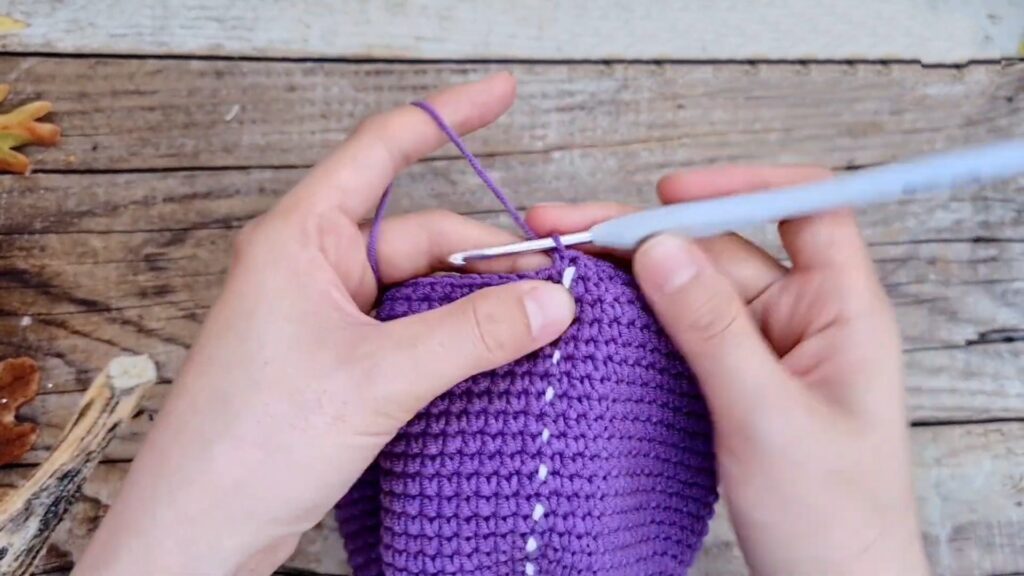
4. Head / Body
-
R1: 6 sc in MR (6)
-
R2: 6 inc (12)
-
R3: [1 sc, inc] x 6 (18)
-
R4: [2 sc, inc] x 6 (24)
-
R5: [3 sc, inc] x 6 (30)
-
R6: [4 sc, inc] x 6 (36)
-
R7: [5 sc, inc] x 6 (42)
-
R8: [6 sc, inc] x 6 (48)
-
R9: [7 sc, inc] x 6 (54)
-
R10: [8 sc, inc] x 6 (60)
-
R11: [9 sc, inc] x 6 (66)
-
R12: [10 sc, inc] x 6 (72)
-
R13–R24: sc in each st (72) (12 rounds total of no increases).
-
R25: [10 sc, dec] x 6 (66)
-
R26: [9 sc, dec] x 6 (60)
-
R27: Continue decreasing until the opening matches the width of the leg assembly.
-
Finish: Stuff the head firmly.
5. Assembly
-
-
Eyes: Place safety eyes or embroider eyes between R18 and R19 of the head, approximately 10-12 sts apart.
-
Mouth: Embroider a small “V” or curved smile between the eyes.
-
Sewing: Use a yarn needle to sew the bottom of the Head to the center of the joined Legs.
-
Details: Add blush or small crochet accessories as desired.
-
Video Tutorial:
Pattern In UK Terms
Abbreviations
-
MR: Magic Ring
-
ch: Chain
-
dc: Double Crochet (US sc)
-
inc: Increase (2 dc in one stitch)
-
dec: Decrease (dc2tog)
-
st(s): Stitch(es)
-
ss: Slip stitch
-
[ ] x N: Repeat instructions in brackets N times
1. Tentacles / Legs (Make 8)
Worked in continuous spiral.
-
R1: 7 dc in MR (7)
-
R2: 7 inc (14)
-
R3: [1 dc, inc] x 7 (21)
-
R4: [2 dc, inc] x 7 (28)
-
R5–R10 (approx): dc in each st (28) — Note: Add more rounds for a taller leg.
-
Fasten off for the first 7 legs. Do not fasten off the 8th leg.
2. Joining the Legs
Hold the 8th leg and a finished leg together.
-
Join: Join legs by crocheting through both layers for 7 dc.
-
Continue joining all 8 legs in a circle, leaving 7 unworked stitches on the outer edge and 7 unworked stitches on the inner edge of each leg.
-
Once all 8 are joined in a ring, the bottom of the octopus will have a large hole.
3. Bottom Base (Closing the Leg Gap)
Work into the 7 unworked inner stitches of each leg.
-
R1: [7 dc, dec over the join] x 8.
-
R2: [6 dc, dec] x 8.
-
R3: [5 dc, dec] x 8.
-
R4: Continue decreasing (4 dc, dec… then 3 dc, dec…) until the hole is small.
-
Finish: Stuff the legs firmly as you close. Fasten off and weave in ends.
4. Head / Body
-
R1: 6 dc in MR (6)
-
R2: 6 inc (12)
-
R3: [1 dc, inc] x 6 (18)
-
R4: [2 dc, inc] x 6 (24)
-
R5: [3 dc, inc] x 6 (30)
-
R6: [4 dc, inc] x 6 (36)
-
R7: [5 dc, inc] x 6 (42)
-
R8: [6 dc, inc] x 6 (48)
-
R9: [7 dc, inc] x 6 (54)
-
R10: [8 dc, inc] x 6 (60)
-
R11: [9 dc, inc] x 6 (66)
-
R12: [10 dc, inc] x 6 (72)
-
R13–R24: dc in each st (72) (12 rounds total of no increases).
-
R25: [10 dc, dec] x 6 (66)
-
R26: [9 dc, dec] x 6 (60)
-
R27: Continue decreasing until the opening matches the width of the leg assembly.
-
Finish: Stuff the head firmly.
5. Assembly
-
Eyes: Place safety eyes or embroider eyes between R18 and R19 of the head, approximately 10-12 sts apart.
-
Mouth: Embroider a small “V” or curved smile between the eyes.
-
Sewing: Use a yarn needle to sew the bottom of the Head to the center of the joined Legs.
-
Details: Add blush or small crochet accessories as desired.