How to Crochet Pumpkin Garland for Fall – So COLORFUL
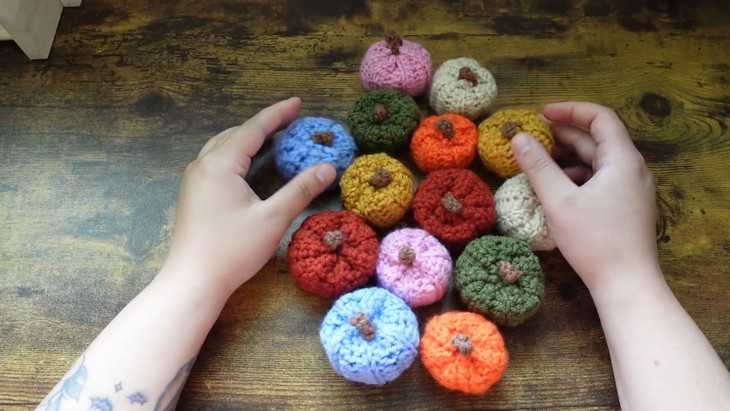
Whether around the mirror or simply above the dining table, garlands are undeniably the most versatile decor items. Since it is fall around the corner, we are gonna share a beginner-friendly tutorial on how to crochet a colorful Pumpkin Garland to welcome the autumn in your home. The pattern is repetitive, so you can complete it while watching your favorite TV show. Not just in orange, you will crochet the pumpkins in so many different colors.
Then the pumpkins will be attached to a customizable garland chain, making it easy to adapt for different spaces. From crocheting the pumpkins to assembly, learn everything from the tutorial by Mamma Stitches at the end of this post.
About the Designer: The designer of this autumn plant is @crochetwithgreta – she has the most colorful scrap yarn crochet projects with the noticible options of crochet sweater, bag and croc covers. She always choose more than one color in every of her crochet projects. She has currently a small crochet library which is growing with the brightest and seasonal crochet ideas. You can also gain experience in crochet business watching her.
Note: In respect for the creator’s pattern rights, there will be no provision of the written pattern. You can watch the tutorial with on-screen written instructions at the end of this post.

Crochet Ultimate Pumpkin Garland Tutorial
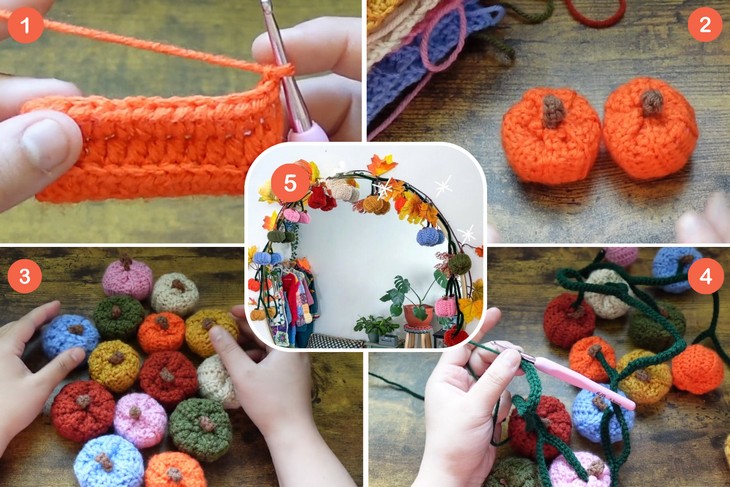
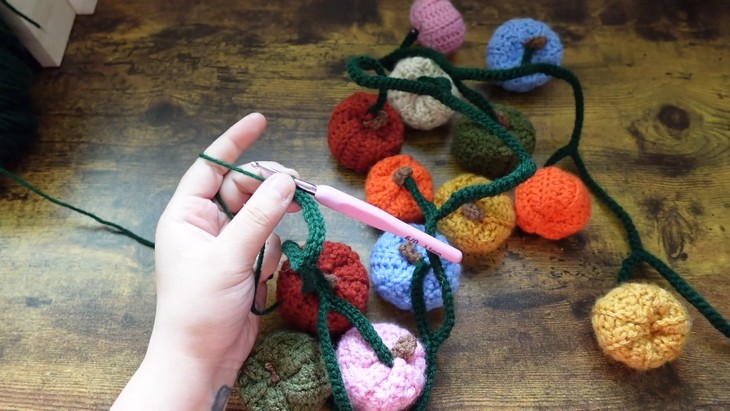
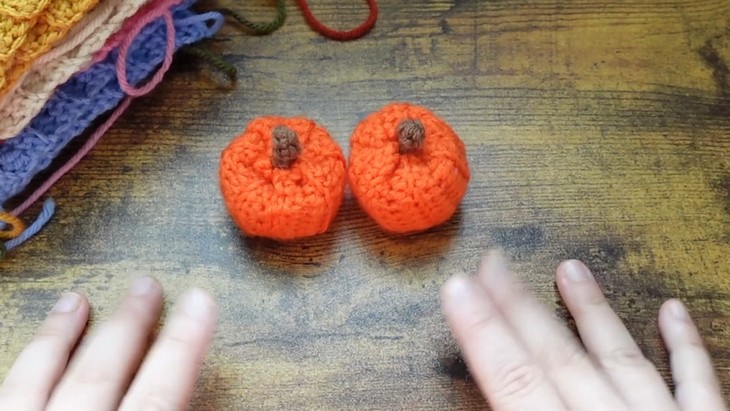
Skill Level: Beginner – Intermediate. The project starts with a slip knot and chaining. The pumpkin rectangle (use the same pumpkin amigurumi from flat work) is made using half double crochet, with further rows worked in the back loops only to give it a ribbed texture. The video shows how to close and stuff the pumpkin panels using a tapestry needle. For the stem, single crochet stitches are used, and the pumpkins are attached to the main garland chain using a slip stitch.
Tutorial Timing: Approximately 23 Minutes Only (perfect for getting experience on working on a large crochet project and practicing crafting in general.)
Personalization Tips: Your pumpkin should not be so large that it becomes difficult to handle. Start with 5 to 7 pumpkins in your garland, with the string distance between each to be small, too. Choose colors from dark orange to blue, orange, green, and light orange or any else. The video suggests adjusting the garland’s length to fit a specific space, such as a mantle.
Additionally, you can choose to sew the pumpkins directly onto the garland if you prefer a different look. For extra embellishments, you can add elements like leaves or acorns.
Pattern Type: An on-screen written pattern is available if you find written instructions easy to follow along with.
Materials Needed
The following are the crochet materials and tools that the tutor mentions in the description for crocheting this amigurumi pumpkin garland:
- Medium weight yarn ( The tutor used 8 colors and made 2 of each color). You can use the Milk cotton yarn as it works best for amigurumi!
- 3.5 mm hook – 4mm will also work great.
- Tapestry needle
- Scissors
- Stuffing
- Measuring tape
- Extra (leaves around the mirror are from the dollar store)
How the tutor found the pumpkin count (extended explanation)!
To calculate your pumpkin count for a garland, divide the total garland length by the spacing between pumpkins to find the total number of pumpkins. For example, with a 60-inch garland and 4-inch spacing, you’ll get 15 pumpkins (60 ÷ 4 = 15). Next, divide the total number of pumpkins by the number of colors to evenly distribute them; if using 8 colors, divide 15 by 8, which gives approximately 1.875 pumpkins per color.
Since you can’t have partial pumpkins, adjust by assigning 2 pumpkins to some colors and 1 pumpkin to others, or tweak the spacing slightly to ensure even distribution. This ensures your garland is balanced and visually appealing!
One-Line Guide for Each Technique
Here is the list of crochet techniques needed for crocheting a pumpkin garland with a crochet guide for each:
- Slip Knot Creation: Loop yarn around your fingers, pull a loop through, and tighten onto your hook.
- Chain Stitch (Ch): Yarn over the hook and pull through the loop to create chains.
- Half Double Crochet (HDC): Yarn over, insert hook into stitch, pull up a loop, yarn over again, and pull through all three loops.
- Working in Back Loops Only (BLO): Insert the hook only into the back loop of the “V” shape of a stitch.
- Mattress Stitch Sewing: Sew the edges back and forth between adjacent stitches for a seamless join.
- Cinching Edges Shut: Weave the yarn back and forth around the opening, then pull tight to close.
- Stuffing the Pumpkin: Loosen stuffing or use scrap yarn, filling until firm but flexible.
- Adding Decorative Stem: Create a chain of 4, single crochet down, and attach it securely at the top.
- Slip Stitch Joining: Insert hook into the desired stitch, yarn over, and pull through both loops.
- Weaving in the Ends: Thread the tail onto a tapestry needle and hide it within the stitches.