
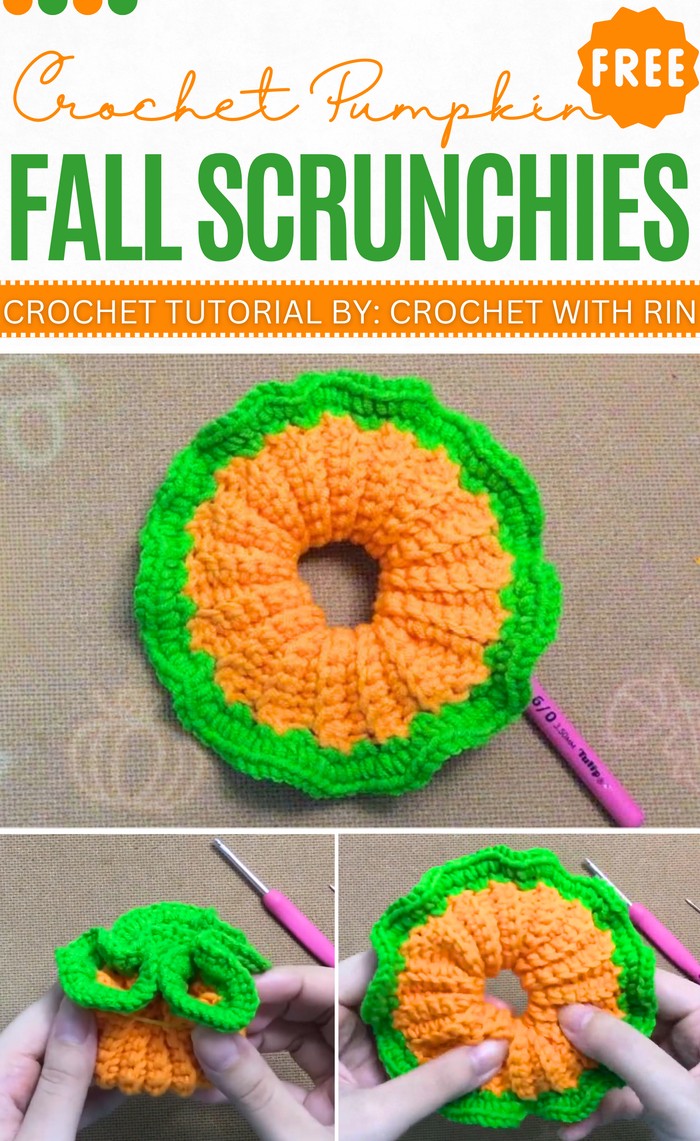
How to Crochet Pumpkin Scrunchies for Fall & Halloween
If you are looking for a minimalistic and quick design for a fall scrunchie, here is an irresistible project with a stitch-by-stitch tutorial! Learn how to crochet a ruffle scrunchie with pumpkin colors and ribbing that can be turned into a bracelet, hair tie, and a table decoration with a rubber band. Like the pumpkin amigurumi, it will also need a rectangle of ribbed texture using rows of single crochet stitches worked in the back loops. You will crochet this scrunchie around any of your ties and turn it into a bright hair accessory.
So, if you are ready for crocheting this fall scrunchie for all ages, continue reading his post till the end. It is worth crocheting!
About the Designer: The designer behind this fall and Halloween pumpkin accessory is @crochetwithrin – her creative library of crochet ideas is currently but so versatile like face masks, hats, gloves, and tops and other accessories. Some of the tutorials are designed for beginners, offering “slow speed” tutorials for basic stitches like single, half-double, and double crochet. With just 25 videos currently, with some of the most popular content including tutorials for a “Milk coffee Ear saver” and a “New Crochet Face Mask, she is a promising crochet ideas.
Note: In respect for the creator’s pattern rights, there will be no provision of the written pattern. You can watch the tutorial with on-screen instructions at the end of this post.
Crochet Pumpkin Scrunchies Tutorial
Skill Level: Beginner – Intermediate. The chain stitch (ch) is used for the foundation chain, which marks the base of the rectangular piece. The single crochet (sc) builds the rows, while the single crochet in the back loop only (BLO) adds a ribbed texture to the rectangle, mimicking the natural grooves of a pumpkin.
The slip stitch (sl st) is used to join the edges of the rectangular piece, shaping it into a tube, and is also used to secure parts of the project as you progress. Finally, increasing stitches helps shape and round out the pumpkin.
Tutorial Timing: Approximately 10 Minutes only (perfect for learning the ribbing stitch, ruffle techniques, and working around a round piece like a rubber hair tie. You will also learn how to design a crochet item like crochet bags with colors and various features of a theme.)
Personalization Tips: Also add small crocheted leaves, vines, or even beads to accentuate the design. You can also vary the ribbing’s width by increasing or decreasing the number of chains and rows to create pumpkins in diverse shapes.
Pattern Type: The on-screen written pattern is available if you find written instructions easy to follow along with.
Materials Needed
Gather the following suggested tools and materials for crocheting the pumpkin hair accessory project:
- Yarn: Orange (for the body) and green (for the stem/hem).
- Crochet Hook: Size suitable for your yarn (commonly 4mm or 5mm).
- Yarn Needle: To sew and secure ends.
- Scissors
- Rubber Band: To form and stabilize the base.

Stitches and Techniques Guide
For the instructions and the pattern to crochet the pumpkin hair tie, learn the following crochet techniques:
- Starting Knot: Create a slip knot by looping the yarn and pulling it through to secure it on the hook.
- Chain Stitch (ch): Yarn over and pull through the loop on the hook.
- Single Crochet (sc): Insert hook into the stitch, yarn over, pull up a loop, yarn over, and pull through both loops.
- Single Crochet in Back Loop Only (BLO): Insert the hook into the back loop of the stitch only, yarn over, and pull through the loop as you finish the single crochet.
-
Slip Stitch (sl st): Insert hook, yarn over, pull through both the stitch and loop on the hook.
Increasing Stitches: Work two single crochet stitches into the same stitch.
Quick Summary of Crocheting
- Start with a foundation chain of 15 stitches, then work rows of single crochet in the back loop only.
- Continue for 32 rows to create a rectangular piece with a ribbed texture.
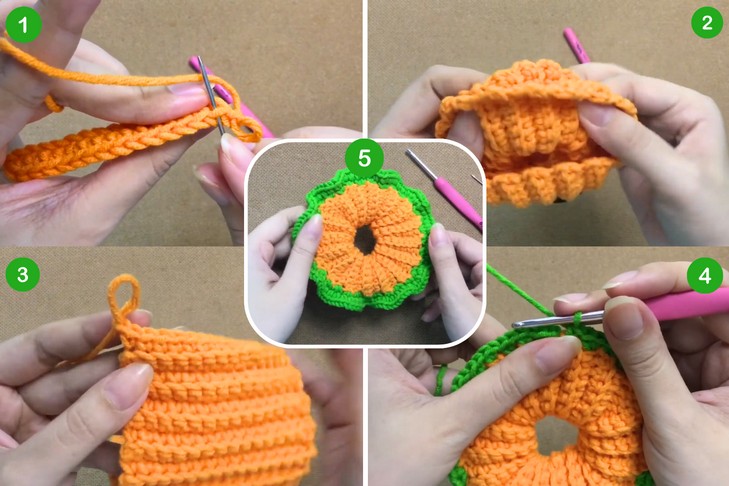
- Join the ends with slip stitches to form a tube.
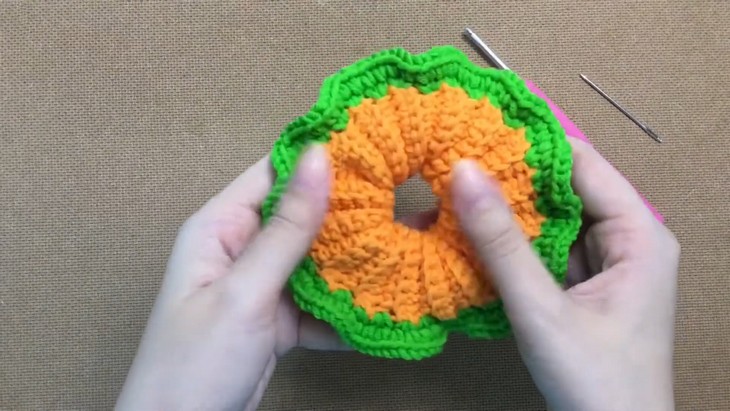
- Cover a rubber band with the crocheted piece to shape the base.
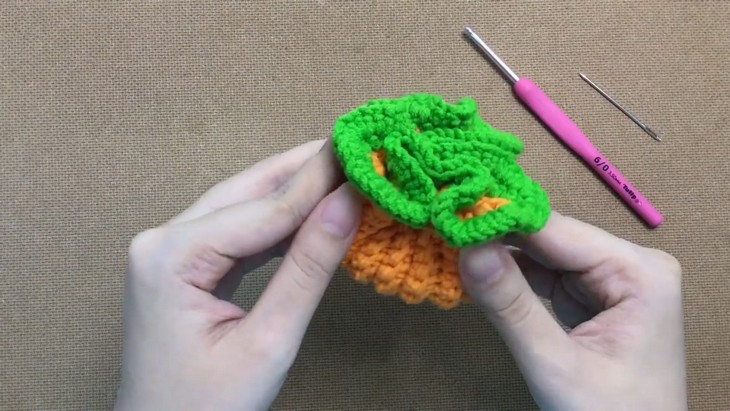
- Add green yarn to crochet the pumpkin’s hem, increasing stitches to round the top.
- Keep adding rounds to strengthen the shape and secure with slip stitches at the end.