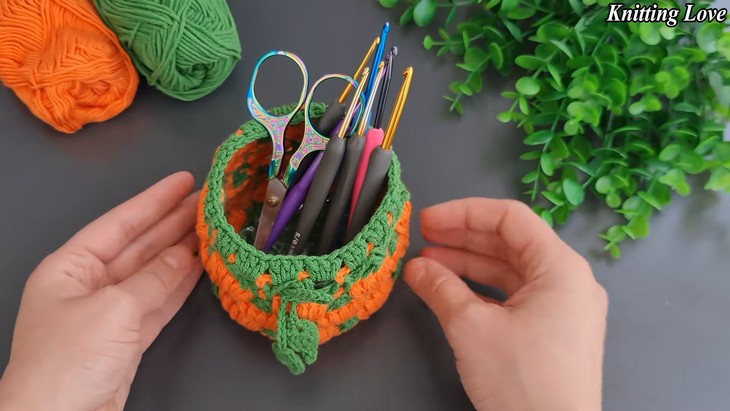
How to Crochet Pumpkin Stitch Basket for Fall & Halloween
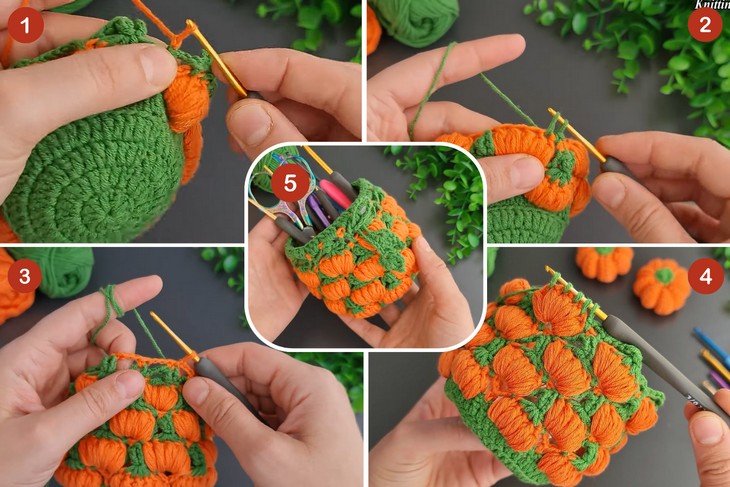
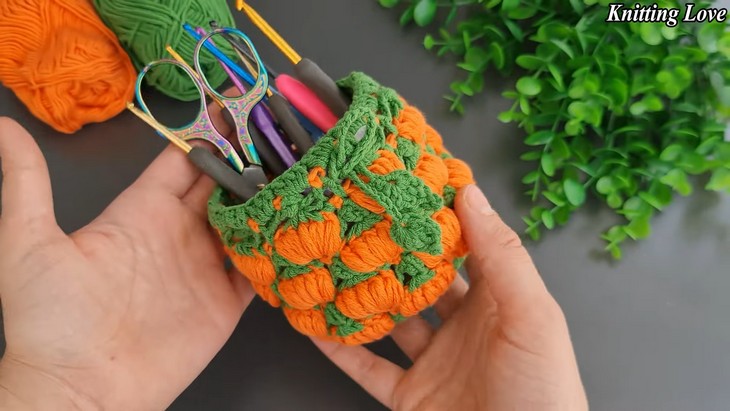
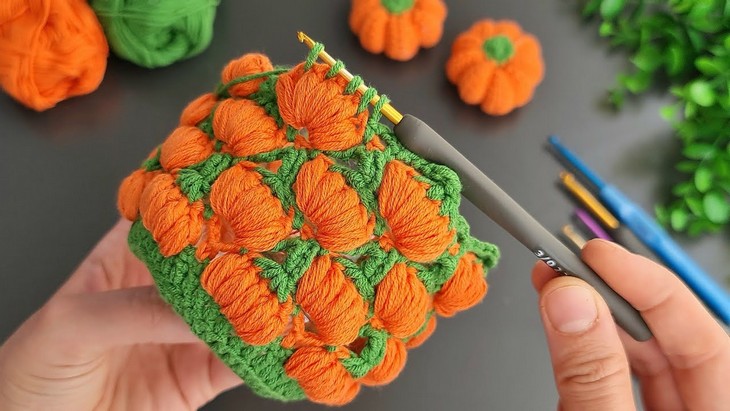
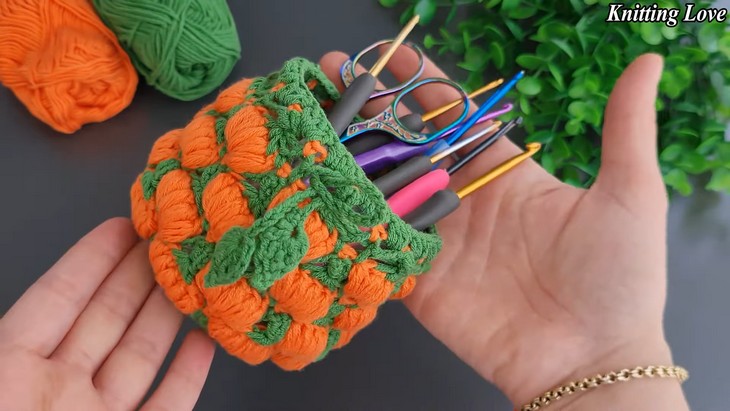
Pumpkin stitch is the ultimate secret for oh-so-cute fall projects. So, we have brought a stitch-by-stitch tutorial on how to crochet this so-much appealing pumpkin stitch basket, perfect for even beginners. It uses the bulky pumpkin stitch using the puff stitch and color changes. Inside this basket, save your crochet hooks and tools or simply treats for Halloween, and walnuts. This crochet pumpkin basket is so easy to work up without any sewing and can be finished within an hour.
Yarn-consuming though, this crochet decorative pumpkin basket is worth crocheting. So, if you are interested, continue reading this post till the end.

About the Designer: The designer of this pumpkin project is @Knittinglov – she has expertise on using lovely crochet stitches and crocheting beautiful flower and plant-related accessories and projects all with the bright and virbrant colors. Her crochet items are just so bright. She also have crocheted tons of fall and Halloween projects with freedom to sell them. Make sure to check them!
In respect for the creator’s pattern rights, there will be no provision of the written pattern. You can watch the tutorial with on-screen written instructions at the end of this post.
Skill Level: Intermediate (with the tutorial, easy for beginners). This needs the color changes and working in rounds. The tutorial uses basic crochet stitches and stitch-skipping, too (single crochet, chain stitch, half-double crochet, double crochet, slip stitch, and more).
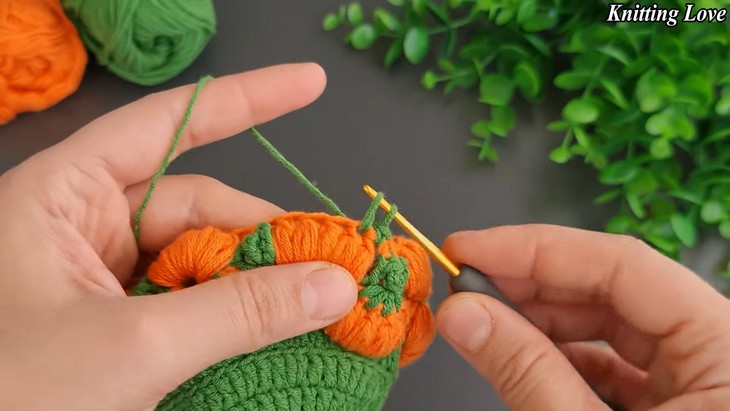
With the instructions written in US terms, you will also need the increase for the base. Like used in pumpkin stitch bag, it needs expertise in puff stitch.
Tutorial Timing: Approximately 15 minutes. (perfect for learning the pumpkin stitch, working with more than 7 loops at a time, and crocheting something that will make your crochet desktop organized.)
Personalization Tips: The basket is finished with a crochet picot border and the crochet leaves. These details are small but perfect for improving your skills, so try them for sure. To decrease the diameter, simply decrease the base rounds. You can also use the yellow instead of orange like in the yellow pumpkin amigurumi.
Pattern Type: The on-screen written pattern is available if you find written instructions easy to follow along with.
Supplies Needed
You can gather the following crochet supplies for crocheting this pumpkin basket by yourself. These will work best:
- Cotton yarn 4ply in orange and green
- 2.2mm Crochet hook
- Sewing Needle
- Fiberfill Stuffing
Stitches and Techniques Guide
Here are the crochet stitches used for crocheting this pumpkin basket and the abbreviations used:
Chain (Ch): Wrap the yarn over your hook and pull it through the loop to form a chain stitch. This serves as the foundation for most crochet projects.
Slip Stitch (Slst): Insert the hook into a stitch, yarn over, and pull through both the stitch and the loop on the hook to join or create a smooth edge.
Single Crochet (Sc): Insert the hook into the stitch, yarn over, pull up a loop (2 loops on hook), yarn over again, and pull through both loops for a compact texture.
Half Double Crochet (Half Cr): Yarn over, insert hook into the stitch, pull up a loop (3 loops on hook), yarn over and pull through all 3 loops for a medium-height stitch.
Double Crochet (Dc): Yarn over, insert the hook into the stitch, pull up a loop (3 loops on hook), yarn over, pull through 2 loops, yarn over again, and pull through the final 2 loops for a versatile pattern.
Treble Crochet (Treble Cr): Yarn over twice, insert the hook into the stitch, pull up a loop (4 loops on hook), yarn over and pull through 2 loops at a time until 1 loop remains for lacy designs.
Double Treble Crochet (Double Treble Cr): Yarn over three times, insert the hook into the stitch, pull up a loop (5 loops on hook), yarn over and pull through 2 loops at a time until 1 loop remains to add height.
Knit Two Together (k2-tog): Insert your needle as if to knit into the next 2 stitches together, yarn over, and pull through to decrease one stitch.