
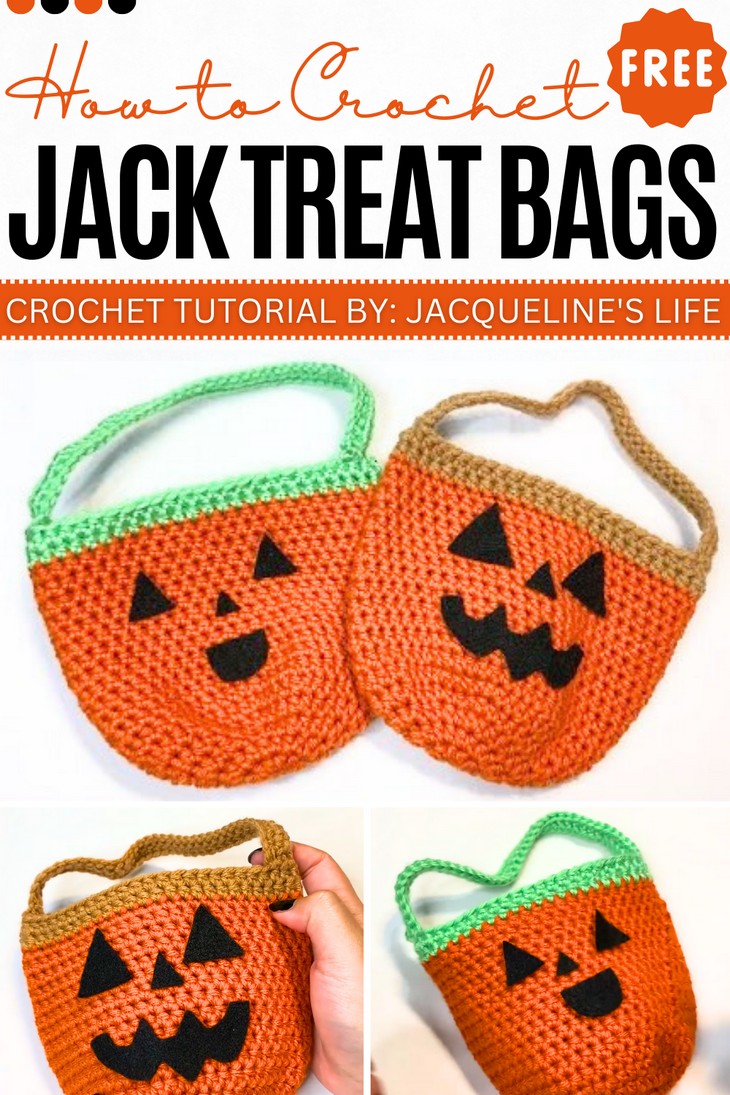
How To Crochet Pumpkin Treat Bag With Jack-O-Lantern Faces
If you have an unmanageable number of candidates for joining in the Halloween trick-or-treating, a quick bag pattern will save your day. So, with a stitch-by-stitch tutorial, learn how to crochet this 45-minute jack-o-lantern pumpkin treat bag with two unique faces. Using a freehand approach, the tutorial has tips on color changes, adjusting the handles, and adding customizable felt faces with hot glue. This bucket bag needs no sewing at all and will be easy even for beginners.
So, if you are ready to fill your and your little ones Halloween treats into this bag, continue reading his post till the end. It is worth crocheting!
About the Designer: The designer behind this fall and Halloween pumpkin bag is @JacquelinesLife – she has crochet tutorials for oh-so cute amigurumi and tops, nail art, and product reviews related to these crafts. Some of the most popular tutorials are for crocheted bralettes, amigurumi bees, and baby whales. Her library also features reviews of different yarns and nail products from various brands.
Note: In respect for the creator’s pattern rights, there will be no provision of the written pattern. You can watch the tutorial with on-screen instructions at the end of this post.
Crochet Pumpkin Bag Tutorial
Skill Level: Beginner – Intermediate. In the tutorial, the main techniques include the magic circle, half-double crochet (hdc), slip stitch, chain stitch, and color change. You will be working in a round shape easily.
Tutorial Timing: Approximately 35 Minutes only (perfect for learning how to cut and correctly attach the felt pieces to your crochet project. You will also learn how to attach the straps without sewing.)

Personalization Tips: This treat bag is highly customizable. Choose any shade of orange, green, or brown for a pumpkin or stem that looks like the tutor suggests, either orange and green or orange and brown. Play with the size by increasing or decreasing the number of rounds before starting the edging and the strap.
You can design different faces with felt for varied expressions, such as spooky, happy, or silly.
Pattern Type: The on-screen written pattern is available if you find written instructions easy to follow along with.

Materials Needed
Gather the following suggested tools and materials for crocheting this lovely pumpkin bag project:
- Yarn: Burnt orange, lime green, or brown (weight 4); black for optional details.
- 5mm Crochet Hook
- Scissors
- Black Felt (for the pumpkin’s face)
- Hot Glue Gun
- Yarn Needles
Stitches and Techniques Guide
To understand the instructions and the pattern for the pumpkin bag, follow the following crochet pattern stitch guides:
- Magic Circle: Wrap yarn around your fingers to create an adjustable loop; secure it by pulling yarn through.
- Half-Double Crochet (hdc): Yarn over, insert hook, pull yarn through, and pull through three loops on the hook.
- Slip Stitch: Insert hook, yarn over, pull through both the stitch and the loop on the hook.
- Chain Stitch: Yarn over and pull through the loop on the hook.
- Color Change: Tie new yarn to the loop and pull it through, securing the connection by tying off ends.
Quick Summary of Crocheting
To crochet the pumpkin treat bag:
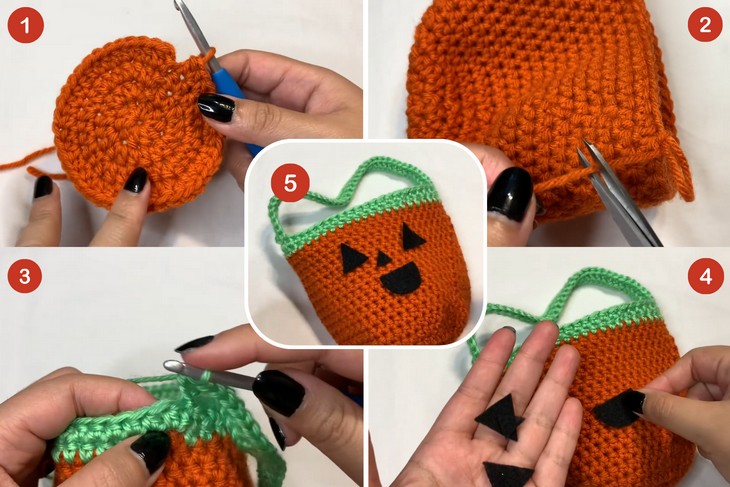
- Start with a magic circle and work rounds in half-double crochet to build the flat base.
- Transition to creating the bag’s height with straight half-double crochet stitches for the body.
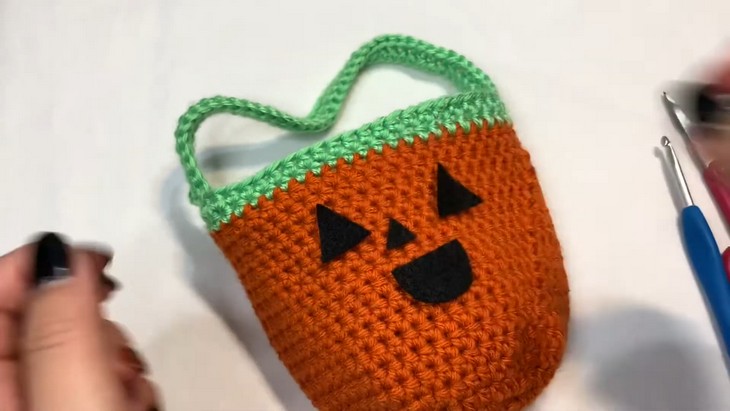
- Add a different yarn color for the top to represent the stem and make a sturdy handle using chains and half-double stitches.
- Finish by hot gluing a felt face to the flat side of the bag for a Halloween look.
Complete Video Guide