
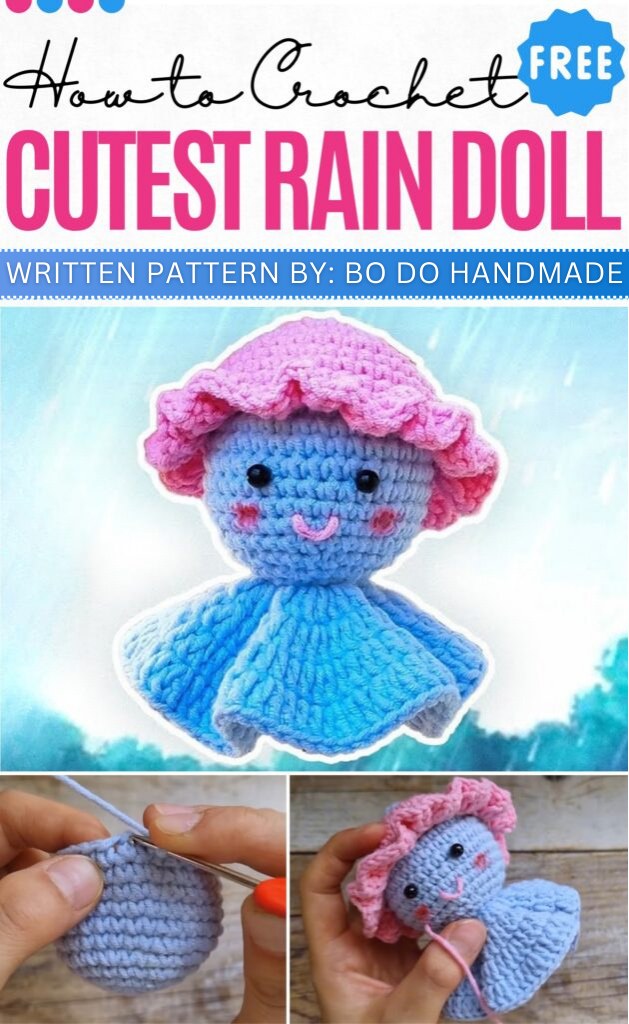
Crochet Rain Praying Doll Pattern Step by step
Here is the crochet pattern for a traditional Japanese “rain praying” doll. These dolls are unique because they are meant to be hung by windows to bring good weather and stop the rain. This specific version is extra cute because it wears a little colorful hat with a wavy brim, making it look like a tiny person wearing a raincoat.
About The Creator:
Bi do Handmade has been an expert in crocheting and designing crochet amigurumi, bag charms, and pouches. Also visit her YouTube channel for more exciting projects.
Let’s Crochet Rain Praying Doll
Abbreviations (US Terms)
-
MR: Magic Ring
-
ch: Chain
-
sc: Single Crochet
-
dc: Double Crochet
-
inc: Increase (2 sc in one stitch)
-
dec: Invisible Decrease (use front loops only)
-
sl st: Slip Stitch
-
st(s): Stitch(es)
-
BLO: Back Loop Only
-
FLO: Front Loop Only
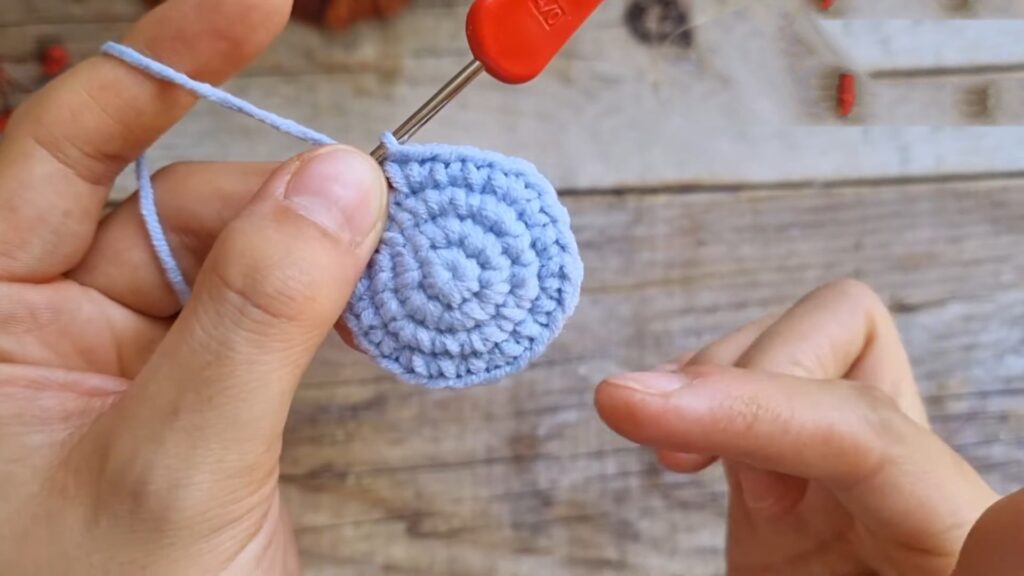
1. Head (White)
Worked in joined rounds. Close each round with a sl st and ch 1.
-
R1: 6 sc in MR (6)
-
R2: 6 inc (12)
-
R3: [1 sc, inc] x 6 (18)
-
R4: [2 sc, inc] x 6 (24)
-
R5: [3 sc, inc] x 6 (30)
-
R6: [4 sc, inc] x 6 (36)
-
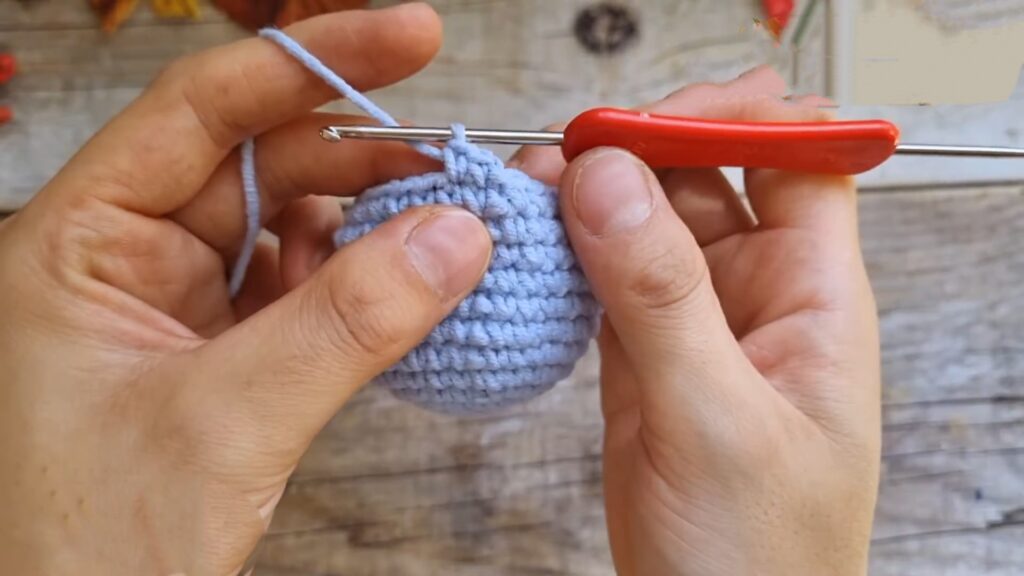
R7–R12: sc in each st (36)
-
R13: [4 sc, dec] x 6 (30)
-
R14: [3 sc, dec] x 6 (24)
-
R15: [2 sc, dec] x 6 (18)
-
R16: [1 sc, dec] x 6 (12)
-
Stuff the head firmly with fiberfill.
-
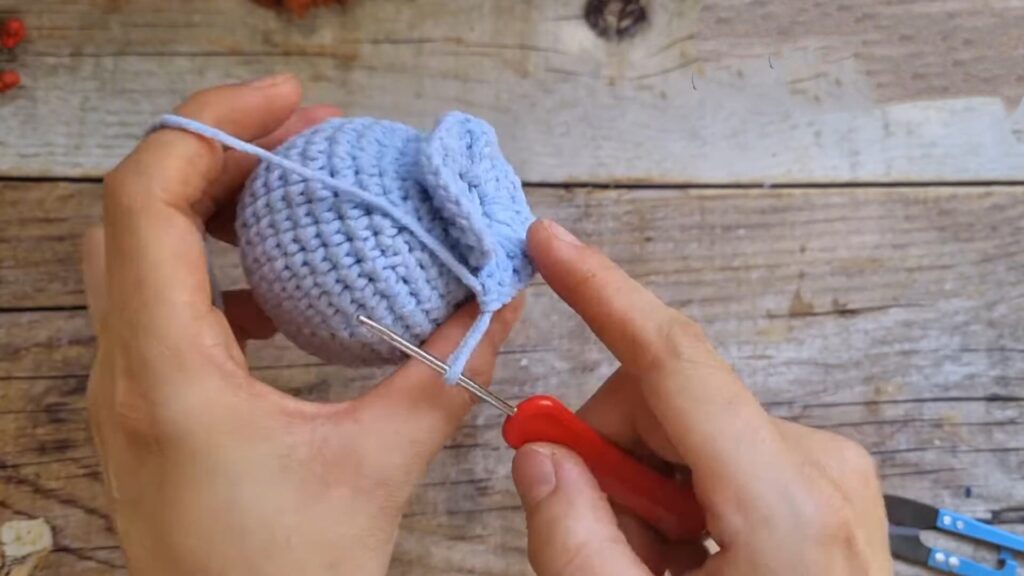
R17: BLO 6 dec (6)
-
Fasten off, weave tail through remaining 6 sts to close hole. Note: The front loops of R17 will be used for the body.
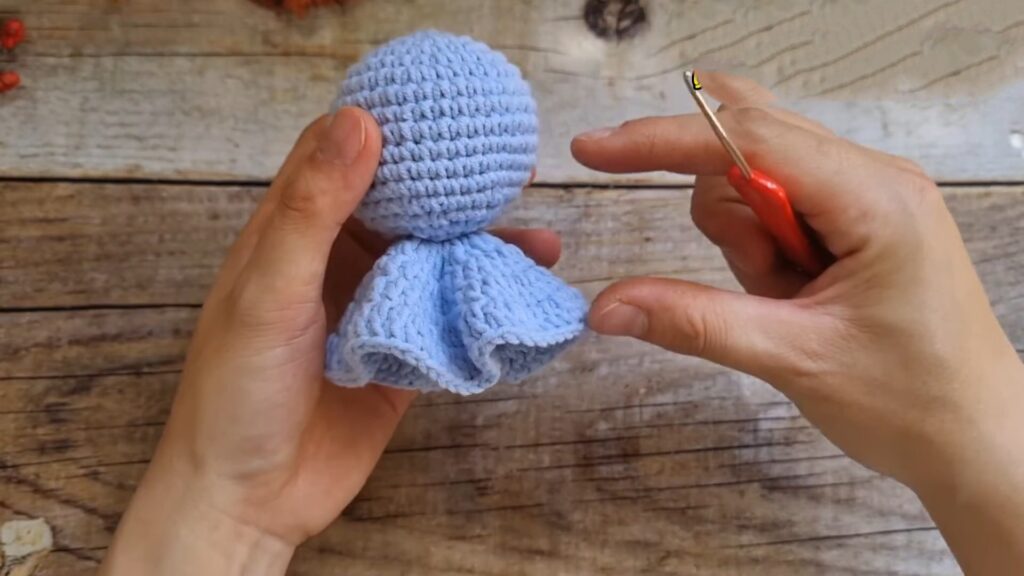
2. Body (White)
Attach yarn to the Front Loops left from R17 of the Head.
-
R1: [3 dc in each st] around.
-
R2: [1 dc, inc-dc] around. (inc-dc = 2 dc in one stitch).
-
R3: [2 dc, inc-dc] around.
-
Note: Add more rounds if you want a longer body skirt.
-
Fasten off and weave in ends.
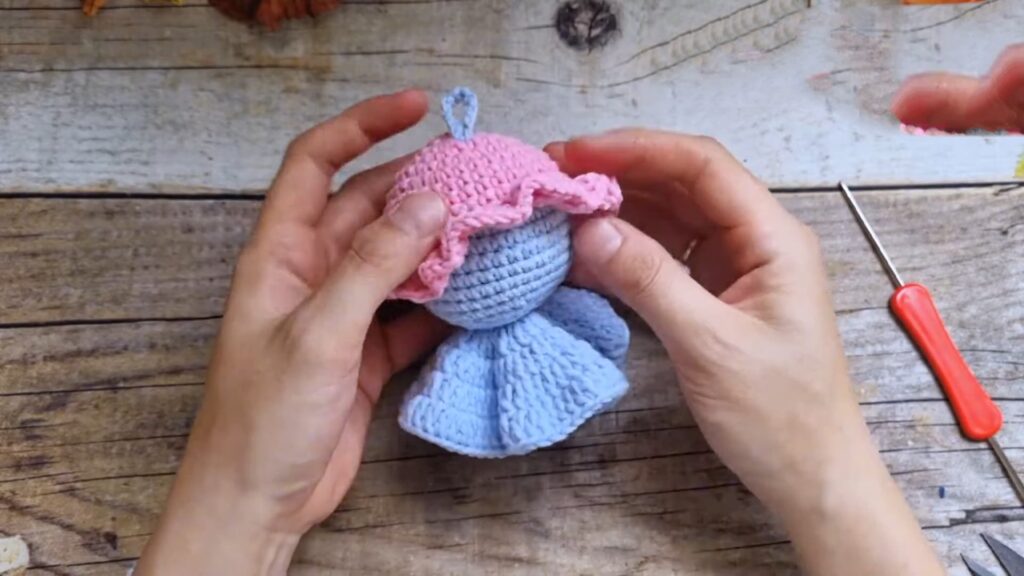
3. Hat (Contrast Color)
Follow the same pattern as the Head for the first 6 rounds, then adjust depth.
-
R1–R6: Same as Head (36)
-
R7–R10: sc in each st (36)
-
R11 (Brim): FLO [3 dc in each st] around.
-
Fasten off.

4. Hanging Loop
-
ch 14 (or desired length).
-
Thread both ends through the top center of the Hat and the top center of the Head.
-
Knot securely inside or hide ends.
5. Assembly and Details
-
Eyes: Place 4mm safety eyes or embroider two dots on the head before stuffing (approx. between R9-R10).
-
Mouth: Embroider a small curved smile centered between the eyes.
-
Blush: Apply pink makeup or embroider pink horizontal lines below the eyes.
-
Hat: Place the hat at an angle on the head and secure with glue or stitches.
Pattern In UK Terms
Abbreviations (UK Terms)
-
MR: Magic Ring
-
ch: Chain
-
dc: Double Crochet (US sc)
-
tr: Treble Crochet (US dc)
-
inc: Increase (2 dc in one stitch)
-
inc-tr: Treble Increase (2 tr in one stitch)
-
dec: Invisible Decrease (dc2tog using front loops only)
-
ss: Slip Stitch
-
st(s): Stitch(es)
-
BLO: Back Loop Only
-
FLO: Front Loop Only
1. Head (White)
Worked in joined rounds. Close each round with a ss and ch 1.
-
R1: 6 dc in MR (6)
-
R2: 6 inc (12)
-
R3: [1 dc, inc] x 6 (18)
-
R4: [2 dc, inc] x 6 (24)
-
R5: [3 dc, inc] x 6 (30)
-
R6: [4 dc, inc] x 6 (36)
-
R7–R12: dc in each st (36)
-
R13: [4 dc, dec] x 6 (30)
-
R14: [3 dc, dec] x 6 (24)
-
R15: [2 dc, dec] x 6 (18)
-
R16: [1 dc, dec] x 6 (12)
-
Stuff the head firmly with fiberfill.
-
R17: BLO 6 dec (6)
-
Fasten off and weave tail through remaining 6 sts to close.
2. Body Skirt (White)
Attach yarn to the Front Loops left from R17 of the Head.
-
R1: [3 tr in each st] around.
-
R2: [1 tr, inc-tr] around.
-
R3: [2 tr, inc-tr] around.
-
Optional: Add more rounds if you want a longer skirt.
-
Fasten off and weave in ends.
3. Hat (Contrast Colour)
-
R1–R6: Follow same instructions as Head (36)
-
R7–R10: dc in each st (36)
-
R11 (Brim): FLO [3 tr in each st] around.
-
Fasten off.
4. Finishing Touches
-
Hanging Loop: ch 14. Thread through the top of the hat and head; knot securely.
-
Eyes: Use 4mm safety eyes or embroider two dots between R9 and R10.
-
Mouth: Embroider a small curved smile centered between the eyes.
-
Blush: Apply a small amount of pink powder or embroider small pink lines.
-
Assembly: Place hat at an angle and secure with glue or a few stitches.