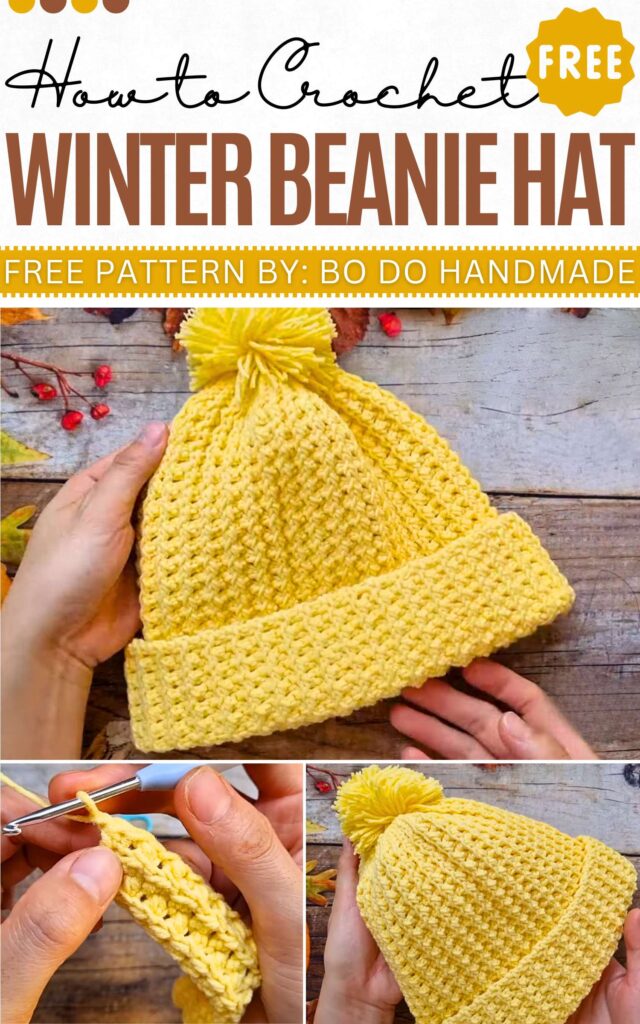
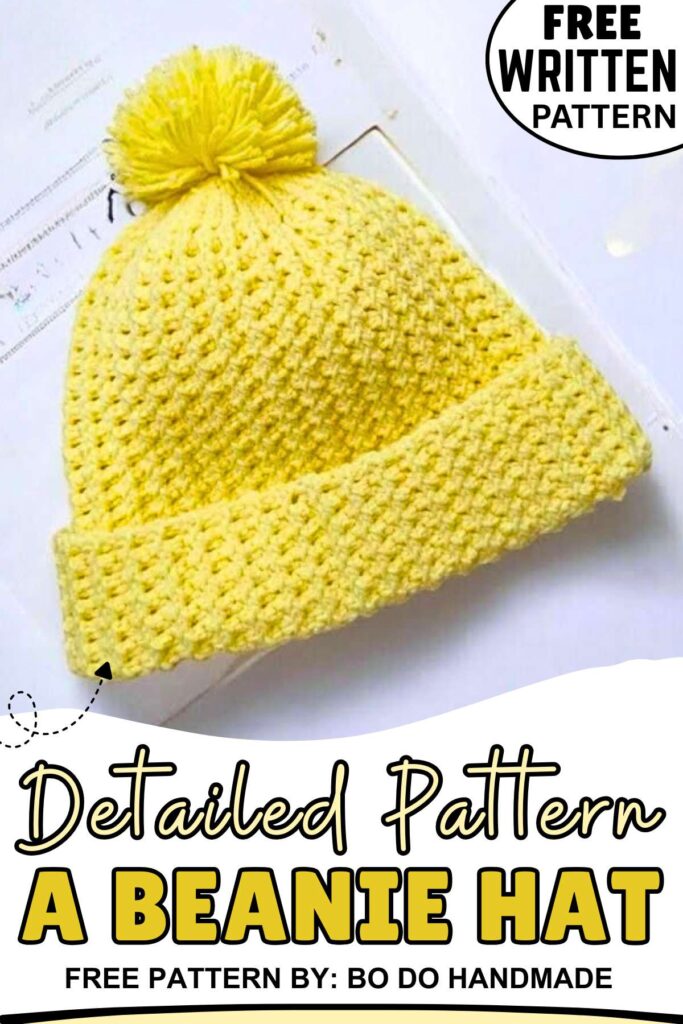
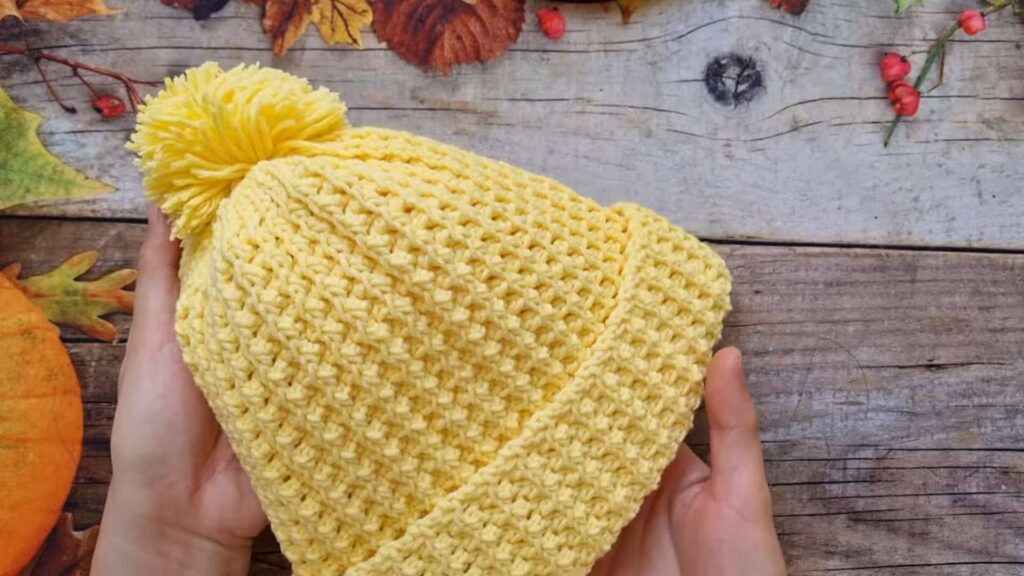
Free Crochet Ribbed Beanie Pattern for Winter
Today, I have a free pattern for this so elegant ribbed beanie. It features a beautiful Post Double Crochet variation and can be crocheted with a single color in rows. The beanie also features a pom pom and a brim; everything makes it warm and beautiful.
Since you will mainly crochet it flat, you can crochet it for a little girl or for adults, too. So, this winter, crochet this beanie with a free pattern for all family members.
Crochet Beanie with Pom Pom
Bi do Handmade is an had been an expert in crocheting and designing crochet amigurumi, bag charms, and pouches.
Note: For this amigurumi in particular, we shall share the written pattern that is complete and checked.
Shared Already
Ribbed Beanie Pattern
This crochet hat pattern for winter is written using US terms:
Materials: Milk Cotton yarn (125g), 3.5mm crochet hook.
Abbreviations:
-
-
Ch: Chain
-
St(s): Stitch(es)
-
Sl st: Slip stitch
-
Hdc: Half double crochet
-
BLO: Back loop only
-
Rep: Repeat
-
RS/WS: Right side / Wrong side
-
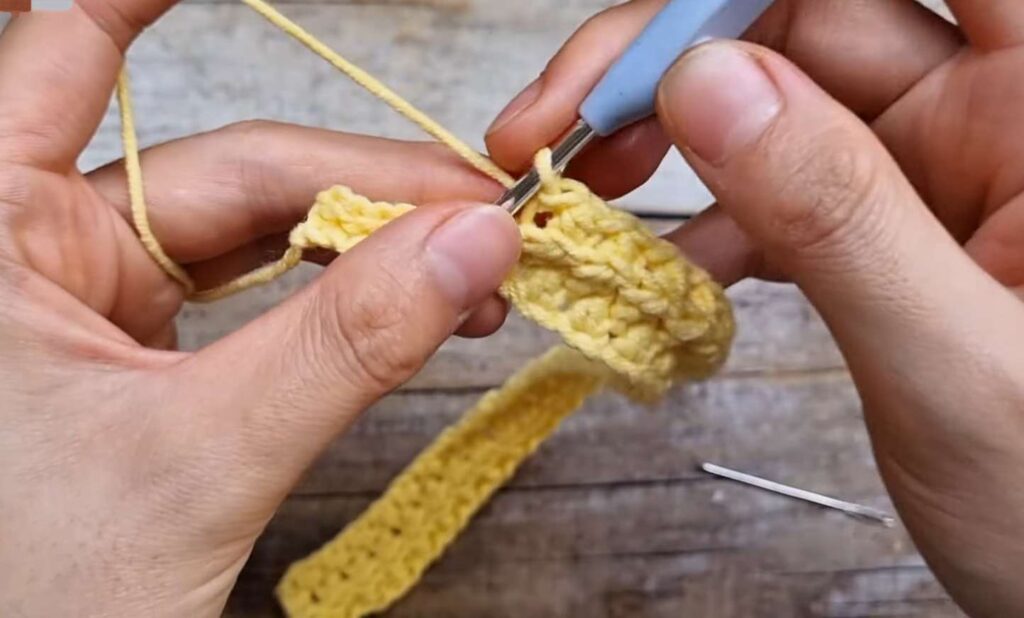
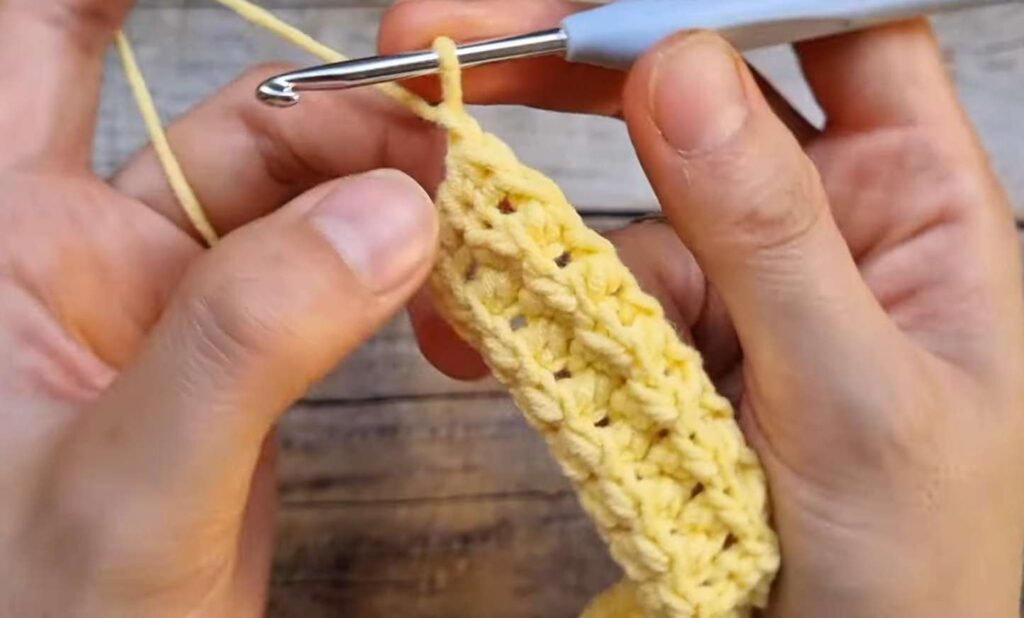
Instructions
-
Foundation: Ch 60 (or number you may want for the size based on the gauge you make. 5cm for the fold/cuff).
-
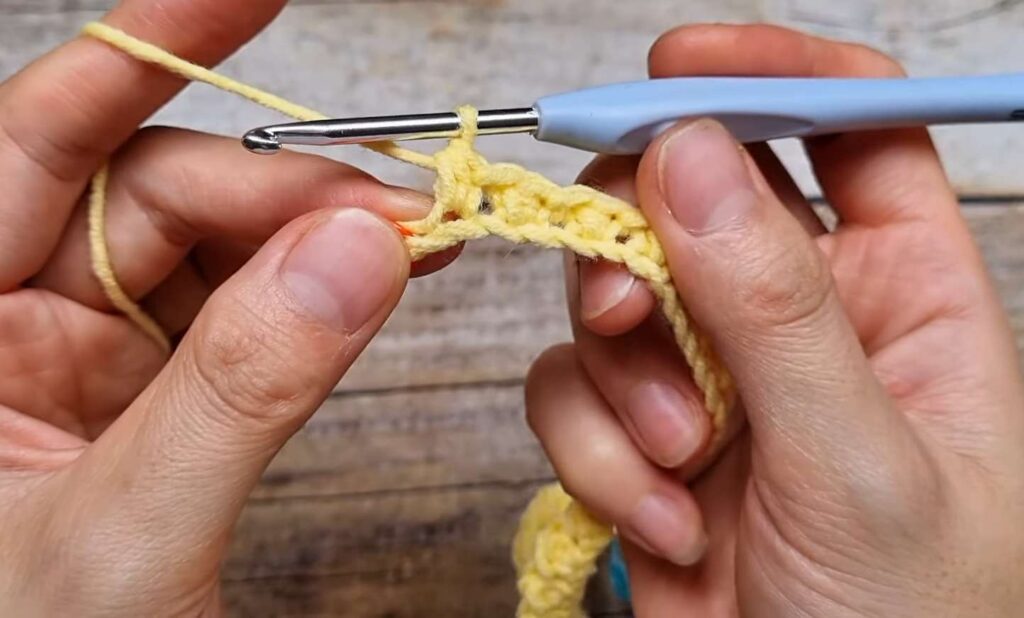
Row 1: Ch 1, turn. Sl st 1 in 1st ch. Hdc 1, Sl st 1 rep until 8 sts remain. Sl st 8.
-
Row 2: Ch 1, turn. BLO sl st 8. Work opposite of previous row in BLO (Hdc into Sl st, Sl st into Hdc) until 1 st leaves. Sl st 1 through both loops.
-
Row 3 (Short Row): Ch 1, turn. Sl st 1 through both loops. Hdc/Sl st pattern in BLO across to the crown. BLO sl st 4. Leave the remaining 4 sts unworked.
-
Row 4: Ch 1, turn. BLO sl st 4. Hdc/Sl st pattern in BLO across. Last st: Sl st 1 through both loops.
-
Row 5 (Full Row): Ch 1, turn. Sl st 1 through both loops. Hdc/Sl st pattern in BLO across to the crown. BLO sl st 4 (into Row 4 sts), then BLO sl st 4 (into unworked Row 2 sts). Total 8 crown sl sts.
-
Row 6: Ch 1, turn. BLO sl st 8. Hdc/Sl st pattern in BLO across. Last st: Sl st 1 through both loops.
-
Row 7 (Short Row): Rep Row 3.
-
Row 8: Rep Row 4.
-
Pattern Repeat: Repeat the 4-row cycle (2 full rows, 2 short rows) until the width matches the head diametre.
-
Note: Make sure the last two rows are short rows (half crown).
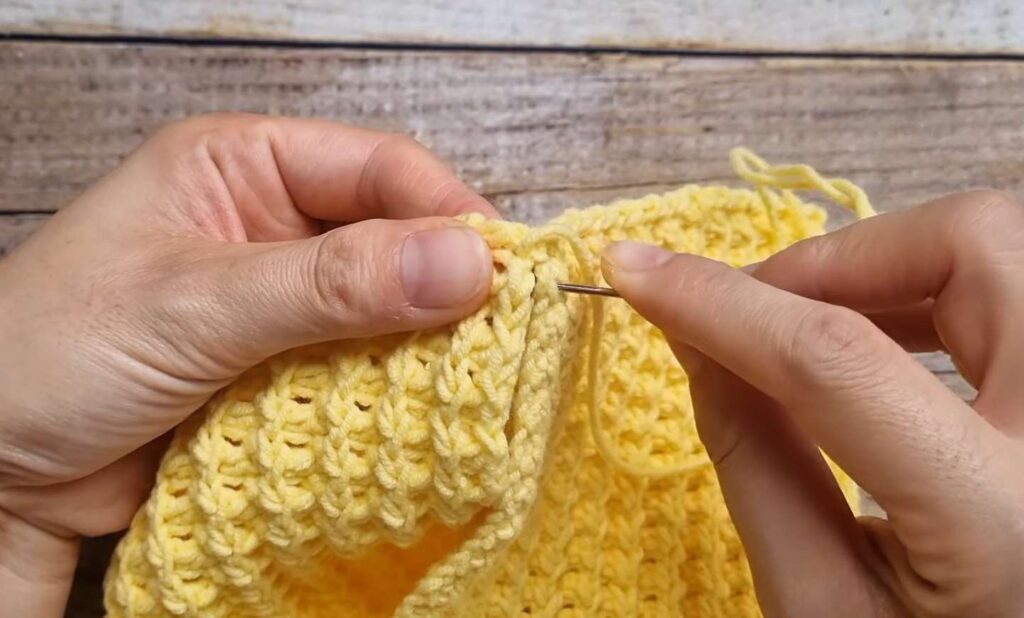
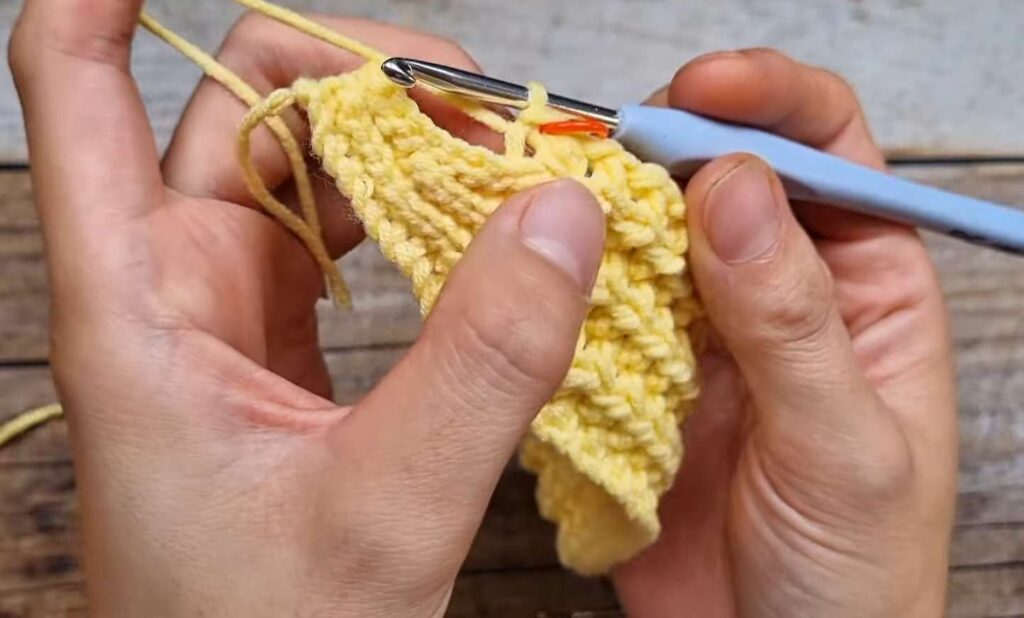
Assembly
-
Seaming: Align Row 1 and the final row. Use the tapestry needle to sew the edges.
-
Crowning: Cinch the top opening by weaving yarn through the edge of the full-row parts and pulling tight.
-
Optional: Add a pom-pom to the top and fold the brim up.
UK Pattern
-
Abbreviations:
-
Ch: Chain
-
St(s): Stitch(es)
-
Sl st: Slip stitch
-
Htr: Half treble crochet (Equivalent to US Hdc)
-
BLO: Back loop only
-
Rep: Repeat
-
Instructions
-
Foundation: Ch 60 (or length needed for head height plus ~5cm for cuff).
-
Row 1: Ch 1, turn. Sl st 1 in 1st ch. Htr 1, Sl st 1 rep until 8 sts remain. Sl st 8.
-
Row 2: Ch 1, turn. BLO sl st 8. Work opposite of previous row in BLO (Htr into Sl st, Sl st into Htr) until 1 st remains. Sl st 1 through both loops.
-
Row 3 (Short Row): Ch 1, turn. Sl st 1 through both loops. Htr/Sl st pattern in BLO across to crown. BLO sl st 4. Leave the remaining 4 sts unworked.
-
Row 4: Ch 1, turn. BLO sl st 4. Htr/Sl st pattern in BLO across. Last st: Sl st 1 through both loops.
-
Row 5 (Full Row): Ch 1, turn. Sl st 1 through both loops. Htr/Sl st pattern in BLO across to crown. BLO sl st 4 (into Row 4 sts), then BLO sl st 4 (into unworked Row 2 sts). Total 8 crown sl sts.
-
Row 6: Ch 1, turn. BLO sl st 8. Htr/Sl st pattern in BLO across. Last st: Sl st 1 through both loops.
-
Row 7 (Short Row): Rep Row 3.
-
Row 8: Rep Row 4.
-
Pattern Repeat: Rep 4-row cycle (2 full rows, 2 short rows) until width reaches head circumference.
-
Note: End with 2 short rows.