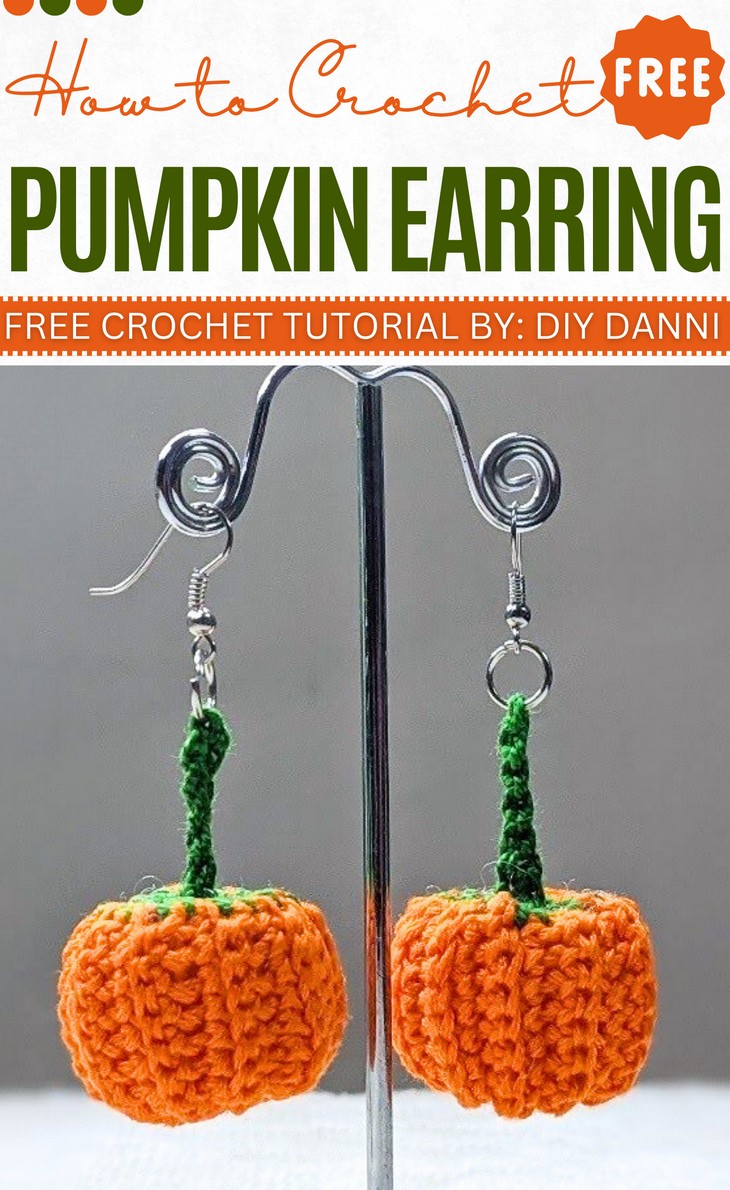
How to Crochet Ribbed Mini Pumpkin Earrings for Autumn
Want lightweight and quick crochet fall earrings? With a stitch-by-stitch tutorial, learn how to make these 20-minute crochet pumpkin earrings from a rectangle that are so easy to crochet, even for beginners. Transforming a ribbed, flat piece of single crochet stitches into an amigurumi using sewing, the pattern is so clever that you must learn it. You can crochet the set in no time, whether as a gift or for yourself. You will also learn how to attach the earring piers to your pumpkin amigurumi from a flat piece.
So, if you have made up your mind to crochet this easiest pumpkin accessory, continue reading this post till the end. There you will find the complete guide!
About the Designer: The designer behind this is pumpkin project is @DIYDanni – she is a highly effective instructor in all types of crochet items and made her channel a resource to learn something for all skill levels. Her clear, easy-to-follow tutorials make it easy to learn new techniques. Here her most popular crochet projects: Crochet Scarf, Crochet Peaks Tank Top, Crochet Hooded Scarf, Crochet Turtle Neck Hoodie to name a few.
Note: In respect for the creator’s pattern rights, there will be no provision of the written pattern. You can watch the tutorial with on-screen written instructions at the end of this post.

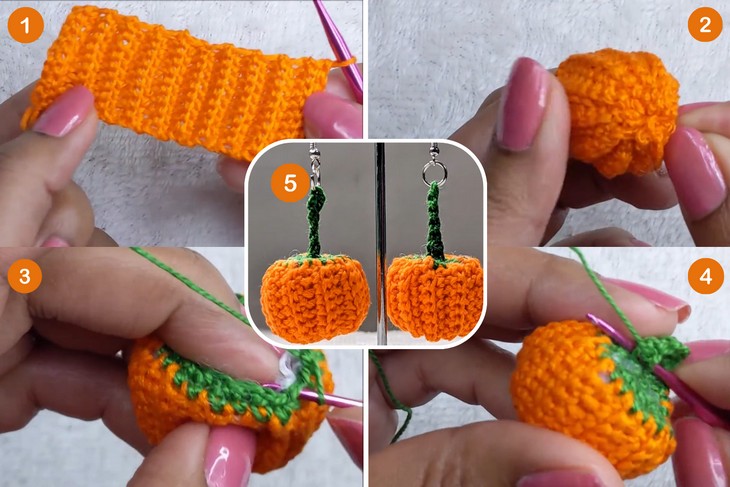
Crochet Pumpkin Earrings Tutorial
Skill Level: Beginner. The tutor uses many basic crochet techniques to crochet these ribbed pumpkin earrings. The main body of the pumpkin is made with a single crochet stitch. To create the ribbed texture, she works a single crochet in the back loop only. The video also demonstrates how to use a slip stitch to seam the sides of the pumpkin together. To close the top of the pumpkin and create a gathered effect, a single crochet decrease is used.
Tutorial Timing: Approximately 22 Minutes Only (perfect for learning how to crochet a ribbed flat fabric and turn it into something 3D, like amigurumi. All it needs is a precise hand on the sewing. It can also be used to make the popular crochet socks from a rectangle.)
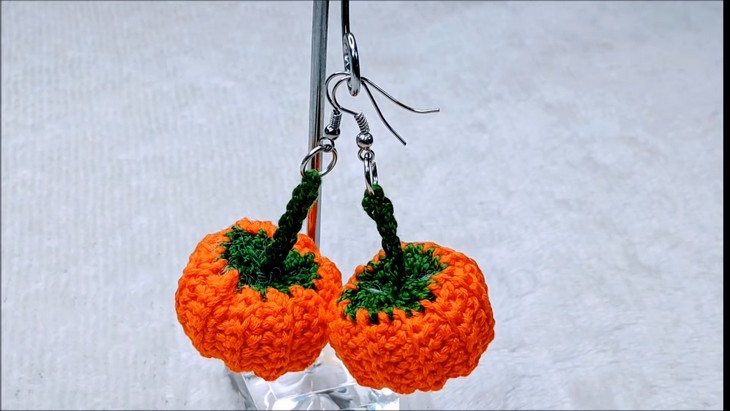
Personalization Tips: You can choose from any color to crochet your earrings, from yellow to brown and even green. Also, add a little embroidery for making the Jack o Lantern face for Halloween. Always make sure not to use the heavy stuffing and avoid overstuffing!
Pattern Type: An on-screen written pattern is available if you find written instructions easy to follow along with.
Materials & Tools
The following are the crochet materials and tools that the tutor uses for crocheting this pumpkin amigurumi earrings set:
- Orange and green embroidery floss
- 2mm crochet hook
- Earring hooks and jump rings
- Needle
- Scissors
- Polyfill stuffing
- Pliers

Crochet Stitch Guides
| Stitch | Steps | Key Feature |
|---|---|---|
| Single Crochet (sc) | Insert hook into stitch → Yarn over → Pull up loop → Yarn over → Pull through both loops. | Basic building block of crochet; creates dense fabric. |
| Slip Stitch (sl st) | Insert hook into stitch → Yarn over → Pull through stitch and loop on hook. | Very flat stitch; used for joining or moving yarn. |
| Single Crochet Decrease (sc2tog) | Insert hook into next stitch → Yarn over → Pull up loop → Insert into following stitch → Yarn over → Pull up loop → Yarn over → Pull through all 3 loops. | Combines 2 stitches into 1; reduces stitch count. |
| Back Loop Only Single Crochet (BLO sc) | Insert hook only into back loop → Yarn over → Pull up loop → Yarn over → Pull through both loops. | Creates ribbed/flexible texture; leaves front loop unworked. |