
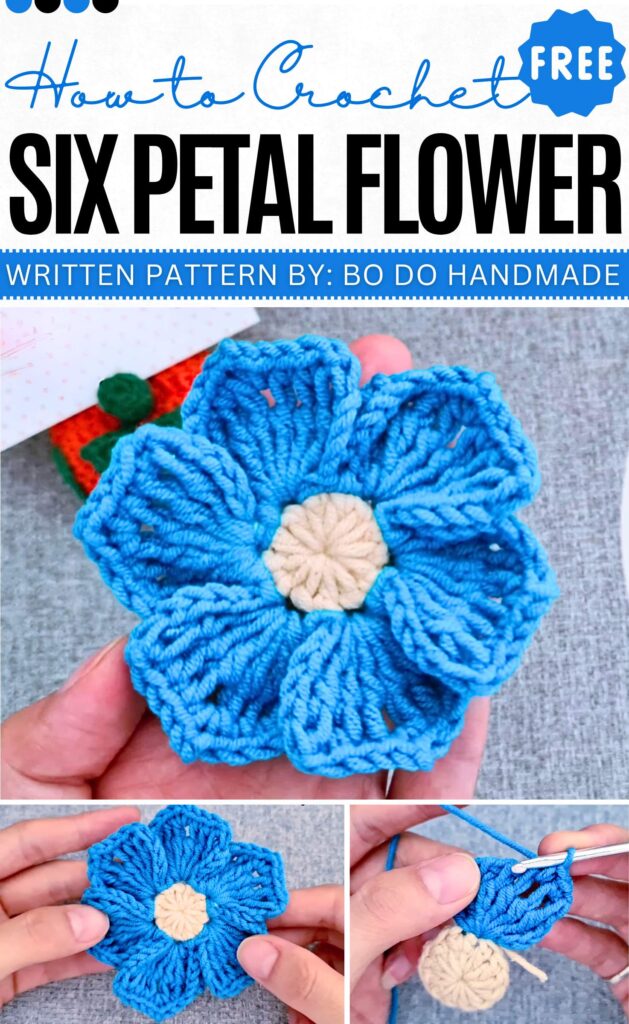
Crochet Six Petal Flowers Pattern Step by step
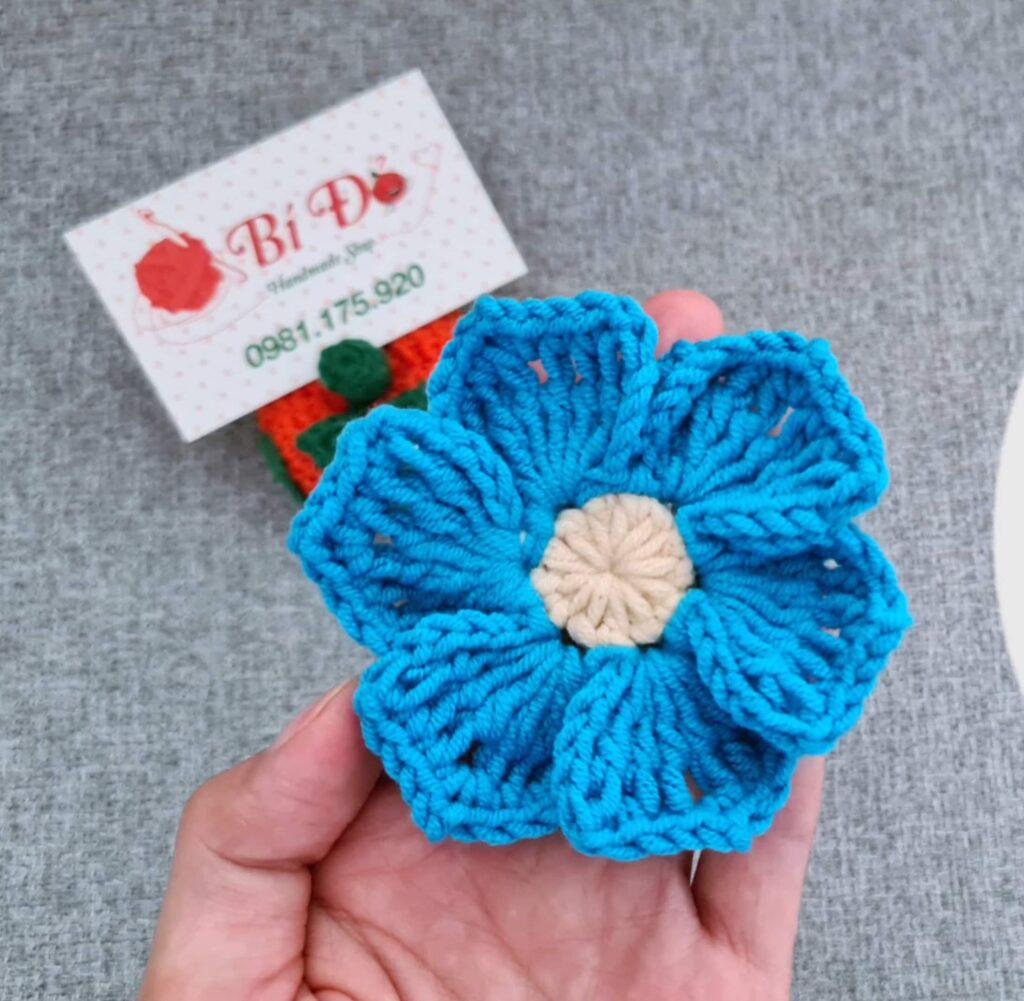
Learn how to make adorable spring flower with simplest pattern! The flower has two layers: a round center and six soft, layered petals that overlap slightly to give it a 3D look. These colorful six-petal flowers are a beautiful way to decorate your other crochet projects, like bags, hats, or blankets.
Bi do Handmade has been an expert in crocheting and designing crochet amigurumi, bag charms, and pouches. Also visit her YouTube channel for more exciting projects.
6-Petal Layered Flower Crochet Pattern
Terminology: US Terms
Skill Level: Intermediate
Materials: 125g Milk Cotton yarn (approx. 1.75–2.0mm), 3.0mm crochet hook.
Abbreviations
-
MR: Magic Ring
-
ch: chain
-
st: stitch
-
sc: single crochet
-
dc: double crochet
-
tr: treble crochet (pull through 2 loops twice)
-
sl st: slip stitch
-
BLO: back loop only
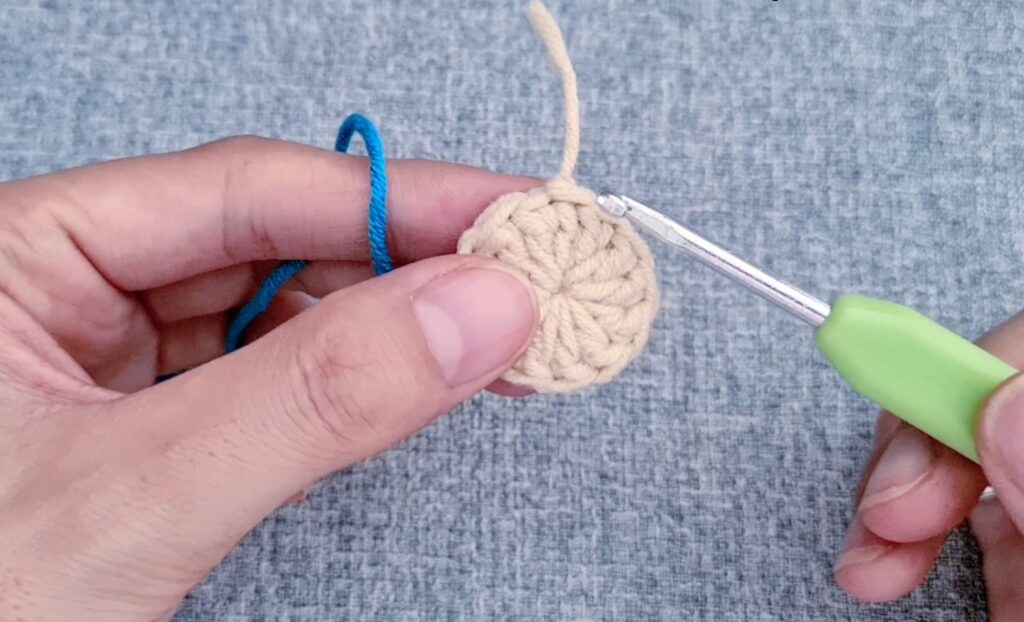
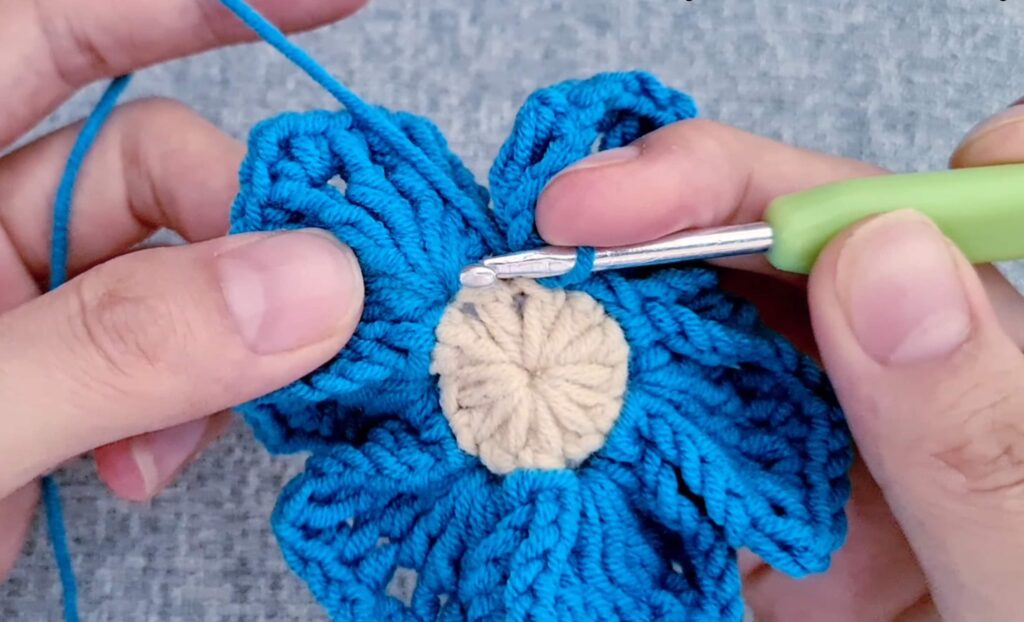
Part 1: Flower Center (Pistil)
-
Rnd 1: Start with a MR. Ch 2 (does not count as a st).
-
Rnd 2: Work 11 dc into the MR.
-
Rnd 3: Sl st into the top of the first dc to join. Ch 1 and fasten off. Pull MR tight. [11 sts]
Part 2: Petals (Make 6)
Join new color into the back loop of any stitch from the center.
-
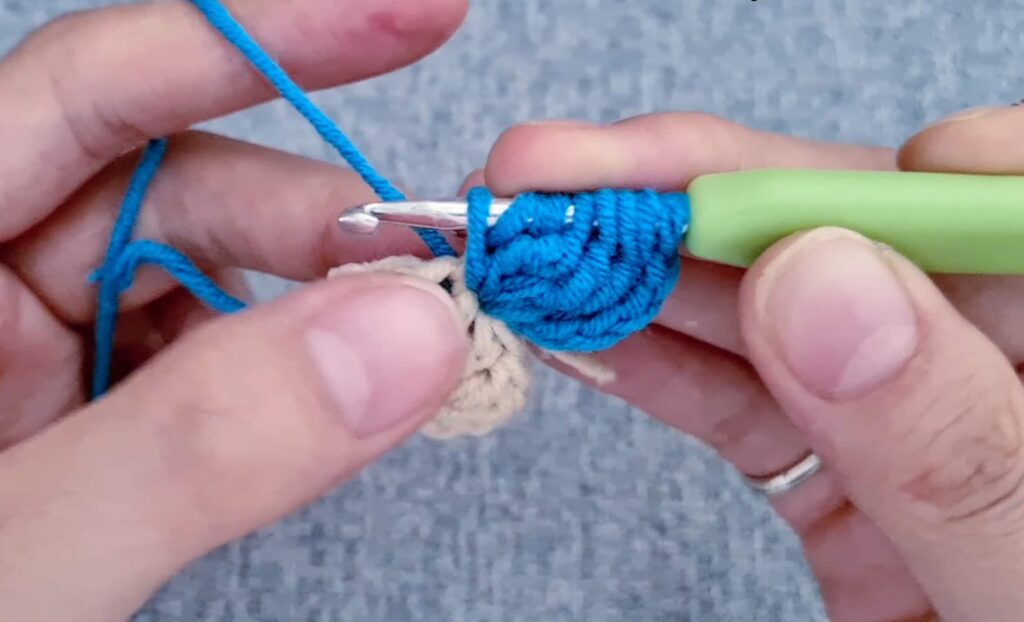
Petal Foundation: * Ch 5.
-
In the same stitch as the join, work 7 unfinished treble crochets (tr): [Yarn over twice, insert hook, pull up a loop, pull through 2 loops twice] x 7. You will have 8 loops on your hook.
-
Yarn over and pull through 2 loops at a time until only one loop remains on the hook (7 times).
-
-
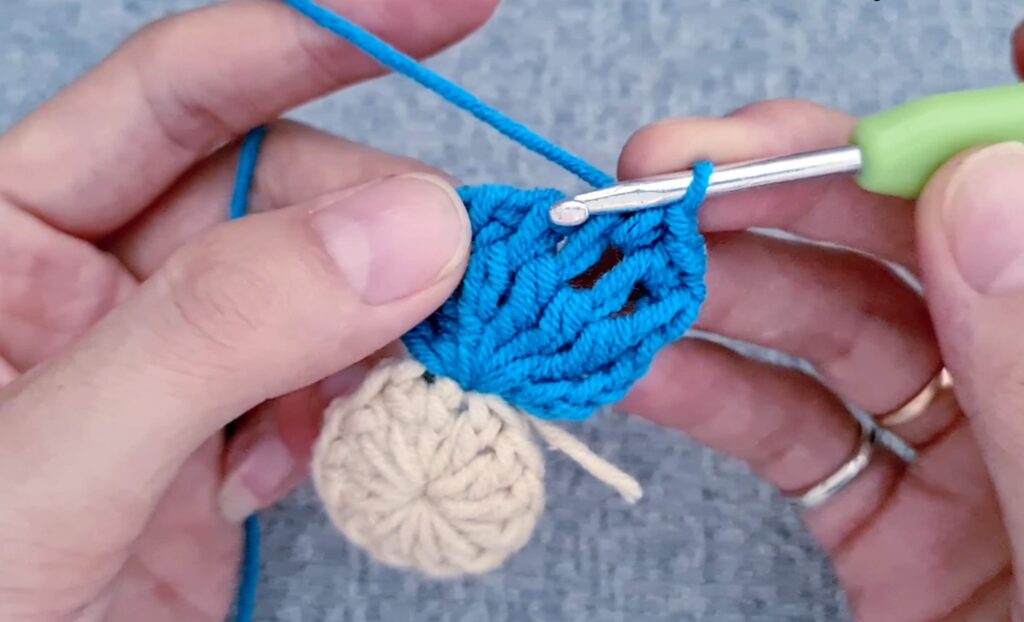
Petal Edging:
-
Ch 1. Skip the first space (closest to the hook).
-
Work 1 sc into each of the next 2 spaces.
-
In the 3rd space (peak), work (1 sc, ch 2, 1 sc).
-
Work 1 sc into each of the next 3 remaining spaces.
-
-
Petal Finish:
-
Ch 4.
-
Sl st into the same base stitch where the petal started.
-
-
Transition:
-
Skip the next stitch of the flower center.
-
Sl st into the following stitch.
-
Repeat the Petal Foundation, Edging, and Finish steps until you have 6 petals.
-
Assembly & Finishing
-
After the 6th petal, sl st into the first stitch of the first petal.
-
Fasten off and pull the yarn tail to the back.
-
Weave in all ends.
Video Tutorial:
Pattern In UK Terms
Abbreviations
-
MR: Magic Ring
-
ch: chain
-
st: stitch
-
dc: double crochet (US single crochet)
-
tr: treble crochet (US double crochet)
-
dtr: double treble crochet (US treble crochet – pull through 2 loops twice)
-
ss: slip stitch
-
BLO: back loop only
Part 1: Flower Centre
-
Rnd 1: Start with a MR. Ch 2 (does not count as a st).
-
Rnd 2: Work 11 tr into the MR.
-
Rnd 3: ss into the top of the first tr to join. Ch 1 and fasten off. Pull MR tight. [11 sts]
Part 2: Petals (Make 6)
Join new colour into the back loop of any stitch from the centre.
-
Petal Foundation: * Ch 5.
-
In the same stitch as the join, work 7 unfinished dtr: [Yarn over twice, insert hook, pull up a loop, pull through 2 loops twice] x 7. You will have 8 loops on your hook.
-
Yarn over and pull through 2 loops at a time until only one loop remains on the hook (7 times total).
-
-
Petal Edging:
-
Ch 1. Skip the first space (closest to the hook).
-
Work 1 dc into each of the next 2 spaces.
-
In the 3rd space (the peak), work (1 dc, ch 2, 1 dc).
-
Work 1 dc into each of the next 3 remaining spaces.
-
-
Petal Finish:
-
Ch 4.
-
ss into the same base stitch where the petal started.
-
-
Transition:
-
Skip the next stitch of the flower centre.
-
ss into the following stitch.
-
Repeat the Petal Foundation, Edging, and Finish steps until you have 6 petals.
-
Assembly & Finishing
-
After the 6th petal, ss into the first stitch of the first petal to close the round.
-
Fasten off and pull the yarn tail to the back.
-
Weave in all loose ends.
-
Styling: Arrange the petals so each one slightly overlaps the next to create the 3D layered effect seen in the video.