
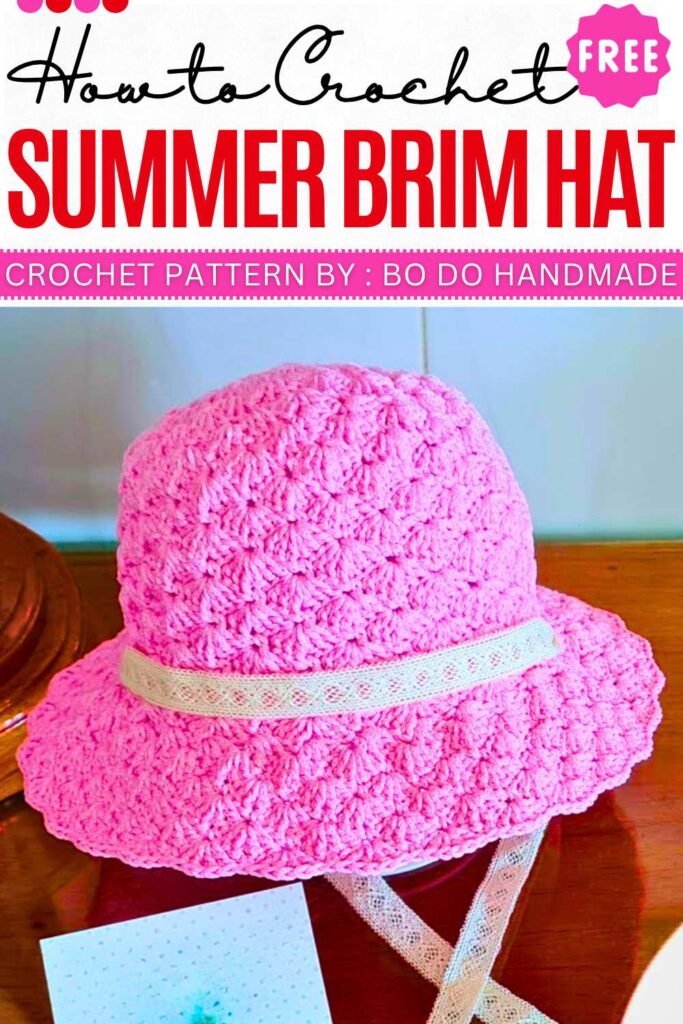
Free Crochet Summer Brim Hat Pattern for All Ages
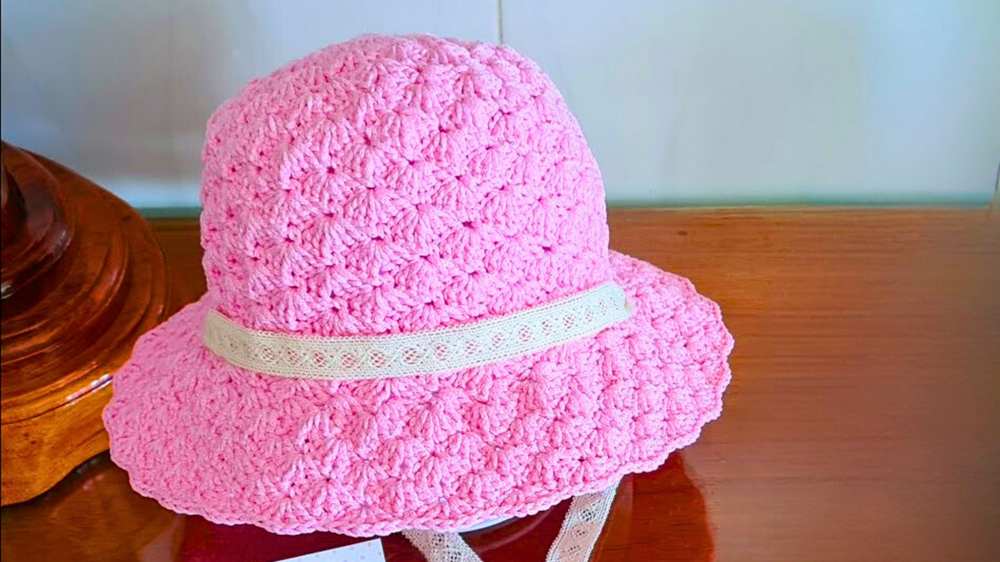
Learn how to crochet a beautifully textured top-down summer bucket hat with this free written pattern and video tutorial. This hat is a wide bucket hat for girls that can be crocheted in any size, from a two-year-old child to adults. We will be using only the shell stitch pattern all around, by working in the rounds. You can also wrap it with a lace ribbon.
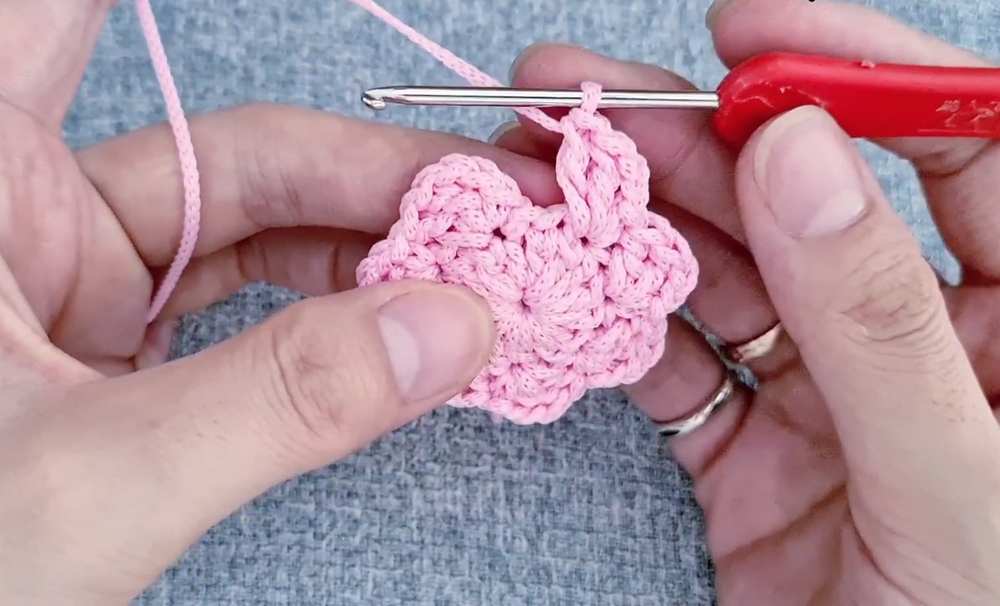
You can also achieve different sizes by crocheting using yarn of other thickness and weight. Follow through with both the UK and US patterns for absolute beginners. We shall start with a small circle and gradually expand the stitch count. This is an easier method and no-sew.
Bi Do Handmade has been an expert in crocheting and designing crochet hats, bag charms, and pouches. Also, visit her YouTube channel for more exciting projects.
Materials
- 2mm Polyester/Macrame cord (Sợi dệt)
- 2.5mm Crochet hook (Size 4/0)
- Stitch markers
- Scissors
- Measuring tape
Abbreviations (US Terms)
- MR: Magic Ring
- ch: Chain
- sc: Single crochet
- dc: Double crochet
- sl st: Slip stitch
- sk: Skip
- sp: Space
- st(s): Stitch(es)
- Shell: [dc cluster, ch-sp, dc cluster] in same st
Pattern
Crown
- Rnd 1: MR, ch 2, 14 dc in ring. Sl st to 1st dc to join. (14 dc)
- Rnd 2: ch 1, sc in same st, [ch 2, 2 dc in same st, sk 1, sc in next st]. Rep around. Sl st to 1st sc. (7 half-shells)
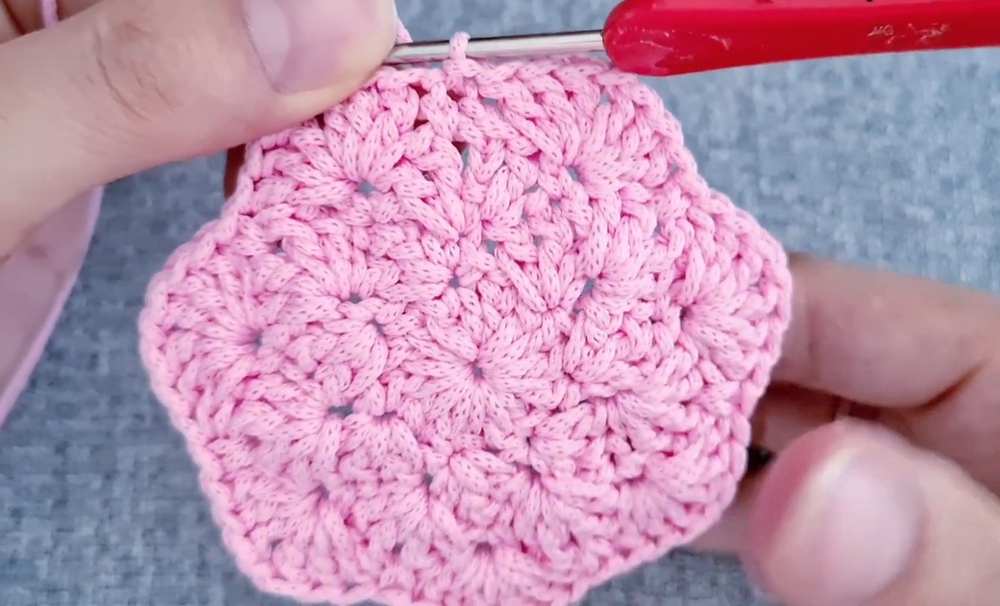
- Rnd 3: ch 3, 2 dc in same st. [sc in 1st dc of previous shell, Shell (2 dc, ch 1, 2 dc) in sc]. Rep around. End with 1 dc in base of starting ch-3, sl st to 2nd ch. (7 shells)
- Rnd 4: ch 1, sc in ch-1 sp of shell below. [Shell (3 dc, ch 1, 3 dc) in sc, sc in next ch-1 sp]. Rep around. Sl st to 1st sc. (7 shells)
- Rnd 5: ch 1, sc in sc, [ch 3, 3 dc in same st, sc in ch-1 sp, ch 3, 3 dc in same st, sc in sc]. Rep around. (14 half-shells)
- Rnd 6: ch 3, 2 dc in same st. [sc in 1st dc of previous shell, Shell (2 dc, ch 1, 2 dc) in sc]. Rep around. End with 1 dc in base of starting ch-3, sl st to 2nd ch. (14 shells)
- Rnd 7: ch 1, sc in ch-1 sp. [Shell (3 dc, ch 1, 3 dc) in sc, sc in ch-1 sp]. Rep around. Sl st to 1st sc. (14 shells)
- Rnd 8 (Increase): ch 3, 2 dc in same st. [sc in ch-1 sp, Shell (3 dc, ch 1, 3 dc) in sc]. Note: Add 1 extra shell at opposite side to reach 15 shells for size.
- Rnd 9: ch 1, sc in ch-1 sp. [Shell (3 dc, ch 1, 3 dc) in sc, sc in ch-1 sp]. Rep around. (15 shells)
Body
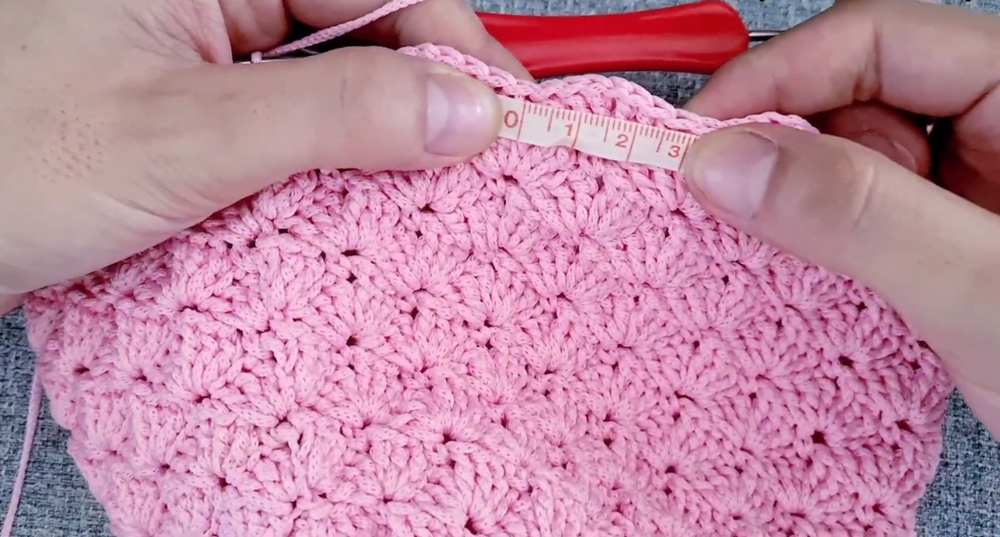
- Rnd 10–18: Rep Rnd 9 (no increases). Alternating starts to maintain shell alignment. Repeat until hat height reaches ~14–16cm from the crown to the ear.
Brim
- Brim Rnd 1: ch 1, sc in ch-1 sp. [ch 3, 3 dc in same st, sc in next sc, ch 3, 3 dc in same st, sc in ch-1 sp]. Rep around to double the shell base frequency.
- Brim Rnd 2–5: [sc in sc, Shell (2 dc, ch 1, 2 dc) in sc]. Rep around.
- Brim Rnd 6: Final edge. Sl st around or repeat Rnd 5 for desired width. Fasten off.
Detailed Assembly
-
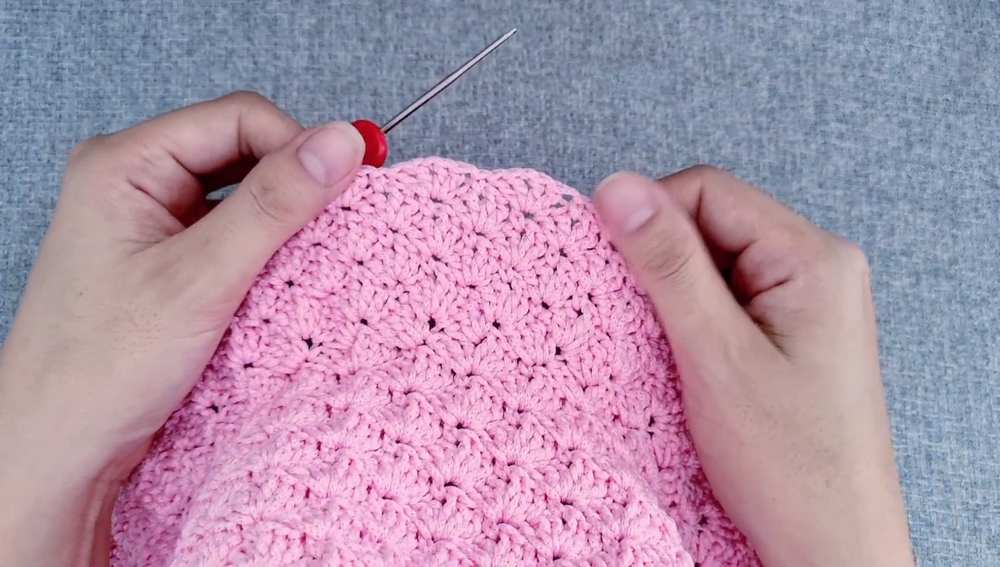
Weaving Ends:
- Use a smaller hook or tapestry needle to pull the starting MR tail tight to close the center hole.
- Thread the tail through the back of the Rnd 1 dc stitches for 2 inches, then reverse direction for 1 inch to lock.
- Cut the cord and use a lighter to slightly melt the tip of the polyester cord to prevent fraying, then press it against the back of the work.
-
Chin Straps:
- Locate the center-left and center-right points of the hat body where it meets the brim.
- Join yarn with a sl st to an sc stitch between shells.
- ch 60–80 (approx 25cm) to create a tie.
- Optional: sc back down the chain for a thicker strap.
- Repeat on the opposite side.
-
Shaping the Brim:
- Lay the hat flat on a surface.
- Smooth the brim outwards from the center to ensure the 14-to-28 shell increase lies flat and doesn’t ripple excessively.
- If using macrame cord, steam lightly with an iron (do not touch the cord directly) to set the shape of the flare.
-
Decoration (Optional):
- Crochet a contrasting flower or ribbon.
- Attach to the junction where the body meets the brim using a sl st or by sewing with a matching thread.
Video Tutorial:
UK Pattern:
Crown
- Rnd 1: MR, ch 2, 14 tr in ring. Sl st to 1st tr to join. (14 tr)
- Rnd 2: ch 1, dc in same st, [ch 2, 2 tr in same st, sk 1, dc in next st]. Rep around. Sl st to 1st dc. (7 half-shells)
- Rnd 3: ch 3, 2 tr in same st. [dc in 1st tr of previous shell, Shell (2 tr, ch 1, 2 tr) in dc]. Rep around. End with 1 tr in base of the starting ch-3, sl st to 2nd ch. (7 shells)
- Rnd 4: ch 1, dc in ch-1 sp of shell below. [Shell (3 tr, ch 1, 3 tr) in dc, dc in next ch-1 sp]. Rep around. Sl st to 1st dc. (7 shells)
- Rnd 5: ch 1, dc in dc, [ch 3, 3 tr in same st, dc in ch-1 sp, ch 3, 3 tr in same st, dc in dc]. Rep around. (14 half-shells)
- Rnd 6: ch 3, 2 tr in same st. [dc in 1st tr of previous shell, Shell (2 tr, ch 1, 2 tr) in dc]. Rep around. End with 1 tr in base of starting ch-3, sl st to 2nd ch. (14 shells)
- Rnd 7: ch 1, dc in ch-1 sp. [Shell (3 tr, ch 1, 3 tr) in dc, dc in ch-1 sp]. Rep around. Sl st to 1st dc. (14 shells)
- Rnd 8 (Increase): ch 3, 2 tr in same st. [dc in ch-1 sp, Shell (3 tr, ch 1, 3 tr) in dc]. Note: Add 1 extra shell at opposite side to reach 15 shells for size.
- Rnd 9: ch 1, dc in ch-1 sp. [Shell (3 tr, ch 1, 3 tr) in dc, dc in ch-1 sp]. Rep around. (15 shells)
Body
- Rnd 10–18: Rep Rnd 9 (no increases). Alternating starts to maintain shell alignment. Repeat until hat height reaches ~14–16cm from crown to ear.
Brim
- Brim Rnd 1: ch 1, dc in ch-1 sp. [ch 3, 3 tr in same st, dc in next dc, ch 3, 3 tr in same st, dc in ch-1 sp]. Rep around to double the shell base frequency.
- Brim Rnd 2–5: [dc in dc, Shell (2 tr, ch 1, 2 tr) in dc]. Rep around.
- Brim Rnd 6: Final edge. Sl st around or repeat Rnd 5 for desired width. Fasten off.
Detailed Assembly
-
Weaving Ends:
- Use a smaller hook or tapestry needle to pull the starting MR tail tight to close the center hole.
- Thread the tail through the back of the Rnd 1 tr stitches for 5cm, then reverse direction for 2.5cm to lock.
- Cut the cord and use a lighter to slightly melt the tip of the polyester cord to prevent fraying, then press it against the back of the work.
-
Chin Straps:
- Locate the center-left and center-right points of the hat body where it meets the brim.
- Join yarn with a sl st to a dc stitch between shells.
- ch 60–80 (approx 25cm) to create a tie.
- Optional: dc back down the chain for a thicker strap.
- Repeat on the opposite side.
-
Shaping the Brim:
- Lay the hat flat on a surface.
- Smooth the brim outwards from the center to ensure the 14-to-28 shell increase lies flat and doesn’t ripple excessively.
- If using macrame cord, steam lightly with an iron (do not touch the cord directly) to set the shape of the flare.
-
Decoration (Optional):
- Crochet a contrasting flower or ribbon.
- Attach to the junction where the body meets the brim using a sl st or by sewing with a matching thread.