
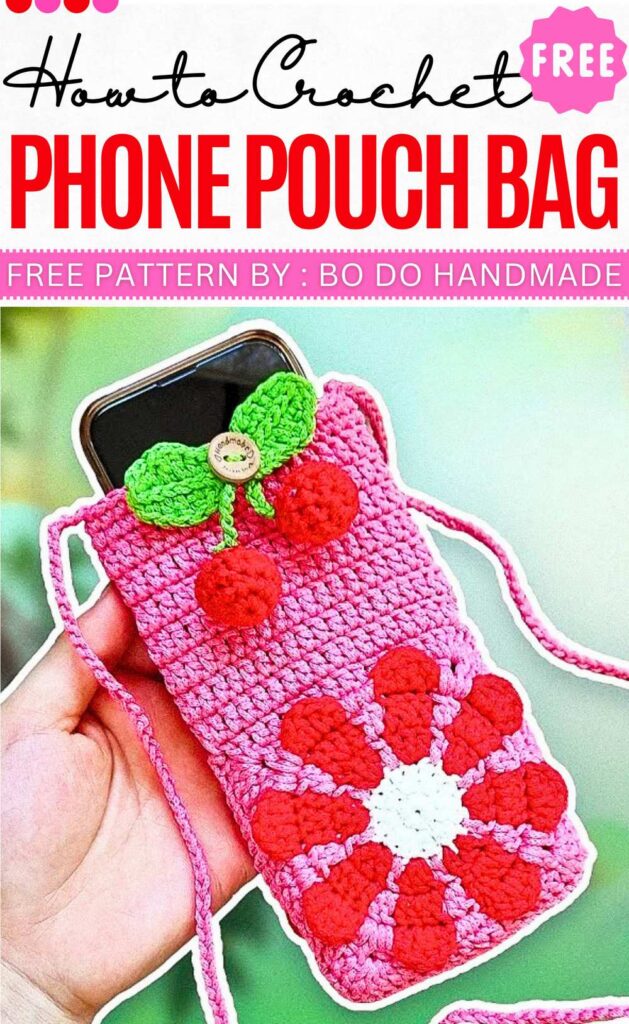
Crochet Floral Phone Pouch Bag Pattern Free
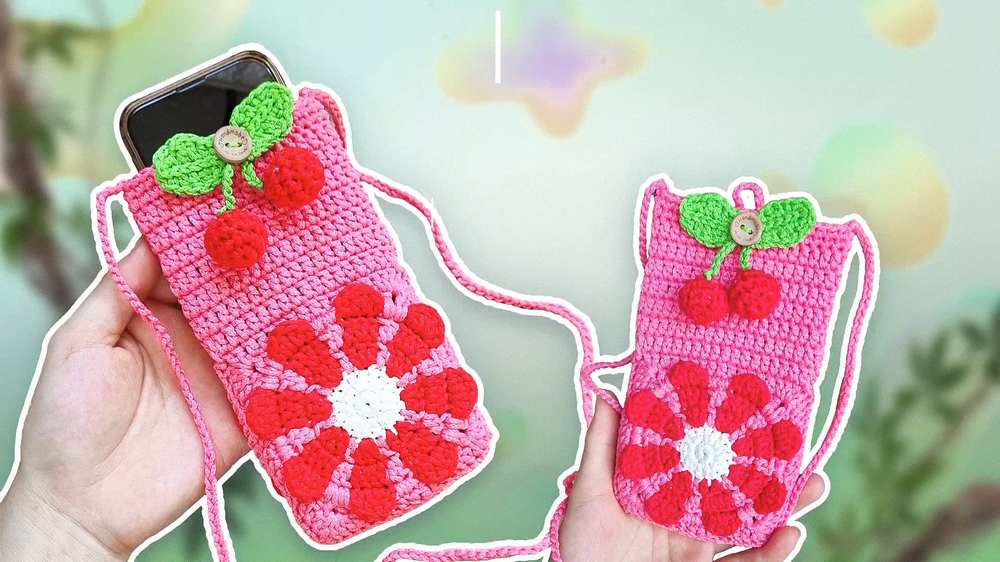
We are here with a cute and small crochet bag made specifically to hold mobile phone or other long items. The most special part of this bag is the large, colorful flower on the front and back, you will make directly into the square body of the bag. The bag also has a handy strap so you can wear it over your shoulder or across your body. And it has a small loop and a decorative cherry-shaped button to keep the top closed.
Crochet Floral Phone Pouch Bag
Bi Do Handmade has been an expert in crocheting and designing crochet hats, bag charms, and pouches. Also, visit her YouTube channel for more exciting projects.
Materials
- Worsted weight cotton/acrylic yarn (main color + optional flower contrast)
- Crochet hook: 4.0 mm (G/6) or size to obtain gauge
- Yarn needle
- Scissors
- Optional: button, drawstring cord, strap chain or crocheted strap
Abbreviations (US Terms)
- ch – chain
- sl st – slip stitch
- sc – single crochet
- hdc – half double crochet
- dc – double crochet
- tr – treble (UK dbl tr)
- st(s) – stitch(es)
- sp – space
- rep – repeat
Pattern (Mini Flower Bag)
Base / Body
- Ch 30. (foundation chain for width)
- Row 1: sc in 2nd ch from hook and in each ch to end — 29 sc.
- Rows 2–25: ch 1, turn. sc in each st across. (Or work until desired phone case height is reached.)
- Fold piece to form front/back of bag (both panels matching top edges).
Flower Motif (worked separately)
Center circle
- With contrast color, ch 4; sl st to first ch to form ring.
- Round 1: ch 1, 10 sc in ring; sl st to first sc to join. (10 sts total)
- Round 2: (optional texture) ch 2, 2 dc in same st, 2 dc in each st around; sl st to join.
- Fasten off, weave ends.
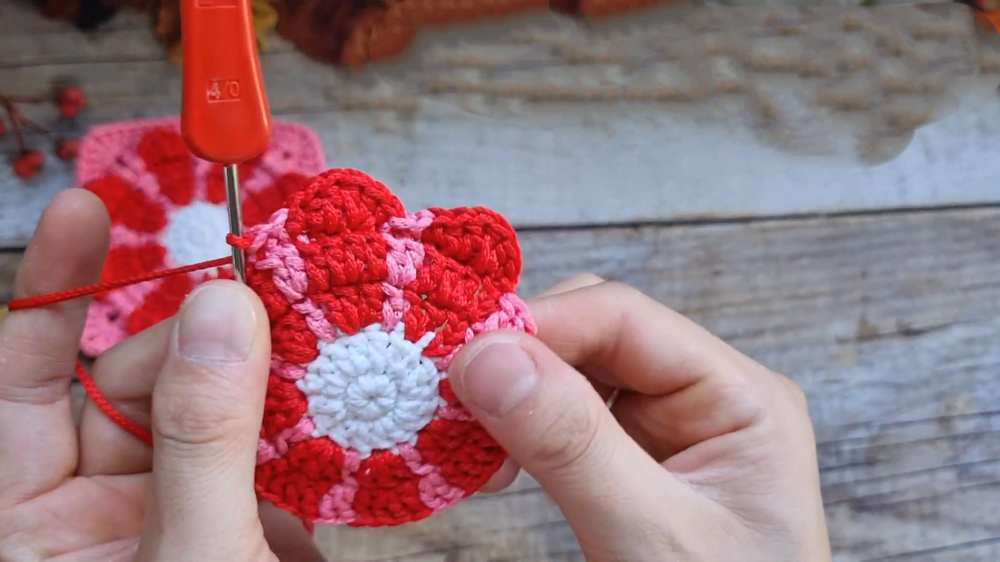
Petals
- Join flower color into any st of Round 1.
- [ch 3, sl st in same st] — repeat 5 times for 5 petals.
- Fasten off; weave ends.
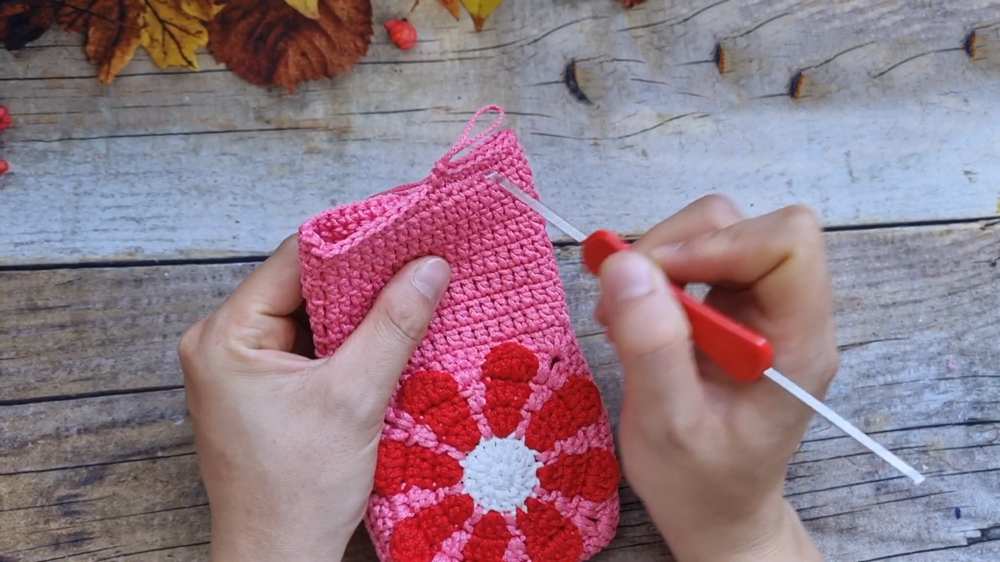
Assembly Details (IMPORTANT)
1) Joining Front & Back
- With body folded, align sides exactly.
- Using main color yarn and yarn needle:
- Start at top left of one side.
- Whipstitch or sl st through both layers down the side edge to bottom.
- Repeat on the opposite side to close the bag shape.
- Leave the top open.
Tip: Keep edges flush; do not stretch the fabric while stitching.
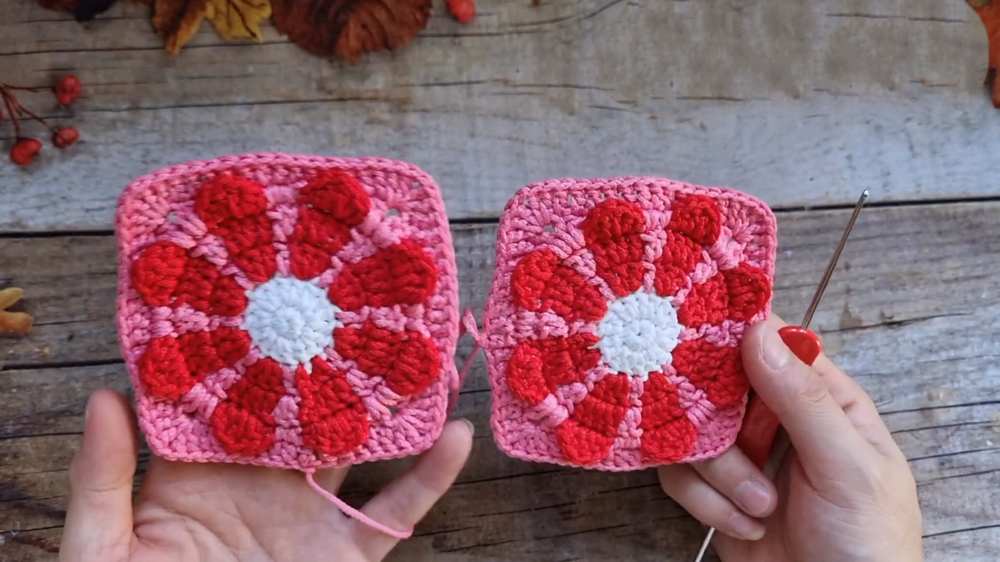
2) Attaching Flower Motif
- Place the flower centrally on the front panel.
- With matching yarn, sew around the flower center with small back‑stitches or sl st through the base of flower and fabric:
- Insert needle through front panel and back into flower base.
- Do not catch main bag lining — only front panel loops.
- Secure firmly so motif lies flat.
3) Optional Strap or Drawstring
Simple Crochet Strap
- At top edge, join yarn at one top corner.
- Ch 80–120 (adjust for desired length).
- sc in 2nd ch from hook and across.
- Attach to other top corner with sl st.
- Weave in ends.
Drawstring Cord
- With a contrasting yarn, ch 100–120.
- Thread cord through top row of sts (use a yarn needle).
- Tie ends in a bow or attach decorative beads.
Finishing
- Weave in all ends with yarn needle.
- Block lightly by shaping bag to size and smoothing edges.
- Add button by sewing at front top center and create a small loop on flap or strap if desired.
Video Pattern:
Pattern In UK Terms
Pattern (Mini Flower Bag)
Base / Body
- Ch 30. (foundation chain for width)
- Row 1: dc in 2nd ch from hook and in each ch to end — 29 dc.
- Rows 2–25: ch 1, turn. dc in each st across. (Or work until desired phone case height is reached.)
- Fold piece to form front/back of bag (both panels matching top edges).
Flower Motif (worked separately)
Center circle
- With contrast color, ch 4; sl st to first ch to form ring.
- Round 1: ch 1, 10 dc in ring; sl st to first dc to join. (10 sts total)
- Round 2: (optional texture) ch 2, 2 tr in same st, 2 tr in each st around; sl st to join.
- Fasten off, weave ends.
Petals
- Join flower color into any st of Round 1.
- [ch 3, sl st in same st] — repeat 5 times for 5 petals.
- Fasten off; weave ends.
Assembly Details (IMPORTANT)
1) Joining Front & Back
- With body folded, align sides exactly.
- Using main color yarn and yarn needle:
- Start at top left of one side.
- Whipstitch or sl st through both layers down the side edge to bottom.
- Repeat on the opposite side to close the bag shape.
- Leave the top open.
Tip: Keep edges flush; do not stretch the fabric while stitching.
2) Attaching Flower Motif
- Place the flower centrally on the front panel.
- With matching yarn, sew around the flower center with small back‑stitches or sl st through the base of flower and fabric:
- Insert needle through front panel and back into flower base.
- Do not catch main bag lining — only front panel loops.
- Secure firmly so motif lies flat.
3) Optional Strap or Drawstring
Simple Crochet Strap
- At top edge, join yarn at one top corner.
- Ch 80–120 (adjust for desired length).
- dc in 2nd ch from hook and across.
- Attach to other top corner with sl st.
- Weave in ends.
Drawstring Cord
- With a contrasting yarn, ch 100–120.
- Thread cord through top row of sts (use a yarn needle).
- Tie ends in a bow or attach decorative beads.
Finishing
- Weave in all ends with yarn needle.
- Block lightly by shaping bag to size and smoothing edges.
- Add button by sewing at front top center and create a small loop on flap or strap if desired.