
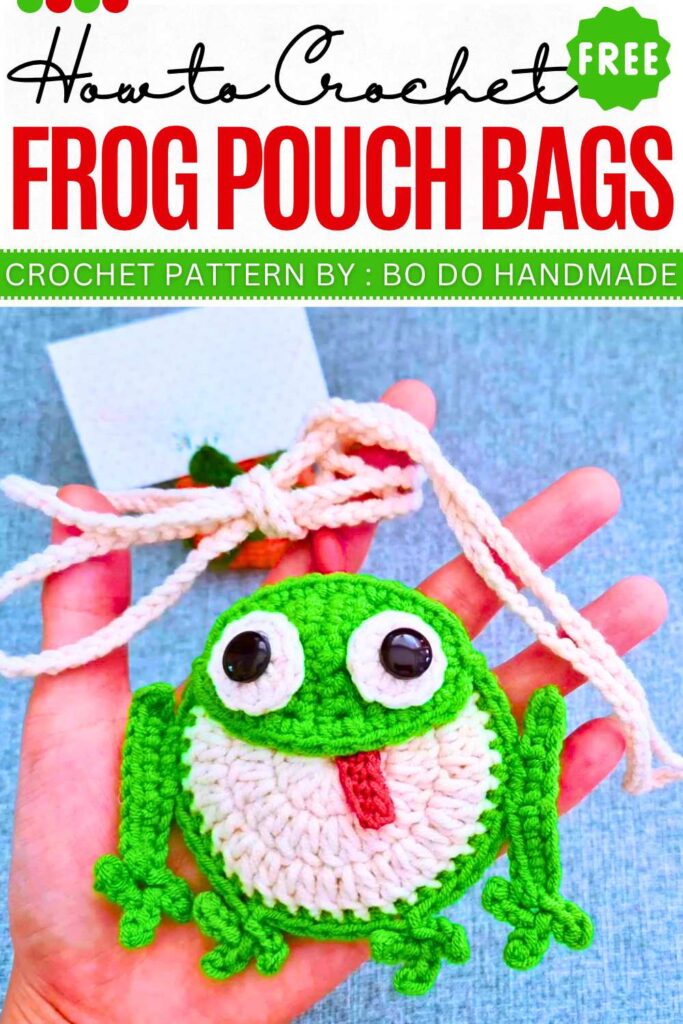
Crochet Frog Pouch Bag Pattern For Small Goods
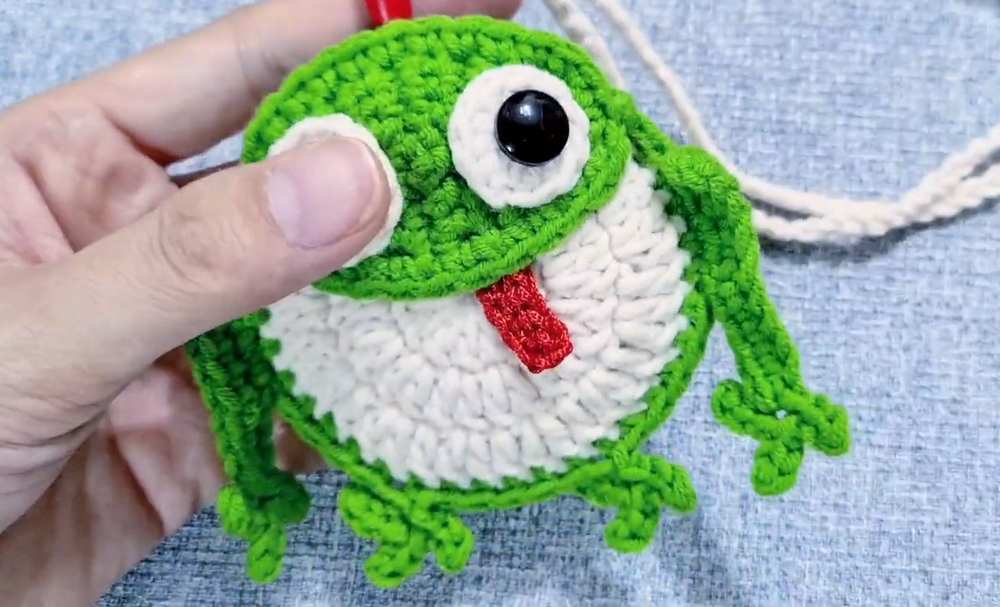
What’s more cute than carrying your small goods in a pouched shaped like a frog. Today I’m sharing you with the pattern to make a pouch that looks like fun frog all made with simple steps. The pouch has ample space for small items like coins, air pods and even your small makeup accessories. Keep its strap small to hold in your hand, add a keyring for attaching to the bag or keep it long for cross body bag version!
Crochet Frog Pouch Bag Pattern
Bi Do Handmade has been an expert in crocheting and designing crochet hats, bag charms, and pouches. Also, visit her YouTube channel for more exciting projects.
Free Crochet Icecream Pouch Bag Patternhttps://mycraftybasket.com/crochet-icecream-pouch-bag/
Free Crochet 3D Flower Pouch Bag Pattern for Spring
https://mycraftybasket.com/3d-flower-pouch-bag-pattern/
Frog Garlic Bag Crochet Pattern
Materials
- Yarn: Milk Cotton (approx. 1.75mm – 2.0mm strand) in Green, White, and Red.
- Hooks: 3.5mm (main body) and a smaller hook (1.0mm – 2.0mm) for the stopper and details.
- Accessories: Plastic stopper (cord lock), black beads or safety eyes.
- Tools: Yarn needle, scissors, optional hot glue.
Abbreviations (English)
- MR: Magic Ring
- ch: chain
- st: stitch
- sl st: slip stitch
- sc: single crochet
- hdc: half double crochet
- dc: double crochet
- inc: increase (2 sts in same st)
- dec: decrease (sc 2 sts together)
- rep: repeat
- R/Row: Round or Row
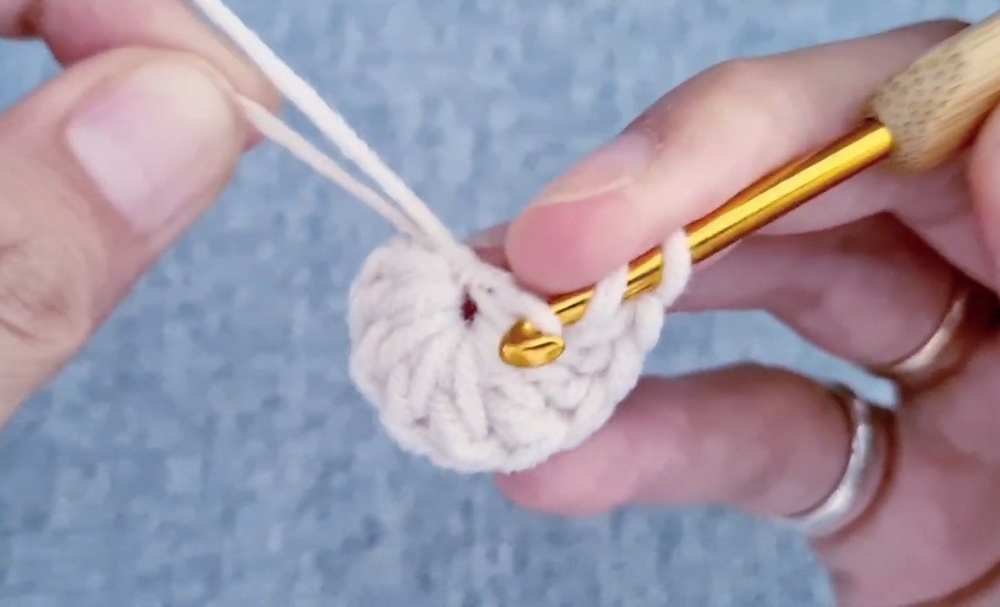
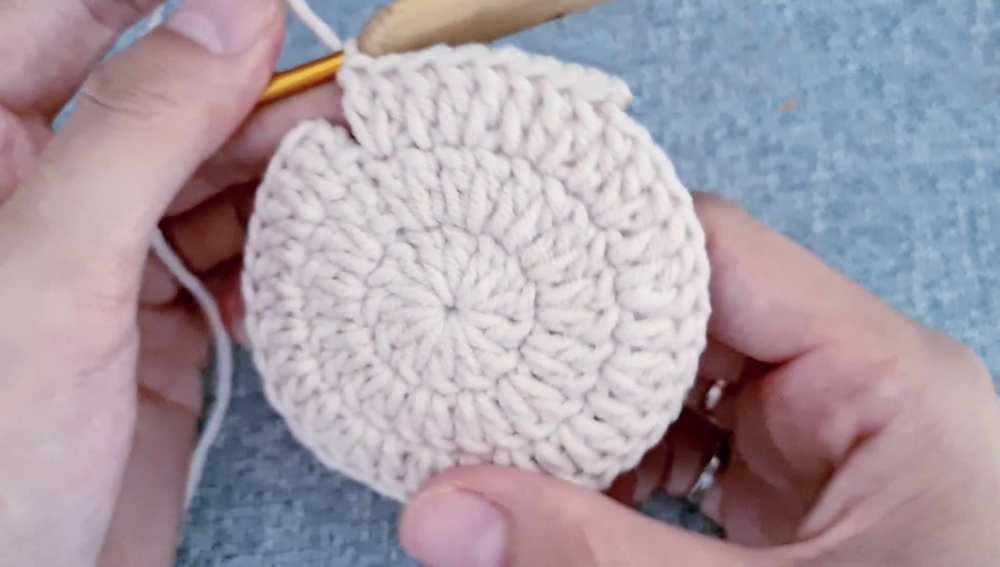
1. Front Face (White)
- R1: MR, ch 2 (counts as first dc), 13 dc into ring. Sl st to join. (13)
- R2: ch 2, 2 dc in each st around. Sl st to join. (26)
- R3: ch 2, (1 dc, inc) rep around. Sl st to join. (39)
- Strap: ch 120 (or desired length). Fasten off, leave a long tail for sewing.
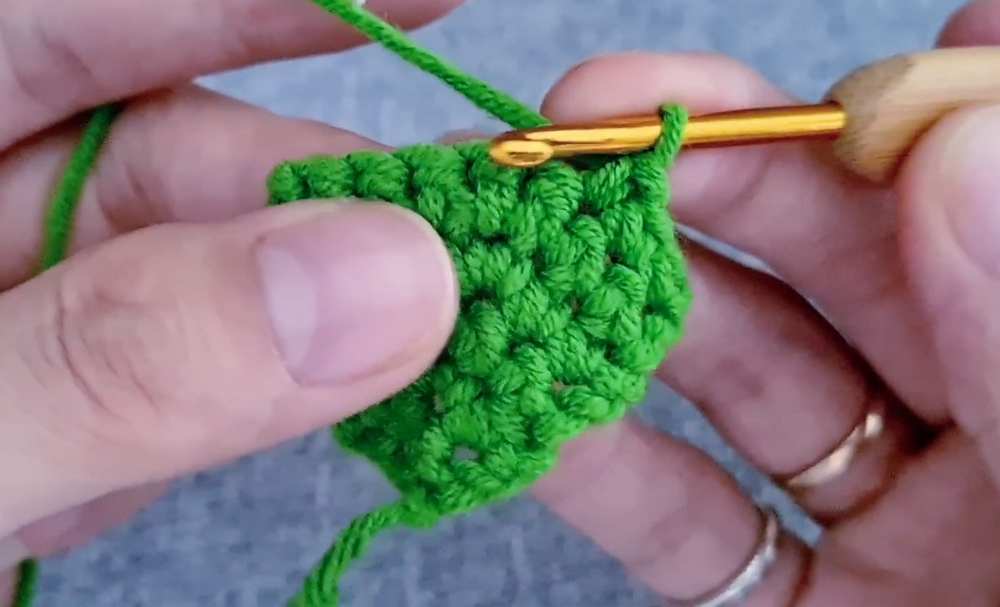
2. Back Face (Green)
- R1 – R3: Repeat instructions for Front Face using Green yarn. (39)
- Note: Do not fasten off after R3.
3. Mouth Piece (Green)
- Row 1: ch 3, plus ch 1.
- Row 2: 1 sc, inc, 1 sc. ch 1, turn. (4)
- Row 3: 1 sc, inc, 2 sc. ch 1, turn. (5)
- Row 4: 2 sc, inc, 2 sc. ch 1, turn. (6)
- Row 5: 3 sc, inc, 3 sc. ch 1, turn. (7)
- Row 6: 3 sc, inc, 4 sc. ch 1, turn. (8)
- Row 7: 3 sc, dec, 3 sc. ch 1, turn. (7)
- Row 8: 2 sc, dec, 3 sc. ch 1, turn. (6)
- Row 9: 2 sc, dec, 2 sc. ch 1, turn. (5)
- Row 10: 1 sc, dec, 2 sc. ch 1, turn. (4)
- Row 11: 1 sc, dec, 1 sc. (3)
- Border: sc evenly around the entire edge of the diamond shape. Fasten off.
4. Tongue (Red)
- Row 1: ch 6.
- Row 2: 6 sc across. Fasten off.
5. Long Legs (Make 2 – Green)
- Toes: ch 3, sl st into 2nd ch and 1st ch. (Rep 3 times to create 3 toes).
- Leg: Join yarn to toes, ch 10.
- Return: 10 sc back down the chain. Sl st to join. Fasten off, leave tail.
6. Eyes (Make 2 – White)
- R1: MR, 11 hdc into ring. Sl st to join. Fasten off.
Detailed Assembly Instructions
-
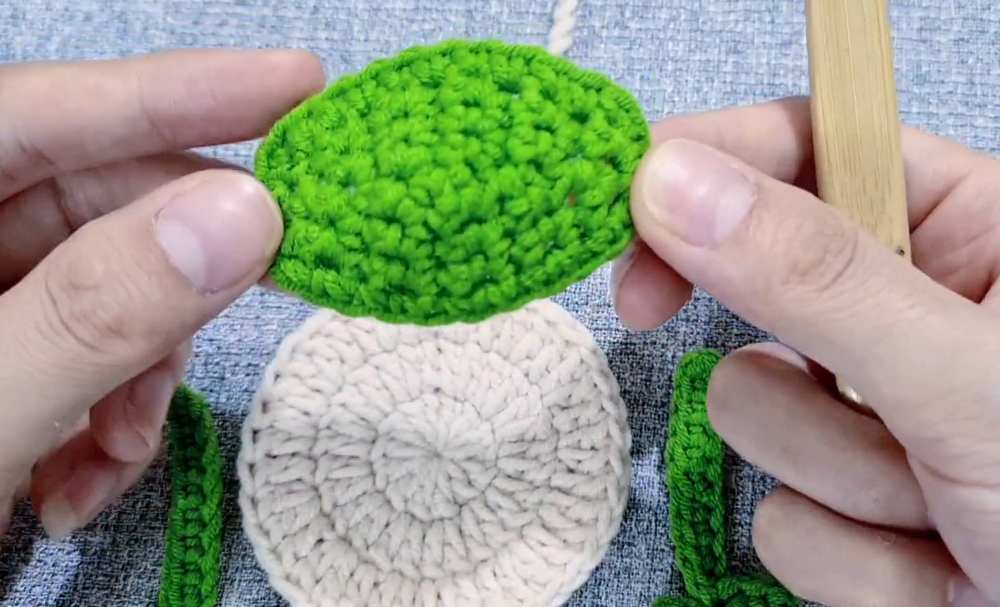
Joining the Body: Place the Green circle (Back) behind the White circle (Front) with right sides facing out.
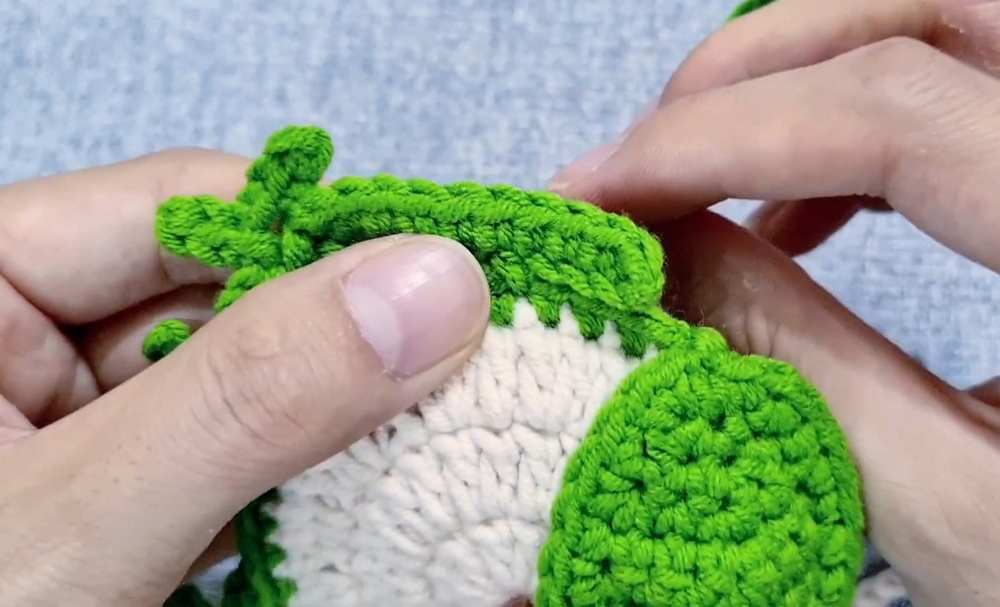
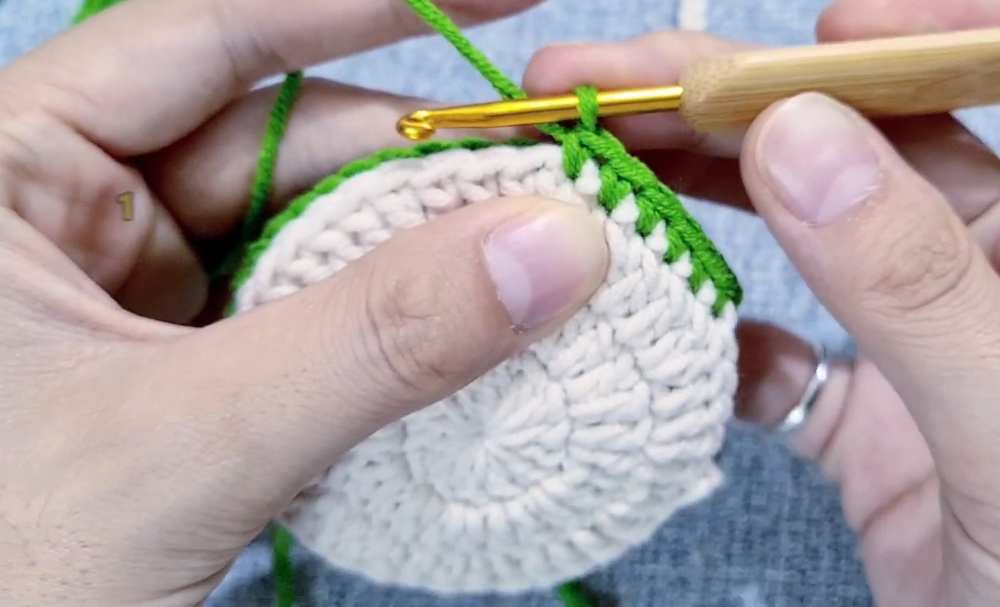
- Starting from the 6th stitch from the top, join Green yarn and sc through both layers to close the bottom of the bag.
- Continue sc for 31 stitches around the bottom edge.
- Bottom Feet: At stitch 16 and stitch 21, create a tiny foot: (ch 3, sl st 3; ch 2, sl st 2; ch 2, sl st 2), then sl st back into the main stitch.
- Leave the top 8–10 stitches open for the bag mouth.
-
Attaching the Mouth:
- Center the Green Mouth Piece over the White Front Face.
- Sew the sides, leaving the center open.
- Sew the Red Tongue inside the mouth.
-
Attaching Long Legs:
- Position legs on each side of the body.
- Sew about 6 stitches down from the top opening.
-
Final Details:
- Attach eyes to the top of the head.
- Add pupils using beads or yarn.
- Strap & Stopper: Attach strap and thread through stopper.
- Tie knots to secure.
Video Pattern:
Pattern Instructions (UK Terms)
1. Front Face (White)
- R1: MR, ch 2 (counts as first tr), 13 tr into ring. Sl st to join. (13)
- R2: ch 2, 2 tr in each st around. Sl st to join. (26)
- R3: ch 2, (1 tr, inc) rep around. Sl st to join. (39)
- Strap: ch 120 (or desired length). Fasten off, leave a long tail for sewing.
2. Back Face (Green)
- R1 – R3: Repeat instructions for Front Face using Green yarn. (39)
- Note: Do not fasten off after R3.
3. Mouth Piece (Green)
- Row 1: ch 3, plus ch 1.
- Row 2: 1 dc, inc, 1 dc. ch 1, turn. (4)
- Row 3: 1 dc, inc, 2 dc. ch 1, turn. (5)
- Row 4: 2 dc, inc, 2 dc. ch 1, turn. (6)
- Row 5: 3 dc, inc, 3 dc. ch 1, turn. (7)
- Row 6: 3 dc, inc, 4 dc. ch 1, turn. (8)
- Row 7: 3 dc, dec, 3 dc. ch 1, turn. (7)
- Row 8: 2 dc, dec, 3 dc. ch 1, turn. (6)
- Row 9: 2 dc, dec, 2 dc. ch 1, turn. (5)
- Row 10: 1 dc, dec, 2 dc. ch 1, turn. (4)
- Row 11: 1 dc, dec, 1 dc. (3)
- Border: dc evenly around the entire edge of the diamond shape. Fasten off.
4. Tongue (Red)
- Row 1: ch 6.
- Row 2: 6 dc across. Fasten off.
5. Long Legs (Make 2 – Green)
- Toes: ch 3, sl st into 2nd ch and 1st ch. (Rep 3 times to create 3 toes).
- Leg: Join yarn to toes, ch 10.
- Return: 10 dc back down the chain. Sl st to join. Fasten off, leave tail.
6. Eyes (Make 2 – White)
- R1: MR, 11 htr into ring. Sl st to join. Fasten off.
Detailed Assembly Instructions
-
Joining the Body: Place the Green circle (Back) behind the White circle (Front) with right sides facing out.
- Starting from the 6th stitch from the top, join Green yarn and dc through both layers to close the bottom of the bag.
- Continue dc for 31 stitches around the bottom edge.
- Bottom Feet: At stitch 16 and stitch 21, create a tiny foot: (ch 3, sl st 3; ch 2, sl st 2; ch 2, sl st 2), then sl st back into the main stitch.
- Leave the top 8–10 stitches open for the bag mouth.
-
Attaching the Mouth:
- Center the Green Mouth Piece over the White Front Face.
- Sew the sides, leaving the center open.
- Sew the Red Tongue inside the mouth.
-
Attaching Long Legs:
- Position legs on each side of the body.
- Sew about 6 stitches down from the top opening.
-
Final Details:
- Attach eyes to the top of the head.
- Add pupils using beads or yarn.
- Strap & Stopper: Attach strap and thread through stopper.
- Tie knots to secure.