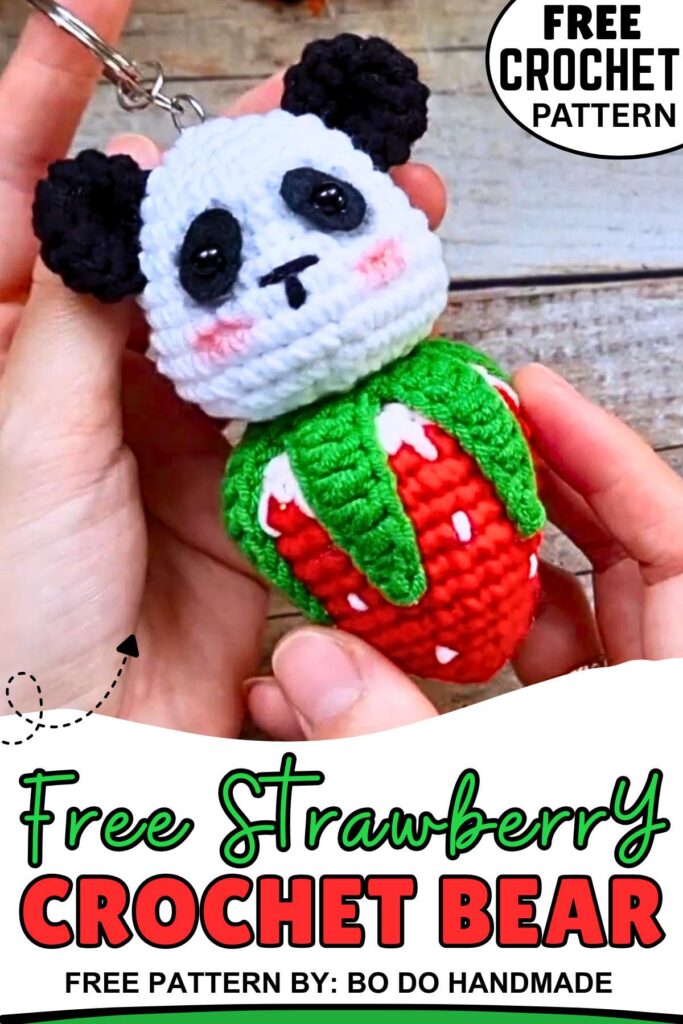
Free Crochet Strawberry Bear Keychain Pattern for Spring
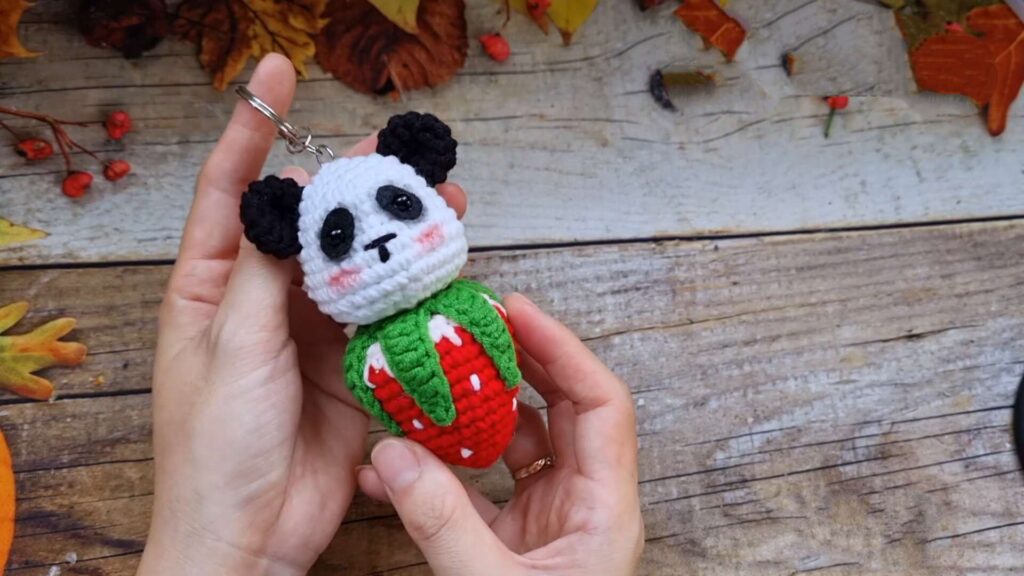
Crochet a cute amigurumi panda with a strawberry body, with a free and complete written pattern. This will be an irresistible gift for spring and the New Year. The strawberry pattern has a detailed calyx and embroidered seeds. Also, the panda is quite cute. Therefore, follow the written pattern for beginners.
Crochet Strawberry Bear Pattern
Designer of a strawberry keychain
She is an expert in crocheting and designing crochet amigurumi, bag charms, and pouches. Her tutorials always have detailed written instructions in two languages on the screen. So, make sure to subscribe to her channel.
Note: For this amigurumi in particular, we shall share the written pattern that is complete and checked.
Materials
The following are the materials and tools needed for crocheting the strawberry keychain:
-
Yarn: Milk Cotton (125g) in Red (or strawberry color), White (for strawberry top/bear head), Green (leaves), Black (ears/details).
-
Hook: 2.5 mm
-
Other: Safety eyes or half-beads, back felt (for eye backing), fiberfill, tapestry needle, and glue.
Abbreviations (US Terms):
-
MR: Magic Ring
-
ch: Chain
-
sc: Single Crochet
-
inc: Increase (2 sc in one st)
-
dec: Decrease (sc2tog)
-
sl st: Slip Stitch
-
hdc: Half Double Crochet
-
dc: Double Crochet
-
Spike sc: Single crochet into the stitch one row below the previous row (Long sc).
Crochet Bear and Strawberry Pattern
The following pattern is written using the US instructions or you can watch the tutorial:
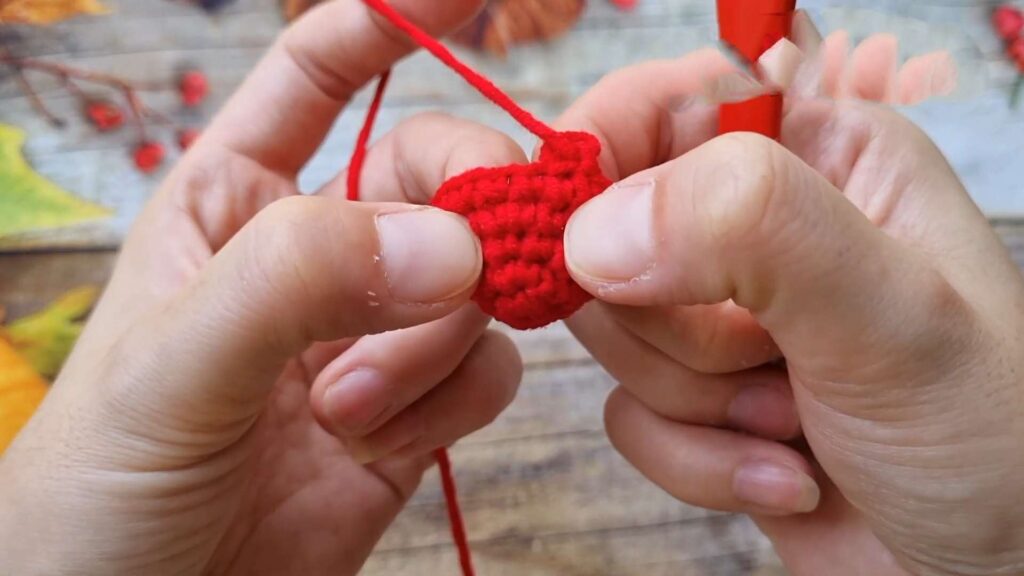
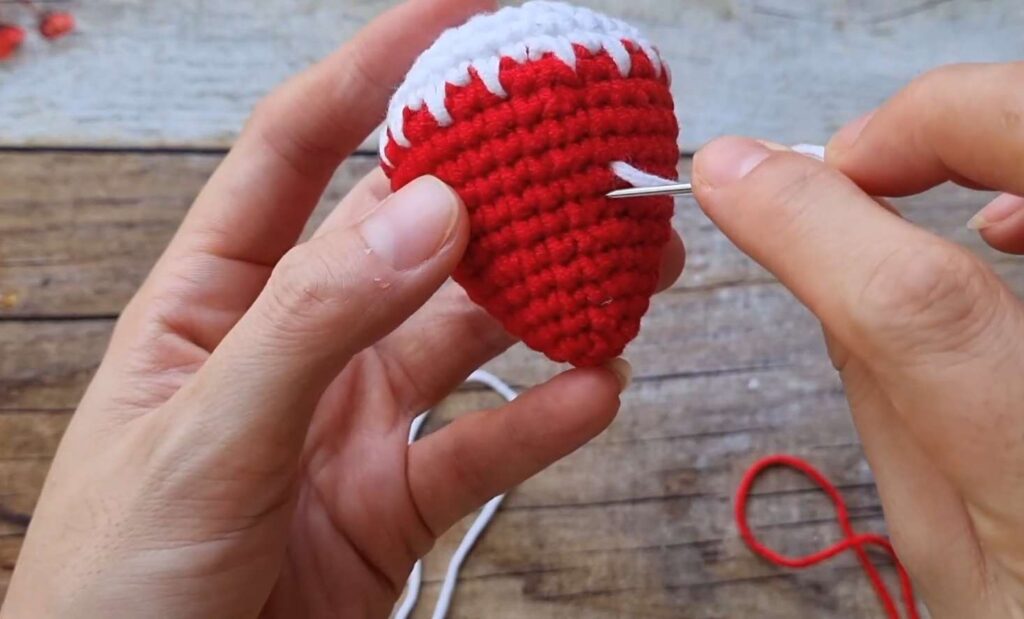
1. Strawberry Body (Bottom Part)
Start with Red yarn.
-
R1: 6 sc in MR. (6)
-
R2: 6 inc. (12)
-
R3: 12 sc. (12)
-
R4: (1 sc, inc) x 6. (18)
-
R5: 18 sc. (18)
-
R6: (2 sc, inc) x 6. (24)
-
R7: 24 sc. (24)
-
R8: (3 sc, inc) x 6. (30)
-
R9–12: 30 sc. (4 rows)
-
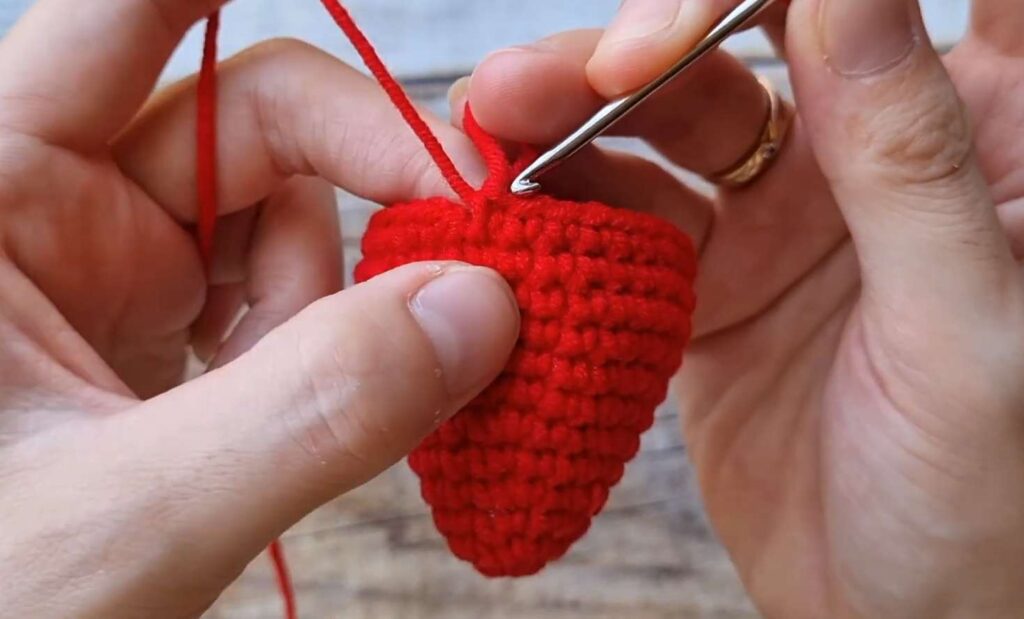
Change to White yarn for the top of the strawberry.
-
R13 (Texture Row): (1 sc, 1 Spike sc into the stitch of the previous row) repeat around. (30)
-
R14: (3 sc, dec) x 6. (24)
-
R15: (2 sc, dec) x 6. (18)
-
R16: (1 sc, dec) x 6. (12)
-
Stuff.
-
R17: 6 dec. (6)
-
Fasten off and close the hole.
-
Use a needle and white yarn (e.g., Pink or White), embroider small lines on the Red part to make the “seeds”.
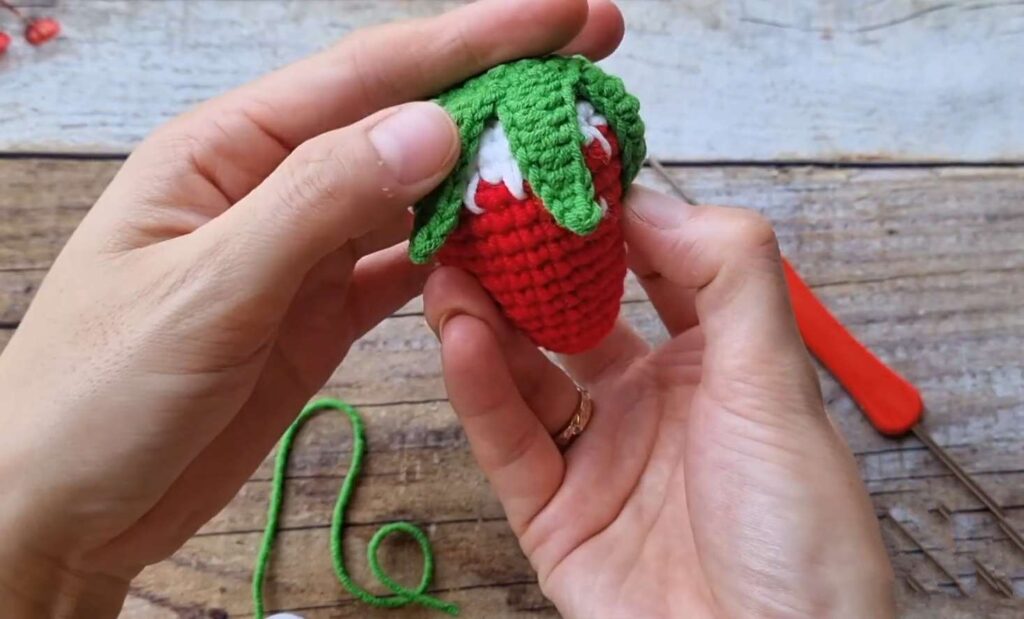
2. Calyx (Leaves)
Use Green yarn.
-
R1: 6 sc in MR. (6)
-
R2: 6 inc. (12)
-
R3: (1 sc, inc) x 6. (18)
-
Leaf Points: Do not cut yarn. Continue from R3 to make 6 leaves.
-
Step A: Ch 8.
-
Step B: Starting from the 2nd ch from hook, work back down the chain: 1 sl st, 1 sc, 2 hdc, 3 dc.
-
Step C: Skip 2 stitches on the R3 base circle, sl st into the 3rd stitch.
-
Repeat Steps A-C 5 more times for a total of 6 leaves.
-
-
Fasten off, leaving a tail for sewing or just glue onto the top of the strawberry (White end).
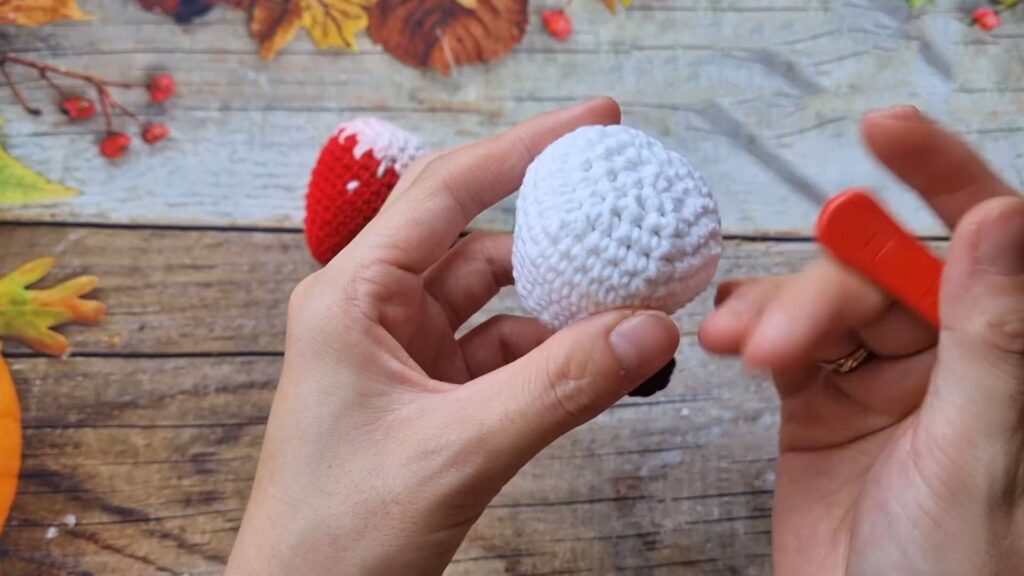
3. Panda Head
Use White yarn.
-
R1: 6 sc in MR. (6)
-
R2: 6 inc. (12)
-
R3: (1 sc, inc) x 6. (18)
-
R4: (2 sc, inc) x 6. (24)
-
R5–R7: 24 sc. (3 rows)
-
R8: (3 sc, inc) x 6. (30)
-
R9: (4 sc, inc) x 6. (36)
-
R10: 36 sc. (36)
-
R11: (4 sc, dec) x 6. (30)
-
R12: (3 sc, dec) x 6. (24)
-
R13: (2 sc, dec) x 6. (18)
-
R14: (1 sc, dec) x 6. (12)
-
Stuff firmly.
-
R15: 6 dec. (6)
-
Fasten off and close hole.
4. Ears (Make 2)
Use Black yarn.
-
R1: 6 sc in MR. (6)
-
R2: 6 inc. (12)
-
R3–R4: 12 sc. (12)
-
Fasten off, leave tail for sewing.
Assembly & Details
-
Face:
-
Cut two ovals from black felt. Glue black half-beads onto.
-
Glue the felt eyes onto the head (at about. R8-R9).
-
Embroider a nose/mouth between the eyes using black yarn.
-
Use the brush to add blush to cheeks.
-
-
Ears: Sew ears to the top sides of the head (approx. R3-R5).
-
Joining:
-
Glue/Sew the Green Leaves onto the flat White top of the Strawberry body.
-
Glue/Sew the Panda Head on top of the Leaves.
-
-
Finish: Attach a keychain clasp to the top of the head.