
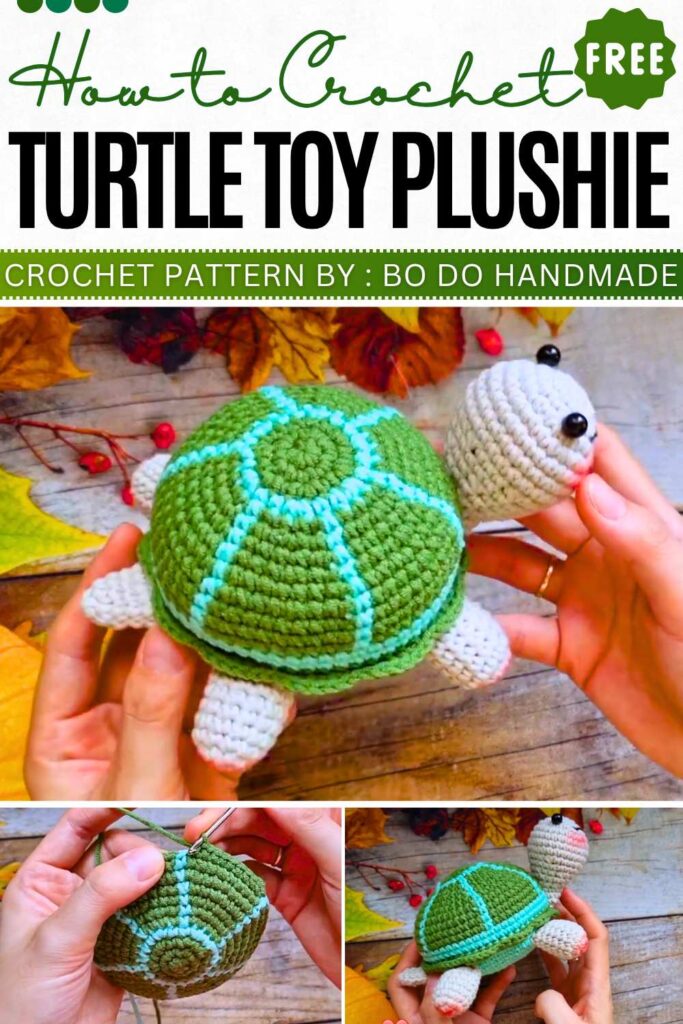
Crochet Amigurumi Turtle Keychain Pattern Free
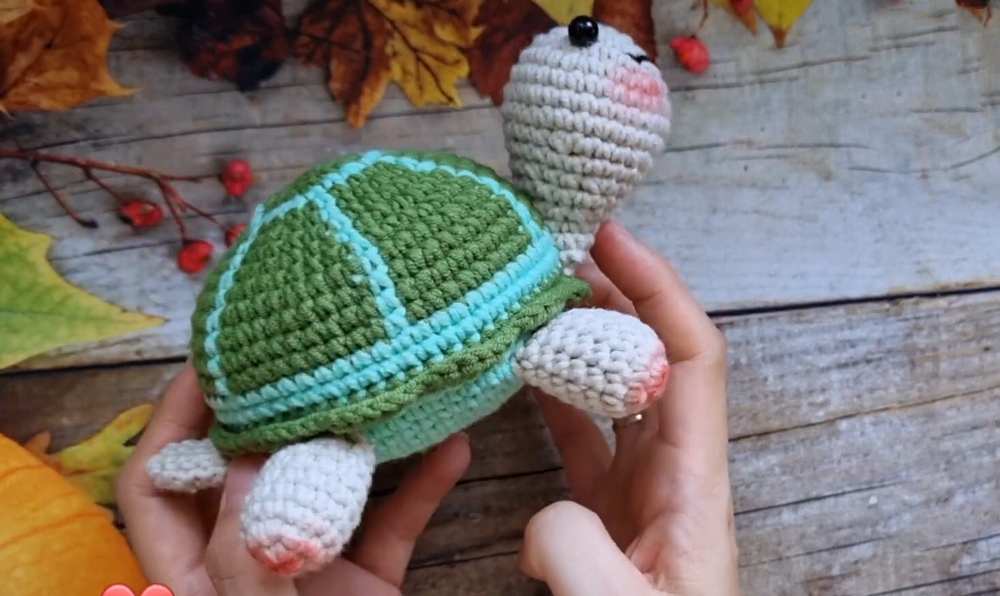
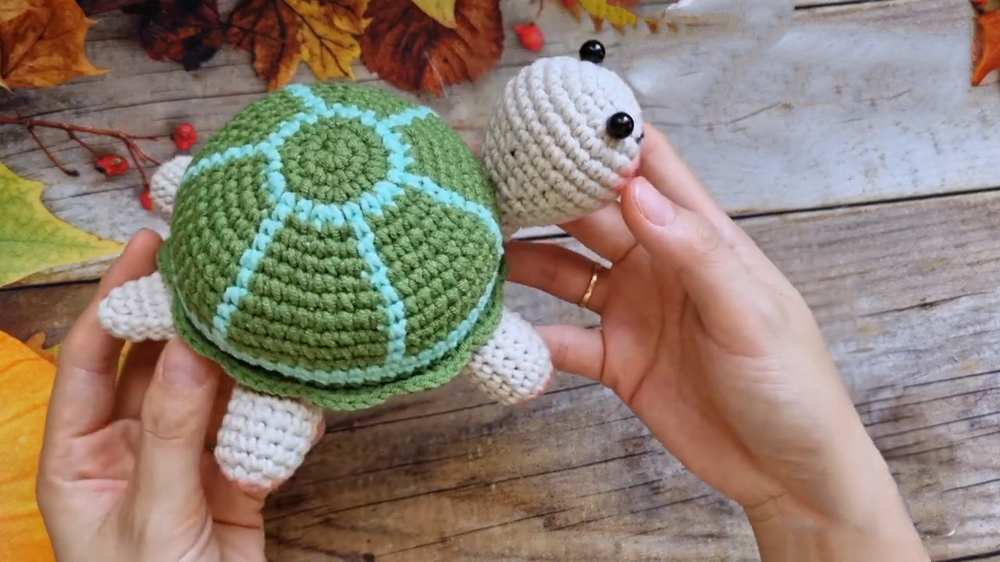
We have shared a lot amigurumi turtle patterns before but this one is most refined and cute. The turtle has a round shell with pretty green lines, four small legs, a tiny tail, and a sweet head with a little smile. The amigurumi turtle is about 10 cm wide, but you can make it bigger or smaller to use as a soft toy or a keychain. Plus, you will need yarn in two colors of green, some stuffing to make it squishy, and small plastic eyes.
Crochet Amigurumi Turtle Toy Pattern
Bi Do Handmade has been an expert in crocheting and designing crochet hats, bag charms, and pouches. Also, visit her YouTube channel for more exciting projects.
Crochet Turtle Pattern Step by step
Materials
- Milk Cotton yarn (125g) – 2 colors (e.g., Green & Teal)
- Hook: 2.5 mm
- Fiberfill
- Safety eyes
- Yarn needle
- Black embroidery thread (mouth)
- Blush (optional)
Abbreviations (EN)
- MR: Magic Ring
- Sc: Single Crochet
- Inc: Increase (2 sc in 1 st)
- Dec: Decrease (sc 2 together)
- Hdc: Half Double Crochet
- Sl st: Slip Stitch
- Ch: Chain
- St(s): Stitch(es)
- BLO: Back Loop Only
- FLO: Front Loop Only
Pattern Parts
Top Shell (Main Color A & Vein Color B)
- R1: MR 6 sc (6)
- R2: 6 inc (12)
- R3: (1 sc, inc) * 6 (18)
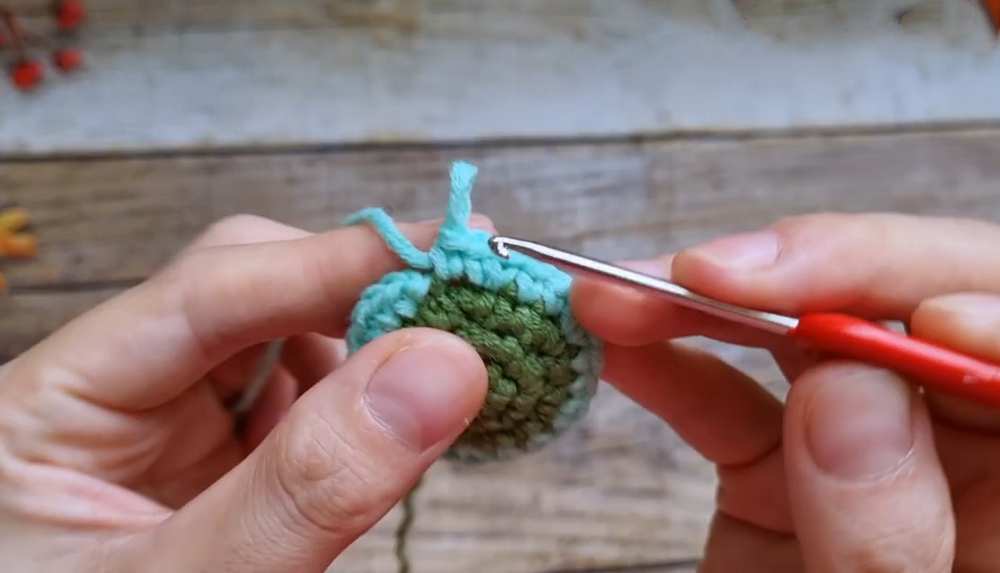
- R4: Change Color B at last st of each repeat: (1 sc, inc, 1 sc) * 6 (24)
- R5: (3 sc, inc) * 6 (30). Change Color B at the inc st.
- R6: (2 sc, inc, 2 sc) * 6 (36). Change Color B at last st of repeat.
- R7: (5 sc, inc) * 6 (42). Change Color B at inc st.
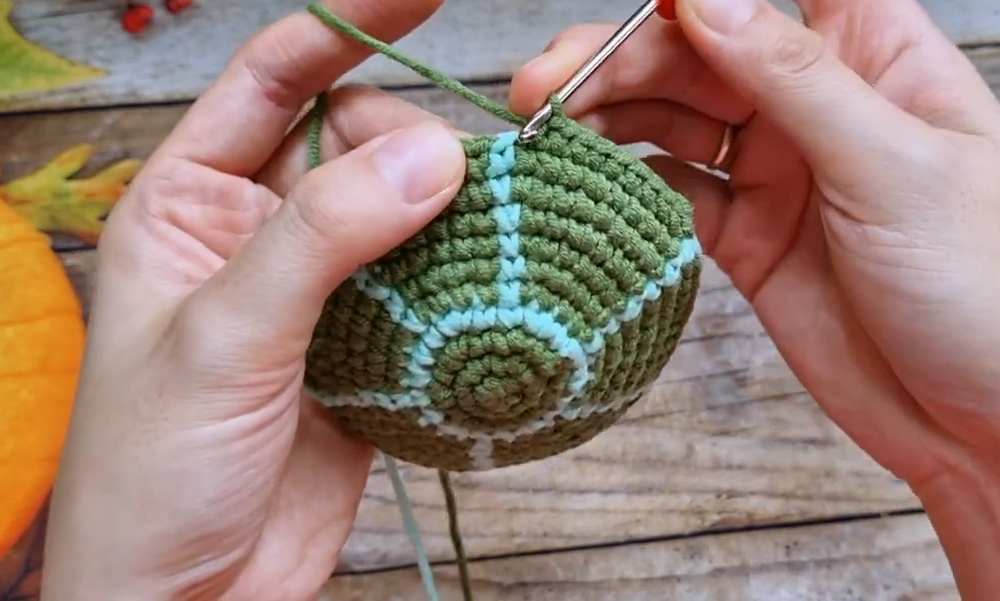
- R8-R10: Continue inc pattern up to 10 rounds total.
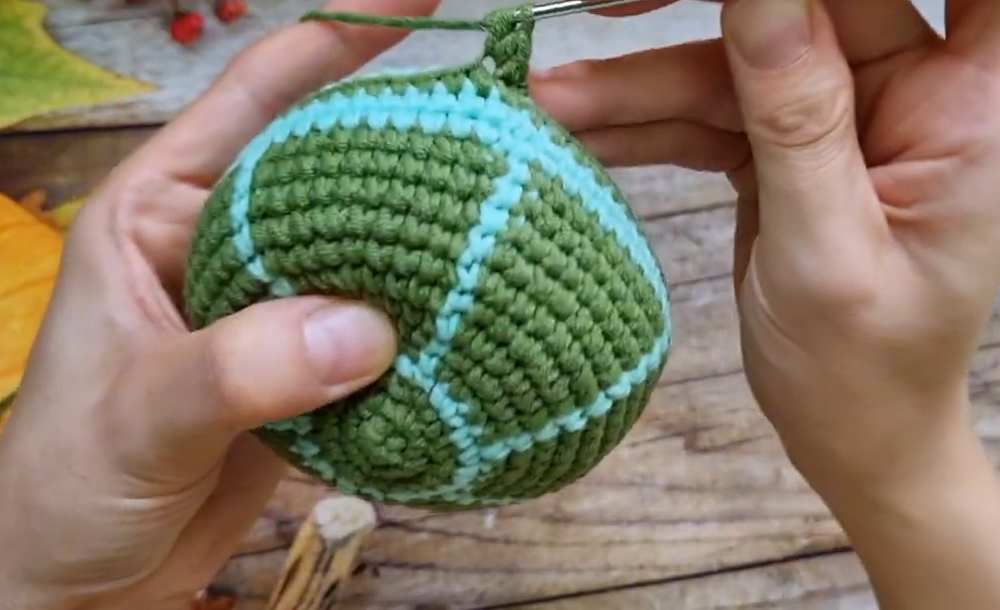
- R11-R13: Sc around (no inc). Keep vein color alignment.
- R14-R15: Sc around in Color B only.
- R16: Sc around in Color A.
Bottom Shell
- R1: MR 12 sc (12)
- R2: (1 sc, inc) * 6 (18)
- R3: (2 sc, inc) * 6 (24) [Shift inc: 1 sc, inc, 1 sc]
- R4: (3 sc, inc) * 6 (30)
- R5-R10: Continue inc pattern until diameter matches Top Shell. Leave long tail for sewing.
Head
- R1: MR 6 sc
- R2: 6 inc (12)
- R3: (1 sc, inc) * 6 (18)
- R4: (1 sc, inc, 1 sc) * 6 (24)
- R5: (3 sc, inc) * 6 (30)
- R6-R8: Sc around (30)
- R9: (3 sc, dec) * 6 (24)
- R10: Sc around (24)
- R11: (2 sc, dec) * 6 (18)
- R12: Sc around (18)
- R13: (1 sc, dec) * 6 (12)
- R14-R16: Sc around (12). Fasten off, leave tail.
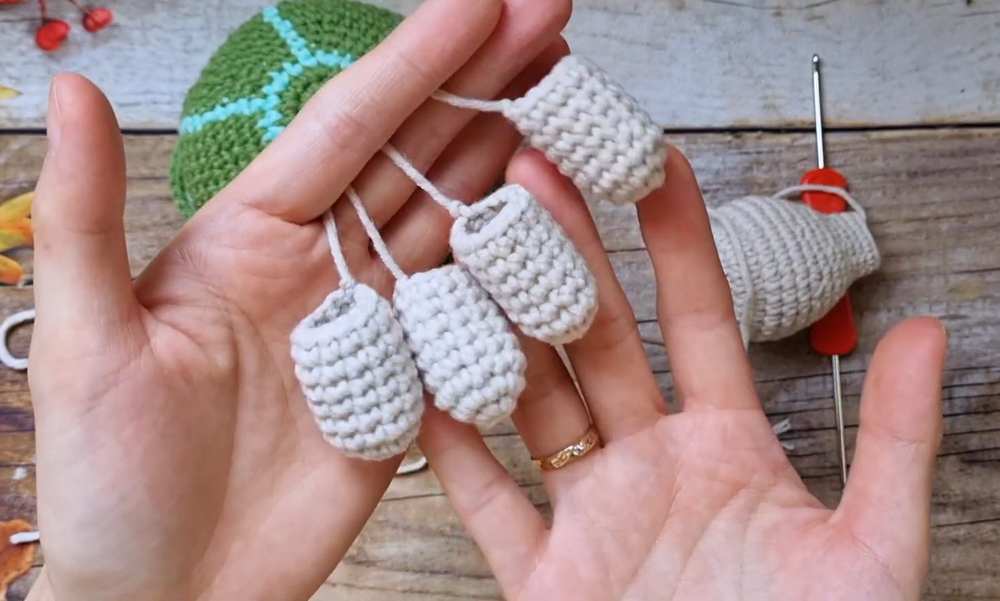
Legs (x4)
- R1: MR 6 sc
- R2: 6 inc (12)
- R3-R8: Sc around (12). Fasten off, leave tail.
Tail
- R1: MR 6 sc
- R2: (2 sc, inc) * 2 (8)
- R3: Sc around (8)
- R4: (3 sc, inc) * 2 (10)
- R5: Sc around (10)
- R6: (4 sc, inc) * 2 (12). Fasten off, leave tail.
Detailed Assembly
-
Joining Shells: Place Top Shell and Bottom Shell wrong sides together.
- Align stitches. Use the long tail from Bottom Shell.
- Insert needle through the full stitch of the Bottom Shell and the inner loop (BLO) of the Top Shell’s last row.
- Sew 3-4 sts, pull tight to hide the seam.
- Continue around. Stuff with fiberfill before closing completely. Secure and hide yarn end inside.
-
Shell Border (Frill):
- Locate the FLO (front loops) left unworked on the Top Shell.
- Attach yarn. Pattern: [1 sc, (in next st: 2 hdc), (in next st: 2 hdc), 1 sc, 1 sl st].
- Repeat pattern around the circumference to create a wavy edge.
-
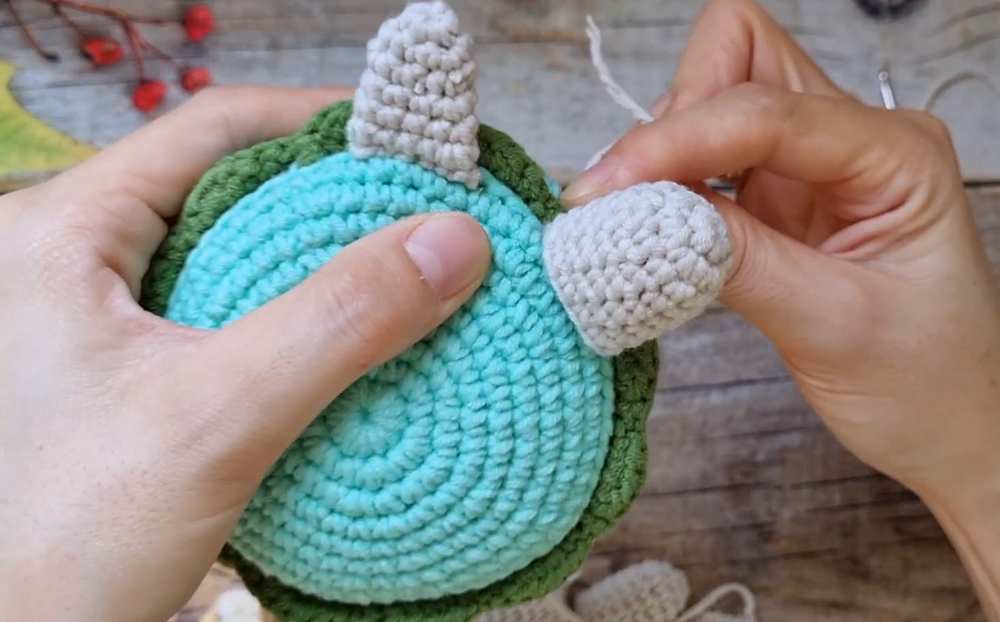
Head Attachment:
- Stuff the head firmly.
- Position the head at the seam between the top and bottom shells, aligned with one of the shell “veins.”
- Sew the open neck (12 sts) to the shell body.
- To make the head stand upright, sew a secondary “triangle” anchor: stitch the back of the neck slightly higher onto the Top Shell surface. Pull tight to tilt the head up.
-
Tail Attachment:
- Position the tail directly opposite the head.
- Flatten the tail opening.
- Sew the flat edge to the Bottom Shell surface near the edge.
-
Leg Attachment:
- Stuff legs lightly.
- Place legs symmetrically on the Bottom Shell, approximately under the 2nd and 5th shell veins.
- Sew in a circular motion to the Bottom Shell surface. Ensure they are spaced wide enough to allow the turtle to stand stable.
-
Face Details:
- Insert safety eyes between R6 and R7 of the head.
- Embroider the mouth with black thread between R3 and R4 using a wide “V” shape or straight line.
- Apply blush below eyes for decoration.
Video Pattern:
Pattern Instructions (UK Terms)
Top Shell (Main Colour A & Vein Colour B)
- R1: MR 6 dc (6)
- R2: 6 inc (12)
- R3: (1 dc, inc) * 6 (18)
- R4: Change Colour B at last st of each repeat: (1 dc, inc, 1 dc) * 6 (24)
- R5: (3 dc, inc) * 6 (30). Change Colour B at the inc st.
- R6: (2 dc, inc, 2 dc) * 6 (36). Change Colour B at last st of repeat.
- R7: (5 dc, inc) * 6 (42). Change Colour B at inc st.
- R8-R10: Continue inc pattern up to 10 rounds total.
- R11-R13: Dc around (no inc). Keep vein colour alignment.
- R14-R15: Dc around in Colour B only.
- R16: Dc around in Colour A.
Bottom Shell
- R1: MR 12 dc (12)
- R2: (1 dc, inc) * 6 (18)
- R3: (2 dc, inc) * 6 (24) [Shift inc: 1 dc, inc, 1 dc]
- R4: (3 dc, inc) * 6 (30)
- R5-R10: Continue inc pattern until diameter matches Top Shell. Leave long tail for sewing.
Head
- R1: MR 6 dc
- R2: 6 inc (12)
- R3: (1 dc, inc) * 6 (18)
- R4: (1 dc, inc, 1 dc) * 6 (24)
- R5: (3 dc, inc) * 6 (30)
- R6-R8: Dc around (30)
- R9: (3 dc, dec) * 6 (24)
- R10: Dc around (24)
- R11: (2 dc, dec) * 6 (18)
- R12: Dc around (18)
- R13: (1 dc, dec) * 6 (12)
- R14-R16: Dc around (12). Fasten off, leave tail.
Legs (x4)
- R1: MR 6 dc
- R2: 6 inc (12)
- R3-R8: Dc around (12). Fasten off, leave tail.
Tail
- R1: MR 6 dc
- R2: (2 dc, inc) * 2 (8)
- R3: Dc around (8)
- R4: (3 dc, inc) * 2 (10)
- R5: Dc around (10)
- R6: (4 dc, inc) * 2 (12). Fasten off, leave tail.