
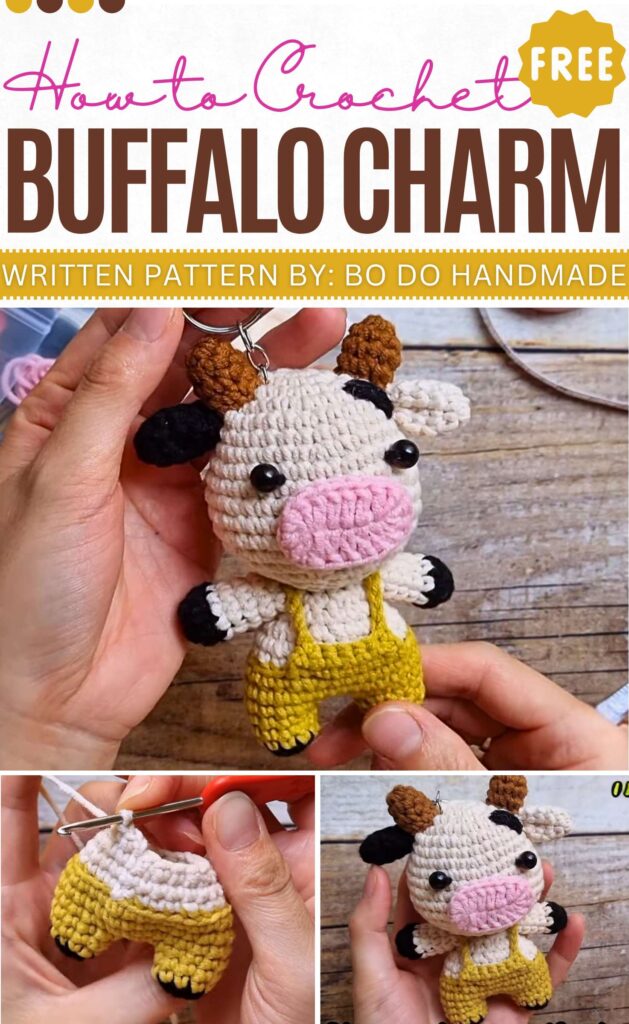
Crochet Buffalo Amigurumi Keychain Pattern Free
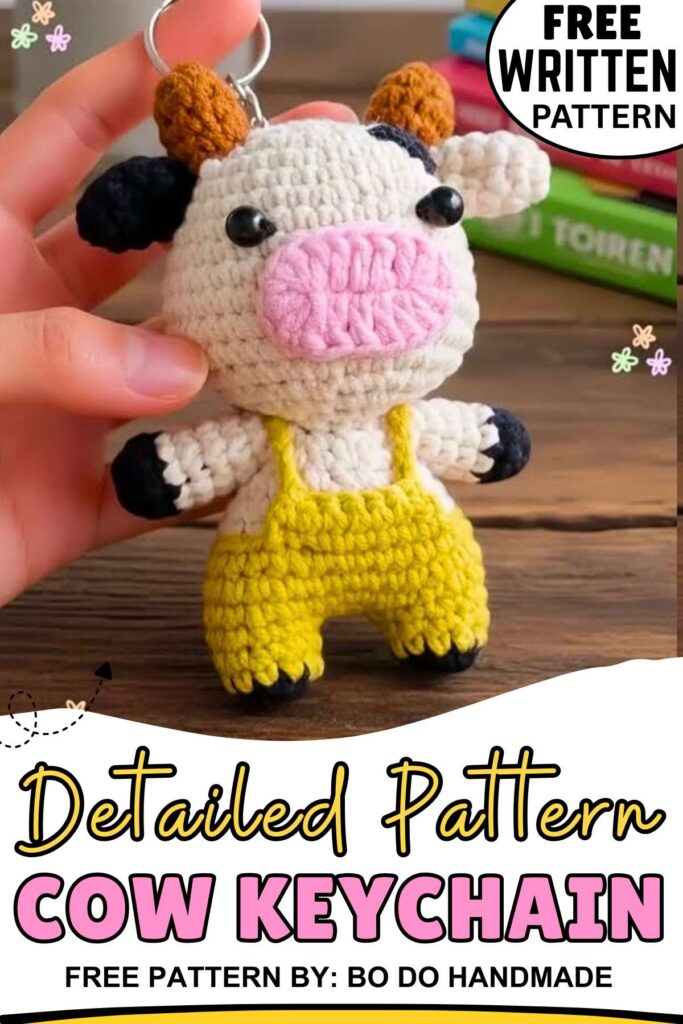
Today’s crochet project makes a small buffalo amigurumi keychain that looks cute and fun. It is a tiny soft buffalo made with yarn and a crochet hook and turned into a keychain you can hang on your keys, bag, or backpack. It is fun to make and attractive for people who like small amigurumi animals.
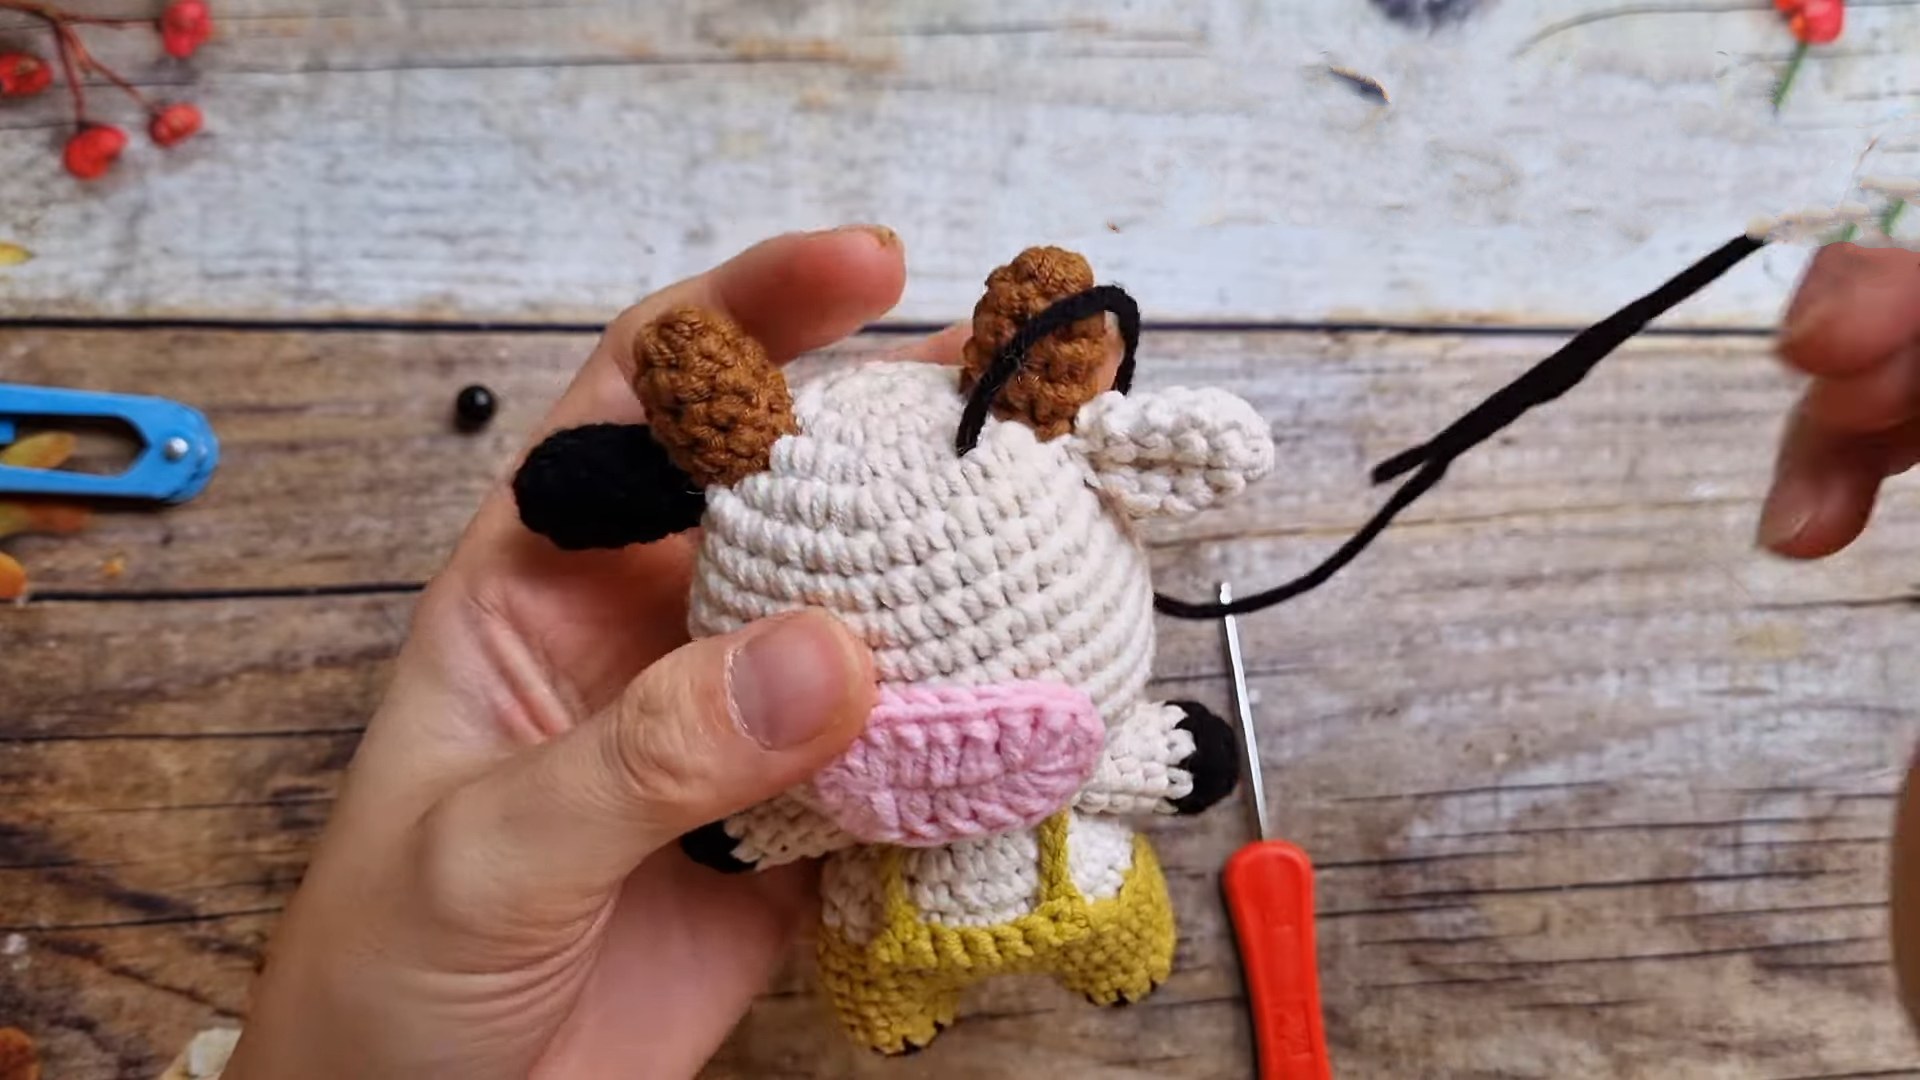
To make the buffalo keychain, you crochet small 3D pieces using yarn and basic crochet stitches. You start by making the buffalo’s head or body parts, then crochet the horns and other small details. After all the pieces are finished, you join them together and add a keyring so it becomes a keychain.
Crochet Buffalo Amigurumi Keychain
Bi do Handmade is an had been an expert in crocheting and designing crochet amigurumi, bag charms, and pouches. Also visit her youtube channel for more exiting projects.
We also gave the pattern in UK terms.
See More Crochet Amigurumi:
Crochet Buffalo Keychain Pattern (US Terms)
Materials:
-
Milk Cotton Yarn (Main body, horns, muzzle, and contrast for hooves/eyes)
-
2.5 mm Crochet Hook
-
Fiberfill stuffing
-
Yarn needle
-
7 mm safety eyes or beads
-
Keychain ring
Abbreviations:
-
MR: Magic Ring
-
ch: Chain
-
sl st: Slip stitch
-
sc: Single crochet
-
hdc: Half double crochet
-
dc: Double crochet
-
inc: Increase (2 sc in same st)
-
dec: Decrease (sc2tog or invisible decrease)
-
BLO: Back Loop Only
-
FLO: Front Loop Only
Head
-
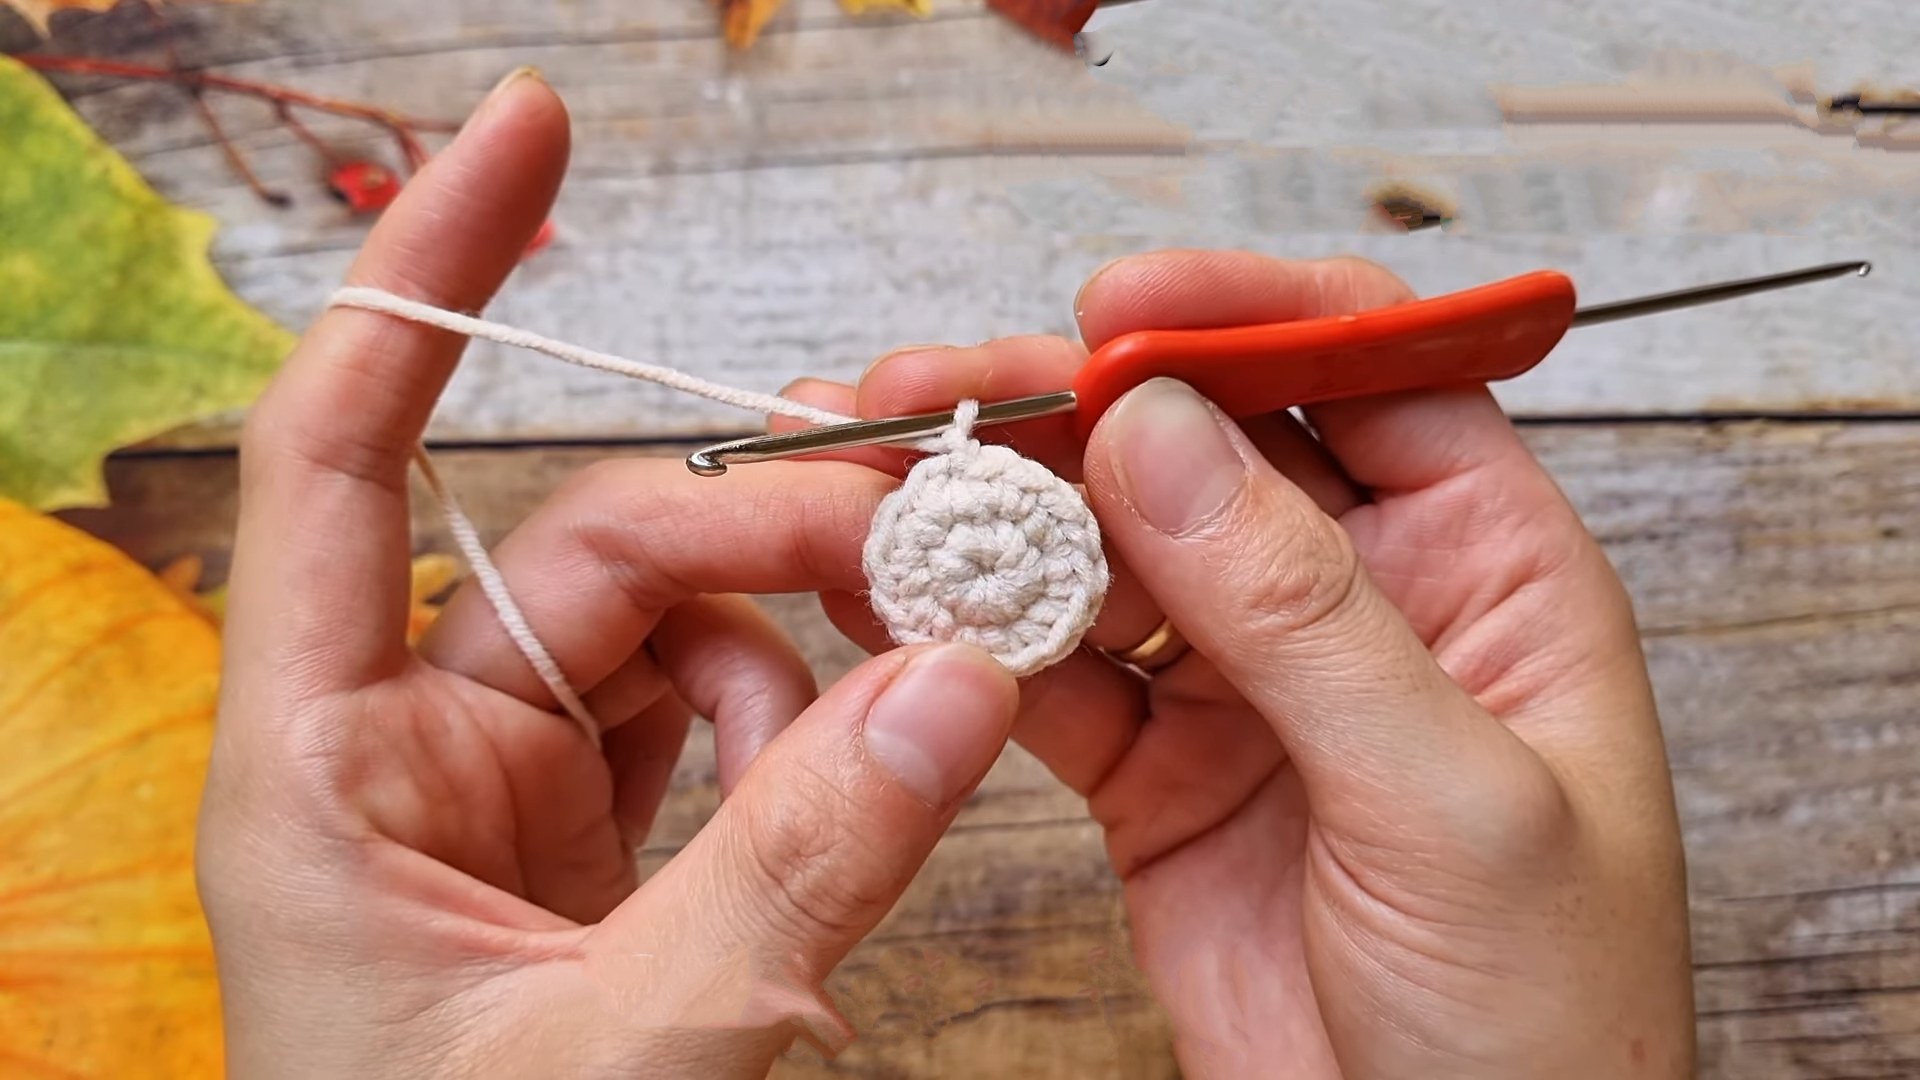
R1: MR, 8 sc. Join with sl st. (8)
-
R2: ch 1, 8 inc. Join with sl st. (16)
-
R3: ch 1, (1 sc, inc) x 8. Join with sl st. (24)
-
R4: ch 1, (3 sc, inc) rep around. Join with sl st. (30)
-
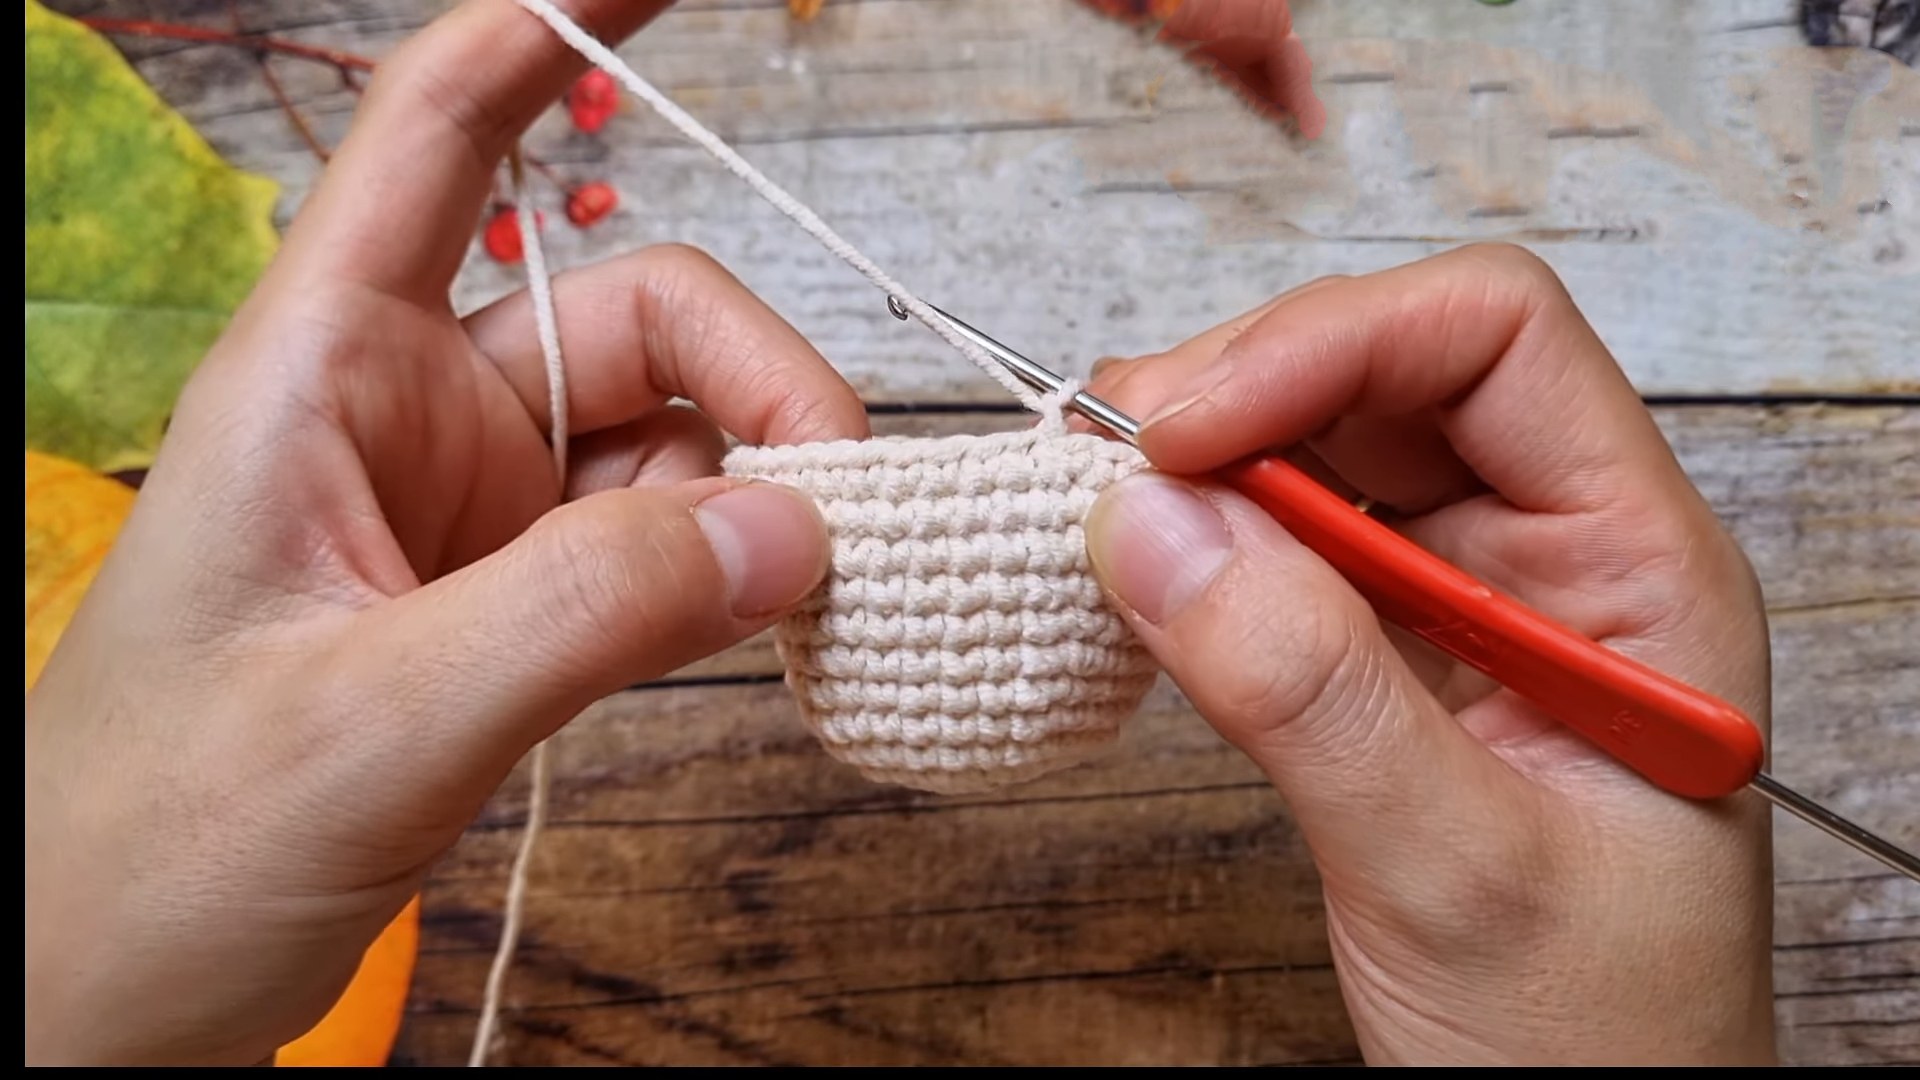
R5–R6: ch 1, 30 sc. Join with sl st. (30)
-
R7: ch 1, (4 sc, inc) rep around. Join with sl st. (36)
-
R8–R9: ch 1, 36 sc. Join with sl st. (36)
-
R10: ch 1, (5 sc, inc) rep around. Join with sl st. (42)
-
R11–R12: ch 1, 42 sc. Join with sl st. (42)
-
R13: ch 1, (5 sc, dec) rep around. Join with sl st. (36)
-
R14: ch 1, (4 sc, dec) rep around. Join with sl st. (30)
-
R15: ch 1, (3 sc, dec) rep around. Join with sl st. (24)
-
R16: ch 1, (2 sc, dec) rep around. Join with sl st. (18)
-
R17: ch 1, (1 sc, dec) rep around. Join with sl st. (12)
-
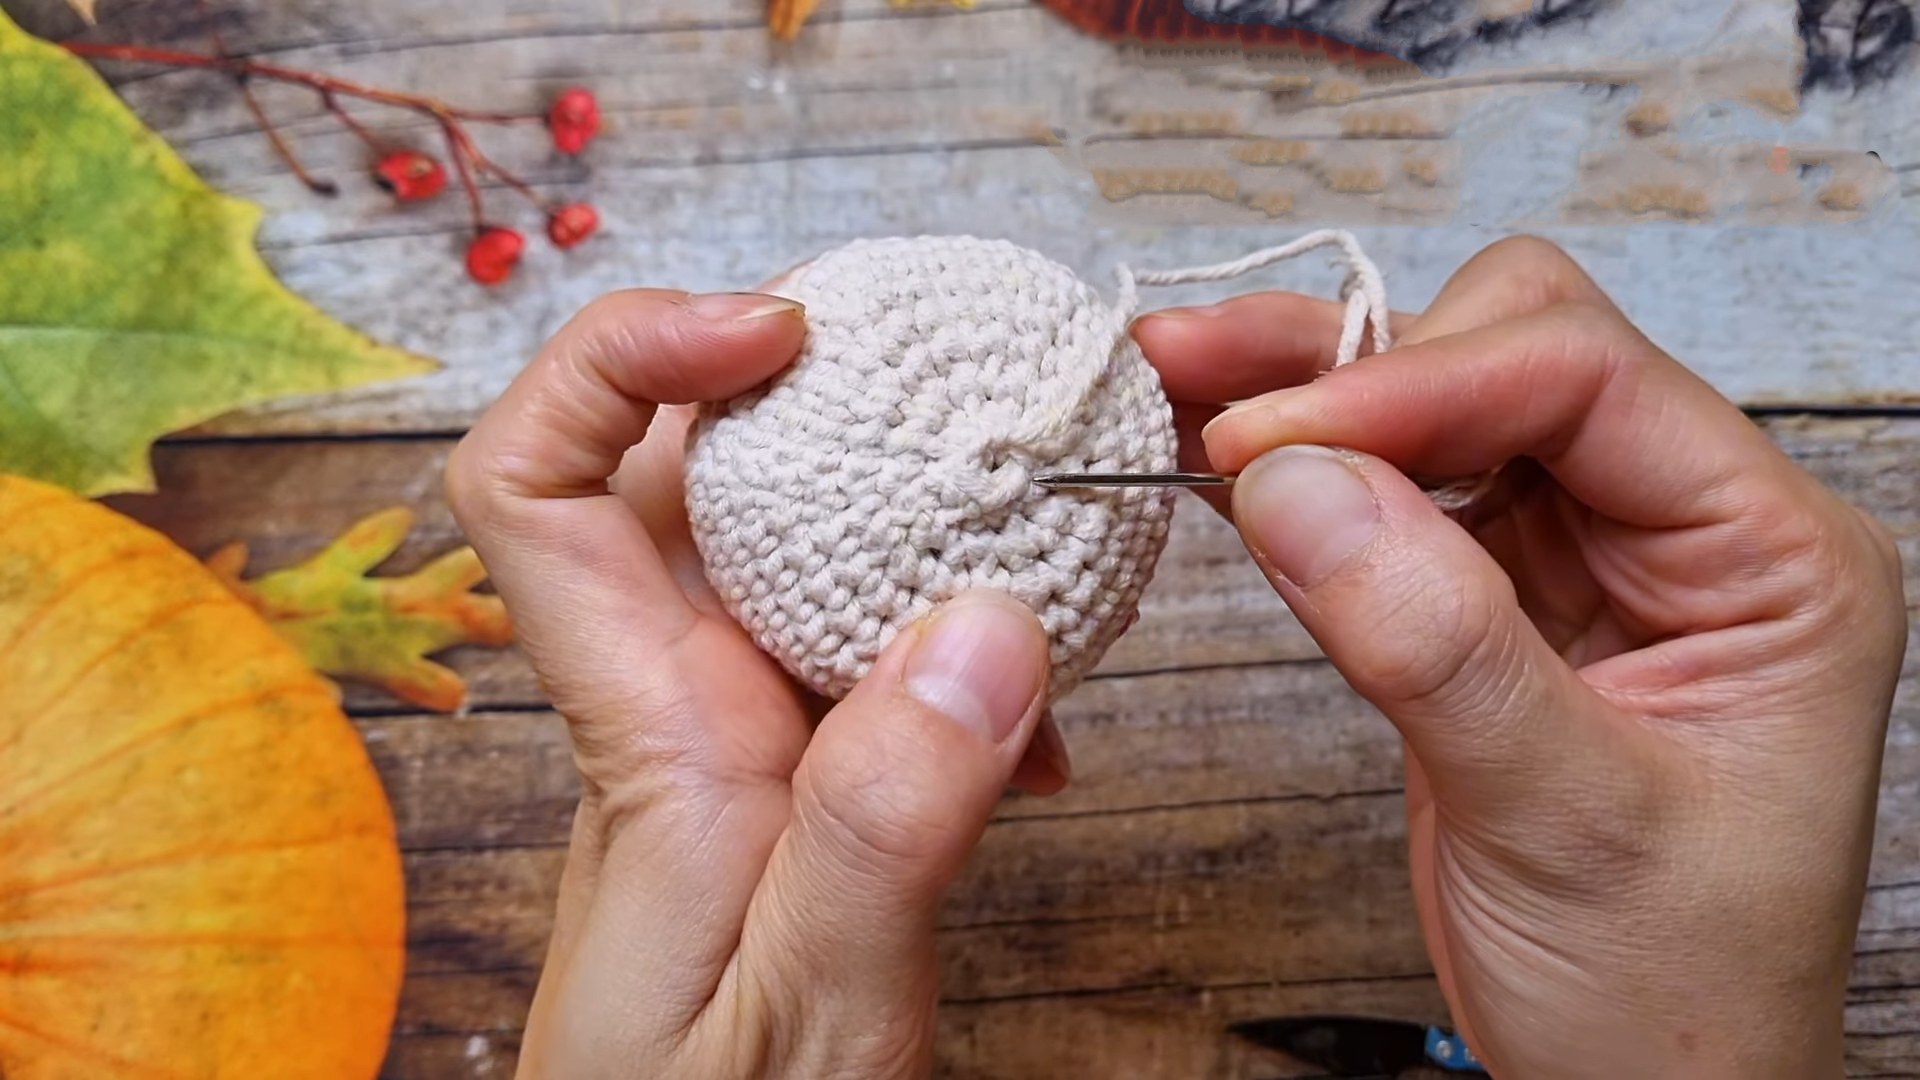
Stuff firmly.
-
R18: 6 dec. Join with sl st. (6)
-
Fasten off, weave tail through FLO and pull tight.
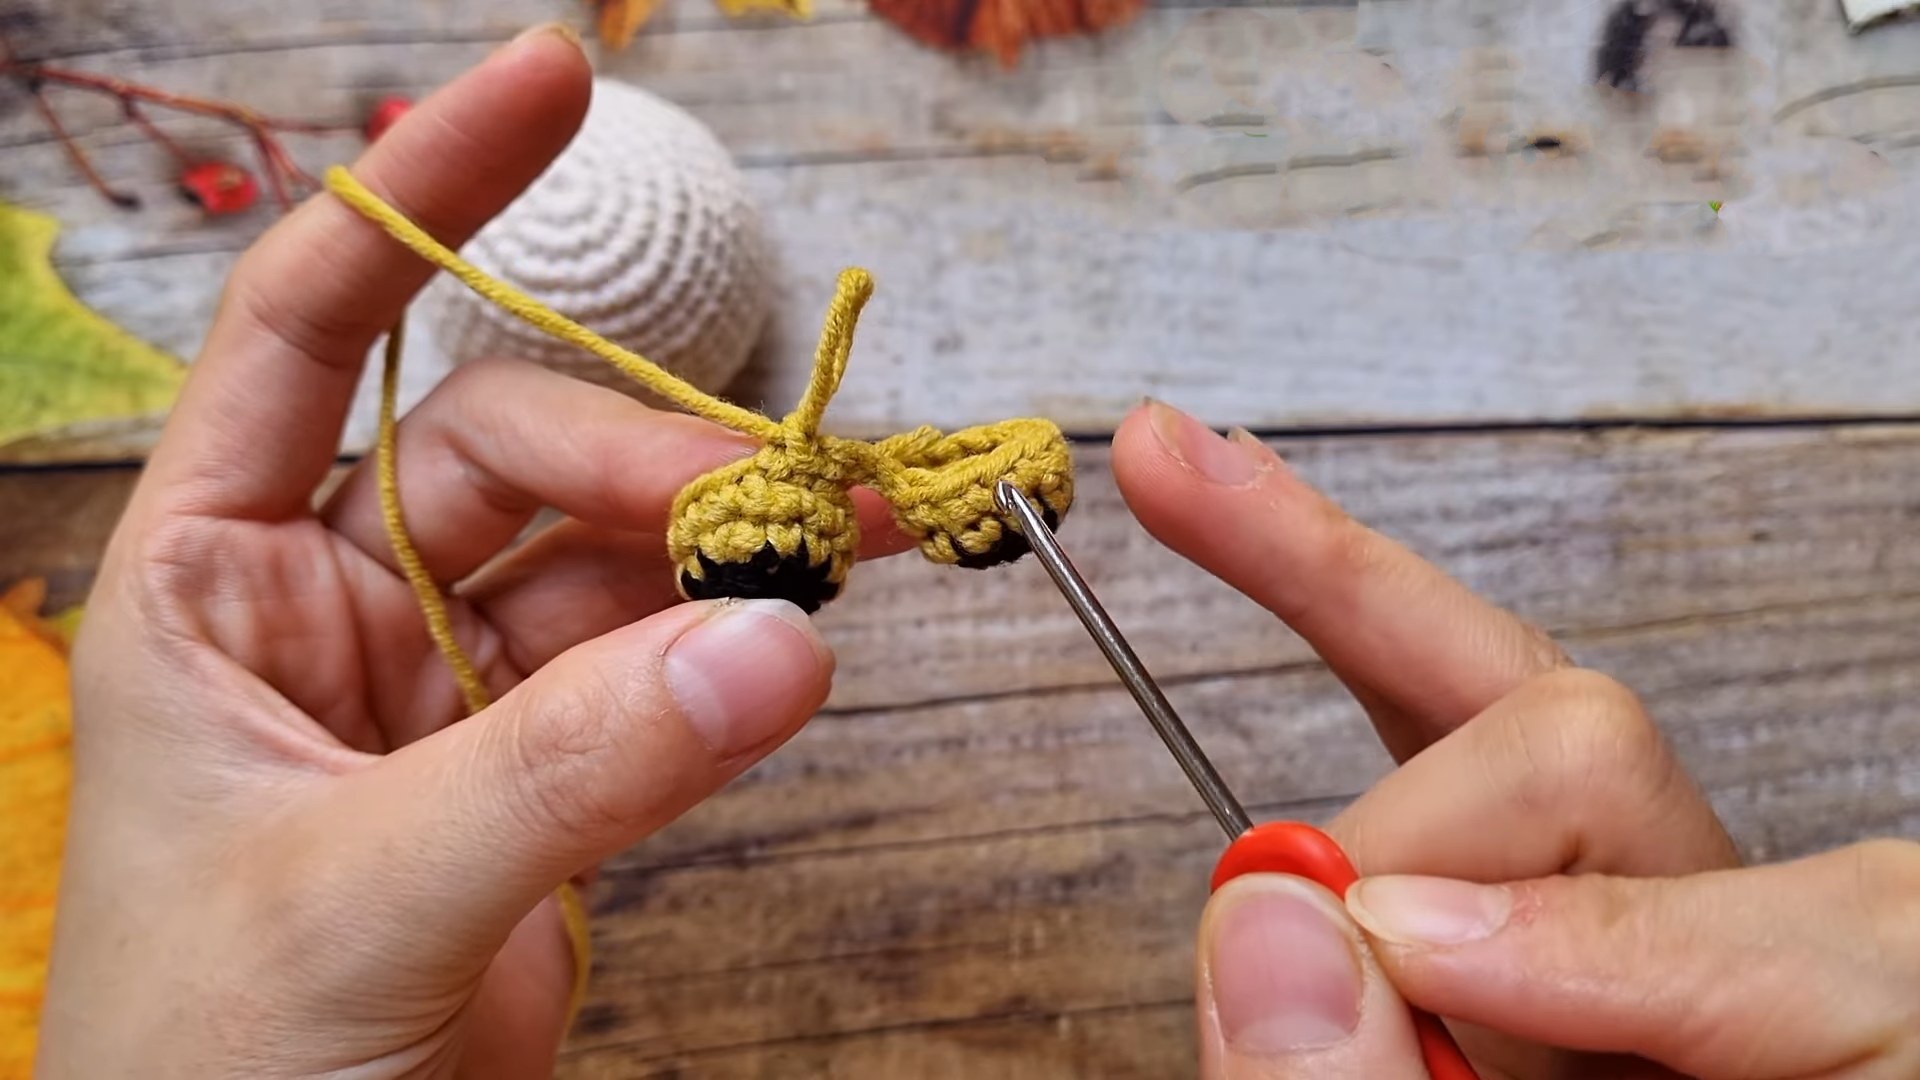
Legs & Body
Legs (Make 2):
-
R1 (Hoof – Black): MR, 10 sc. Join with sl st. (10)
-
R2–R3 (Body Color): 10 sc. Join with sl st. (10)
-
Fasten off 1st leg. Do not fasten off 2nd leg.
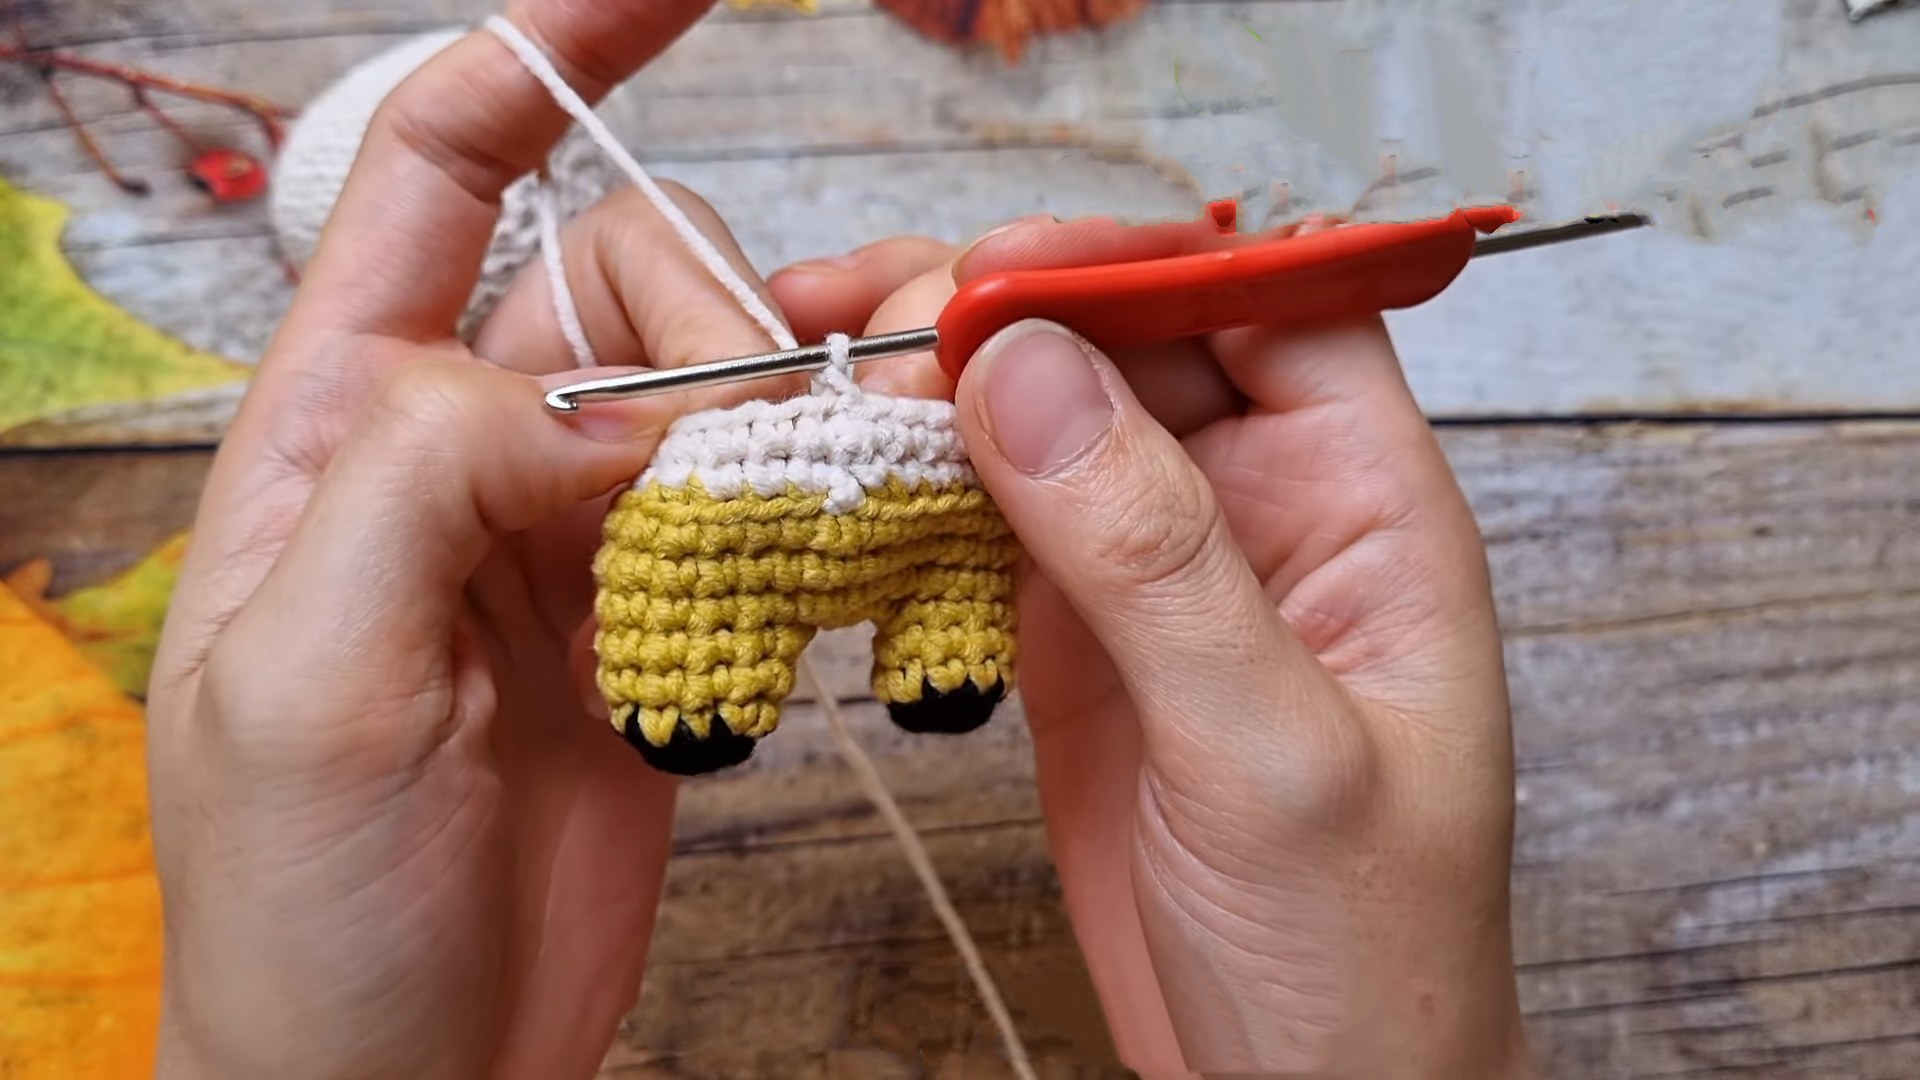
Joining & Body:
-
R4: ch 3, join to 1st leg with sl st. Work 10 sc around 1st leg, 1 sc in 1st ch, 3 sc in middle ch, 1 sc in last ch, 10 sc around 2nd leg, 1 sc in 1st ch, 3 sc in middle ch, 1 sc in last ch. Join. (30)
-
R5–R7: 30 sc. Join with sl st. (30)
-
R8 (Change Color): Work in BLO. (3 sc, dec) rep around. (24)
-
R9: 24 sc. Join with sl st. (24)
-
R10: (2 sc, dec) rep around. (18)
-
R11: 18 sc. Join with sl st. (18)
-
R12: (1 sc, dec) rep around. (12)
-
Fasten off, leave tail.
Bib/Overalls (Front Detail)
-
Find center front. Join yarn at FLO of R8.
-
Row 1: Skip 1st st, 7 sc, dec across last 2 sts. (8)
-
Row 2: Skip 1st st, 5 sc, dec across last 2 sts. (6)
-
Straps: ch 18, loop around neck, join to the other side of the bib with sl st. Fasten off.
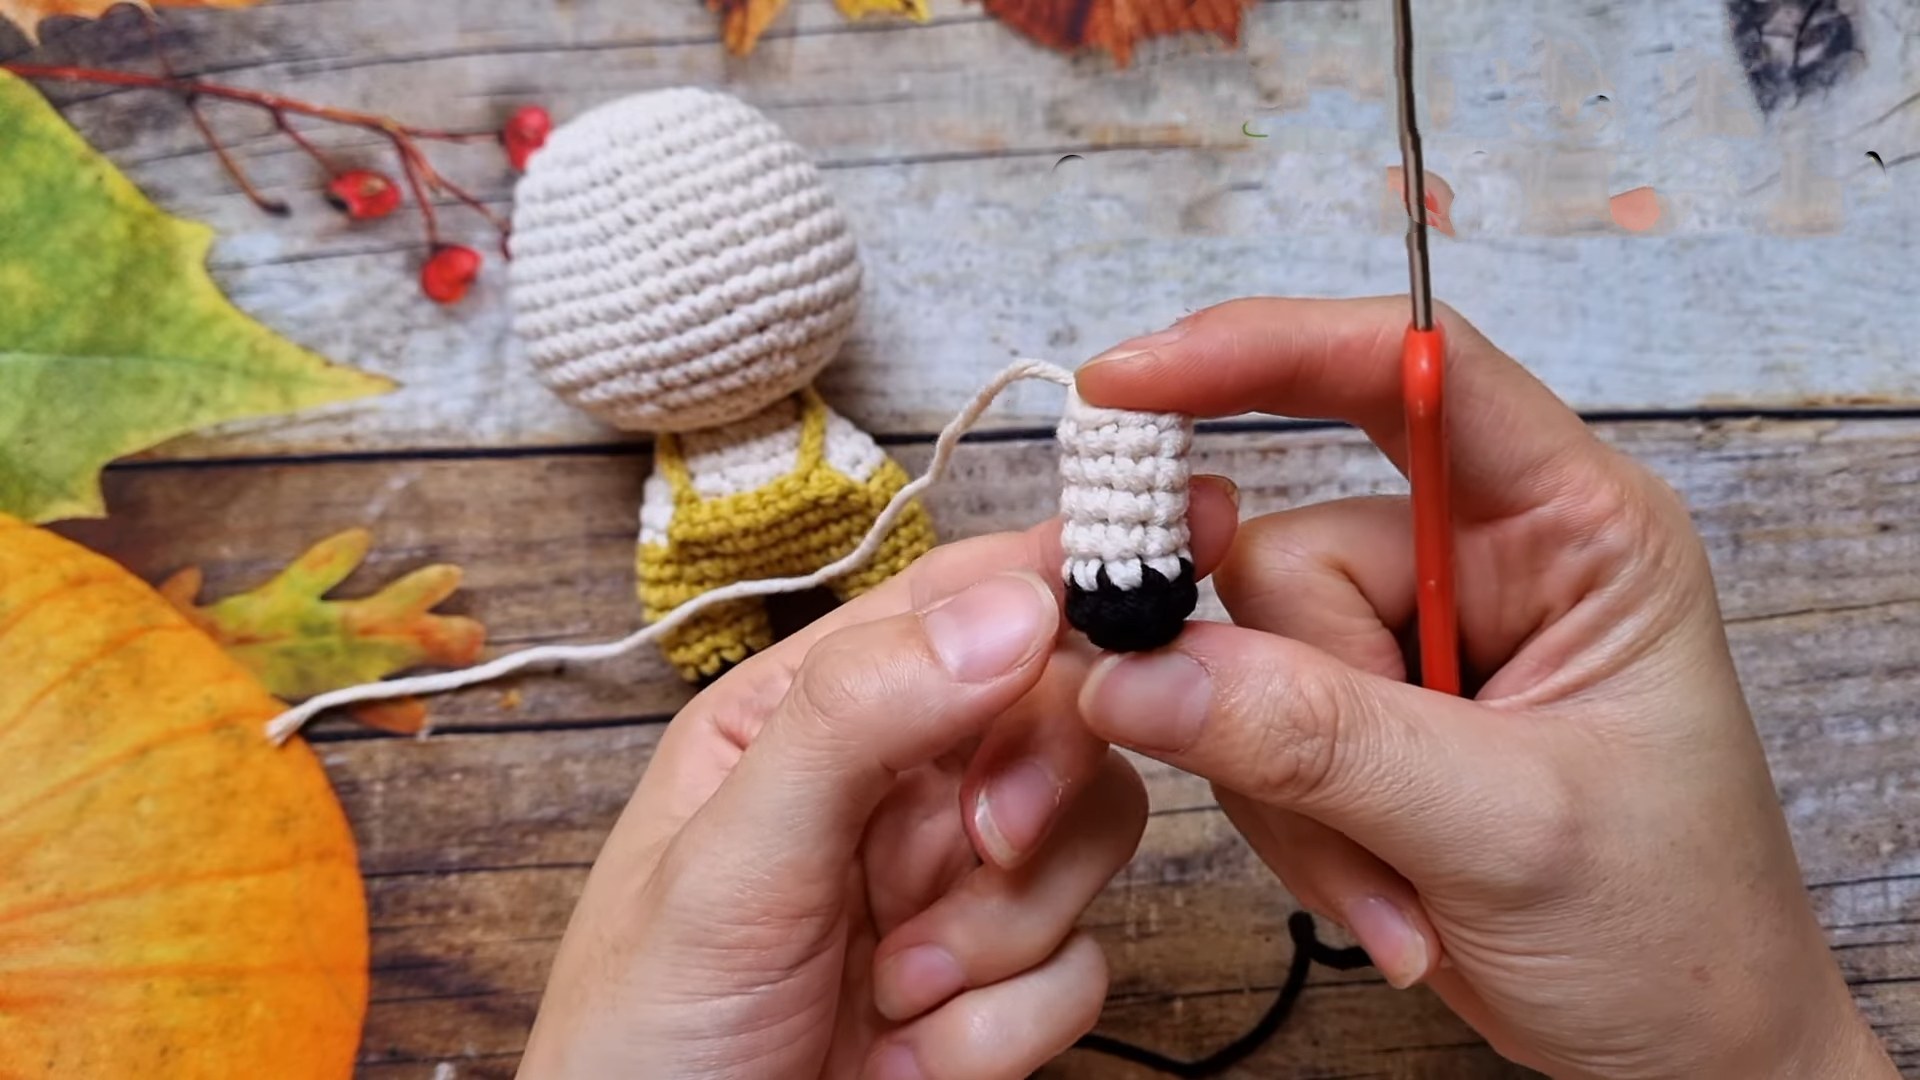
Arms (Make 2)
-
R1 (Black): MR, 8 sc. Join with sl st. (8)
-
R2–R7 (Body Color): 8 sc. Join with sl st. (8)
-
Fasten off, leave tail. Sew to sides.
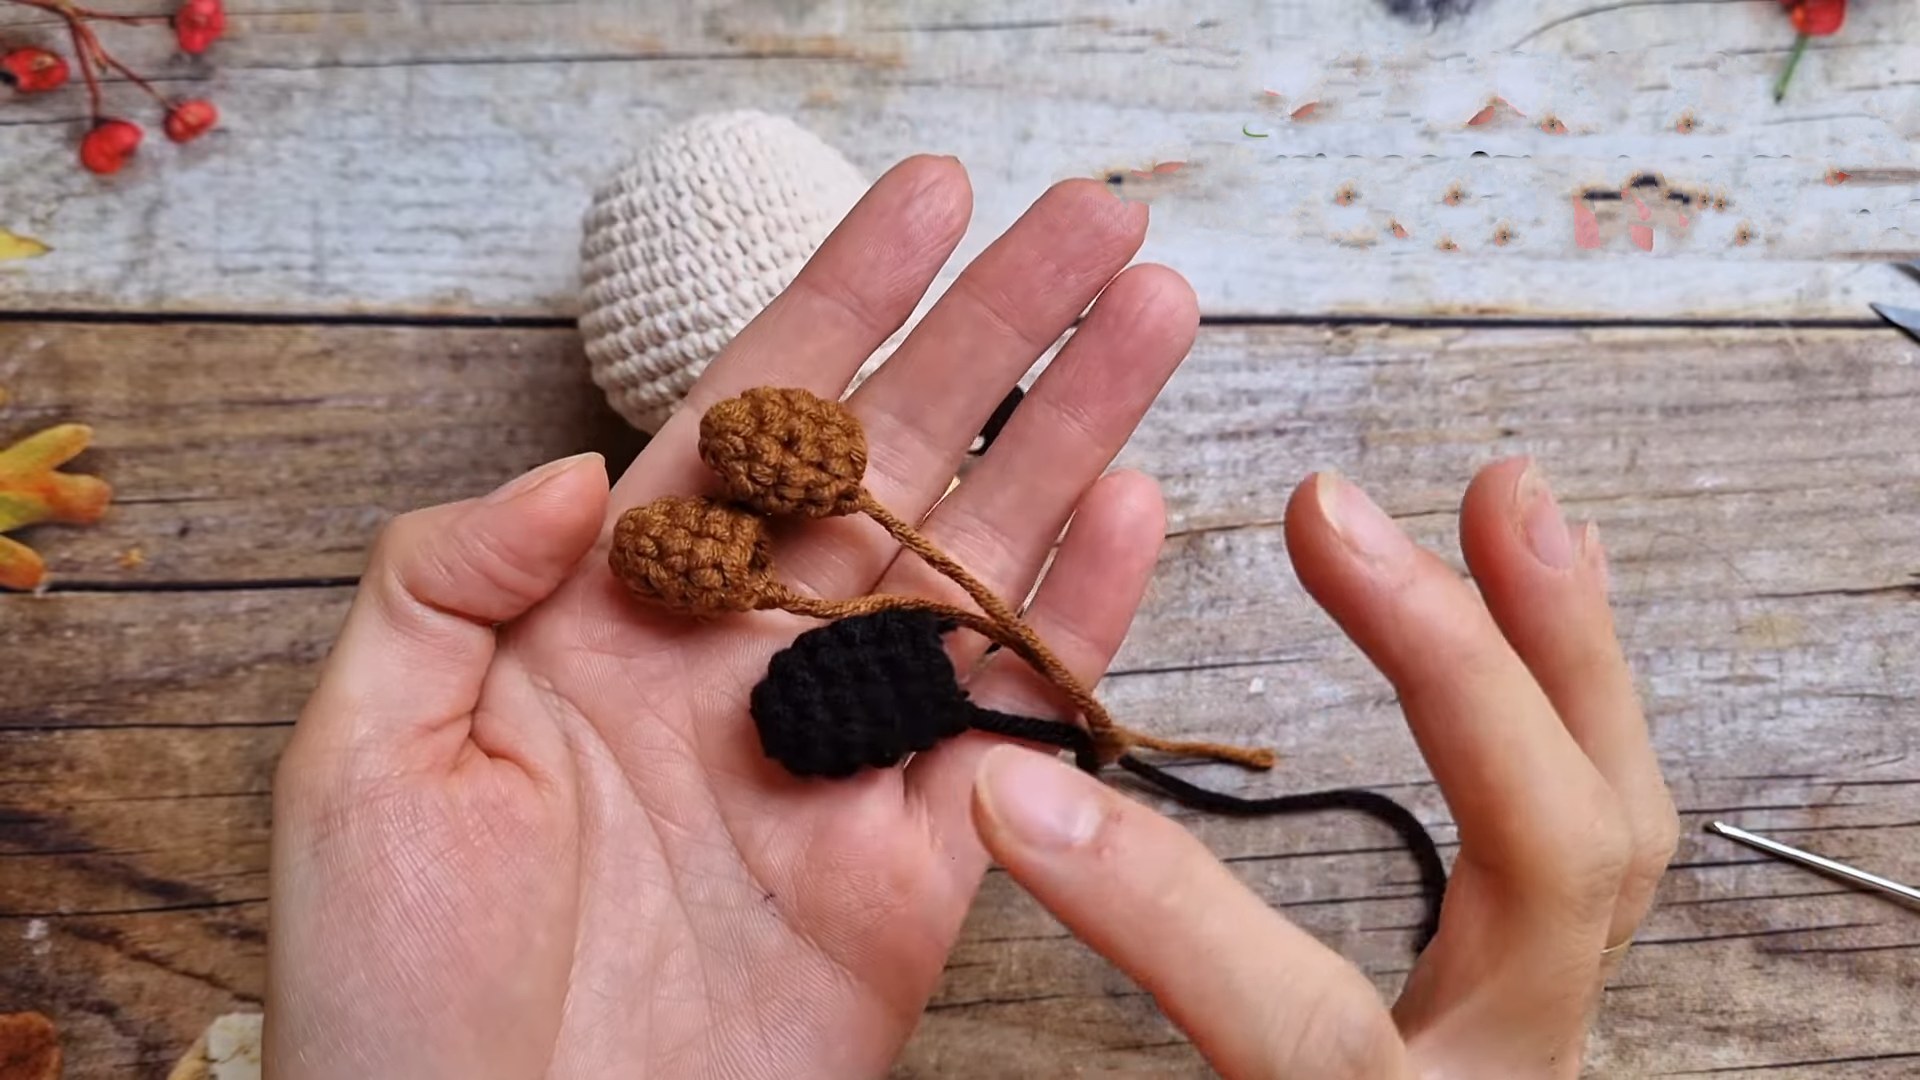
Horns (Make 2)
-
R1: MR, 6 sc. Join with sl st. (6)
-
R2: (2 sc, inc) x 2. Join with sl st. (8)
-
R3–R4: 8 sc. Join with sl st. (8)
-
Fasten off, leave tail. Sew to R3 of head.
Ears (Make 2)
-
R1: MR, 6 sc. Join with sl st. (6)
-
R2: (2 sc, inc) x 2. Join with sl st. (8)
-
R3–R5: 8 sc. Join with sl st. (8)
-
Fasten off, leave tail. Fold base and sew below horns.
Muzzle
-
ch 5.
-
R1: In 2nd ch from hook: 3 dc. 1 dc in next 3 chs. 6 dc in last ch. Rotate: 1 dc in next 3 chs, 3 dc in final ch. Join with sl st.
-
Fasten off, leave tail. Sew to face.
Assembly
-
Eyes: Place beads or safety eyes above the muzzle.
-
Nostrils: Embroider two small dots on the muzzle.
-
Join: Sew the body to the head using the yarn tail.
Crochet Buffalo Keychain Pattern (UK Terms)
Head
-
R1: MR, 8 dc. Join with ss. (8)
-
R2: ch 1, 8 inc. Join with ss. (16)
-
R3: ch 1, (1 dc, inc) x8. Join with ss. (24)
-
R4: ch 1, (3 dc, inc) rep around. Join with ss. (30)
-
R5–R6: ch 1, 30 dc. Join with ss. (30)
-
R7: ch 1, (4 dc, inc) rep around. Join with ss. (36)
-
R8–R9: ch 1, 36 dc. Join with ss. (36)
-
R10: ch 1, (5 dc, inc) rep around. Join with ss. (42)
-
R11–R12: ch 1, 42 dc. Join with ss. (42)
-
R13: ch 1, (5 dc, dec) rep around. Join with ss. (36)
-
R14: ch 1, (4 dc, dec) rep around. Join with ss. (30)
-
R15: ch 1, (3 dc, dec) rep around. Join with ss. (24)
-
R16: ch 1, (2 dc, dec) rep around. Join with ss. (18)
-
R17: ch 1, (1 dc, dec) rep around. Join with ss. (12)
-
Stuff firmly.
-
R18: 6 dec. Join with ss. (6)
-
Fasten off, weave tail through FLO of remaining 6 sts and pull tight.
Legs & Body
Legs (Make 2):
-
R1 (Hoof – Black): MR, 10 dc. Join with ss. (10)
-
R2–R3 (Body Color): 10 dc. Join with ss. (10)
-
Fasten off 1st leg. Do not fasten off 2nd leg.
Joining & Body:
-
R4: ch 3, join to 1st leg with ss. Work 10 dc around 1st leg, 1 dc in first ch, 3 dc in next ch, 1 dc in last ch, 10 dc around 2nd leg, 1 dc in first ch, 3 dc in middle ch, 1 dc in last ch. Join. (30)
-
R5–R7: 30 dc. Join with ss. (30)
-
R8 (Change Color): Work in BLO. (3 dc, dec) rep around. (24)
-
R9: 24 dc. Join with ss. (24)
-
R10: (2 dc, dec) rep around. (18)
-
R11: 18 dc. Join with ss. (18)
-
R12: (1 dc, dec) rep around. (12)
-
Fasten off, leave tail for sewing to head.
Bib/Overalls (Front Detail)
-
Find center front of body. Join yarn at the FLO of R8.
-
Row 1: Skip 1st st, 7 dc, dec across last 2 sts. (8)
-
Row 2: Skip 1st st, 5 dc, dec across last 2 sts. (6)
-
Straps: ch 18, loop around neck, join to the other side of the bib with ss. Fasten off.
Arms (Make 2)
-
R1 (Black): MR, 8 dc. Join with ss. (8)
-
R2–R7 (Body Color): 8 dc. Join with ss. (8)
-
Fasten off, leave tail. Sew to sides of body.
Horns (Make 2)
-
R1: MR, 6 dc. Join with ss. (6)
-
R2: (2 dc, inc) x2. Join with ss. (8)
-
R3–R4: 8 dc. Join with ss. (8)
-
Fasten off, leave tail. Sew to R3 of head.
Ears (Make 2)
-
R1: MR, 6 dc. Join with ss. (6)
-
R2: (2 dc, inc) x2. Join with ss. (8)
-
R3–R5: 8 dc. Join with ss. (8)
-
Fold base and sew below horns.
Muzzle
-
ch 5.
-
R1: In 2nd ch from hook: 3 tr. 1 tr in next 3 chs. 6 tr in last ch. Rotate to work other side: 1 tr in next 3 chs, 3 tr in final ch. Join with ss.
-
Fasten off, leave tail. Sew to lower face.
Assembly
-
Eyes: Attach safety eyes or beads above the muzzle.
-
Muzzle Detail: Embroider two small dots for nostrils.
-
Head Spot: Embroider a small patch on the head if desired.
-
Join: Sew the body to the head using the remaining yarn tail.