
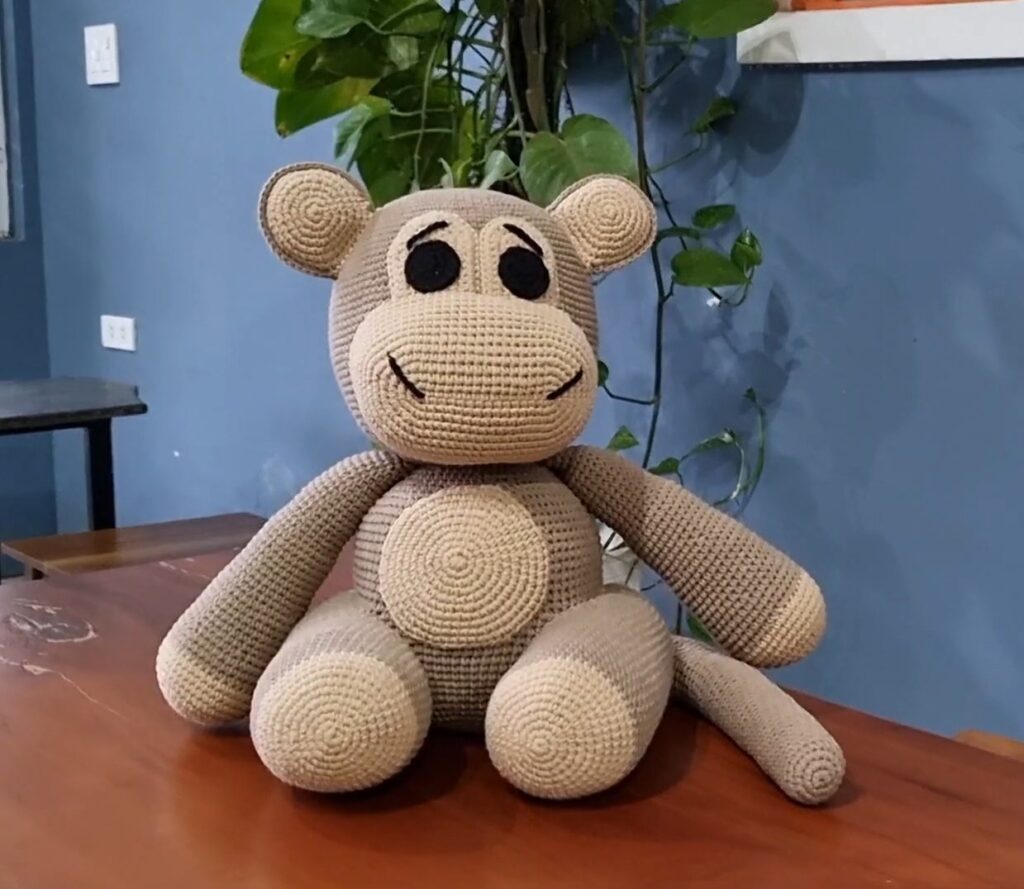
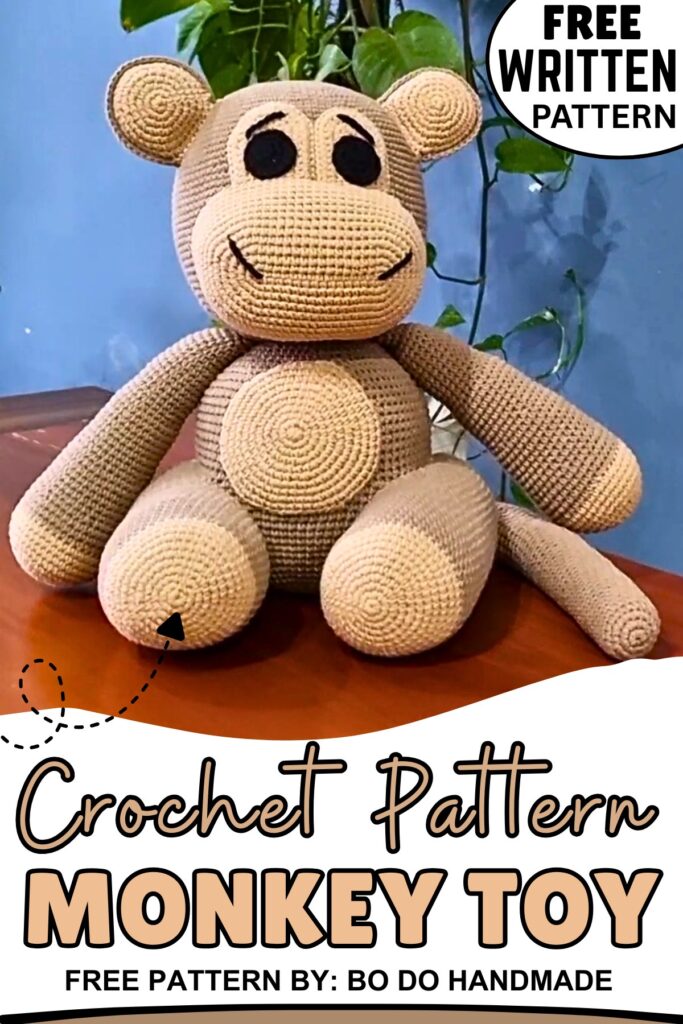
Crochet Amigurumi Monkey Pattern Step by step
Crochet Amigurumi Monkey Pattern
Bi do Handmade has been an expert in crocheting and designing crochet amigurumi, bag charms, and pouches. Also visit her YouTube channel for more exciting projects.
See Also:
Crochet Amigurumi Monkey Pattern
Pattern Notes:
-
Terms: US Terms (sc, inc, dec).
-
Method: Amigurumi (worked in continuous spirals unless otherwise stated).
-
Stitch Key:
-
MR: Magic Ring
-
ch: Chain
-
sc: Single Crochet
-
inc: Increase (2 sc in one st)
-
dec: Decrease (sc 2 together)
-
sl st: Slip stitch
-
-
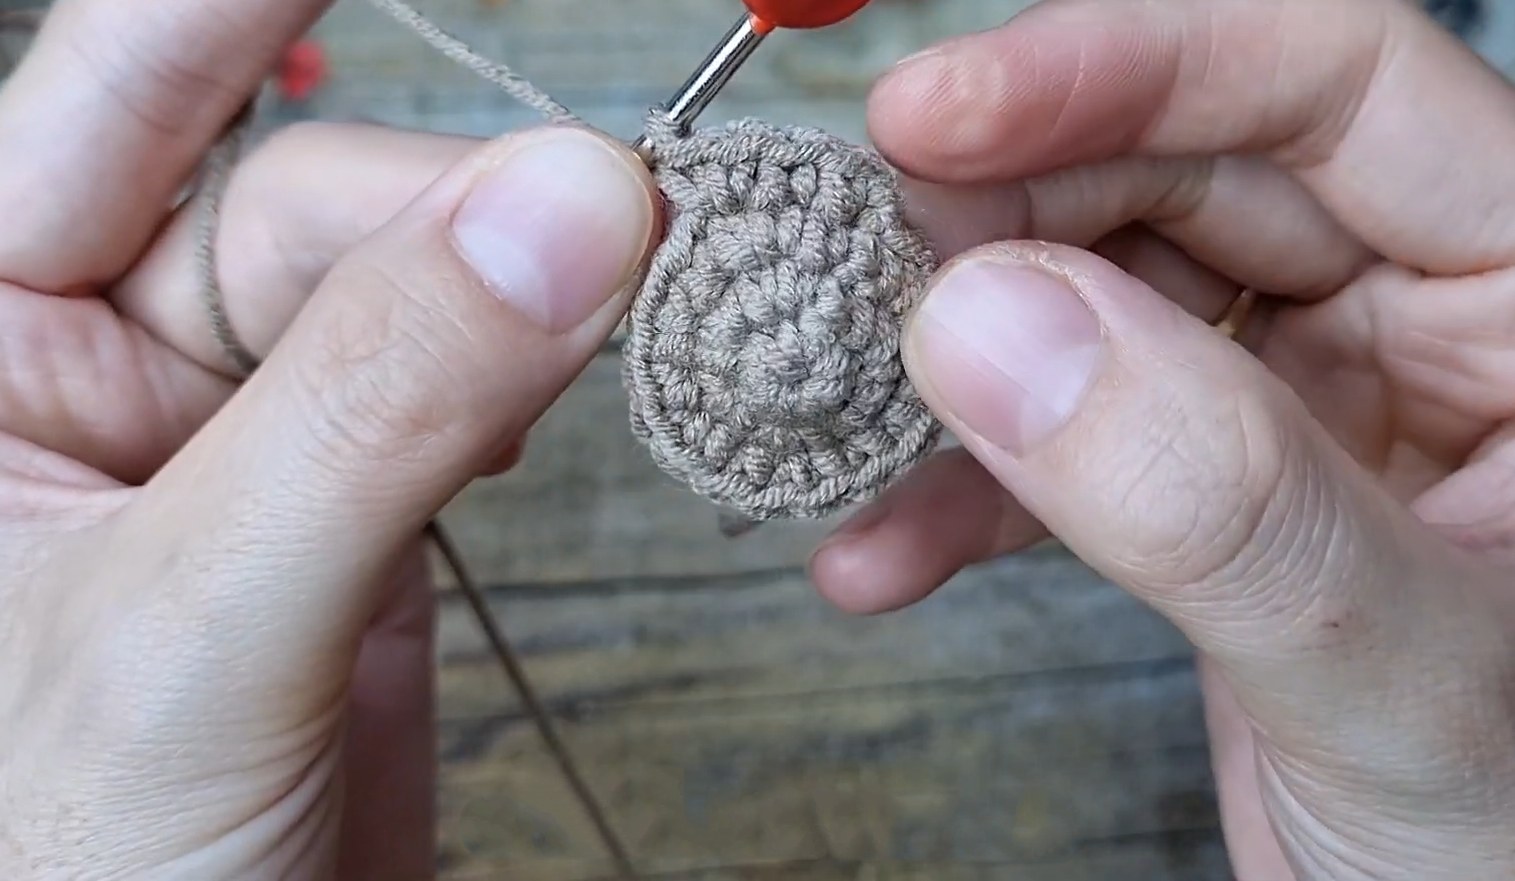
Technique: The creator uses a “staggered increase” method (splitting even increases) to keep the circle round. This is noted in the pattern.
Head
-
R1: MR, 6 sc. Join with sl st, ch 1. (6)
-
R2: 6 inc. Join with sl st, ch 1. (12)
-
R3: (1 sc, inc) x 6. Join with sl st, ch 1. (18)
-
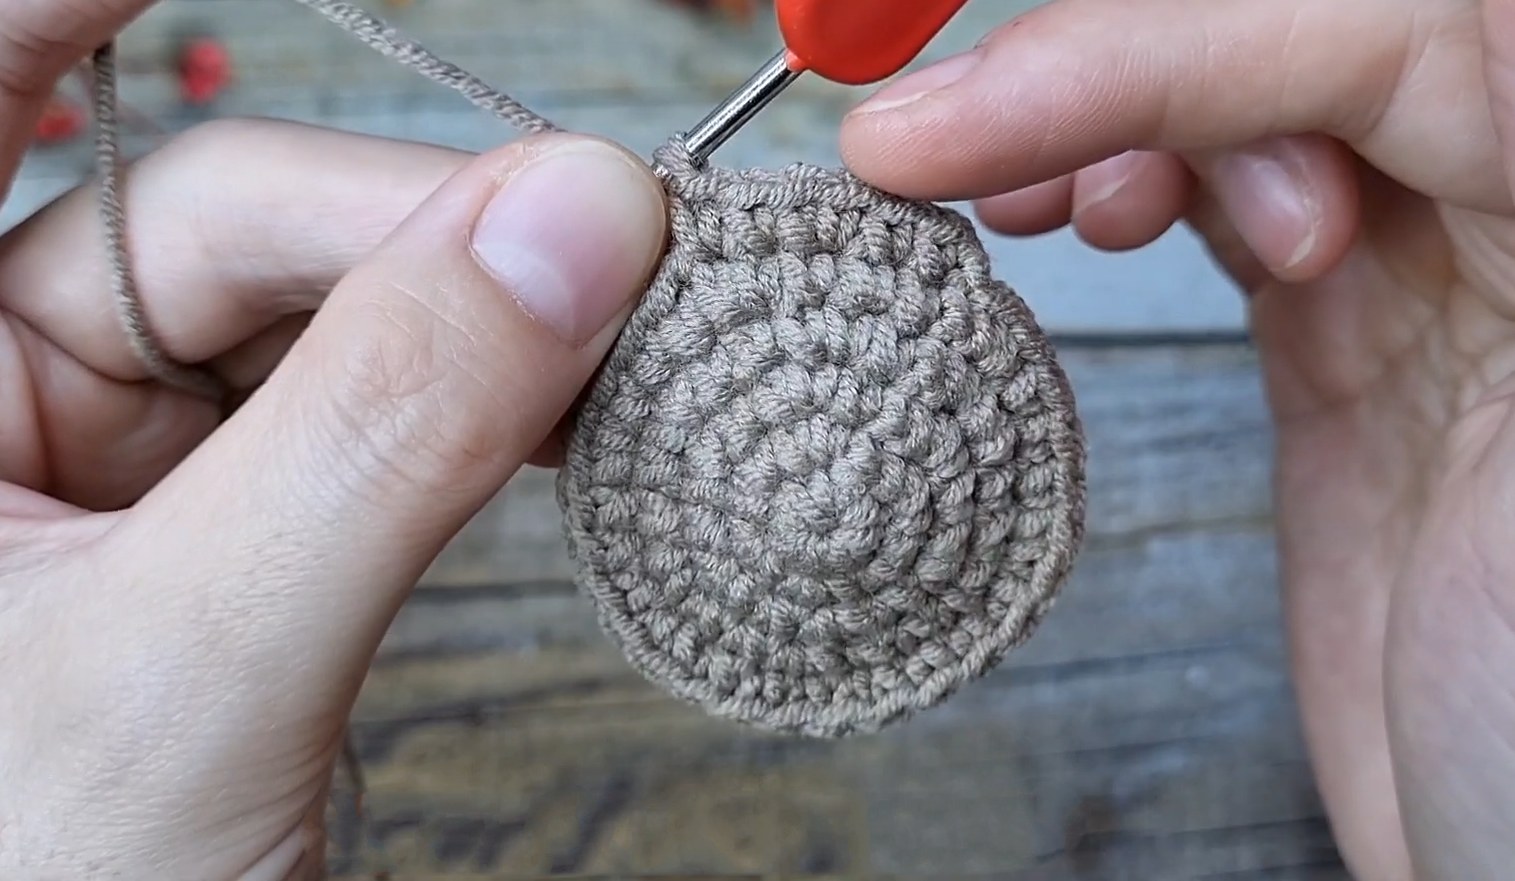
R4: (1 sc, inc, 1 sc) x 6. Join with sl st, ch 1. (24) (Note: Pattern splits the standard “2 sc, inc” to keep it round).
-
R5: (3 sc, inc) x 6. Join with sl st, ch 1. (30)
-
R6: (2 sc, inc, 2 sc) x 6. Join with sl st, ch 1. (36)
-
R7: (5 sc, inc) x 6. Join with sl st, ch 1. (42)
-
R8: (3 sc, inc, 3 sc) x 6. Join with sl st, ch 1. (48)
-
Continue increasing in this manner (adding 1 sc to the repeat each round) until R16.
-
R16: (7 sc, inc, 7 sc) x 6. (96)
-
-
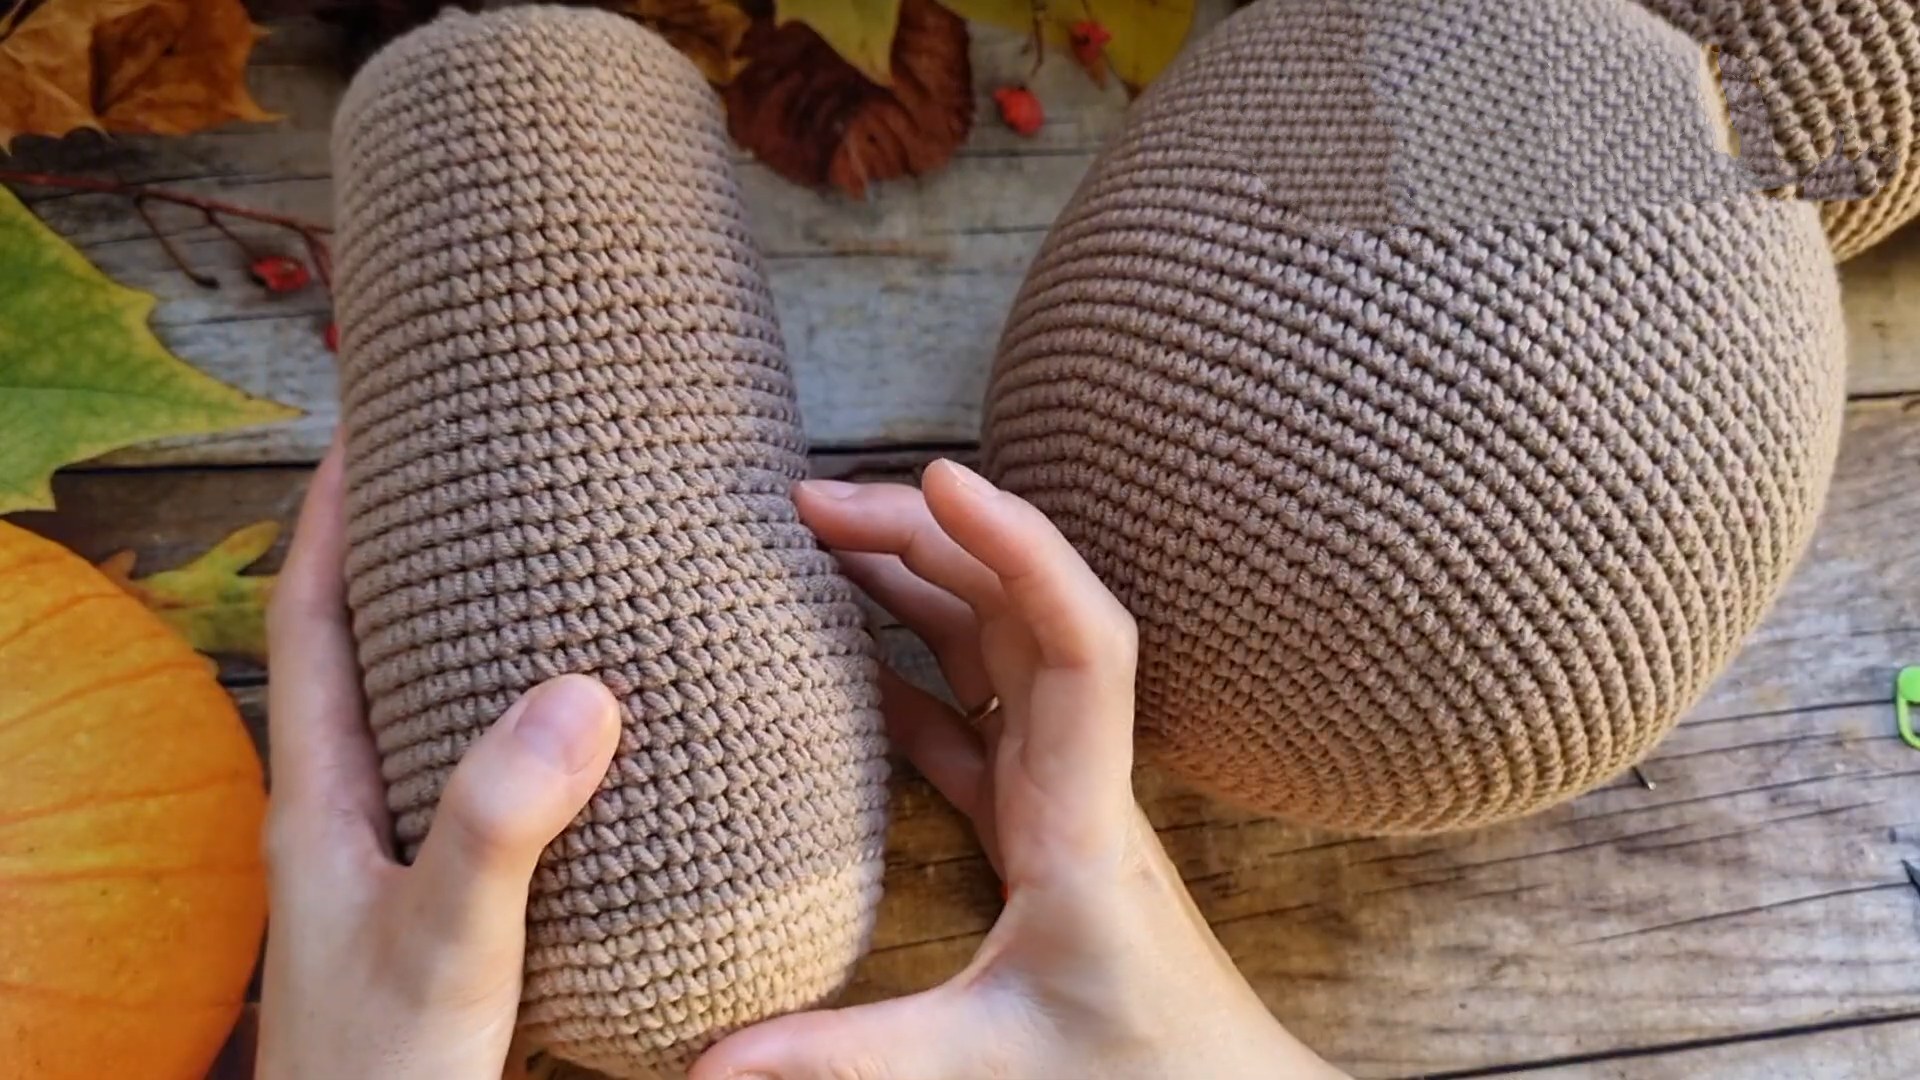
The diameter should be approx 15cm.
-
-
R17–R40: Work 24 rounds of sc even (no increases). (96)
-
R41 (Start Decreasing): (7 sc, dec, 7 sc) x 6. (90)
-
R42: (13 sc, dec) x 6. (84)
-
R43: (6 sc, dec, 6 sc) x 6. (78)
-
Continue decreasing pattern in reverse of increases until the opening is small enough to close.
-
R55: (1 sc, dec) x 6. (12)
-
R56: 6 dec. (6)
-
Stuff firmly, fasten off, and close the hole.

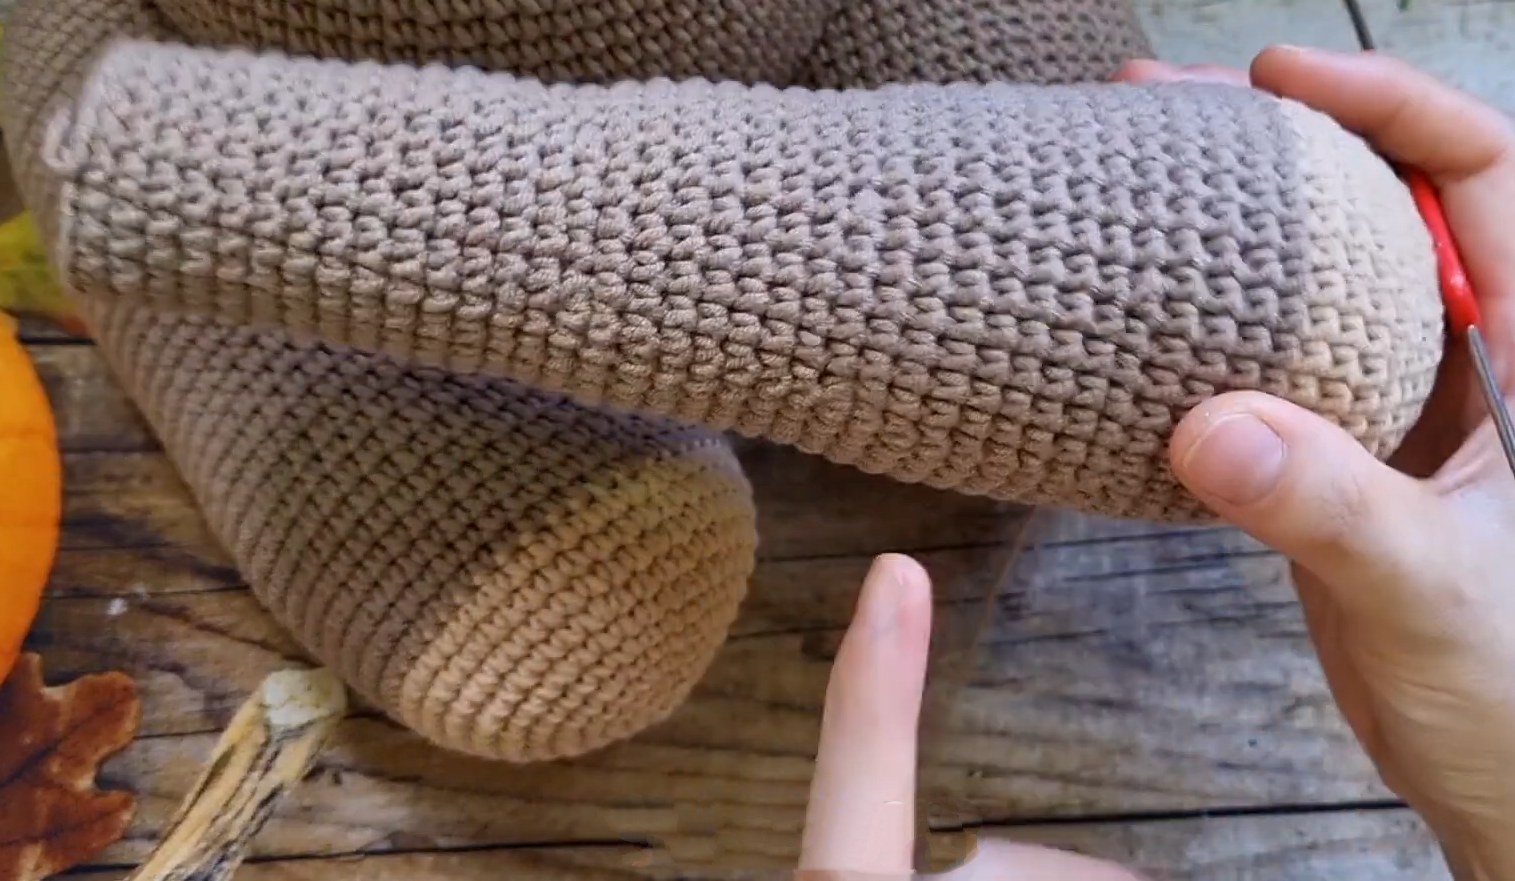
Body
-
R1–R14: Follow the same increasing pattern as the Head, but stop 2 rounds earlier than the head (approx 14 rounds of increasing).
-
Middle Section: Work 21 rounds of sc even.
-
Decrease Section: Follow the same decreasing logic as the head until the body is closed.
-
Stuff firmly.
-
Assembly: Sew the Body to the Head using the yarn tail.
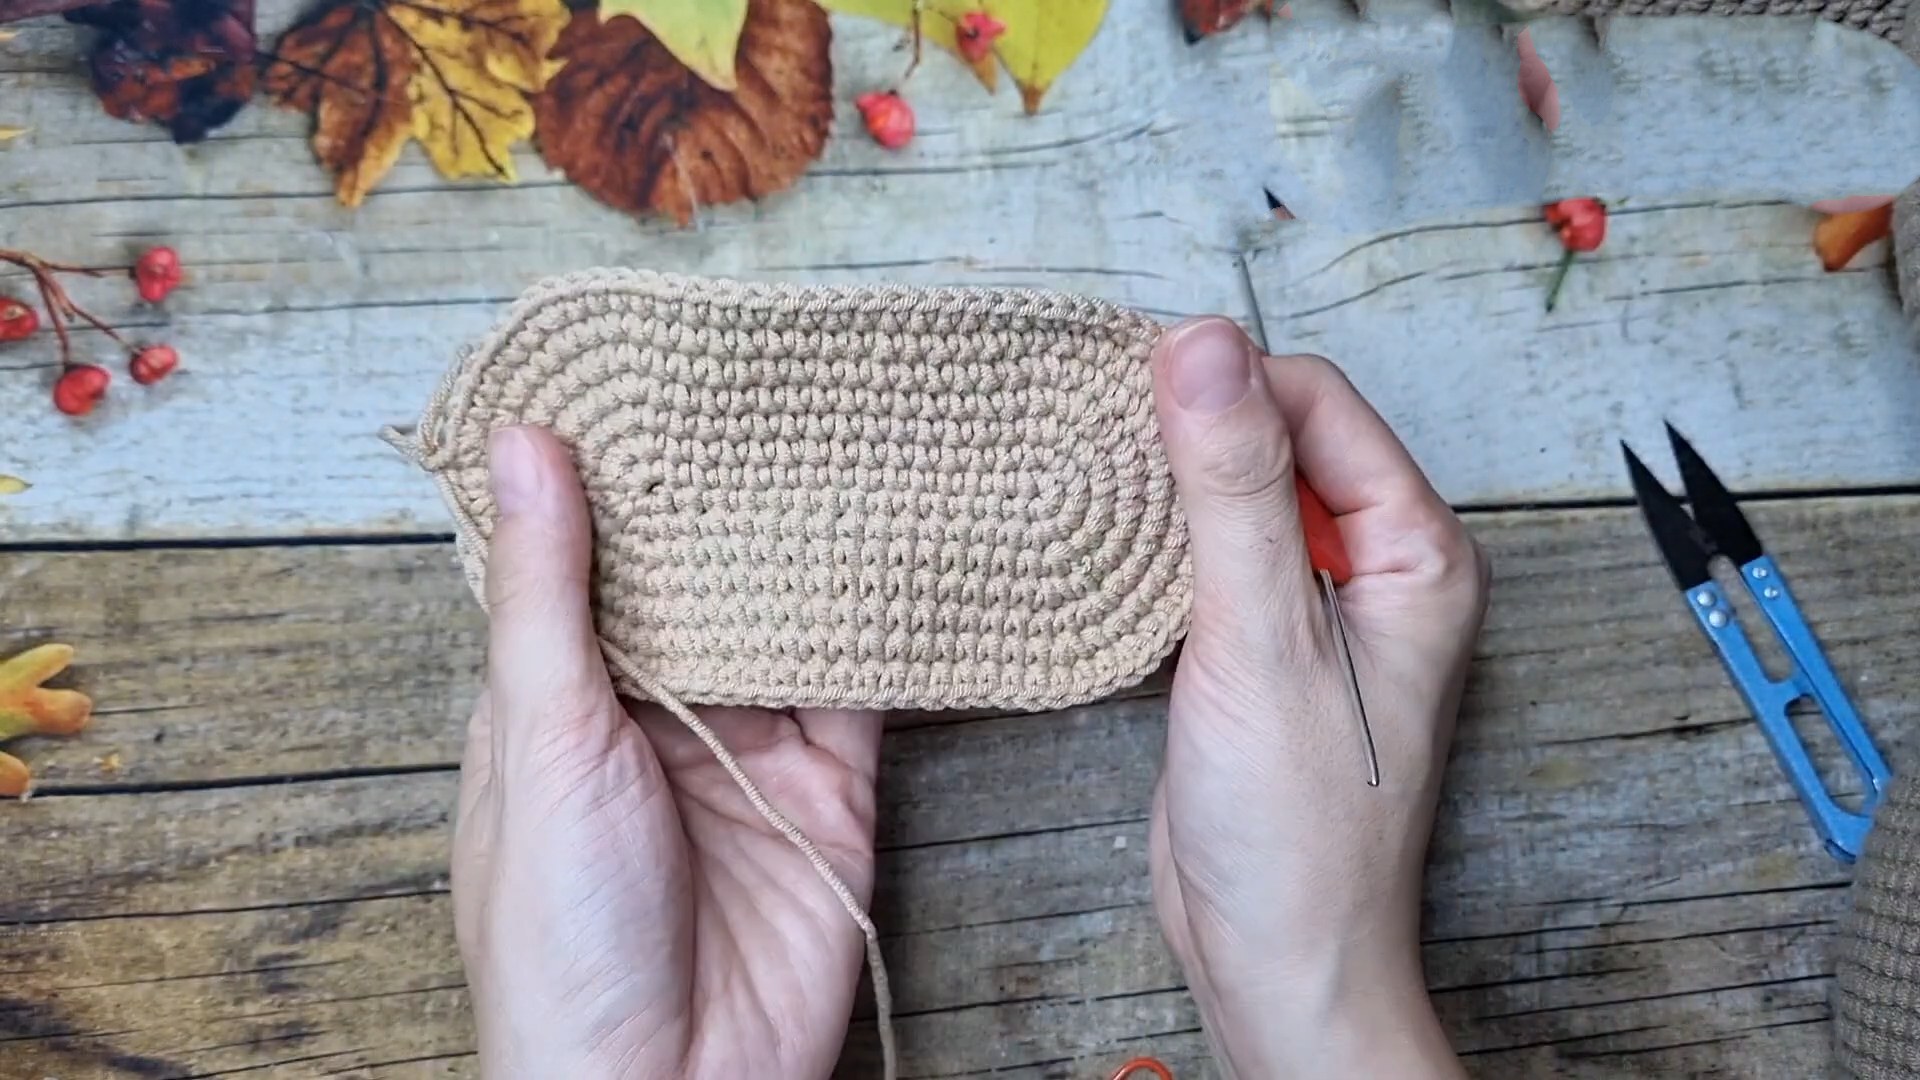
Muzzle (Snout)
-
Chain 15.
-
R1: inc in 2nd ch from hook, sc in next 12 ch, 4 sc in last ch. Working down the other side: sc in next 12 ch, 2 sc in last ch (same space as first inc). Join.
-
R2: 2 inc, sc 12, 4 inc, sc 12, 2 inc.
-
R3: (1 sc, inc) x 2, sc 12, (1 sc, inc) x 4, sc 12, (1 sc, inc) x 2.
-
R4–R7: Continue increasing at the rounded ends (the marked sections) while keeping the straight sides (12 sc) even. Stop when the width matches the face.
-
R8–R14: Work 7 rounds of sc even to create depth.
-
Fasten off. Sew to the lower part of the face.
Eye Patches (Make 2)
-
Chain 8.
-
R1: sc across, 4 sc in last ch, rotate and sc back, 2 sc in last st.
-
R2–R5: Increase at the rounded ends similar to the muzzle to create an oval shape.
-
Sew onto the face above the muzzle. Attach eyes/pupils.

Legs (Make 2)
-
R1–R8: Work 8 rounds of standard circle increases.
-
R9–R41: Work 33 rounds of sc even. (Change color for stripes if desired).
-
R42 (Decrease): Decrease evenly around (mirroring the head/body decrease logic) until closed.
-
Stuff bottom half lightly (to allow shaping), stuff top half firmly.
-
Sew to the bottom of the body.
Arms (Make 2)
-
R1–R7: Work 7 rounds of standard circle increases.
-
R8–R14: Work 7 rounds of sc even.
-
R15: Decrease round.
-
R16–R22: Work 7 rounds of sc even.
-
Continue alternating decrease rounds and even rounds until the arm reaches desired length.
-
Stuff and sew to the sides of the body.
Ears (Make 2)
-
Inner Ear (Light Color): Work 7 rounds of circle increases. Fasten off.
-
Outer Ear (Dark Color): Work 7 rounds of circle increases. Do not fasten off.
-
Join: Place Inner Ear on top of Outer Ear (wrong sides facing). Crochet them together using sc around 3/4 of the circle. Leave the bottom 1/4 open for sewing.
-
Stuff lightly and sew to the sides of the head.
Tail
-
R1–R4: Work 4 rounds of circle increases.
-
R5+: Work even rounds until the tail reaches desired length.
-
Stuff firmly and sew to the back of the body to act as a support for sitting.
Belly Patch:
-
Work 10 rounds of circle increases. Sew to the center of the belly.
Pattern In UK Terms
Abbreviations
-
MR: Magic Ring
-
ch: Chain
-
dc: Double Crochet
-
inc: Increase (2 dc in 1 stitch)
-
dec: Decrease (dc2tog)
-
sl st: Slip stitch
-
st(s): Stitch(es)
-
R: Round/Row
1. Head
-
R1: 6 dc in MR (6)
-
R2: 6 inc (12)
-
R3: (1 dc, inc) x 6 (18)
-
R4: (2 dc, inc) x 6 (24) [Note: Stagger even rounds for a perfect circle]
-
R5: (3 dc, inc) x 6 (30)
-
R6: (4 dc, inc) x 6 (36)
-
R7-R15: Continue increasing 6 sts per round.
-
R16: (14 dc, inc) x 6 (96)
-
R17–R40: 96 dc (24 rounds)
-
R41: (14 dc, dec) x 6 (90)
-
R42: (13 dc, dec) x 6 (84)
-
R43-R53: Continue decreasing 6 sts per round.
-
R54: (1 dc, dec) x 6 (12)
-
Stuff firmly.
-
R55: 6 dec (6). Fasten off and sew closed.
2. Body
-
R1–R14: Increase to (12 dc, inc) x 6 (84).
-
R15–R35: 84 dc (21 rounds).
-
R36–End: Decrease rounds mirroring the head pattern. Stuff and sew closed.
3. Muzzle (Snout)
-
Ch 15.
-
R1: 2nd ch from hook: inc, 12 dc, 4 dc in last ch. Other side: 12 dc, inc in same ch as first (32).
-
R2: 2 inc, 12 dc, 4 inc, 12 dc, 2 inc (40).
-
R3: (1 dc, inc) x 2, 12 dc, (1 dc, inc) x 4, 12 dc, (1 dc, inc) x 2 (48).
-
R4–R7: Continue increasing 8 sts per round on the ends.
-
R8–R14: 1 dc in each st. Fasten off with long tail.
4. Eye Patches (Make 2)
-
Ch 8.
-
R1: 2nd ch: 6 dc, 4 dc in last ch. Other side: 6 dc (16).
-
R2: Turn, ch 1. 7 dc, 4 inc, 7 dc (20).
-
R3–R5: Continue increasing 4 sts on the curve each row. Fasten off.
5. Pupils (Make 2)
-
R1: 6 dc in MR (6).
-
R2: 6 inc (12).
-
R3: (1 dc, inc) x 6 (18). Fasten off.
6. Legs (Make 2)
-
R1–R8: Increase to (6 dc, inc) x 6 (48). [R1-3 in Light Brown, then Dark Brown]
-
R9–R41: 48 dc (33 rounds).
-
R42–End: Decrease to close. Stuff top half firmly; bottom half lightly.
7. Arms (Make 2)
-
R1–R7: Increase to (5 dc, inc) x 6 (42). [Light Brown]
-
R8–R14: 42 dc (7 rounds).
-
R15: (5 dc, dec) x 6 (36). [Change to Dark Brown]
-
R16–R22: 36 dc (7 rounds).
-
R23: (4 dc, dec) x 6 (30).
-
R24–R30: 30 dc (7 rounds).
-
R31-End: Continue pattern of 7 rounds dc then 1 decrease round until desired length. Stuff.
8. Tummy Patch
-
R1–R10: Increase rounds up to (8 dc, inc) x 6 (60). Fasten off.
9. Ears (Make 2)
-
Outer Ear (Dark Brown): R1–R7: Increase to (5 dc, inc) x 6 (42).
-
Inner Ear (Light Brown): R1–R7: Increase to (5 dc, inc) x 6 (42).
-
Joining: Place both circles together, dc around 3/4 of the edge. Stuff lightly.
10. Tail
-
R1–R4: Increase to (2 dc, inc) x 6 (24).
-
R5–End: 1 dc in each st until length reaches approx. 40cm. Stuff.
Assembly
-
-
Sew Body to Head.
-
Sew Eye Patches to face, then sew Pupils onto patches.
-
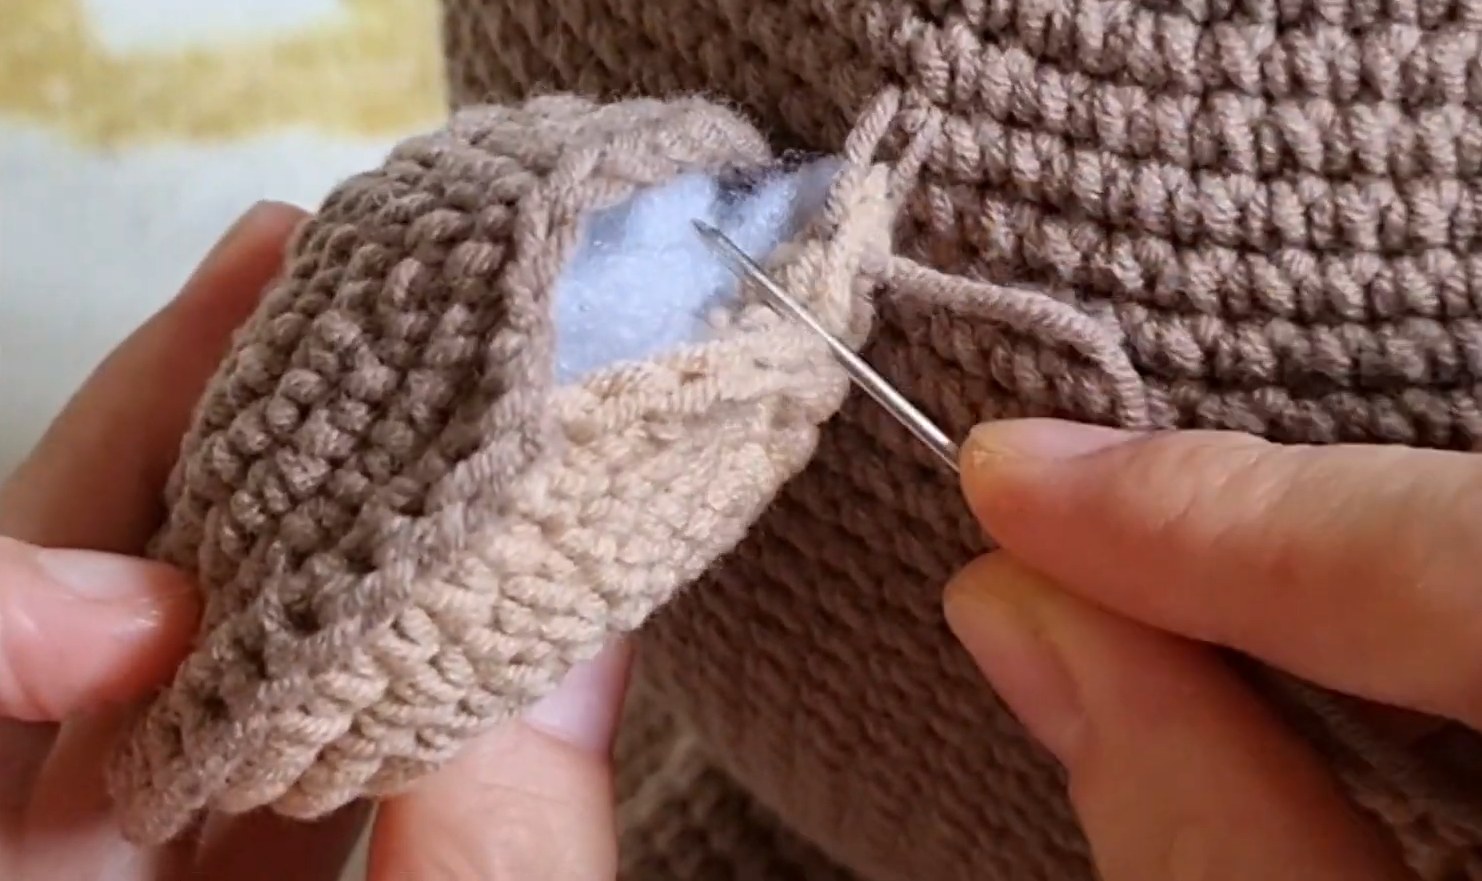
Sew Muzzle below eyes; stuff before closing.
-
Sew Tummy Patch to center of body.
-
Sew Ears to sides of head (R11–R12 level).
-
Sew Arms to sides of body (R3 level from neck).
-
Sew Legs to bottom of body so the monkey sits upright.
-
Sew Tail to back; position to help monkey balance while sitting.
-