
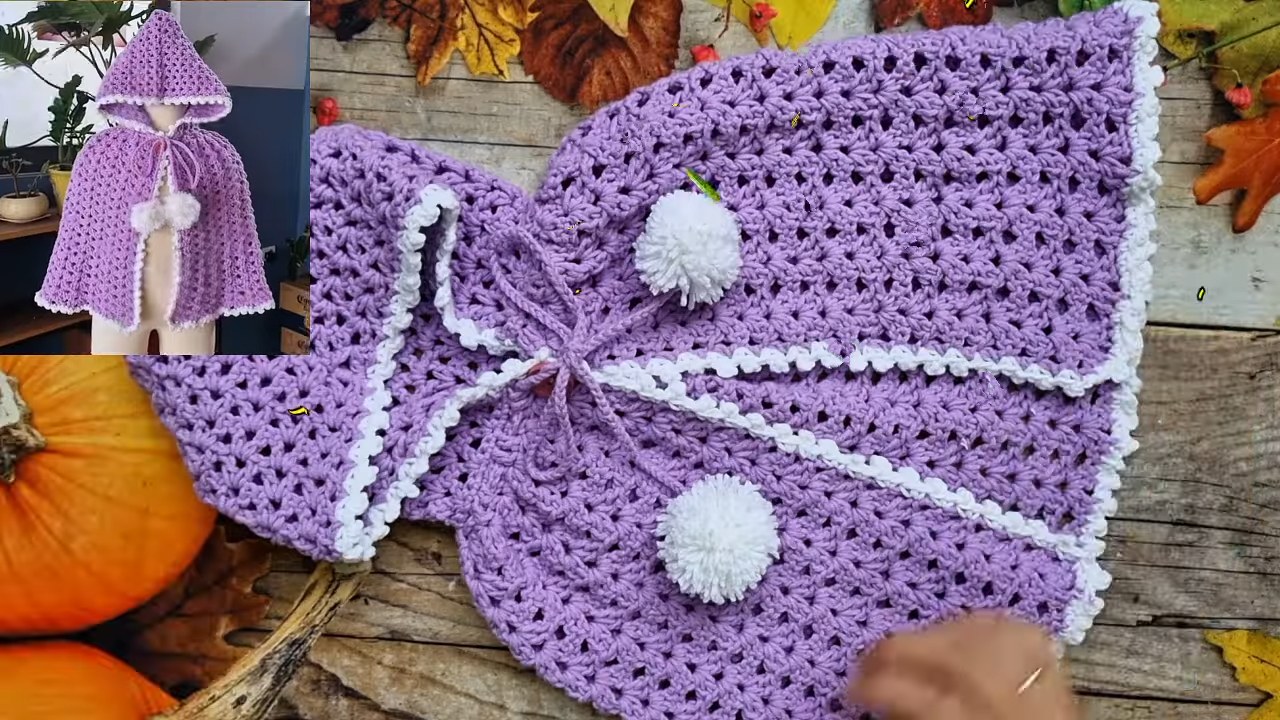
Free Crochet Baby Cloak Pattern Step by step
It’s winter time, let’s wrap your baby in soft cloak that feels like a warm hug. This Crochet Baby Cloak makes your baby comfortable and stylish. Its gentle yarn and simple design make it perfect for little ones, and it also works beautifully as a thoughtful handmade gift for new parents.
To make this baby cloak, you use yarn and a crochet hook to create the main body first. Then you shape the edges and add any extra parts like a hood or opening. The pieces are worked with simple stitches and put together carefully. Let’s begin the magic!
Free Crochet Baby Cloak Pattern

Bi do Handmade is an had been an expert in crocheting and designing crochet amigurumi, bag charms, and pouches. Also visit her youtube channel for more exiting projects.
Crochet Baby Cloak Pattern ( US Terms )
Materials:
-
Yarn of choice (size appropriate for head/neck measurements)
-
Crochet hook (matching yarn size)
-
Button
-
Scissors, tapestry needle
Abbreviations (US Terms):
-
ch: Chain
-
st(s): Stitch(es)
-
sc: Single crochet
-
dc: Double crochet
-
sl st: Slip stitch
-
sp: Space
-
sk: Skip
-
Shell: (2 dc, ch 2, 2 dc) in the same stitch or space
-
V-Stitch: (1 dc, ch 2, 1 dc) in the same stitch or space
-
Picot: Ch 3, sl st into the base of the sc just made (insert hook through front loop and side vertical bar of sc)
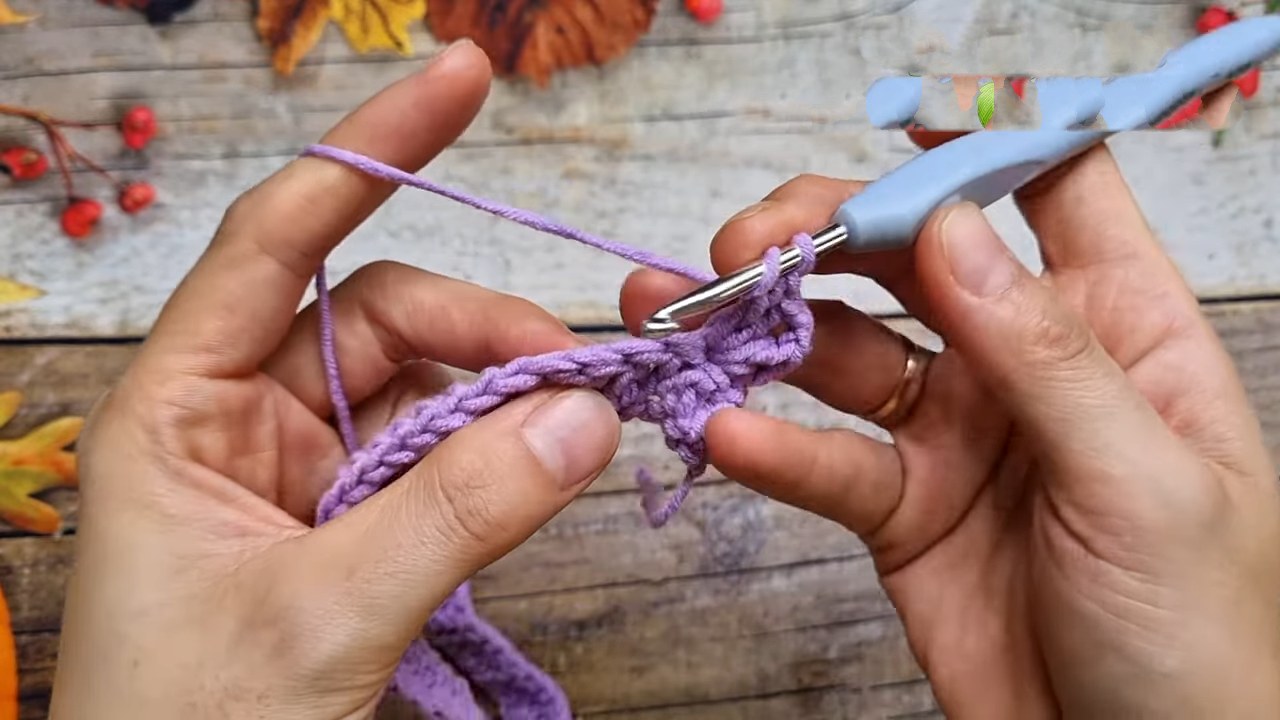
Part 1: Cloak Body
Foundation: Ch an odd number of sts to equal the desired neck circumference (e.g., 59 chs for the sample size).
Row 1: Dc in 4th ch from hook and in each ch across. Turn.
Row 2: Ch 3 (counts as first dc). Sk next st.
-
Shell in next st.
-
Sk next st. Repeat from * to * across until 2 sts remain. Sk next st, dc in last st. Turn.
Row 3: Ch 3 (counts as first dc).
-
Shell in the ch-2 sp of the next Shell from the previous row. Repeat from * to * across. Dc in top of turning ch. Turn.
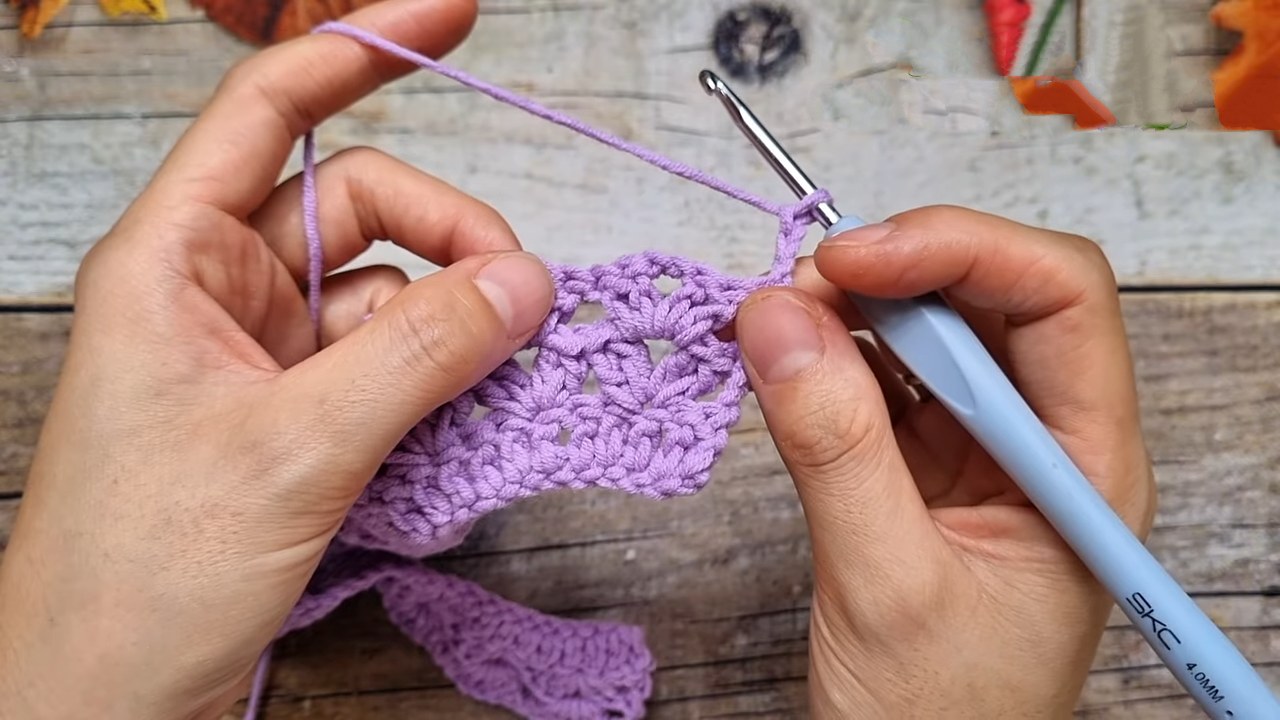
Row 4 onwards: Repeat Row 3 until the cloak reaches the desired length. Note: To increase flare/width, you may ch 1 between shells or increase the shell size to (3 dc, ch 1, 3 dc) in later rows.
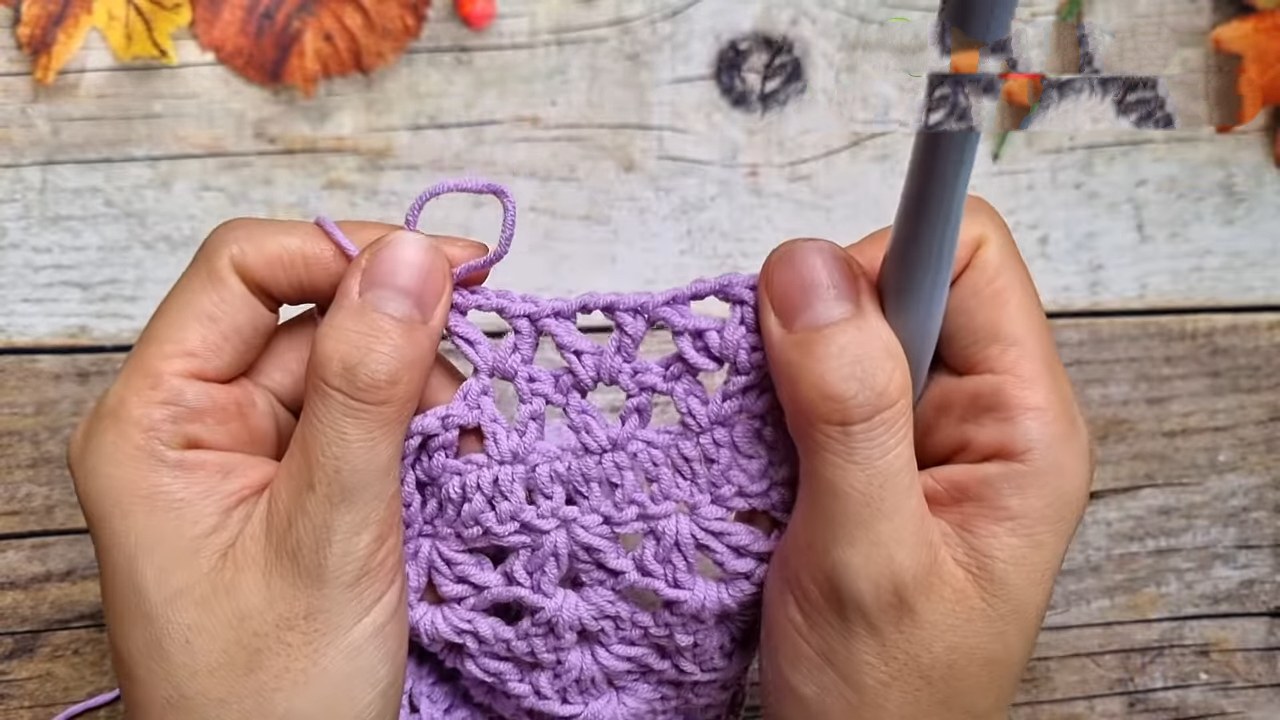
Finishing Body: Ch 1, cut yarn and fasten off.
Part 2: Hood
Foundation: Join yarn to the original foundation chain of the neck (Row 1 of Body).
Row 1: Ch 3 (counts as first dc). Sk 1 st.
-
V-Stitch in next st.
-
Sk 1 or 2 sts (depending on desired width). Repeat from * to * across. End with dc in last st. Turn.
Row 2: Ch 3 (counts as first dc).
-
V-Stitch in the ch-2 sp of the next V-Stitch from the previous row. Repeat from * to * across. Dc in top of turning ch. Turn.
Row 3 onwards: Repeat Row 2 until the hood reaches the desired height.
Seaming the Hood: Fold the hood in half with right sides facing together. Join the top edges by working sc through both layers:
-
Insert hook through ch-2 sps of both layers. Work 3 or 4 sc in each sp to seam.
-
Fasten off and weave in ends. Turn hood right side out.
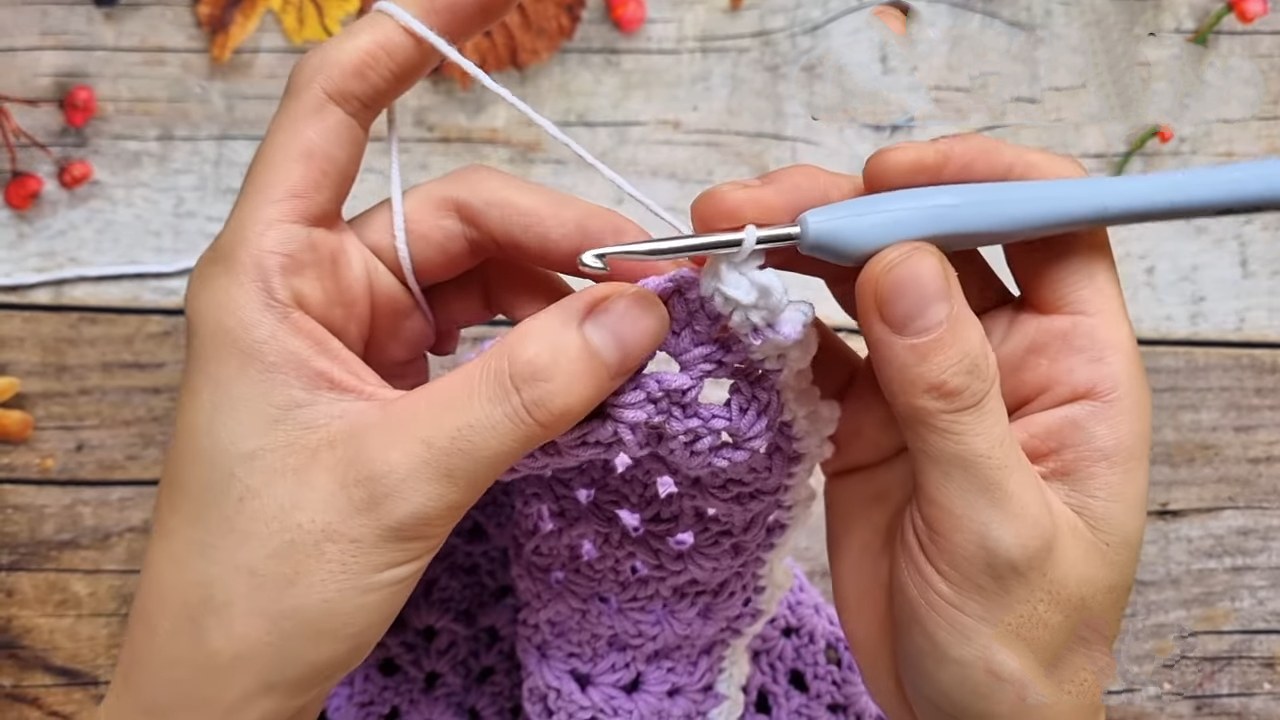
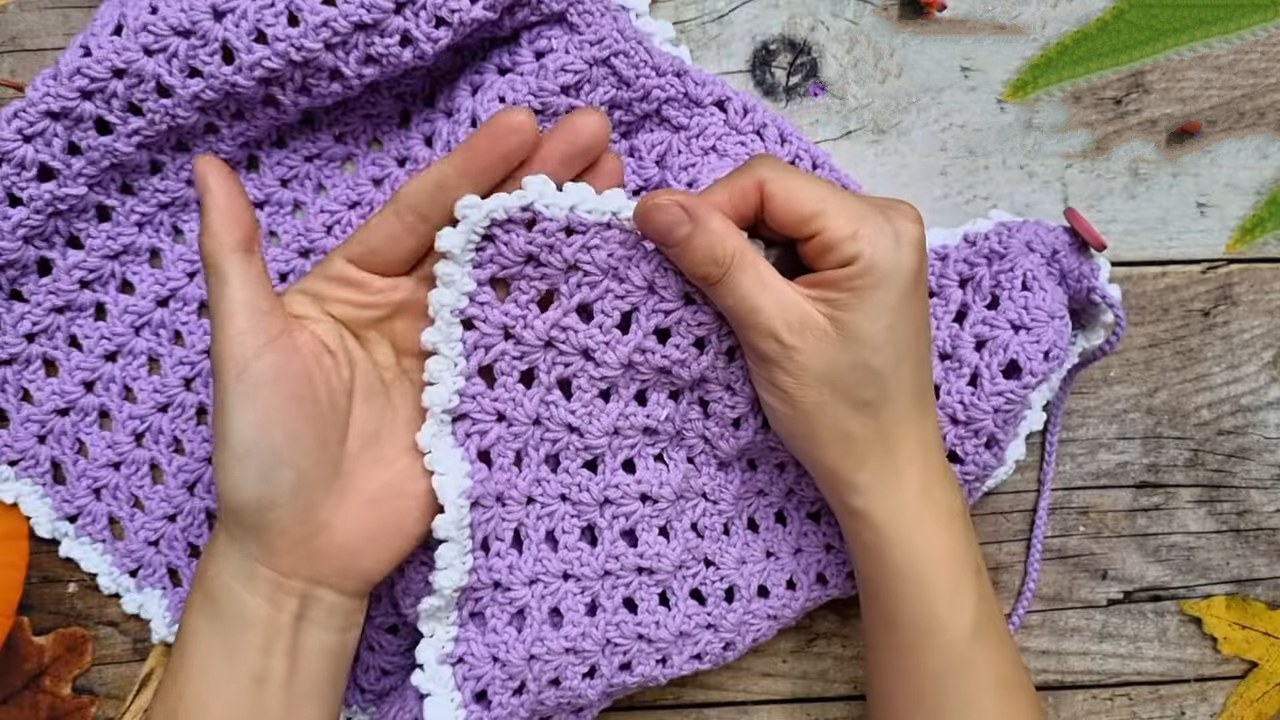
Part 3: Border & Finishing
Edging: Join yarn at the bottom corner of the front opening with the right side facing. Work along the edge (hem, front opening, and hood edge).
Pattern:
-
Sc in next 2 sts.
-
Picot (ch 3, sl st to base of sc).
-
Sc in next 2 sts. Repeat this pattern along the entire edge. Note: Along the side edges (rows of dc), work 2 sc around each dc post. Ensure corners have extra stitches to turn smoothly.
Ties & Button:
-
Ties: Ch a length of yarn longer than the neck width. Weave this chain through the dc posts of Row 1 of the body to act as a drawstring. Add pompoms to ends if desired.
-
Button: Sew a button on one side of the neck opening (Row 1 area). Use the gap between stitches on the opposite side as the buttonhole.
Pattern In UK Terms:
Part 1: Cloak Body
Foundation: Ch an odd number of sts to equal the desired neck circumference (e.g., 59 chs).
Row 1: Tr in 4th ch from hook and in each ch across. Turn.
Row 2: Ch 3 (counts as first tr). Miss next st.
-
Shell in next st.
-
Miss next st. Repeat from * to * across until 2 sts remain. Miss next st, tr in last st. Turn.
Row 3: Ch 3 (counts as first tr).
-
Shell in the ch-2 sp of the next Shell from the previous row. Repeat from * to * across. Tr in top of turning ch. Turn.
Row 4 onwards: Repeat Row 3 until the cloak reaches the desired length. (Optional increase: ch 1 between shells or use 3 tr, ch 1, 3 tr shells).
Finishing Body: Ch 1, cut yarn and fasten off.
Part 2: Hood
Foundation: Join yarn to the original foundation chain of the neck (Row 1 of Body).
Row 1: Ch 3 (counts as first tr). Miss 1 st.
-
V-Stitch in next st.
-
Miss 1 or 2 sts. Repeat from * to * across. End with tr in last st. Turn.
Row 2: Ch 3 (counts as first tr).
-
V-Stitch in the ch-2 sp of the next V-Stitch from the previous row. Repeat from * to * across. Tr in top of turning ch. Turn.
Row 3 onwards: Repeat Row 2 until the hood reaches the desired height.
Seaming the Hood: Fold hood in half (right sides together). Join the top edges by working dc through both layers:
-
Insert hook through corresponding ch-2 sps of both layers. Work 3 or 4 dc in each sp to seam.
-
Fasten off and turn hood right side out.
Part 3: Border & Finishing
Edging: Join yarn at the bottom corner of the front opening with the right side facing.
Pattern:
-
Dc in next 2 sts.
-
Picot (ch 3, sl st to base of dc).
-
Dc in next 2 sts. Repeat this pattern along the entire hem, front opening, and hood edge. (Note: Along side edges, work 2 dc around each tr post).
Ties & Button:
-
Ties: Ch a length of yarn. Weave through the tr posts of Row 1 of the body.
-
Button: Sew a button to one side of the neck opening. Use the space between stitches on the opposite side as the buttonhole.