
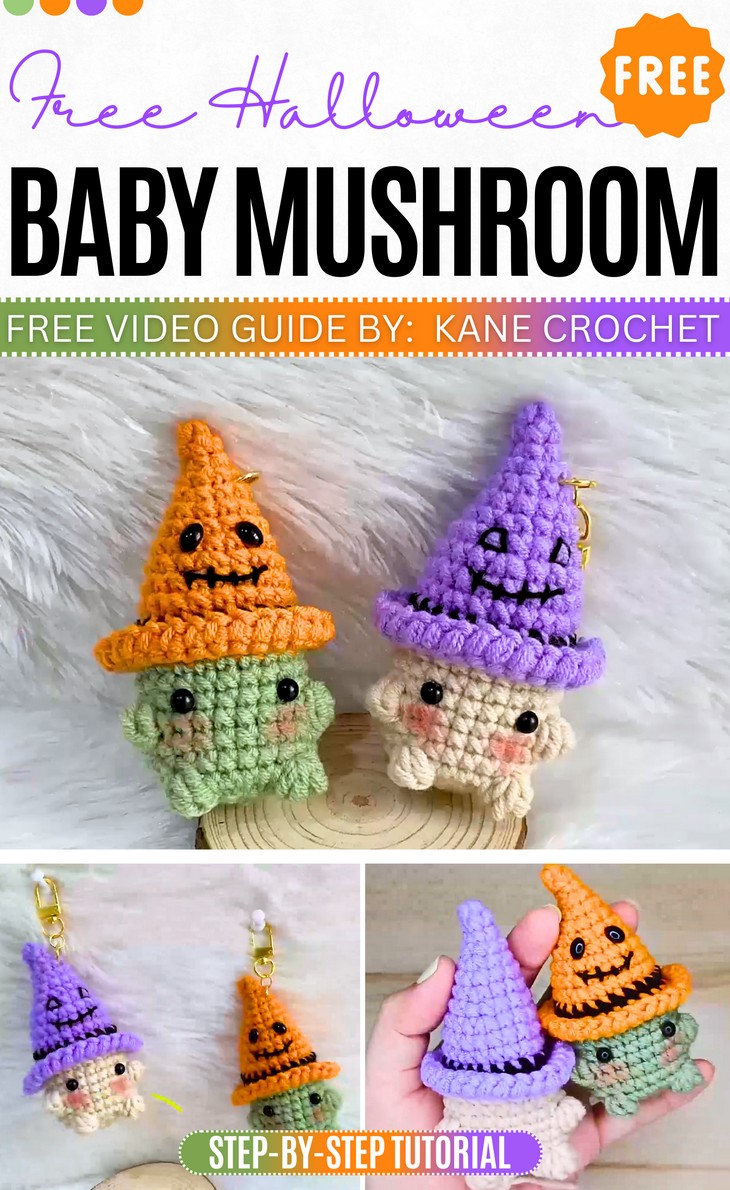
How to Crochet Baby Mushroom With Witch Hats for Halloween
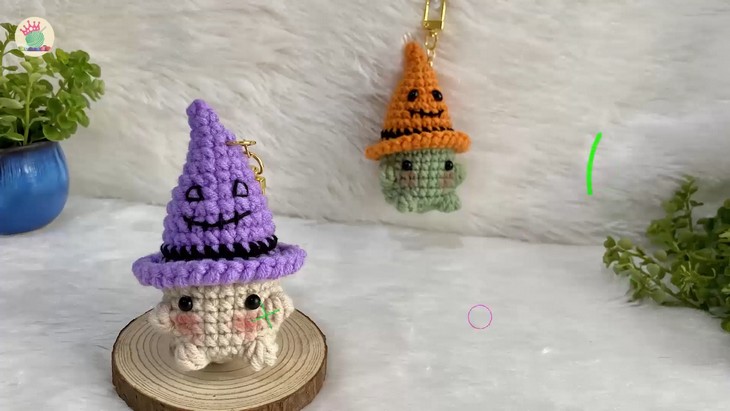
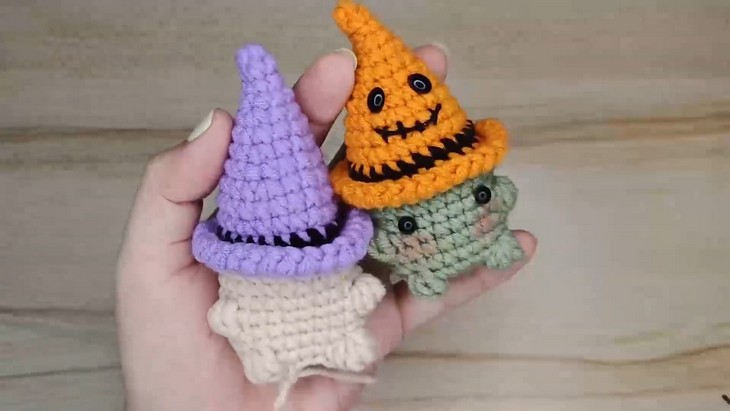
Baby mushroom pattern is now ready for Halloween! So, learn how to crochet these two quick and easy mini mushroom wearing witch hat amigurumi as Halloween ornaments and desktop decoration, or pocket buddy. You will learn the two versions with a little difference: each witch hat with an embroidered face and stitch teeth with the safety beads also. You can crochet one mushroom this fall within an hour, following a simple and easy no-sew design.
So, if you have made up your mind to crochet this scary and cute mushroom amigurumi by yourself, continue reading this post till the end. You will love both the orange and purple hat versions.
About the Designer: The designer behind this mashroom with hats project is @KaneCrochet – her channel provides a wide range of tutorials for both beginners and experienced crocheters. Her tutorials for various projects, include bags, accessories, keychains, and home decor items like hanging plants. She has a whole playlist for crochet fall and Halloween amigurumi that includes lovely hybrids like pumpkin ghost and much more.
Note: In respect for the creator’s pattern rights, there will be no provision of the written pattern. You can watch the tutorial with on-screen written instructions at the end of this post.
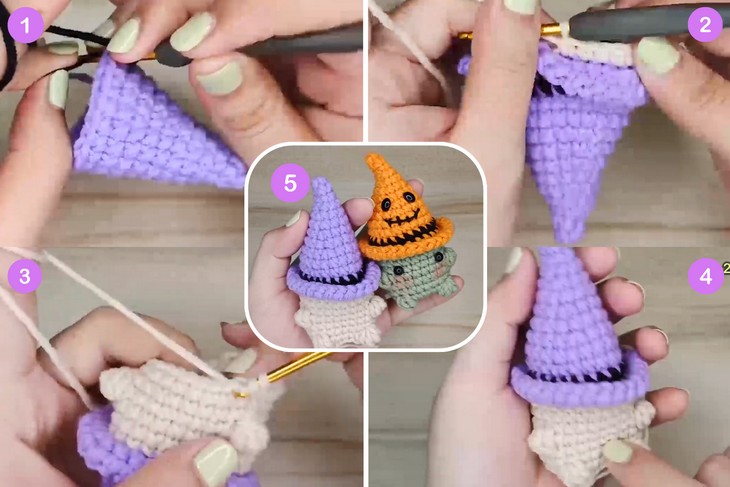
Baby Mashroom With Halloween Hats Tutorial
Skill Level: Intermediate. The baby mushroom hat is crocheted using a MR (magic ring) with sc (single crochet) stitches. The pattern progresses with inc (increase crochet) to expand the hat, and the body of the mushroom is worked in the back loop of the last row of the hat. The body uses sc stitches and dc (double crochet) clusters. The final rows of the body are finished with dec (decrease single crochet) stitches to close the shape. The herringbone stitch will also be needed.
Tutorial Timing: Approximately 8 minutes only (perfect for learning the no-sew crochet techniques and practicing the embroidery and color changes.)
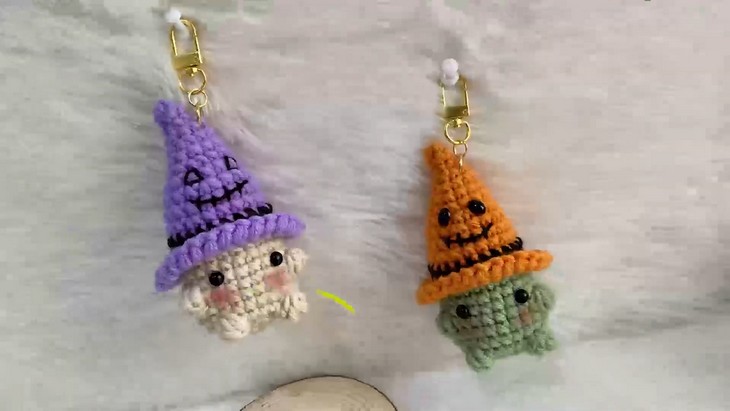
Personalization Tips: Choose from beige, mushroom, and green mushroom body, and purple or orange witch hat. You can also crochet a larger version using the plush yarn. You can also crochet the arms and sew them.
Pattern Type: An on-screen written pattern is available if you find written instructions easy to follow along with.
Finished size: Height 10 cm. Width 6 cm if you follow the same yarn and crochet hook.
Supplies Used
The following are the crochet materials and tools for crocheting this mushroom Halloween amigurumi:
- Cotton Yarn (4-ply, 2 mm): This is the main thread used to create the project. Its 4-ply weight indicates the thickness of the yarn, which is a standard for many amigurumi patterns, while the 2 mm size refers to the recommended thickness of the finished yarn itself. Cotton yarn is often chosen for its durability and clean stitch definition.
- Crochet Hook (No. 5, 3 mm): This is the tool used to loop the yarn and create the stitches. The “No. 5” and “3 mm” are different sizing systems that specify the diameter of the hook, ensuring that the finished stitches will have the correct size and tension for the project.
- Eyes (6 mm, 2 Pcs): These are decorative safety eyes used to create a face for the finished piece. The 6 mm size indicates their diameter, which is a common size for smaller crochet toys, and two pieces are needed to form a pair.
- Polyester Fiber
- Glue
- Scissors
- Needle

Crochet Stitch Guides
The following are the crochet techniques that the tutor uses for crocheting this baby mushroom with Halloween hats:
- MR (Magic Ring): Form a loose loop, work stitches into the ring, and pull the tail to close the loop.
- ch (Chain): Yarn over, pull through the loop on the hook.
- sc (Single Crochet): Insert hook, yarn over, pull through, yarn over again, and pull through both loops.
- dec (Decrease Single Crochet): Insert hook into two consecutive stitches, yarn over, pull through both, yarn over, and pull through the remaining loops.
- inc (Increase Crochet): Work two stitches into the same stitch.
- dc (Double Crochet): Yarn over, insert hook, yarn over, pull through, yarn over, pull through two loops, yarn over again, and pull through the final two loops.
- hdc (Half Double Crochet): Yarn over, insert hook, yarn over, pull through, yarn over, and pull through all three loops on the hook.
- tr (Treble Crochet): Yarn over twice, insert hook, yarn over, pull through, yarn over, pull through two loops, repeat until one loop remains.
- Y (Herringbone Stitch Crochet): Yarn over, insert hook, yarn over, pull through the stitch and first loop on the hook, yarn over again, and pull through both remaining loops.
- sk (Skip): Skip the next stitch and work into the following stitch.
- slst (Slip Stitch): Insert hook, yarn over, and pull through both the stitch and the loop on the hook.
Complete Video Guide
Questions You May Ask
How do I make the witch hat stay on the mushroom?
The hat can either be sewn directly to the mushroom cap or left detachable. If you want it to stay firmly in place, use stitching around the hat brim. For a removable option, make the hat slightly smaller so it fits snugly on the mushroom cap.
What size will my mini witch mushroom amigurumi be?
The finished size depends on your yarn weight and hook size. With standard cotton yarn (size 2 or 3) and a 2.5–3.0 mm hook, it will usually measure around 2–4 inches tall. Using a thicker yarn and a larger hook will make it bigger, while thinner yarn will make it smaller.
Can I customize my mini witch mushroom amigurumi?
Absolutely! You can:
Change yarn colors for a Christmas theme.
Add a tiny cape, broomstick, or embroidered stars on the hat.
Give it different expressions by using embroidery or felt pieces.
Attach a keychain ring to turn it into a bag charm.