
Crochet Fox Amigurumi Door Stopper Pattern
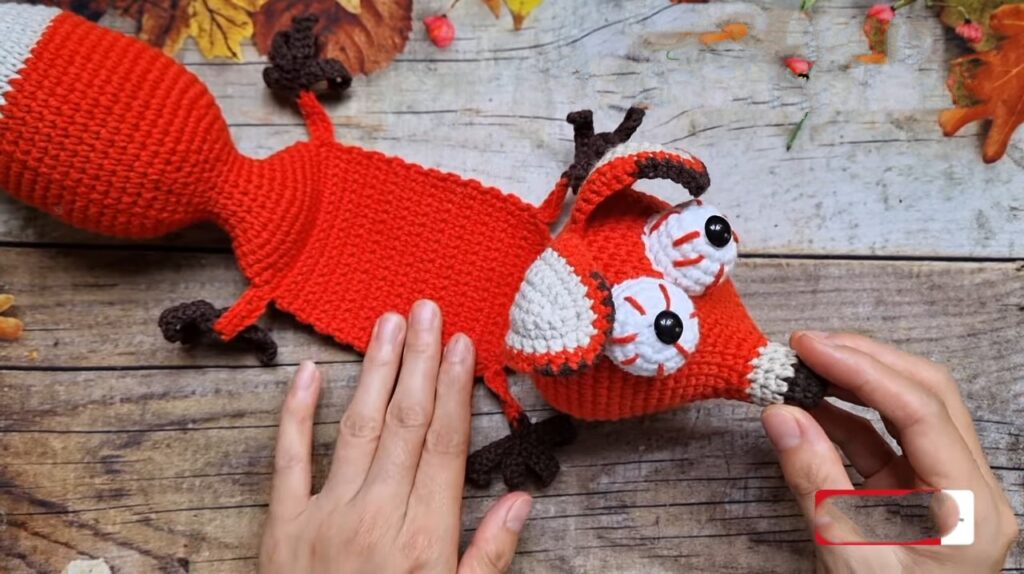
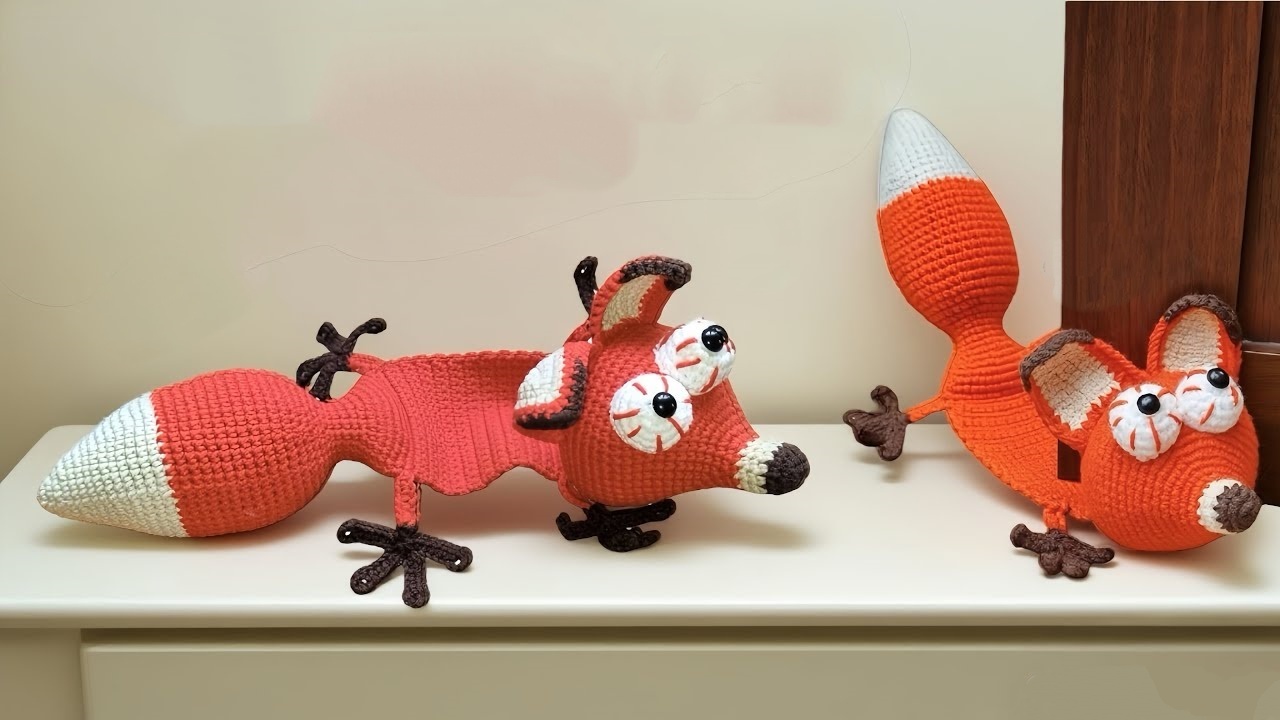
This project shows how to make a cute crochet fox door stopper that can hold a door open or just sit as a fun decoration. The fox is soft and has a friendly look with its head, ears, and body worked in yarn. It’s bigger than a small toy and looks nice in a room, making it both useful and cute. This kind of crochet item is fun to make and looks great in your home.
Crochet Fox Amigurumi Door Stopper

About The Creator:
Bi do Handmade has been an expert in crocheting and designing crochet amigurumi, bag charms, and pouches. Also visit her YouTube channel for more exciting projects.
Crochet Fox Door Stopper Pattern
Abbreviations
-
MR: Magic Ring
-
ch: Chain
-
sc: Single Crochet
-
inc: Increase (2 sc in one stitch)
-
dec: Decrease (sc2tog)
-
sl st: Slip Stitch
-
st(s): Stitch(es)
-
(…) x N: Repeat instructions in parentheses N times
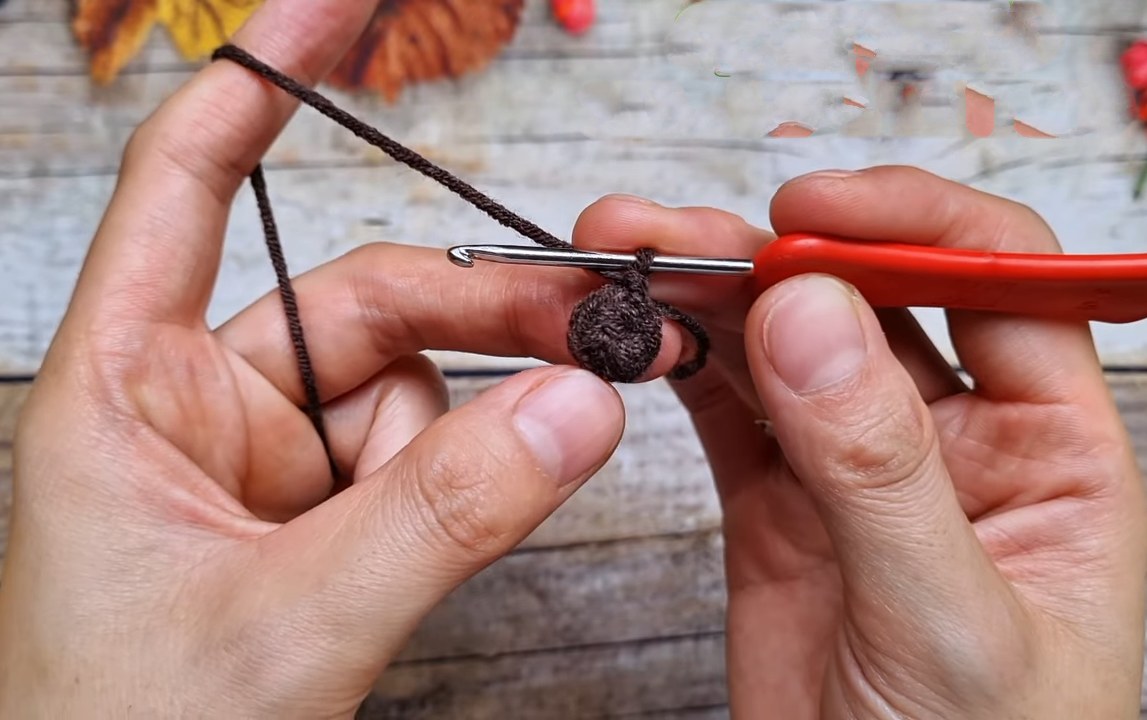
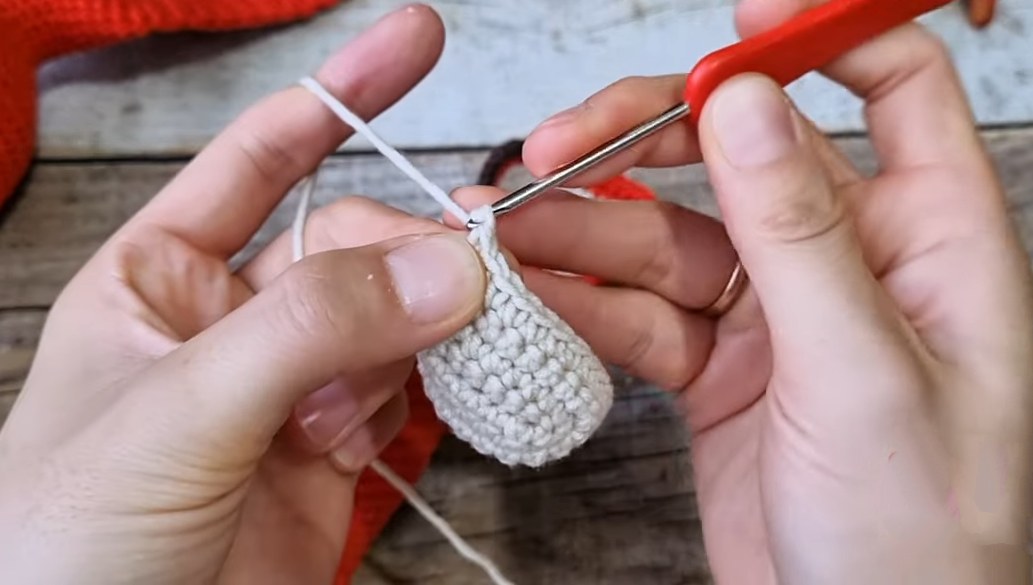
1. Head (Snout & Face)
Start with Black or Dark Brown (Nose tip).
-
R1: 6 sc in MR (6)
-
R2: 6 inc (12)
-
R3: 12 sc (12)
-
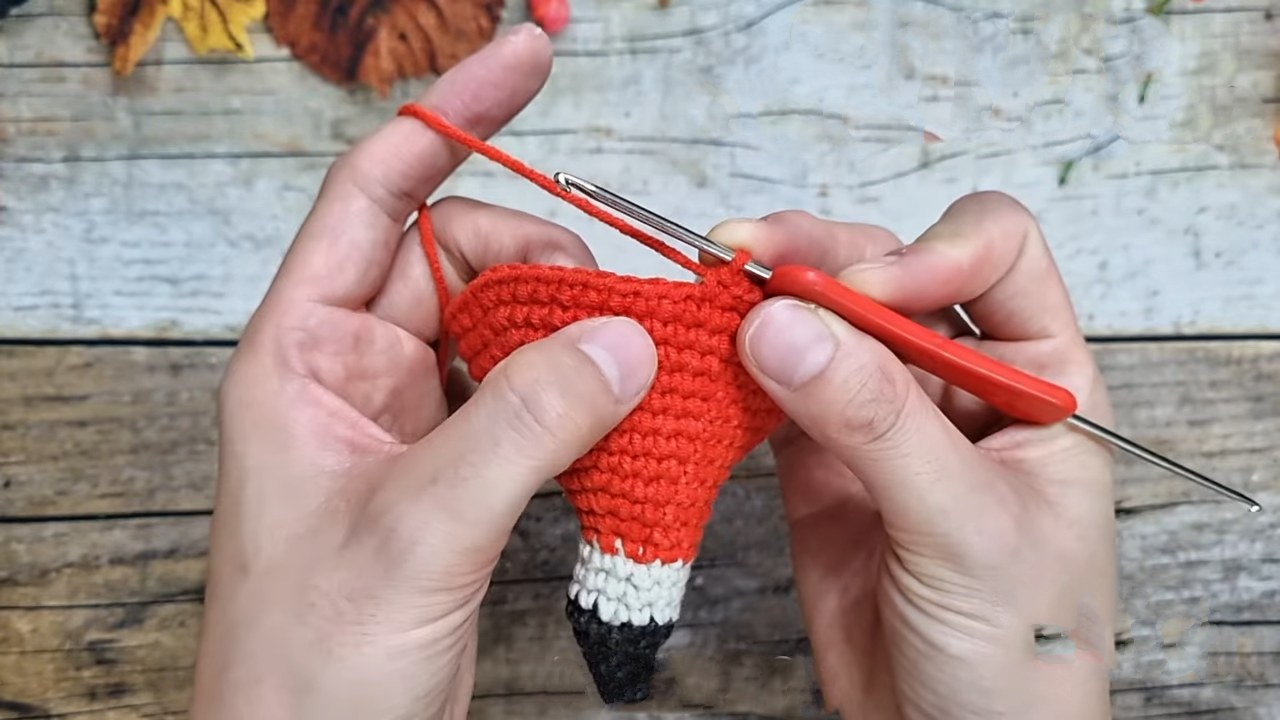
Change to White
-
R4–R6: 12 sc (12)
-
Change to Orange
-
R7: 12 sc (12)
-
R8: (1 sc, inc) x 4, 4 sc (16)
-
R9: (2 sc, inc) x 4, 4 sc (20)
-
R10: (3 sc, inc) x 4, 4 sc (24)
-
R11: (4 sc, inc) x 4, 4 sc (28)
-
R12: (5 sc, inc) x 4, 4 sc (32)
-
R13: (6 sc, inc) x 4, 4 sc (36)
-
R14: (7 sc, inc) x 4, 4 sc (40)
-
R15: (8 sc, inc) x 4, 4 sc (44)
-
R16: (9 sc, inc) x 4, 4 sc (48)
-
R17: (10 sc, inc) x 4, 4 sc (52)
-
R18: (11 sc, inc) x 4, 4 sc (56)
-
R19–R26: 56 sc (56)
-
R27: (2 sc, dec) x 14 (42)
-
R28: 42 sc (42)
-
R29: (1 sc, dec) x 14 (28)
-
R30: 28 sc (28)
-
R31: (dec) x 14 (14)
-
R32: 14 sc (14)
-
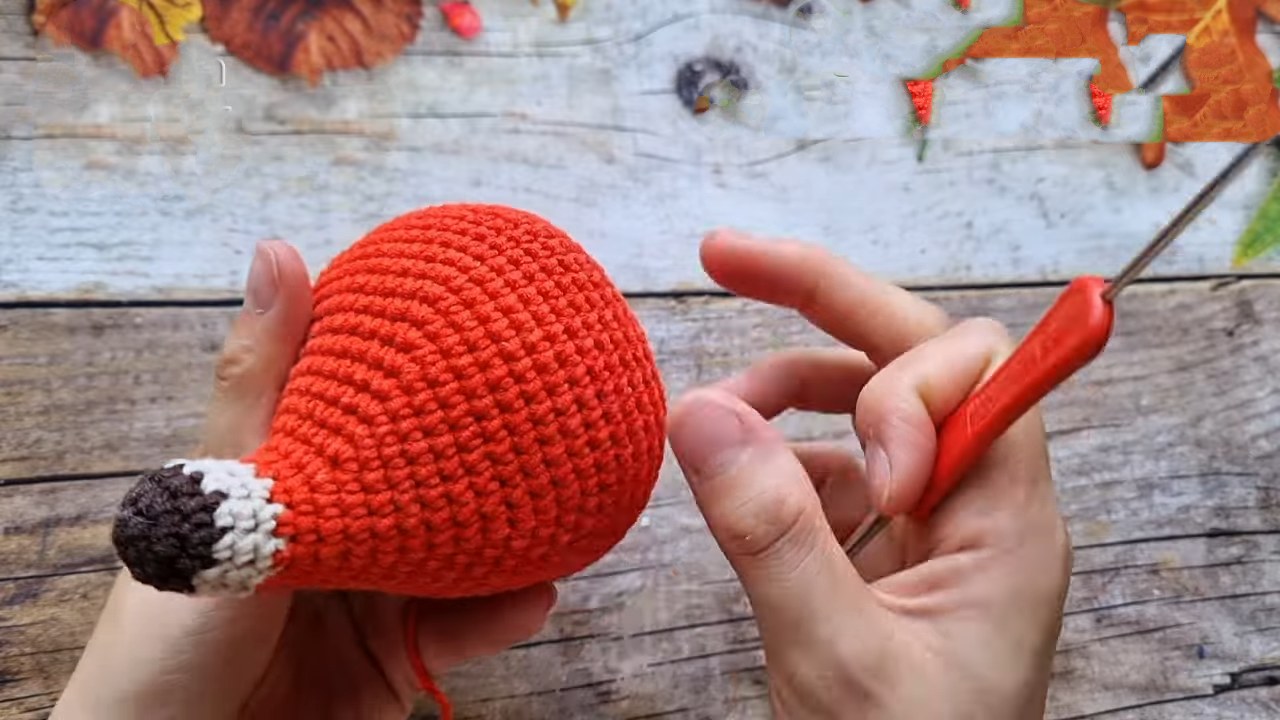
Stuff firmly.
-
R33: 7 dec (7)
-
Fasten off and sew closed.
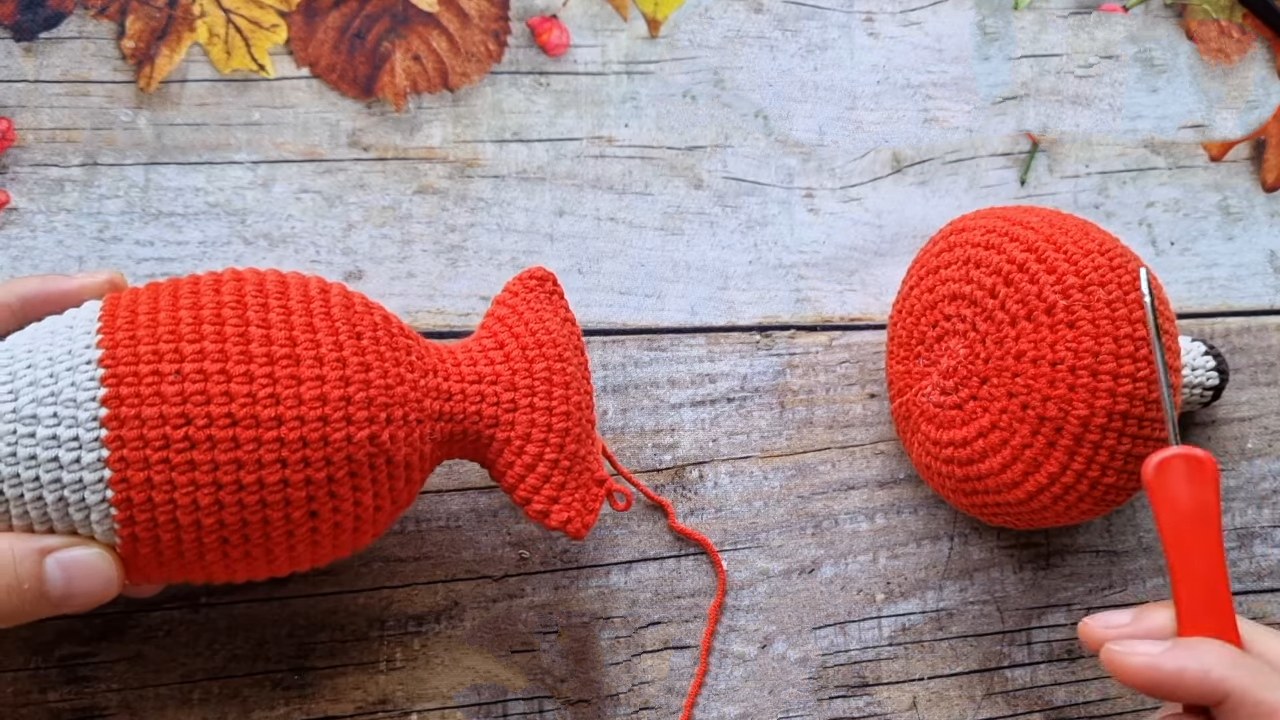
2. Body (Tail & Flat Stopper)
Start with White (Tail Tip).
-
R1: 6 sc in MR (6)
-
R2: (1 sc, inc) x 3 (9)
-
R3: (2 sc, inc) x 3 (12)
-
R4–R15: Continue increasing 3 sts per round (e.g., R4 is 3 sc, inc; R5 is 4 sc, inc) until you reach (14 sc, inc) x 3. (48 sts at end of R15).
-
Change to Orange
-
R16–R27: 48 sc (48)
-
R28: (6 sc, dec) x 6 (42)
-
R29: (5 sc, dec) x 6 (36)
-
R30: (4 sc, dec) x 6 (30)
-
R31: (3 sc, dec) x 6 (24)
-
R32: (2 sc, dec) x 6 (18)
-
R33–R37: 18 sc (18)
-
Start increasing for Body/Butt
-
R38: (2 sc, inc) x 6 (24)
-
R39: (3 sc, inc) x 6 (30)
-
R40: (4 sc, inc) x 6 (36)
-
R41–R43: 36 sc (36)
-
Stuff the tail section firmly. Do not fasten off.
-
R44 (Transition to Flat): Flatten the opening. Working through both layers to close the tube: 18 sc across.
-
Body Strap (Flat Rows):
-
Row 1–20 (approx): Ch 1, turn, 18 sc. (Work until strap is long enough for your door).
-
-
Neck Taper:
-
Row 21: Ch 1, turn, skip 1st st, sc across, skip 2nd to last st, sc in last st (decrease at start and end).
-
Row 22+: Repeat Row 21 (decreasing 2 sts per row) until width is approx 8 sts.
-
-
Fasten off, leaving a long tail. Sew the tapered end to the underside of the Head.

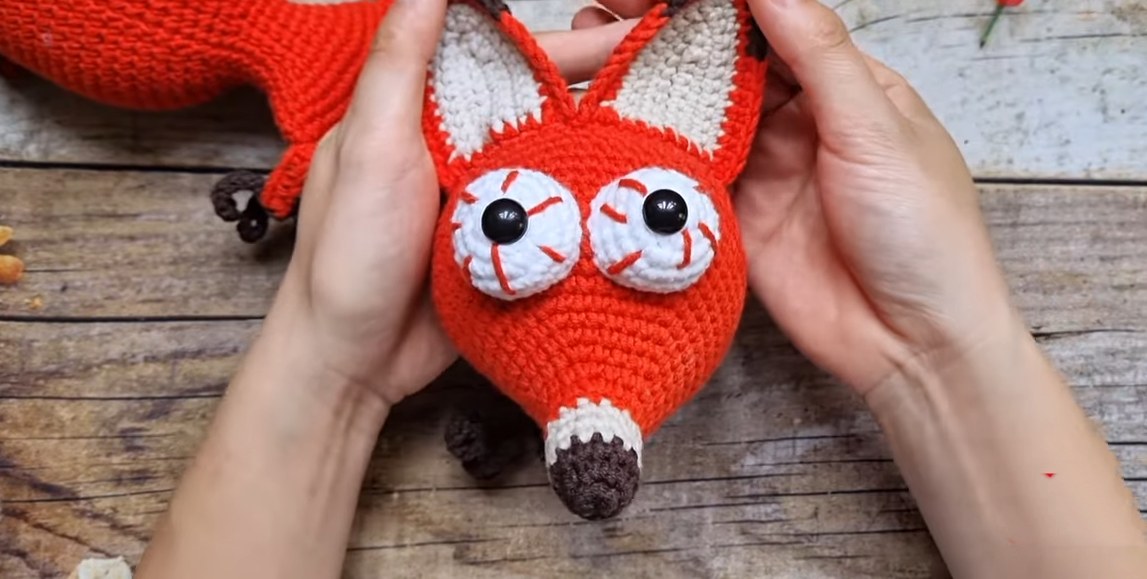
3. Eyes (Make 2)
Using White.
-
R1: 6 sc in MR (6)
-
R2: 6 inc (12)
-
R3: (1 sc, inc) x 6 (18)
-
R4–R6: 18 sc (18)
-
Fasten off. Attach safety eyes or embroider pupils. Sew onto Head.
4. Ears (Make 2)
Start with White (Inner Ear).
-
Row 1: Ch 8. Sc in 2nd ch from hook, sc 5, 3 sc in last ch. Working down other side: sc 6.
-
Row 2: Ch 1, turn. Sc in each st to the center peak (middle of 3-sc group), 3 sc in peak st, sc down the other side.
-
Row 3–4: Repeat Row 2.
-
Edging:
-
Change to Orange. Sc around the entire edge.
-
At the top tip, change to Black for 3 sts to create the ear tip.
-
Sew ears to the head.
-
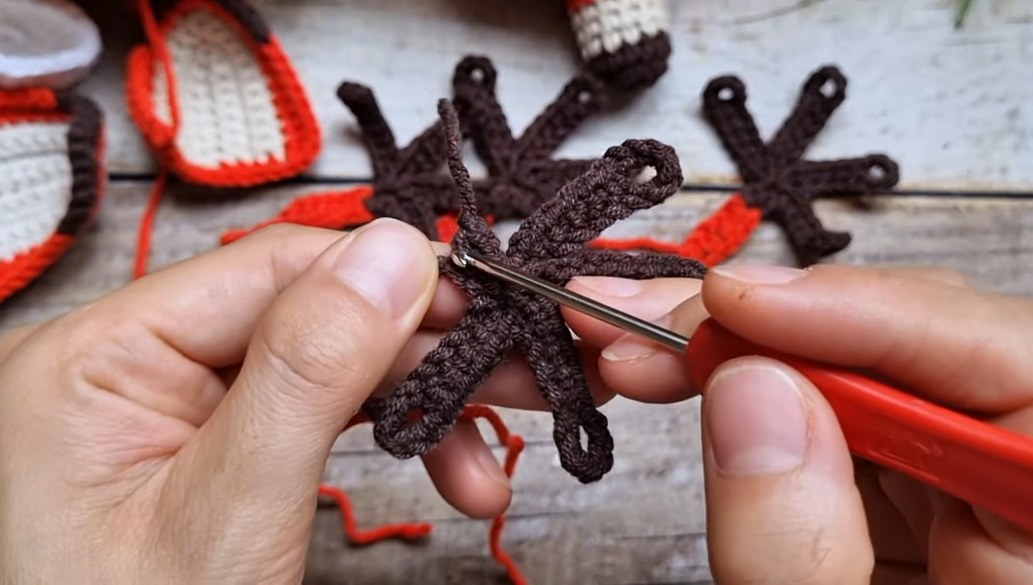
5. Legs & Paws (Make 4)
Paws (Black):
-
Ch 14. Skip 6 ch (creates a loop), sc in 7th ch. Sc in next 4 chs. (Leave last 3 ch unworked). First Toe made.
-
Ch 11. Skip 6 ch, sc in next 5 ch. Second Toe made.
-
Ch 11. Skip 6 ch, sc in next 5 ch. Third Toe made.
-
Ch 11. Skip 6 ch, sc in next 5 ch. Fourth Toe made.
-
Join Toes: Insert hook into the base of the last sc of the 1st, 2nd, and 3rd toes. Sl st through all loops to join.
-
Working into the 3 unworked chs from the very beginning: 1 sc in next 2 ch, sl st in last. Fasten off Black.
Legs (Orange):
-
Attach Orange yarn to the base of the black paw.
-
Ch 7.
-
Skip 1 ch, 6 sc back down the chain.
-
Sl st to base. Fasten off leaving a long tail.
Assembly:
-
Sew 2 legs near the head (Front legs).
-
Sew 2 legs near the tail (Back legs).
-
Add stuffing to the body section if desired (or keep flat to slide under door).
1. Head (Snout & Face)
Start with Black or Dark Brown.
-
R1: 6 dc in MR (6)
-
R2: 6 inc (12)
-
R3: 12 dc (12)
-
Change to White
-
R4–R6: 12 dc (12)
-
Change to Orange
-
R7: 12 dc (12)
-
R8: (1 dc, inc) x 4, 4 dc (16)
-
R9: (2 dc, inc) x 4, 4 dc (20)
-
R10: (3 dc, inc) x 4, 4 dc (24)
-
R11: (4 dc, inc) x 4, 4 dc (28)
-
R12: (5 dc, inc) x 4, 4 dc (32)
-
R13: (6 dc, inc) x 4, 4 dc (36)
-
R14: (7 dc, inc) x 4, 4 dc (40)
-
R15: (8 dc, inc) x 4, 4 dc (44)
-
R16: (9 dc, inc) x 4, 4 dc (48)
-
R17: (10 dc, inc) x 4, 4 dc (52)
-
R18: (11 dc, inc) x 4, 4 dc (56)
-
R19–R26: 56 dc (56)
-
R27: (2 dc, dec) x 14 (42)
-
R28: 42 dc (42)
-
R29: (1 dc, dec) x 14 (28)
-
R30: 28 dc (28)
-
R31: (dec) x 14 (14)
-
R32: 14 dc (14)
-
Stuff firmly.
-
R33: 7 dec (7)
-
Fasten off and sew closed.
2. Body (Tail & Flat Stopper)
Start with White.
-
R1: 6 dc in MR (6)
-
R2: (1 dc, inc) x 3 (9)
-
R3: (2 dc, inc) x 3 (12)
-
R4–R15: Increase 3 sts per round until (14 dc, inc) x 3 (48).
-
Change to Orange
-
R16–R27: 48 dc (48)
-
R28: (6 dc, dec) x 6 (42)
-
R29: (5 dc, dec) x 6 (36)
-
R30: (4 dc, dec) x 6 (30)
-
R31: (3 dc, dec) x 6 (24)
-
R32: (2 dc, dec) x 6 (18)
-
R33–R37: 18 dc (18)
-
Start increasing for Body section
-
R38: (2 dc, inc) x 6 (24)
-
R39: (3 dc, inc) x 6 (30)
-
R40: (4 dc, inc) x 6 (36)
-
R41–R43: 36 dc (36)
-
Stuff tail section. Do not fasten off.
-
R44 (Join): Flatten opening. Work through both layers: 18 dc across.
-
Body Strap (Flat Rows):
-
Row 1–20: Ch 1, turn, 18 dc.
-
-
Neck Taper:
-
Row 21: Ch 1, turn, skip 1st st, dc across, skip 2nd to last st, dc in last st.
-
Row 22+: Repeat Row 21 until width is approx 8 sts.
-
-
Fasten off. Sew tapered end to underside of Head.
3. Eyes (Make 2)
Using White.
-
R1: 6 dc in MR (6)
-
R2: 6 inc (12)
-
R3: (1 dc, inc) x 6 (18)
-
R4–R6: 18 dc (18)
-
Fasten off. Sew to Head.
4. Ears (Make 2)
Start with White.
-
Row 1: Ch 8. Dc in 2nd ch from hook, dc 5, 3 dc in last ch. Work down other side of ch: dc 6.
-
Row 2: Ch 1, turn. Dc in each st to center peak, 3 dc in peak st, dc down other side.
-
Row 3–4: Repeat Row 2.
-
Edging: Change to Orange. Dc around entire edge. Use Black for the 3 peak stitches at the top tip.
5. Legs & Paws (Make 4)
Paws (Black):
-
Ch 14. Skip 6 ch (loop), dc in 7th ch. Dc in next 4 chs.
-
(Ch 11, skip 6 ch, dc in next 5 ch) x 3. (4 toes total).
-
Join: Insert hook into base of last dc of each toe. Ss through all loops to join.
-
Dc in next 2 remaining chs from start, ss in last. Fasten off Black.
Legs (Orange):
-
Attach Orange to paw base.
-
Ch 7.
-
Skip 1 ch, 6 dc back down ch.
-
Ss to base. Leave tail for sewing.
Video Tutorial:
Pattern In UK Terms
1. Head (Snout & Face)
Start with Black or Dark Brown.
-
R1: 6 dc in MR (6)
-
R2: 6 inc (12)
-
R3: 12 dc (12)
-
Change to White
-
R4–R6: 12 dc (12)
-
Change to Orange
-
R7: 12 dc (12)
-
R8: (1 dc, inc) x 4, 4 dc (16)
-
R9: (2 dc, inc) x 4, 4 dc (20)
-
R10: (3 dc, inc) x 4, 4 dc (24)
-
R11: (4 dc, inc) x 4, 4 dc (28)
-
R12: (5 dc, inc) x 4, 4 dc (32)
-
R13: (6 dc, inc) x 4, 4 dc (36)
-
R14: (7 dc, inc) x 4, 4 dc (40)
-
R15: (8 dc, inc) x 4, 4 dc (44)
-
R16: (9 dc, inc) x 4, 4 dc (48)
-
R17: (10 dc, inc) x 4, 4 dc (52)
-
R18: (11 dc, inc) x 4, 4 dc (56)
-
R19–R26: 56 dc (56)
-
R27: (2 dc, dec) x 14 (42)
-
R28: 42 dc (42)
-
R29: (1 dc, dec) x 14 (28)
-
R30: 28 dc (28)
-
R31: (dec) x 14 (14)
-
R32: 14 dc (14)
-
Stuff firmly.
-
R33: 7 dec (7)
-
Fasten off and sew closed.
2. Body (Tail & Flat Stopper)
Start with White.
-
R1: 6 dc in MR (6)
-
R2: (1 dc, inc) x 3 (9)
-
R3: (2 dc, inc) x 3 (12)
-
R4–R15: Increase 3 sts per round until (14 dc, inc) x 3 (48).
-
Change to Orange
-
R16–R27: 48 dc (48)
-
R28: (6 dc, dec) x 6 (42)
-
R29: (5 dc, dec) x 6 (36)
-
R30: (4 dc, dec) x 6 (30)
-
R31: (3 dc, dec) x 6 (24)
-
R32: (2 dc, dec) x 6 (18)
-
R33–R37: 18 dc (18)
-
Start increasing for Body section
-
R38: (2 dc, inc) x 6 (24)
-
R39: (3 dc, inc) x 6 (30)
-
R40: (4 dc, inc) x 6 (36)
-
R41–R43: 36 dc (36)
-
Stuff tail section. Do not fasten off.
-
R44 (Join): Flatten opening. Work through both layers: 18 dc across.
-
Body Strap (Flat Rows):
-
Row 1–20: Ch 1, turn, 18 dc.
-
-
Neck Taper:
-
Row 21: Ch 1, turn, skip 1st st, dc across, skip 2nd to last st, dc in last st.
-
Row 22+: Repeat Row 21 until width is approx 8 sts.
-
-
Fasten off. Sew tapered end to underside of Head.
3. Eyes (Make 2)
Using White.
-
R1: 6 dc in MR (6)
-
R2: 6 inc (12)
-
R3: (1 dc, inc) x 6 (18)
-
R4–R6: 18 dc (18)
-
Fasten off. Sew to Head.
4. Ears (Make 2)
Start with White.
-
Row 1: Ch 8. Dc in 2nd ch from hook, dc 5, 3 dc in last ch. Work down other side of ch: dc 6.
-
Row 2: Ch 1, turn. Dc in each st to center peak, 3 dc in peak st, dc down other side.
-
Row 3–4: Repeat Row 2.
-
Edging: Change to Orange. Dc around entire edge. Use Black for the 3 peak stitches at the top tip.
5. Legs & Paws (Make 4)
Paws (Black):
-
Ch 14. Skip 6 ch (loop), dc in 7th ch. Dc in next 4 chs.
-
(Ch 11, skip 6 ch, dc in next 5 ch) x 3. (4 toes total).
-
Join: Insert hook into base of last dc of each toe. Ss through all loops to join.
-
Dc in next 2 remaining chs from start, ss in last. Fasten off Black.
Legs (Orange):
-
Attach Orange to paw base.
-
Ch 7.
-
Skip 1 ch, 6 dc back down ch.
-
Ss to base. Leave tail for sewing.