How To Crochet Mini Mushroom Bag Charms – Toadstool Amigurumi
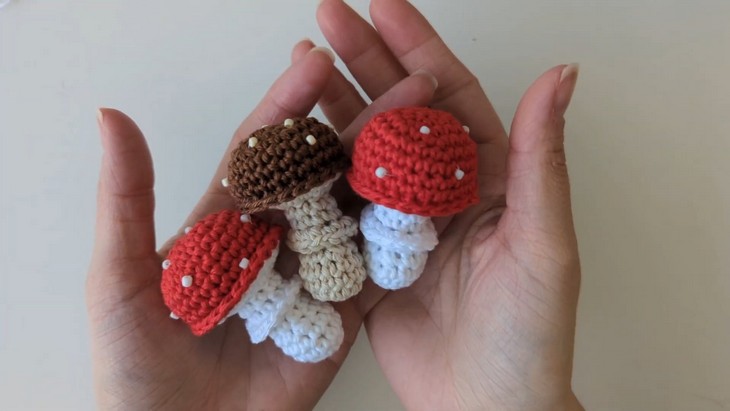
Looking for the fastest way to crochet an oh-so-cute toadstool mushroom? Check out the stitch-by-stitch tutorial on crocheting mini mushroom amigurumi & keychain in three colors, including red, yellow, and brown, and with lovely little beads as spots. The project is so promising, even for beginners, and perfect for learning the so-called layered amigurumi technique.
These mushrooms, therefore, need a bit of sewing, but that won’t affect their quick construction. You can crochet one within 30 minutes thanks to the tutorial from Crochet With Greta. So, if you are interested in crocheting this toadstool for yourself as a keychain, continue reading this post till the end.
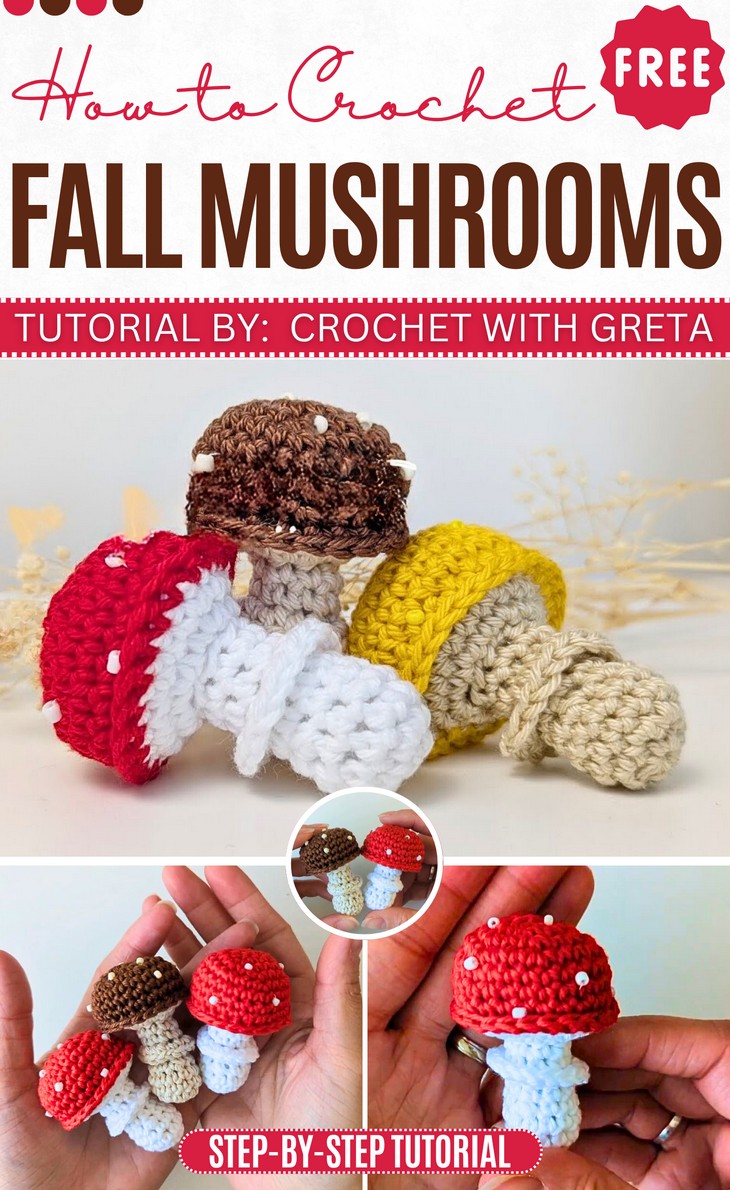
About the Designer: The designer of this fall mushroom amigurumi is @crochetwithgreta – I explored not long ago but she made me love her always clean and professional amigurumi. She never hesitates to try a unique theme so you will find everything from apple keychain to ice-cream amigurumi and lovely mini animal bag charms. All of the crochet projects in her library are worth checking and I highly recommend that!
Note: In respect for the creator’s pattern rights, there will be no provision of the written pattern. You can watch the tutorial with on-screen written instructions at the end of this post.
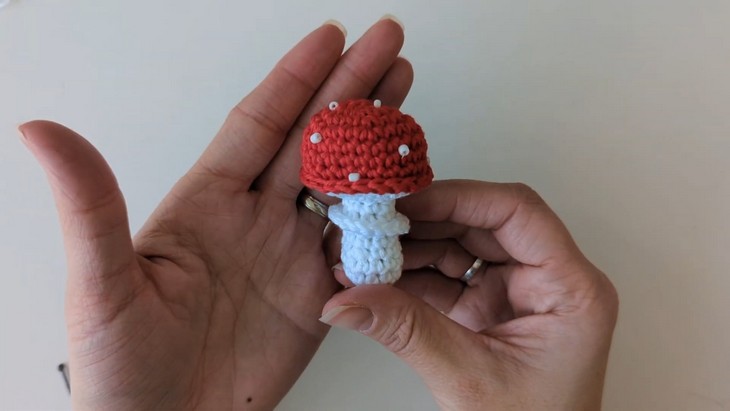
Crochet Miniature Mushroom Amigurumi
Skill Level: Beginner. A magic ring to begin the first rounds of both the mushroom cap and the stem. Single crochet is used extensively throughout the project, with increases and decreases being used to shape the pieces. A slip stitch is used to finish rounds and join parts, while a specific Back Loop Only (BLO) single crochet technique is used to create a defined ring on the stem, which seems to be the ribbing.
Tutorial Timing: Approximately 30 Minutes Only (perfect for learning working with the small pieces and joining them seamlessly as the tutorial does. It also provides a chance to work with the beads.)

Personalization Tips: You have the freedom to choose from beige and white stems, and also use the embroidery white spots instead of adding the beads. Working with tiny beads may be difficult. You can also use the plush yarn for crocheting these mushroom amigurumi.
Pattern Type: An on-screen written pattern is available if you find written instructions easy to follow along with.
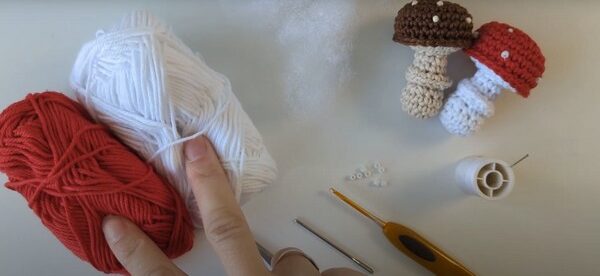
Materials and Tools
Gather the following crochet supplies that the tutor suggested for crocheting this mushroom bag charm for beginners:
- 100% cotton yarn ( red, white or beige) – Milk cotton yarn would be a great choice
- Yarn needle
- 2.5mm hook
- Toy stuffing
- Scissors
- Stitch Marker
- Thread
- Needle
- White Beads
Techniques Used in the Crochet Mushroom Tutorial
Learn the following crochet techniques and stitches for crocheting this mini mushroom:
- Magic Ring: Create a loop, crochet into the center, and tighten to form a foundation ring.
- Single Crochet (sc): Insert the hook into the stitch, yarn over, pull through, yarn over again, and pull through both loops.
- Increase: Work two stitches into the same stitch to expand the piece.
- Back Loop Only (BLO): Crochet into the back loop of a stitch only, leaving the front loop unworked.
- Slip Stitch (sl st): Insert the hook into the stitch, yarn over, and pull through both the stitch and the loop on your hook.
- Sewing Components Together: Use a yarn needle to attach the mushroom’s stem and cap securely.
- Adding Beads or Embroidered Spots: Decorate the mushroom cap by sewing on beads or creating small embroidered spots with yarn.
How is it done?
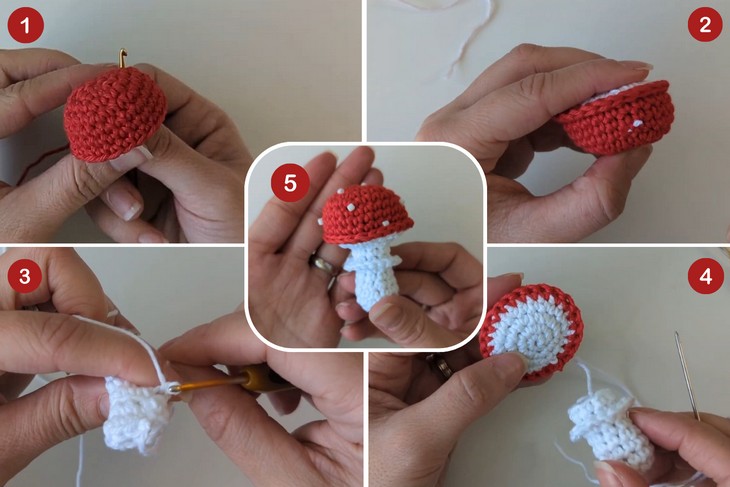
The mushroom consists of two main parts: the red cap and the white stem. The process starts with creating a magic ring and working rounds of single crochet, incorporating increases for shaping. The cap and stem are crocheted separately, then joined together with single crochet.
Toy stuffing is added before closing the pieces. Additional details, like spots on the mushroom cap, are added using beads or yarn. This quick and beginner-friendly project allows for creative color variations!