
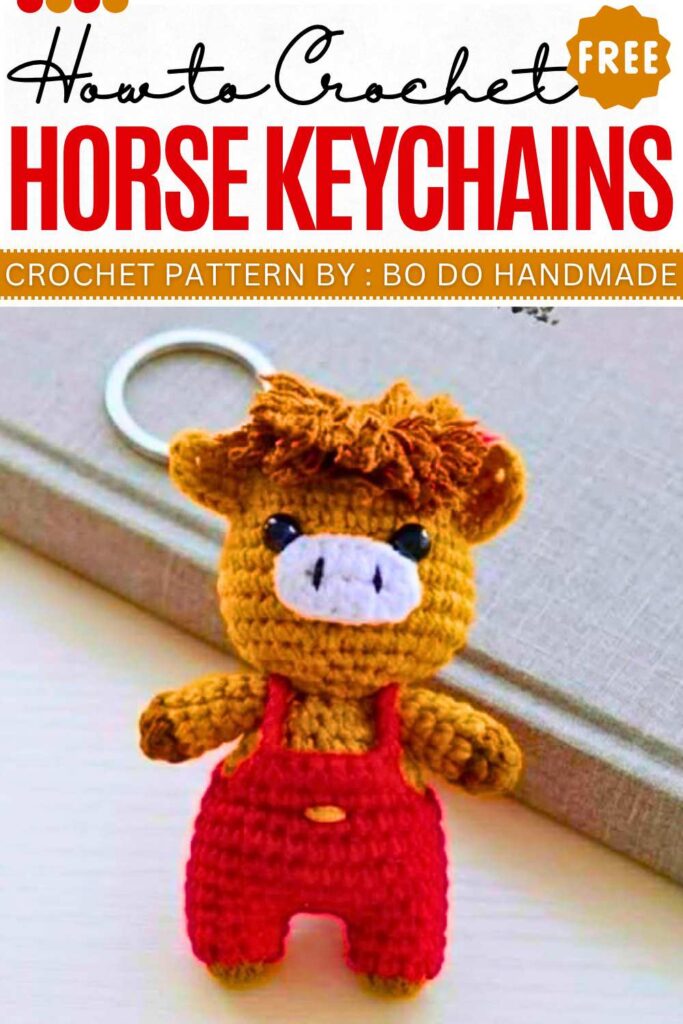
Crochet Horse Amigurumi Keychain Pattern Free
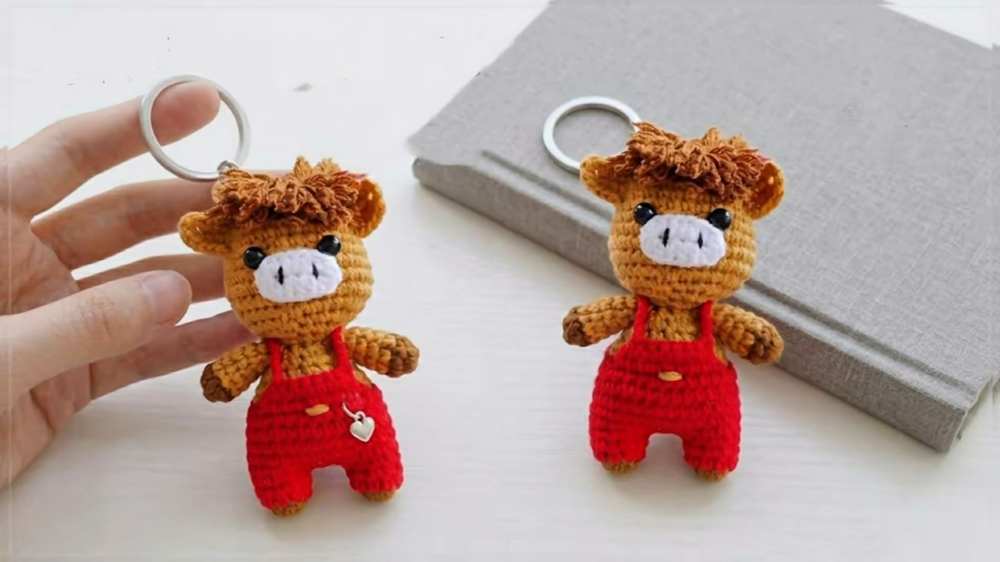
This Pattern teaches you how to make a cute crochet horse wearing overalls. Its about 12 cm tall small stuffed animal that you can use as a key ring or as a nice decoration for your room. This project is fun to make because you can pick any colors you like for the horse’s body and its tiny clothes.
Crochet Horse Amigurumi Keychain
Bi Do Handmade has been an expert in crocheting and designing crochet hats, bag charms, and pouches. Also, visit her YouTube channel for more exciting projects.
Crochet Amigurumi Sheep Keychain Patternhttps://mycraftybasket.com/amigurumi-sheep-keychain/
Crochet Amigurumi Turtle Keychain Pattern Free
https://mycraftybasket.com/amigurumi-turtle-keychain/
Materials
- Yarn: Brown (Main), Red (Apron), Black (Details)
- Crochet Hook
- Fiberfill
- Tapestry needle
- Scissors
- Hot glue
- Keychain ring
Abbreviations (US Terms)
- MR: Magic Ring
- ch: chain
- sc: single crochet
- inc: increase
- dec: decrease
- sl st: slip stitch
- hdc: half double crochet
- BLO: Back Loop Only
- FLO: Front Loop Only
Pattern Instructions
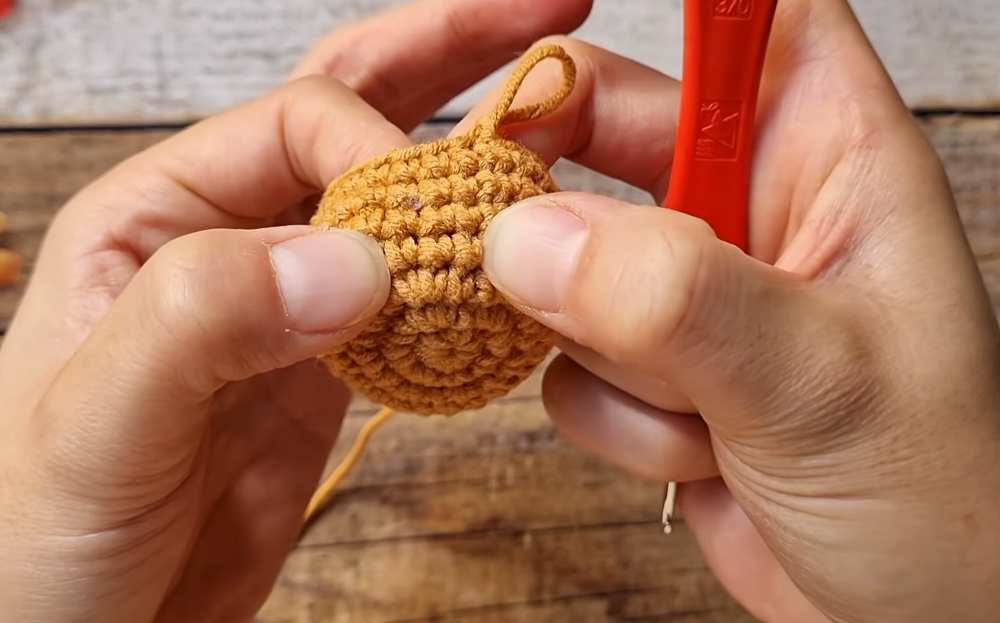
Head
- R1: MR, 8 sc (8)
- R2: 8 inc (16)
- R3: (1 sc, 1 inc) * 8 (24)
- R4: (3 sc, 1 inc) * 6 (30)
- R5-7: 30 sc (30)
- R8: (4 sc, 1 inc) * 6 (36)
- R9-11: 36 sc (36)
- R12: (4 sc, 1 dec) * 6 (30)
- R13: (3 sc, 1 dec) * 6 (24)
- R14: (2 sc, 1 dec) * 6 (18)
- R15: (1 sc, 1 dec) * 6 (12)
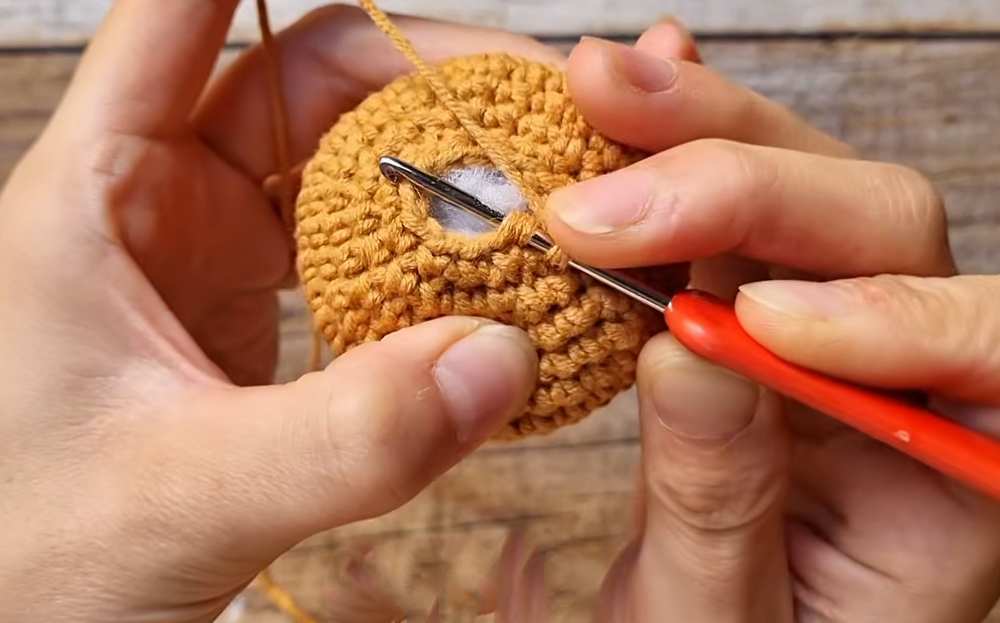
- Stuff head.
- R16: 6 dec (6)
- Fasten off.
Legs & Body
-
Leg 1 & 2:
- R1: MR, 10 sc (Brown)
- R2-3: 10 sc (Red)
- Leg 1: Fasten off.
- Leg 2: Do not fasten off.
- Join Legs: ch 3, sl st to Leg 1.
-
Body:
- R4: 10 sc (Leg 1), 1 sc in ch, 3 sc in next ch, 1 sc in ch, 10 sc (Leg 2), 1 sc in ch, 3 sc in next ch, 1 sc in ch (30)
- R5-9: 30 sc (30)
- R10: (Change to Brown) BLO (3 sc, 1 dec) * 6 (24)
- R11: 24 sc (24)
- R12: (2 sc, 1 dec) * 6 (18)
- R13: 18 sc (18)
- R14: (1 sc, 1 dec) * 6 (12)
- Fasten off.

Apron (Worked on Body R10 FLO)
- R1: sl st, 8 sc, ch 1, turn.
- R2: skip 1, 7 sc.
- ch 20 (strap), wrap around neck, sl st to opposite side.
Arms (x2)
- R1: MR, 8 sc (8)
- R2-7: 8 sc (8)

Ears (x2)
- ch 5, skip 1.
- 3 hdc, (2 sc, ch 1, 2 sc) in last ch.
- Opposite side: 3 hdc.
Muzzle
- ch 5, skip 1.
- inc hdc, 3 hdc, 4 hdc in last ch.
- Opposite side: 3 hdc, inc hdc.
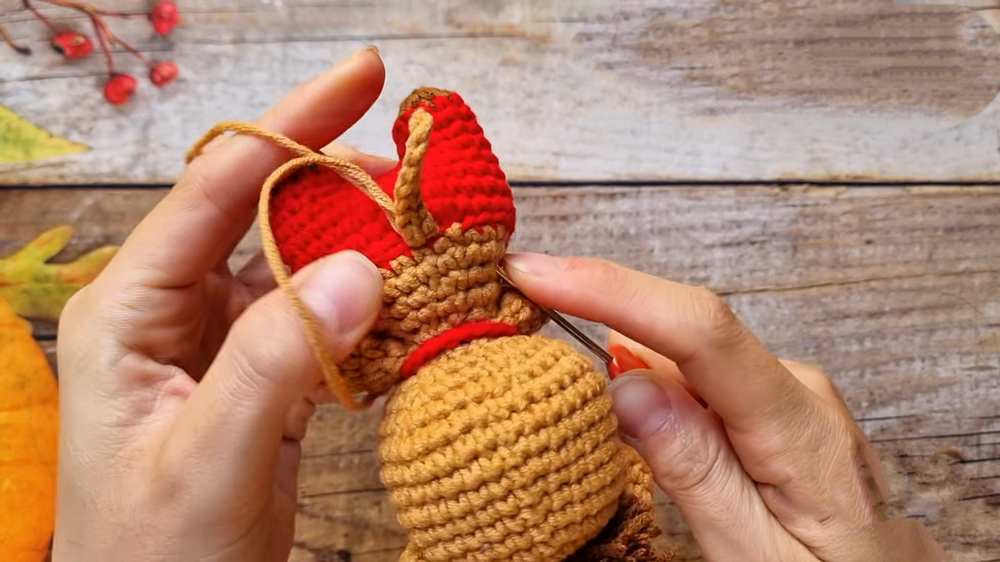
Assembly Details
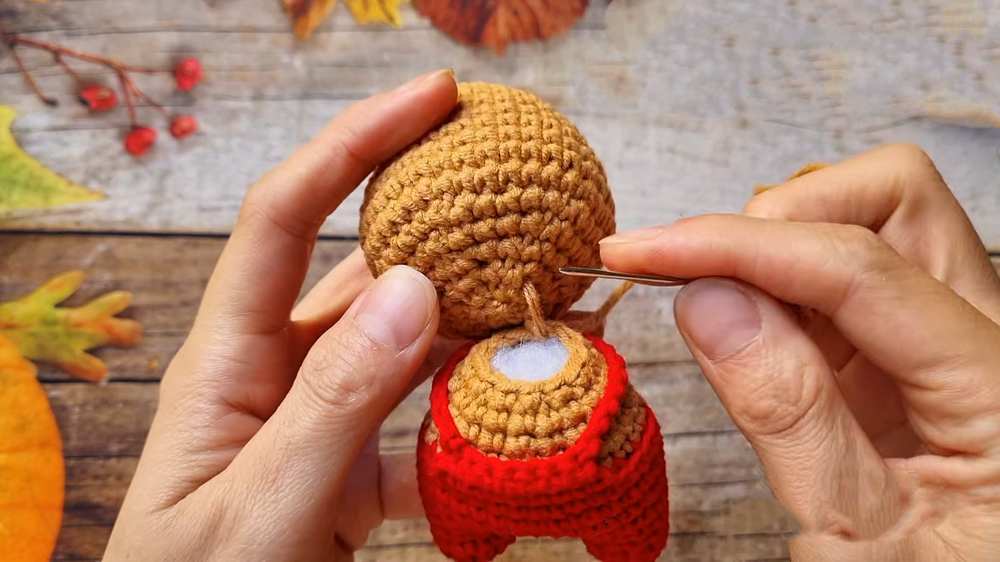
- Head to Body Join: Align the 12 stitches of the body neck with the bottom of the head. Sew the body to the head between R15 and R16 of the head pattern. Ensure the color change/seam faces the back. Pull yarn tight every 2-3 stitches to secure the neck.
- Arm Placement: Stuff the lower part of the arms lightly. Flatten the top opening. Sew the arms to the sides of the body, directly below the head-body junction.
- Ear Attachment: Position the ears on the top of the head between R2 and R3. Sew them vertically so the “right side” of the crochet faces forward. Pull the yarn tight to make the ears stand upright.
- Muzzle & Face: Embroider two small black vertical lines for nostrils onto the muzzle. Center the muzzle on the face between R8 and R11 and sew or glue it down. Place safety eyes or sew black beads just above the corners of the muzzle.
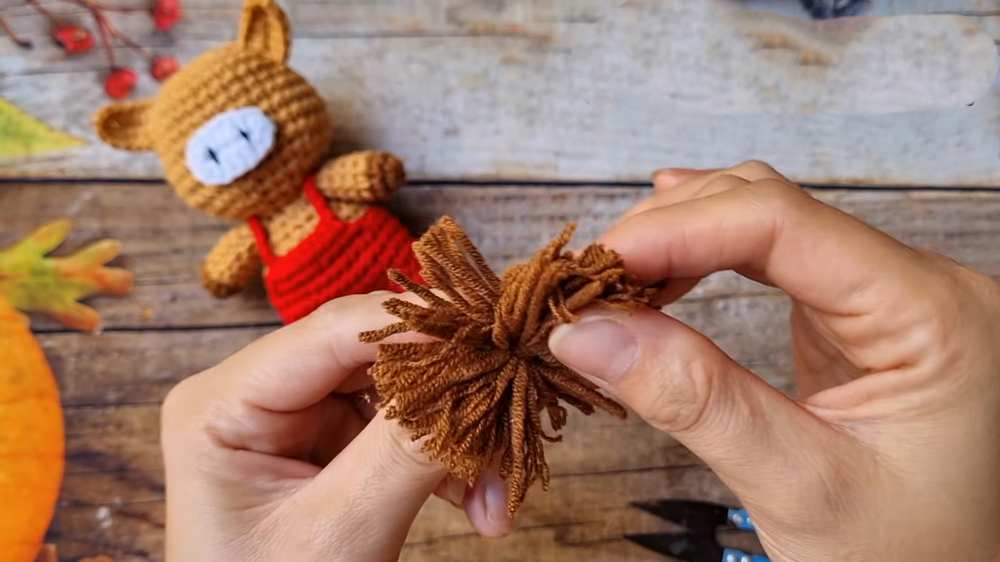
- Horse Mane: Cut several 4cm strands of brown yarn. Group them and tie a strand around the center. Use hot glue or a needle to attach this bundle from the top of the head down toward the neck. Use a needle or comb to fray the yarn ends for a fluffy texture.
- Tail Assembly: Attach the tail (ch 7 piece) to the center back of the body at R5. Cut 4-5 strands of yarn (approx. 6cm). Fold them in half, pull the loop through the end of the tail chain, and pull the ends through the loop to create a tassel. Trim the tassel to the desired length and fray the fibers.
- Final Details: Attach the keychain ring to the top of the head, hiding the attachment point under the mane. Hide all remaining yarn tails inside the body.
Video Pattern:
Pattern Instructions (UK Terms)
Head
- R1: MR, 8 dc (8)
- R2: 8 inc (16)
- R3: (1 dc, 1 inc) * 8 (24)
- R4: (3 dc, 1 inc) * 6 (30)
- R5-7: 30 dc (30)
- R8: (4 dc, 1 inc) * 6 (36)
- R9-11: 36 dc (36)
- R12: (4 dc, 1 dec) * 6 (30)
- R13: (3 dc, 1 dec) * 6 (24)
- R14: (2 dc, 1 dec) * 6 (18)
- R15: (1 dc, 1 dec) * 6 (12)
- Stuff head.
- R16: 6 dec (6)
- Fasten off.
Legs & Body
-
Leg 1 & 2:
- R1: MR, 10 dc (Brown)
- R2-3: 10 dc (Red)
- Leg 1: Fasten off.
- Leg 2: Do not fasten off.
- Join Legs: ch 3, sl st to Leg 1.
-
Body:
- R4: 10 dc (Leg 1), 1 dc in ch, 3 dc in next ch, 1 dc in ch, 10 dc (Leg 2), 1 dc in ch, 3 dc in next ch, 1 dc in ch (30)
- R5-9: 30 dc (30)
- R10: (Change to Brown) BLO (3 dc, 1 dec) * 6 (24)
- R11: 24 dc (24)
- R12: (2 dc, 1 dec) * 6 (18)
- R13: 18 dc (18)
- R14: (1 dc, 1 dec) * 6 (12)
- Fasten off.
Apron (Worked on Body R10 FLO)
- R1: sl st, 8 dc, ch 1, turn.
- R2: skip 1, 7 dc.
- ch 20 (strap), wrap around neck, sl st to opposite side.
Arms (x2)
- R1: MR, 8 dc (8)
- R2-7: 8 dc (8)
Ears (x2)
- ch 5, skip 1.
- 3 htr, (2 dc, ch 1, 2 dc) in last ch.
- Opposite side: 3 htr.
Muzzle
- ch 5, skip 1.
- inc htr, 3 htr, 4 htr in last ch.
- Opposite side: 3 htr, inc htr.