





How to Crochet A Crossbody Large Granny Square Bag for Everyday Use
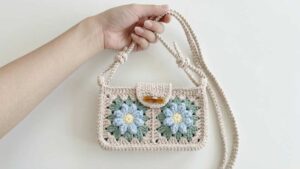
I am back with another crochet “back-to-school bags” tutorial. Today, learn how to crochet square-shaped crossbody bag made out two large daisy flower granny squares finished with the solid sides, a beautiful triangle flap with a decorative button and a removeable I-cord handle for crossbody wear. You can also conside it a part of blossom bags as it is crocheted with the hollow cotton yarn and using the same colors. These are the aqua, pink, white and yellow.
In the tutorial, first you will learn how to crochet a daisy granny square in detail including the solid edging around it. So, if you are just looking for a NEW granny square variation, be sure to follow this tutorial. You can also crochet a small starfish charm for your bag. Continue reading for learning more about this crochet bag project.
Tutorial to Crochet A Crossbody Granny Square Bag
Learn how to crochet an adorable Daisy Mini Crossbody Bag. You start by crocheting a bright daisy flower inside a cozy granny square motif, using simple color changes to bring the flower to life.
Once two floral squares are completed, you attach side panels to form a sturdy bag body with room for small essentials. A matching flap with a loop closes securely over a button at the front.
Finished with a comfortable crossbody strap and an optional starfish charm, this mini bag makes a charming, stylish, and practical handmade accessory for everyday use.
Abbreviations Used
MR: Magic Ring (Starting loop for working in the round)
ch: Chain stitch
sl st: Slip stitch
sc: Single crochet
hdc: Half double crochet
dc: Double crochet
tr / tc: Treble crochet (Double triple/treble crochet)
inc: Increase (2 stitches worked into the same stitch)
3-tr cluster: 3 Treble Crochet cluster worked together (used to form the daisy petals)
Skill Level
Easy-Intermediate / Advanced Beginner
Materials Used in Detail
Yarn:
Yellow Yarn: For the center circle of the daisy flower.
White Yarn: For the outer petals of the daisy flower.
Main Color Yarn (e.g., Sage / Mint Green): For the granny square body, side panels, strap, and top flap.
Crochet Hook: 3.0 mm – 4.0 mm crochet hook (sized appropriately for the yarn thickness).
Tapestry / Yarn Needle: For weaving in loose ends and sewing the flap, button, and bag panels together.
Stitch Markers: Used to mark starting stitches, corner placements, and side seam alignments.
Scissors: For cutting yarn during color changes and finishing.
Button
Decorative Charm (Optional)
Skills Used
Magic Ring Foundation
Yarn Color Transitioning
Cluster / Puff Stitches
Granny Square Shaping
Back-Loop & Third-Loop Stitching
Seaming & Assembly:
Learn Crocheting the Bag
Written Pattern?
Use “Ask” feature as it is designer compliant!
You may also like
How to Crochet Retro Flap Crossbody Bag for Everyday
How to Crochet Strawberry Crossbody Pouch with A Flap Tutorial
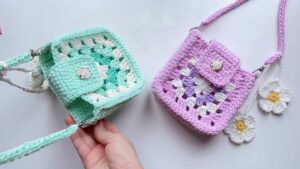
Crochet A Granny Square Crossbody Pouch for Everyday Use
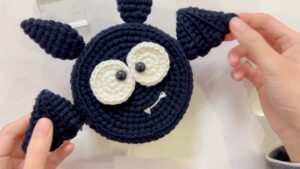
Crochet Bat Trick-or-Treating Pouch for Halloween Pattern (Crossbody Bag )
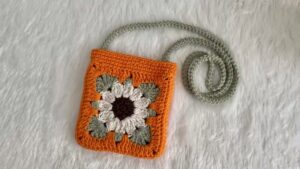
How to Crochet Granny Square Flower Crossbody Bag for Autumn
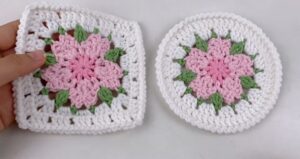
How to Crochet Cherry Blossom Granny Square & Coaster
How to Crochet A PERFECT Pumpkin Granny Square for Fall
Crochet Granny Square Handbag Pattern To Make
How to Crochet Fiyonk Bow With Granny Square + Coaster for Fall
How To Crochet Santa Pouch from Granny Squares for Christmas