
How to Crochet Halloween Pumpkin Keychain (Fall & Halloween Gifting)
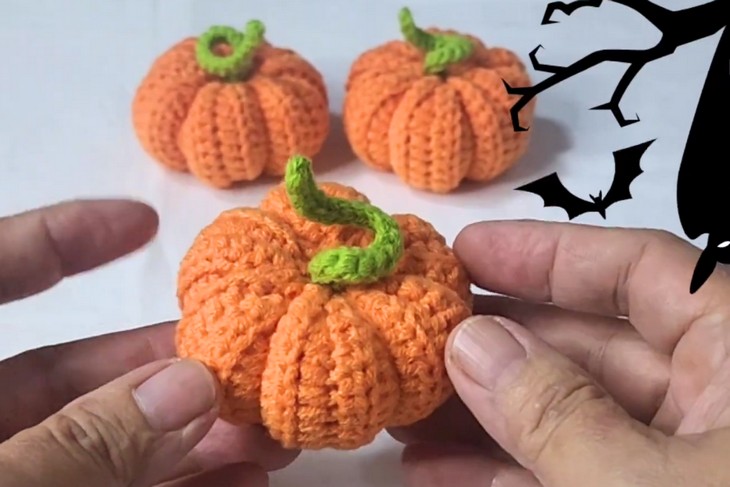
If your Halloween decor is going to be large, mini pumpkins are here to save you. Here is a stitch-by-stitch tutorial to crochet realistic pumpkin keychains with a little curly vine or stem that can be completed within 15 minutes. This pumpkin amigurumi features the same pumpkin ribs and ridges that will certainly improve your skills. This crochet pumpkin can be your bag charms and a part of your Thanksgiving centerpiece.
So, if you are interested in crocheting this pumpkin for Halloween and fall, continue reading this post till the end. It is worth crocheting!

About the Designer: The designer of this pumpkin amigurumi project is @JaneHandmade – she has tons of crochet Labubu and other doll accessories and crochet clothings. But for fall, she did not hesitate to crochet the pumpkin and Halloween projects. You will love her lovelist collection of her crochet accessories and outifts.
In respect for the creator’s pattern rights, there will be no provision of the written pattern. You can watch the tutorial with on-screen written instructions at the end of this post.

Crochet Mini Pumpkin Amigurumi Tutorial
Skill Level: Intermediate. This 3D pumpkin amigurumi needs the flat work by working in the back-and-forth rows with the ribbed stitch; therefore, sewing is a must. The tutorial uses basic crochet stitches (single crochet, chain stitch, half-double crochet, that will be easy even for beginners.)
Tutorial Timing: Approximately 9 minutes. (perfect for learning how to crochet an amigurumi from a rectangle with the ribbed texture. It is a pretty useful skill that will be helpful even for crocheting socks.
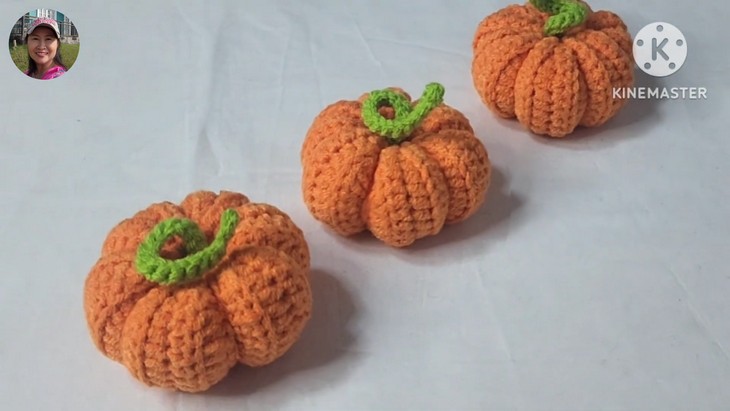
Personalization Tips: There are many to choose from: orange pumpkin amigurumi, brown pumpkin amigurumi, yellow pumpkin, and more. You can also use the bulky yarn for crocheting this pumpkin amigurumi. You can also crochet the leaf appliqué for crocheting it.
Pattern Type: The on-screen written pattern is available if you find written instructions easy to follow along with. Also, the tutorial is slow-paced.
Supplies Used
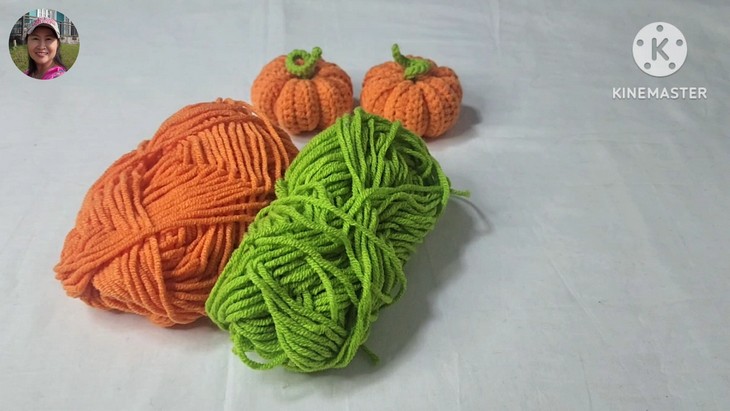
Gather the following crochet supplies for crocheting this amigurumi pumpkin by yourself:
- Cotton yarn 4ply – green and orange
- 2.5mm hook 4/0
- Sewing Needle
- Fiberfill Stuffing
Techniques Used
The following are the crochet techniques that the tutor will use for crocheting this amigurumi pumpkin keychain:
- Ch (Chain): Yarn over (YO), pull through loop on hook (repeat for the desired number of chains).
- Sc (Single Crochet): Insert hook into stitch, YO, pull through, YO, pull through both loops on hook.
- Hdc (Half Double Crochet): YO, insert hook into stitch, YO, pull through, YO, pull through all 3 loops.
- Dc (Double Crochet): YO, insert hook into stitch, YO, pull through, YO, pull through 2 loops, YO, pull through remaining 2 loops.
- Tr (Treble Stitch): YO twice, insert hook into stitch, YO, pull through, (YO, pull through 2 loops) repeat this step 3 times.
- Fpdc (Front Post Double Crochet): YO, insert hook around the post of the stitch (from front to back), YO, pull through, YO, pull through 2 loops twice.
- Sl St (Slip Stitch): Insert hook into stitch, YO, pull through both the stitch and the loop on the hook.
How is it done?
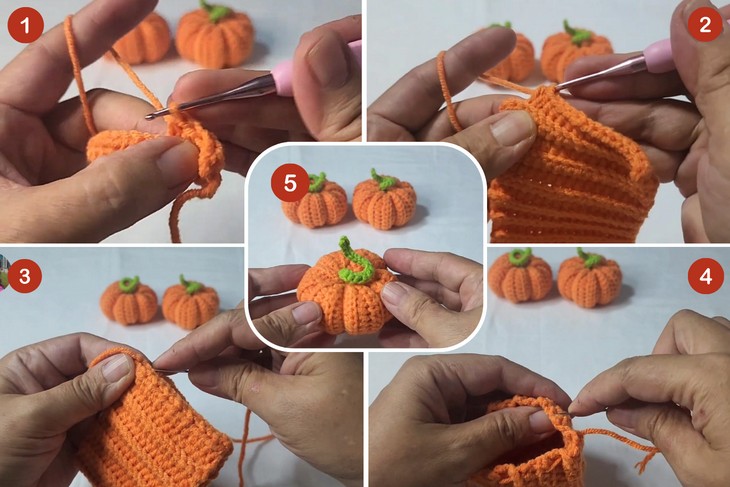
The tutorial begins with a slip knot to start working the flat base. You’ll use half double crochet stitches for quicker progress. Ribbed stitches are added to create the ridged texture.
Once the flat piece is done, sew the ends together using slip stitches. Wrap the yarn around the piece and stuff it to form the pumpkin shape. Finally, crochet and attach the stem.
Complete Video Guide
I loved it! Was so easy but I didn’t do the stem you did. Used a different pattern for that. But it was adorable! I made three of them! 🙂