5 Free Crochet Elegant Shirt Patterns for Summer
These are the crochet shirt patterns you need this summer, including the unisex, cropped, mesh, full-sleeve, and many more shirts. I have also included the buttoned front and flapped front shirts that will keep you comfy throughout the summer. There are many lovely textures to choose from, such as filet, shell stitch, and lacy hexagon, and also a solid stitch top.
Crochet Elegant Shirt Patterns
This time, the sizes will range up to oversized, too. Choose pink, beige, yellow, and green & many lovely colors for these crochet tops. Also included is a sleeveless top you won’t want to miss. So, let’s get started!
Crochet top tutorials shared already:
01 of 05 Crochet Unisex Shirt Tutorial
This stylish, oversized crochet shirt is perfect for anyone looking for a cozy and trendy handmade addition to their wardrobe. It has a fun repeating pattern of solid stitches and airy “V” stitches. All this makes it a great project for beginners who want to practice basic techniques while creating something wearable.
Creating the Panels
Foundation: Chain a length in multiples of 3, plus 1.
Main Pattern: Alternate between 1 row of solid double crochets and 3 rows of “V” stitches (double crochet, chain 1, double crochet in one stitch).
Quantity: Make one large panel for the back and two smaller, identical panels for the front.
Assembly and Final Touches
Joining: Sew the shoulders together with a needle and single crochet the sides, leaving openings for the arms.
Collar & Sleeves: Crochet the collar directly onto the neckline and add a few rows of double crochet around the armholes for sleeves.
Buttons: Sew large buttons to the front; they will fasten directly through the existing gaps in the crochet stitches.
Video Tutorial
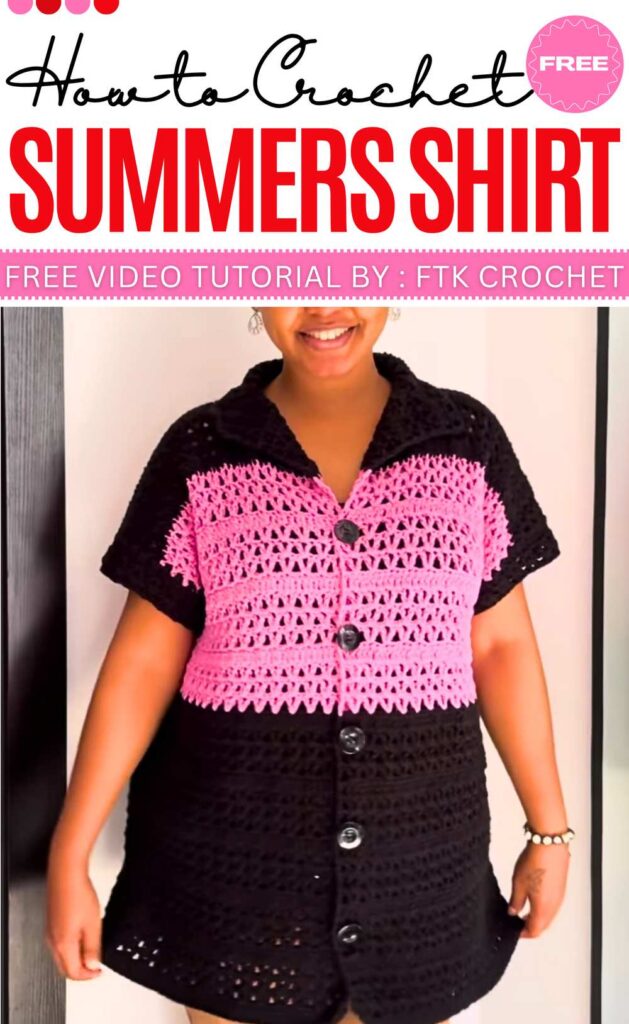
02 of 05 Crochet Cropped Top Shirt Tutorial
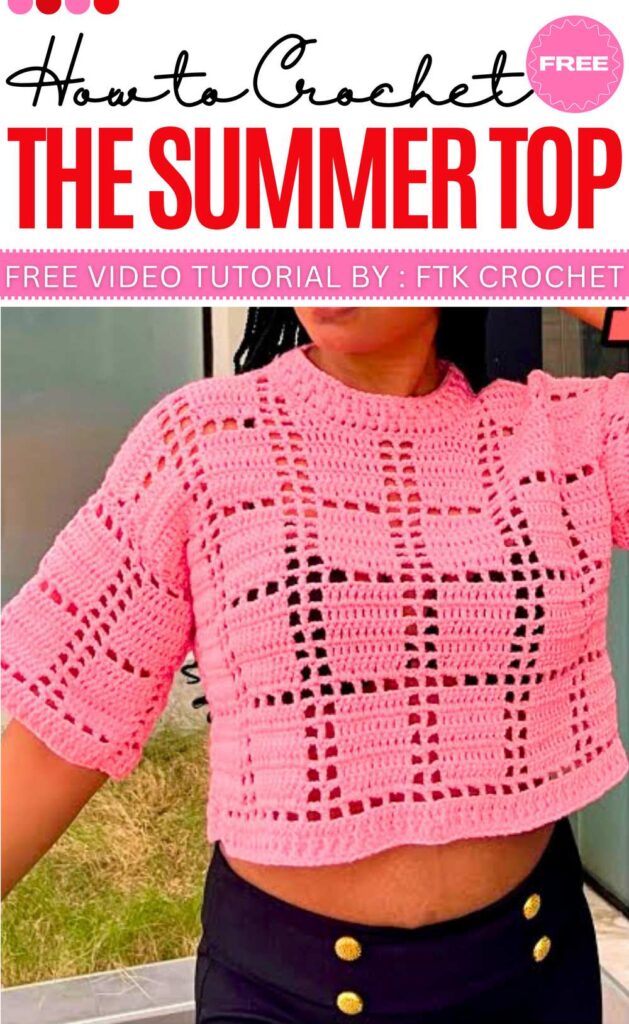
This trendy, color-blocked crochet crop top features a fun mix of solid blocks and mesh detailing. It’s a versatile piece that uses a “multiples of 10 and 5” chain rule to ensure the pattern aligns perfectly, making it easy to customize for any size.
Making the Body
Chain: Make a foundation chain in multiples of 10 and 5, plus 3 extra.
The Look: Alternate between solid “blocks” (10 double crochets) and “mesh” (open grid spaces).
Panels: Make one solid rectangle for the back. For the front, leave a gap in the center of the top row and decrease the stitches to make a curved neck.
Putting it Together
Seams: Sew the shoulders and sides together with a needle, leaving big holes for your arms.
Neck & Edges: Crochet a ribbed border around the neck using front and back post stitches.
Sleeves: Crochet two small rectangular panels, sew them into tubes, and attach them to the armholes.
Finish: Add a textured border (Alpine stitch) to the bottom waist and sleeve ends to keep them neat.
Video Tutorial
03 of 05 Crochet Olivia Top Shirt Tutorial
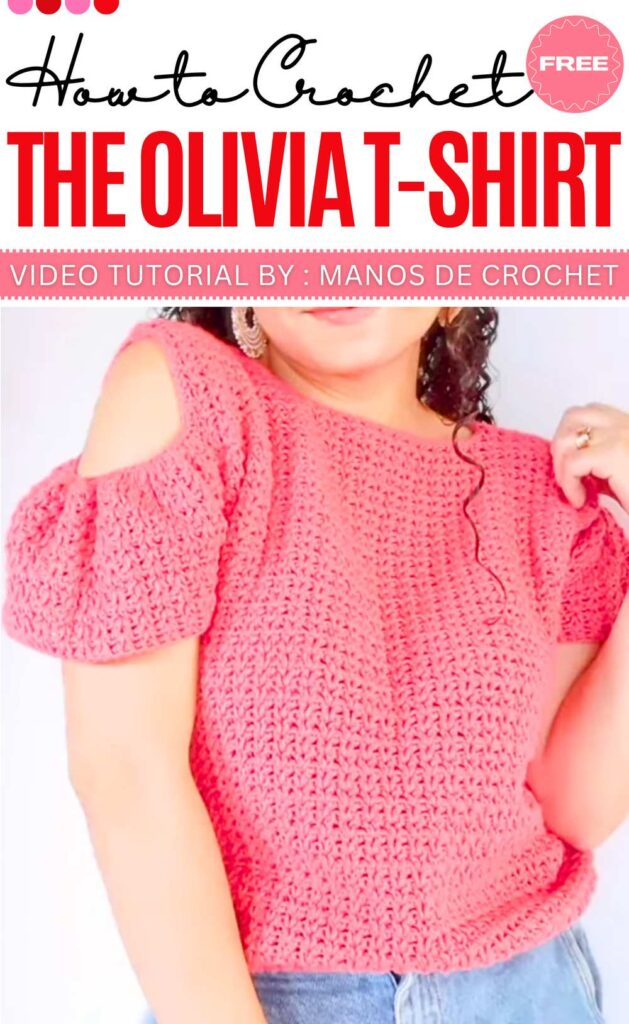
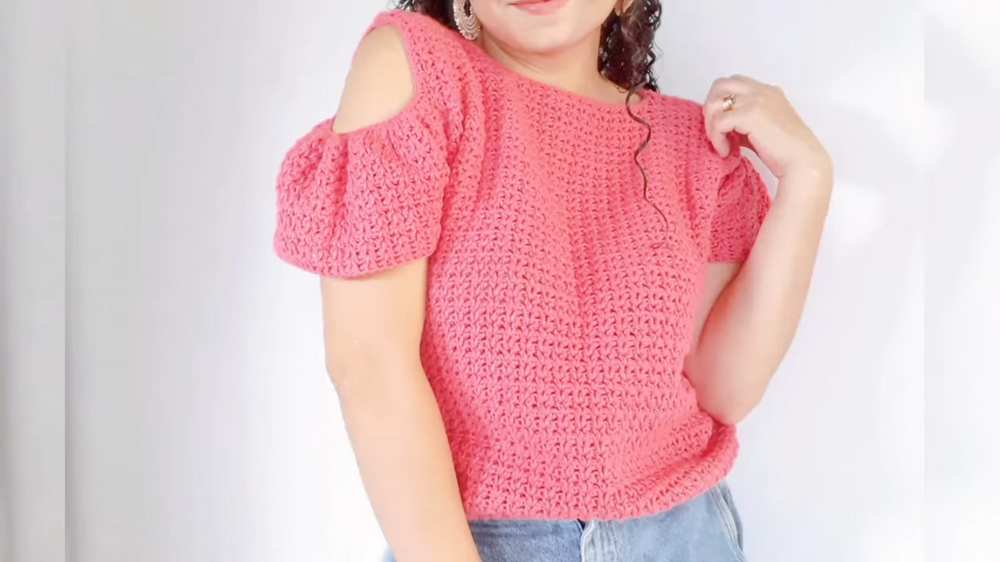
The Olivia Top is a stylish “cami-sweater” that can be worn as a cold-shoulder top or a standard sweater. It features a decorative V-stitch texture and a stretchy ribbed waistband.
Making the Body
Base: Chain an even number. Work a few rows of front/back post ribbing for a stretchy waistband.
Pattern: Work the “V-stitch” (2 double crochets in one spot, skip a stitch) for 32 rows.
Shape: Decrease at the sides for armholes. Split the top into two shoulder straps. Make the back straps two rows longer than the front.
2. Assembly & Sleeves
Join: Flip inside out and sew or slip-stitch the shoulders and sides together.
Sleeves: Chain 30 across the armhole to make a loop. Crochet 12 circular rows of V-stitches.
Style: Leave the top of the sleeve unattached for a cold-shoulder look, or sew it to the shoulder strap for a full sleeve.
Video Tutorial
04 of 05 Crochet Striped Shell Top Tutorial
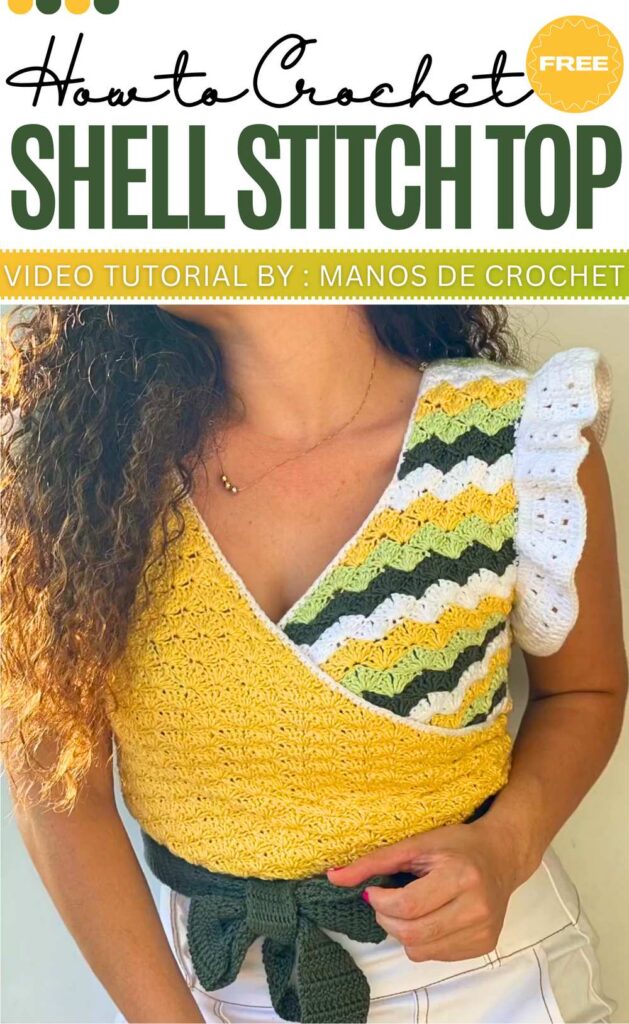
This Caribbean-style wrap top has a beautiful shell (fan) stitch, flared sleeves, and a long waist tie that can be styled in multiple ways.
Making the Body
Foundation: Chain a multiple of 8, plus 2.
Stitch: Work shell stitches (3 double crochets, chain 1, 3 double crochets) into single crochet spaces.
Front: Crochet 17 rows straight, then decrease on one side for 14 rows to create the wrap shape. Add 9 rows for the shoulder. Make two.
Back: Match the front for 17 rows, then split the work and decrease toward the center to create a “V” shape.
2. Sleeves & Ties
Join: Sew shoulders and sides, leaving a 22 cm armhole.
Sleeves: Work 2 double crochets in every stitch for Row 2 to create a ruffly, flared look. Finish with a mesh pattern for 5 rows.
Sash: Attach yarn to the bottom corners. Crochet long double-crochet ties (about 90 cm), tapering the ends into points.
Video Tutorial
05 of 05 Crochet Hexagon Tutorial
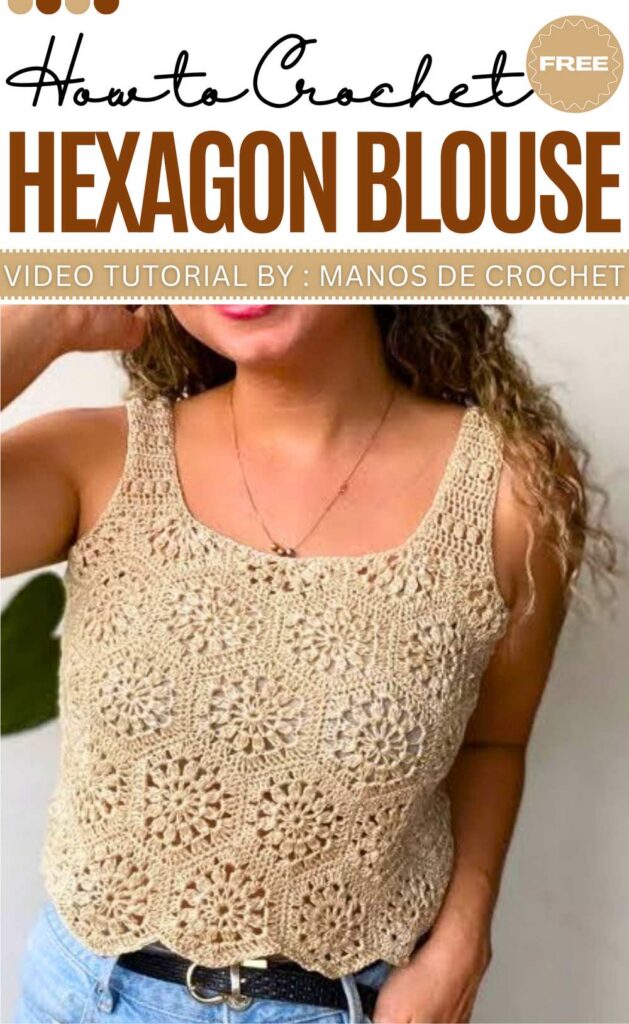
The Blusa Primavera (Spring Blouse) is a beautiful, airy garment constructed from individual crochet hexagons. It features a unique mix of full hexagons, half-hexagons for a flat neckline, and decorative straps.
. Prep & Layout
Pieces: Make 48 full hexagons and 12 half-hexagons.
Setup: Arrange the full hexagons into 4 rows (12 per row). Put the 12 half-hexagons on the very top row to create a flat neckline.
2. Assembly
Sewing: Flip hexagons right-sides together. Use a needle to sew through the back loops.
Tube: Sew all rows together first, then sew the ends of the rows to turn the sheet into a circular tube.
3. The Straps
Start: Attach yarn to the top row and work 15 stitches across.
Shape: Decrease the stitches at the edges until you have 9 stitches wide.
Pattern: Alternate 3 rows of double crochet with 1 row of textured “popcorn” stitches.
Finish: Crochet until the strap is 29 cm long, then sew it to the back.
4. Final Touches
Edges: Crochet a single-crochet border around the neck, armholes, and bottom hem.
Clean Up: Weave in all loose yarn ends.
Video Tutorial
You may also like
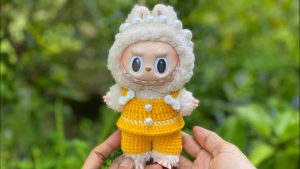
How to Crochet Labubu Girl Outfit (Classy & Elegant)
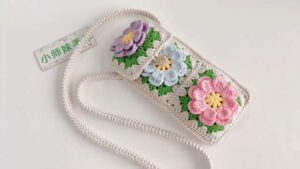
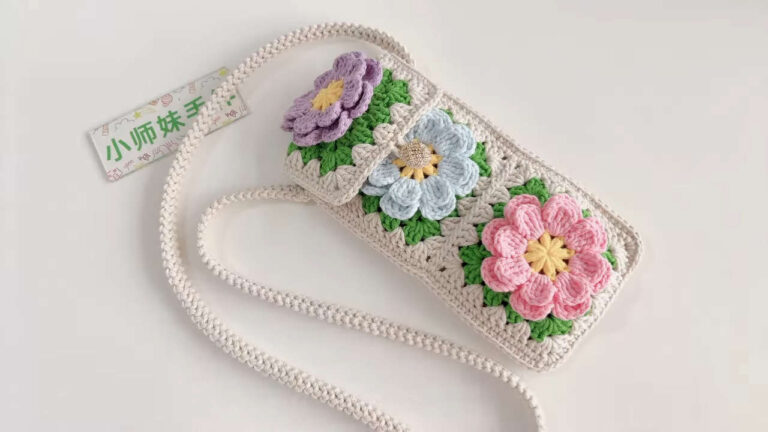
Most Elegant Crochet Flower Bags for Spring & Summer
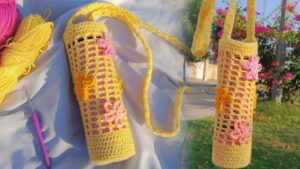
Crochet Elegant Water Bottle Holder Patterns
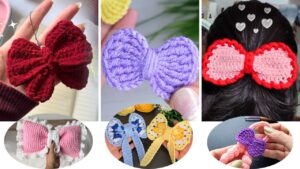
15 Elegant Crochet Bow Variations with Tutorials

How to Crochet ELEGANT Maple Leaf For Fall & Halloween