
Free Crochet Summer Buddy Plushies & Few Amigurumi Patterns
There is no better way to kickstart the summer than by crocheting a buddy plushie that you can carry the whole season. So, I thought why not combine the big summer plushie that you can use as desk buddy and huggable companion and few more sea creature amigurumi, in this curation. I have started for now with a chubby and super soft blobfish plushie in pink and sky blue colors. This is in my opinion the best crochet buddy you can have. Then, a baby seal or you can call it kawaii sea plushie holding a fish plushie.
Kids will love this plushie, in particular. Many of us may remember the bathtub duck. Well, there is a plush version of that duck, here, too. Finally, I have two amigurumi to share; one for a baby axolotl and pufferfish amigurumi that is also big enough to make your buddy for summer. Let’s get started, now!
Plushie tutorials shared already:
01 of 05 Crochet Blobfish Plushie
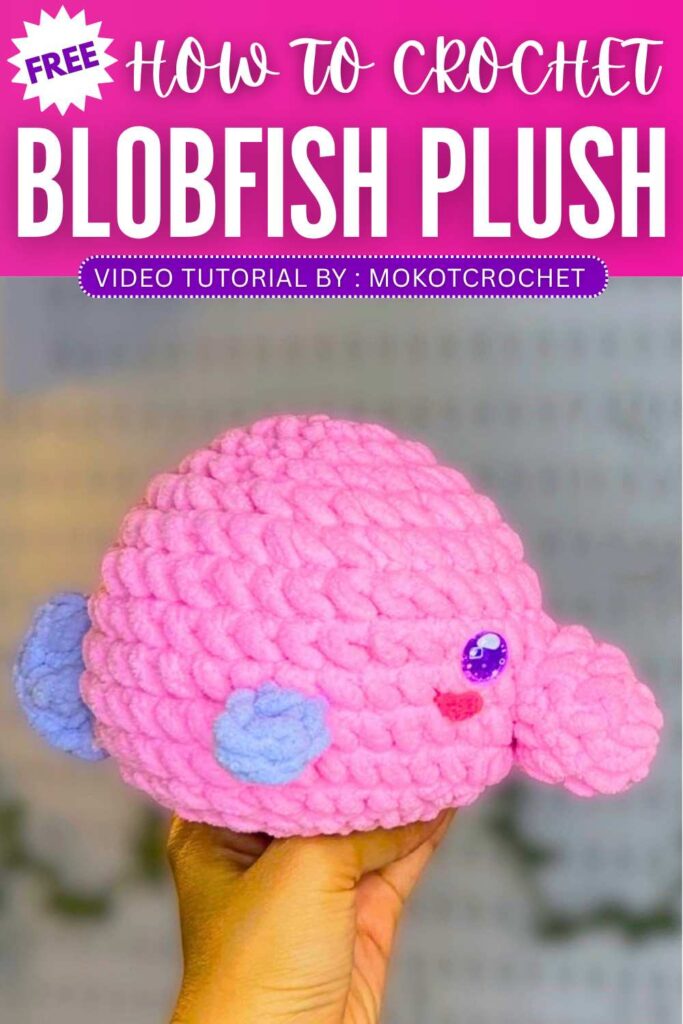
Gift your child his best toy with this squishy blobfish amigurumi tutorial. This project perfectly captures the “world’s ugliest fish” in a lovable, plush form. This tutorial uses soft pink yarn to create a round, floppy character complete with its signature drooping nose and sleepy expression.
Blobfish Plushie Quick Guide
The Main Body: Start with a magic ring and expand into a large, elongated oval to create the blobfish’s slumped, melting silhouette.
The Iconic Nose: Crochet a separate, bulbous teardrop shape and attach it to the center of the face to create the characteristic drooping snout.
The Fins: Add two small, flat side fins and a rounded tail fin to give the body its aquatic shape without losing the “blob” effect.
Face Details: Use safety eyes and black embroidery thread to create a small, downward-curved mouth for that classic grumpy look.
Finishing: Stuff the body loosely to maintain a squishy, soft texture that mimics the fish’s deep-sea appearance.
Video Pattern:
02 of 05 Sweet Seal Plush For Kids
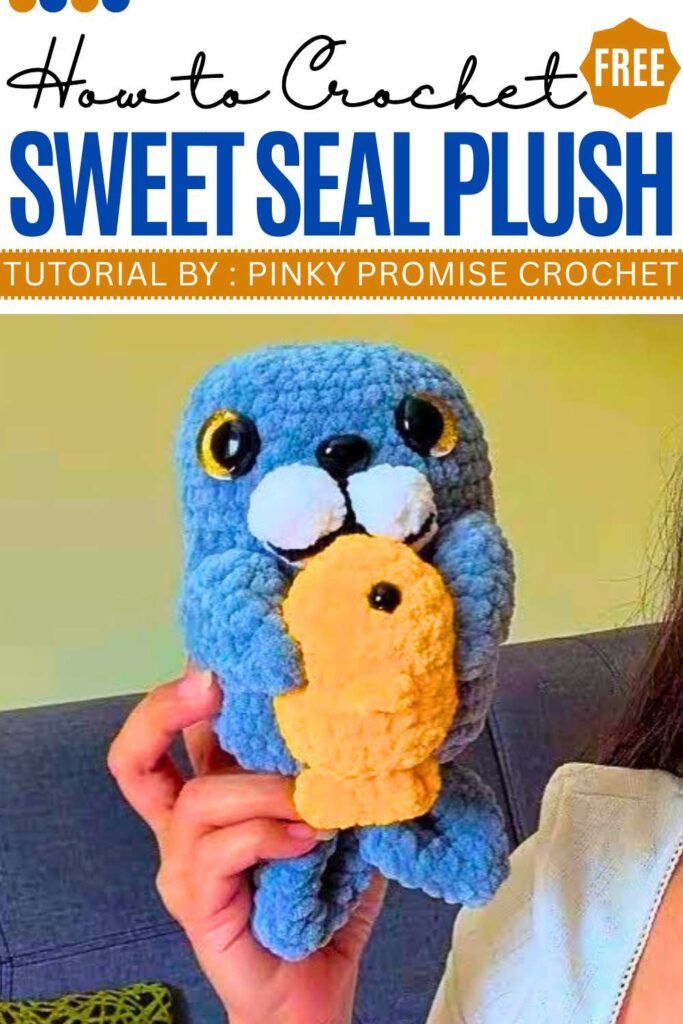
Create a cute toy with this charming amigurumi seal that comes with its very own golden fish snack. This pattern uses soft grey yarn to build a classic seal shape, then adds a playful twist by attaching a small, bright fish for the seal to “hold.
Seal and Golden Fish Guide
The Seal’s Snout: Begin with a magic ring and work 6 single crochets to create the base of the nose.
The Body and Eyes: Crochet the main body through round 23, then attach safety eyes at round 21, spacing them about five stitches apart.
Crafting the Tail: Flatten the end of the body and close it with three single crochets. Then, work a combination of double and half-double crochets into those stitches to form the flared tail fins.
The Golden Fish: Create a small fish with a single flipper on one side, as the seal will be positioned to “hold” it against its body.
Assembly: Pin the fish to the seal’s face and flippers to find the perfect “eating” pose, then sew them together using matching grey yarn.
Video Pattern:
03 of 05 Crochet Rubber Duck Plushie

With this guide you can create a classic, squishy rubber duck that is perfect for cuddling or as a cheerful desk companion. Using a soft, fluffy chenille yarn, you will build this charming bird in separate pieces before assembling them into a 3D plushie that looks just like the bath-time favorite.
Classic Rubber Duck Guide
Materials Needed: You’ll need yellow chenille yarn for the body, orange yarn for the beak, a 5 mm crochet hook, 12 mm safety eyes, and toy stuffing.
The Head: Start with a magic ring of 6 single crochets and expand to 18 stitches; place the safety eyes between rounds 4 and 5, leaving three stitches between them.
The Body: Create a larger, elongated shape beginning with a magic ring of 6 and increasing to 24 stitches before tapering down toward the tail.
Small Details: Crochet two flat wings by starting with 6 stitches and increasing slightly, and create a simple beak by chaining 6 and working single crochets on both sides of the chain.
Assembly: Sew the head to the body at rounds 5 and 6, attach the beak directly below the eyes, and secure the wings to the sides at round 11.
Video Pattern:
04 of 05 Sweet Puffer Fish Amigurumi
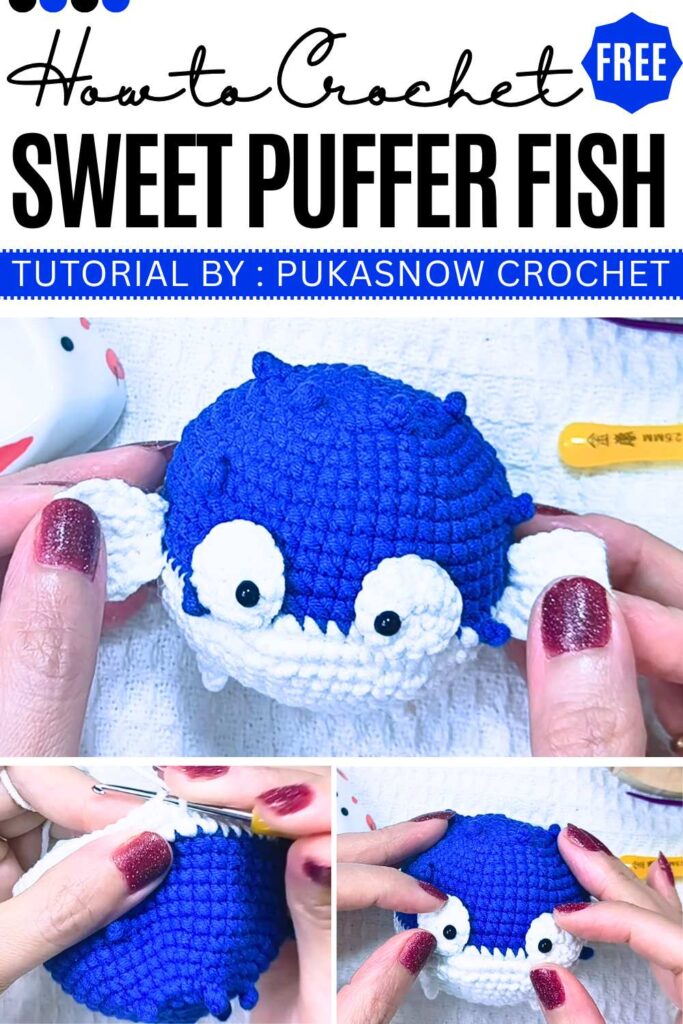
Crochet a super cute, spikey companion with this puffer fish amigurumi project. This beginner-friendly tutorial guides you through shaping a round body with a contrasting belly and adding fun textures like individual spikes and delicate fins.
Puffer Fish Quick Guide
The Spikey Body: Start with a magic ring of 6 single crochets and expand to 24 stitches by row 4, where you will begin adding your first set of spikes.
The Spike Technique: Create a spike by chaining 3, then slip stitching and single crocheting back down the chain before continuing with your regular round.
Color Transition: Use your main color through row 14, then switch to white yarn to crochet the puffer fish’s belly.
Fins and Tail: Crochet two separate side fins using a series of single crochets and slip stitches, and a wider tail using half double crochets for a flared look.
The Face: Make two small white circles (magic ring with 6 single crochets increased to 12) to serve as the base for the eyes.
Final Touches: Stuff the body with fiberfill at row 23 and sew on the fins, tail, and eyes to complete your fish.
Video Pattern
05 of 05 Crochet Axolotl Amigurumi Plush
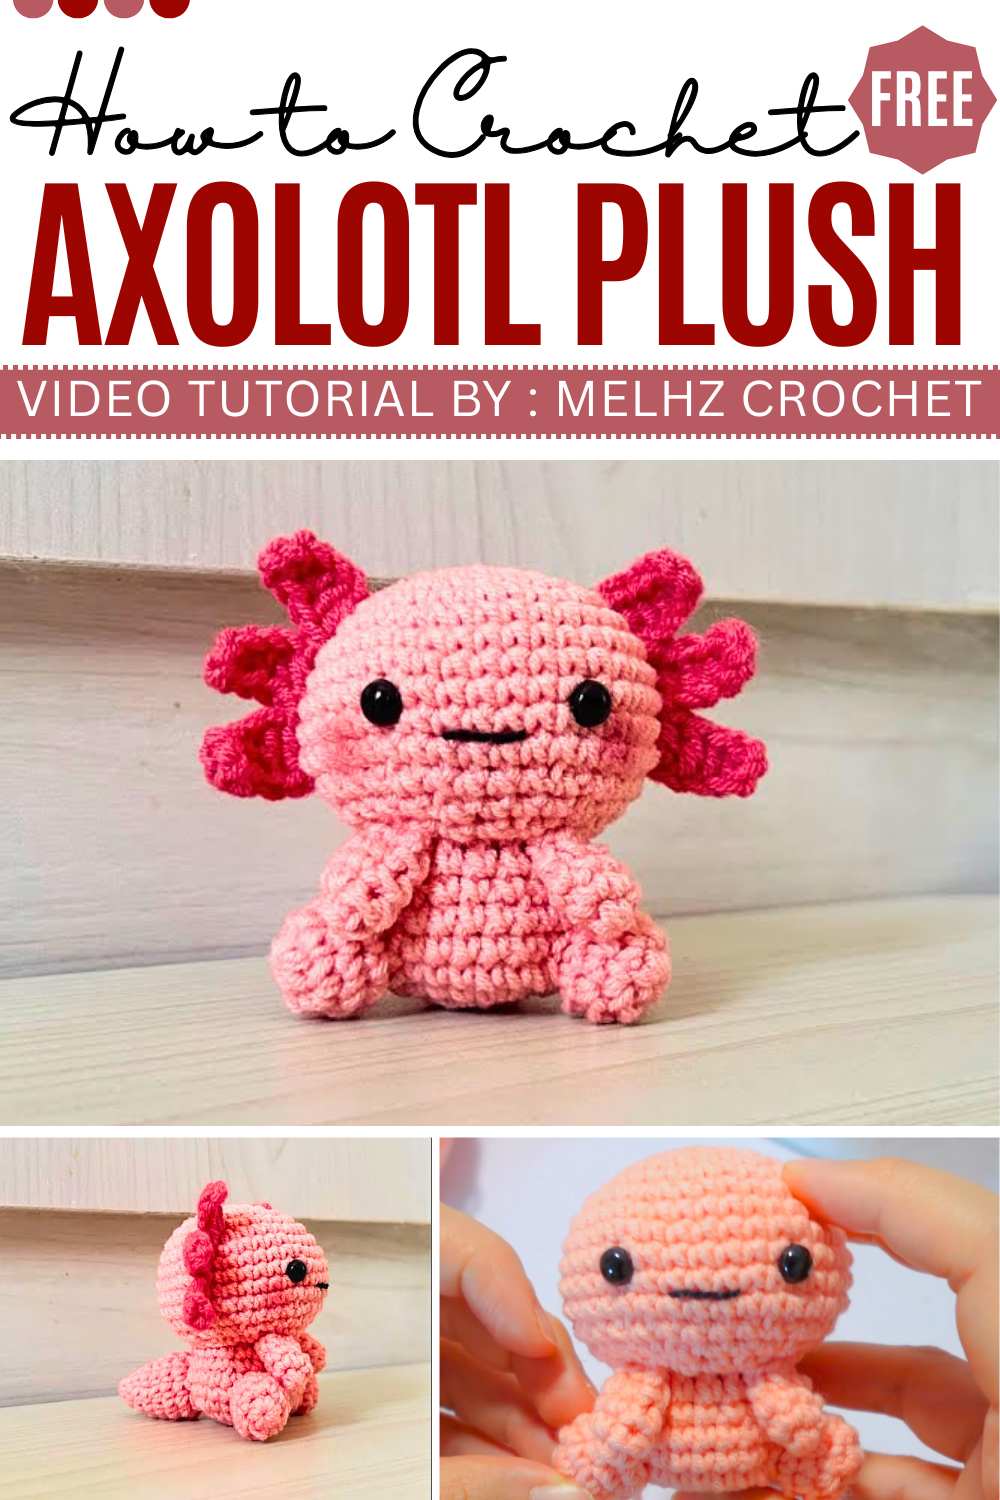
Make a cute, squishy axolotl for your desk with this easy plushie project. This guide shows you how to create the wide face and feathery gills that make these “walking fish” so famous.
Axolotl Guide
The Head: Start with a magic ring and crochet a large, round shape.
The Gills: Make six small pink stalks and sew three onto each side of the head.
Body and Tail: Crochet a plump body that thins out into a long, flat tail.
The Legs: Add four tiny limbs to the bottom of the body.
The Face: Use black safety eyes and stitch on a simple smile.
Video Pattern