Crochet Floral Triangular Headscarf Pattern For Summer
A simple triangle headscarf that can be made as small or as large as you like. It is built from repeating flower-style sections, so you can keep adding pieces until you reach your desired size. Tie straps are added at the end to hold it in place and finish the look. You can wear it yourself or even make a smaller version for a doll, making it a flexible and creative crochet project.
Crochet Floral Triangular Headscarf

Step by Step Pattern
This crochet pattern for a beautiful triangular headscarf is designed to be infinitely adjustable by repeating the stitch patterns. Below are the materials, abbreviations, and an extended, step-by-step guide to the rows.
Materials Needed
Yarn (in your preferred weight)
Crochet hook (sized to match your yarn)
Stitch markers (to keep track of the turning chains)
Abbreviations
ch: Chain
dc: Double crochet
tr: Treble crochet
sc: Single crochet
sl st: Slip stitch
Row-by-Row Instructions
Foundation
Start by chaining 6.
It is recommended to place a stitch marker in the 4th chain from the hook to identify your turning point for future rows.
Body Rows
Row 1: Work 3 dc into the first chain, ch 2, and 1 tr into the same starting position.
Row 2: Ch 5 (mark the 3rd ch). Inside the ch-2 space, work 2 dc. Follow this by working 3 dc in sequence. Complete the segment by working 2 dc into the final ch-2 space. Finish with ch 2 and 1 tr into the marked chain.
Row 3: Ch 5 (mark the 3rd ch). Inside the ch-2 space, work 2 dc, then work 2 dc in sequence. Follow with a ch 2, then work 2 dc in sequence, and 2 dc into the same ch-space. Finish with ch 2 and 1 tr in the marked chain.

Row 4: Ch 5. Inside the ch-2 space, work 2 dc, then 1 dc into the first dc stitch. Ch 5 and sl st into the previous row’s chain space. Ch 5 again, skip 3 stitches, then work 1 dc in the next stitch. Finish the side by working 2 dc into the ch-space, ch 2, and 1 tr into the marked chain.
Row 5: Ch 5. Inside the ch-2 space, work 2 dc. Follow with 3 dc in sequence, then 3 dc into the first hole. Ch 3, then work 3 dc into the next hole. Complete with 3 dc in sequence, 2 dc into the final hole, ch 2, and 1 tr into the marked chain.
Row 6: Ch 5. Inside the ch-2 space, work 2 dc. Follow with 8 dc in sequence, 3 dc into the hole, and another 8 dc in sequence. Finish with 2 dc in the final hole, ch 2, and 1 tr into the marked chain.
Pattern Expansion: Rows 3 through 6 constitute one complete pattern repeat. To enlarge the scarf, continue working rows 7 through 10, adding one additional pattern repeat for every 4 rows worked. Continue until you reach your desired size (suggested 30 rows for adults).

Edging
After your final row, chain 1 and turn the piece.
Work 2 sc into the first space.
Continue by working 1 sc into each stitch across the row.
When reaching the corner, work 3 sc to turn the edge smoothly.
Begin the decorative border: Ch 3 and work 1 sc into the next space. Repeat this pattern (ch 3, 1 sc) along the entire edge.
When you reach the top corner, work two sets of (1 sc, ch 3).
Continue this sequence down the other side until you reach the end, then join with a sl st to the first sc of the row.
Ties
Chain 60 to begin the first tie.
Create four small flower petals: Ch 3, 1 dc into the 4th chain from the hook, ch 3, and sl st into the same place.
Repeat the petal process three more times.
Secure the tie to the scarf edge and fasten off, leaving a small yarn tail to weave in securely on the back.
Repeat this exact process on the oppsite side to create the second tie.
Video Pattern:
Pattern In UK Terms
Important Conversion Note:
US Single Crochet (sc) becomes UK Double Crochet (dc).
US Double Crochet (dc) becomes UK Treble Crochet (tr).
US Treble Crochet (tr) becomes UK Double Treble Crochet (dtr).
Materials Needed
Yarn: (In your preferred weight)
Crochet hook: (Sized to match your yarn)
Stitch markers: (To keep track of the turning chains)
Abbreviations (UK Terms)
ch: Chain
dc: Double crochet (US sc)
tr: Treble crochet (US dc)
dtr: Double treble crochet (US tr)
sl st: Slip stitch

Row-by-Row Instructions
Foundation
Start by chaining 6.
It is recommended to place a stitch marker in the 4th chain from the hook to identify your turning point for future rows.
Body Rows
Row 1: Work 3 tr into the first chain, ch 2, and 1 dtr into the same starting position.
Row 2: Ch 5 (mark the 3rd ch). Inside the ch-2 space, work 2 tr. Follow this by working 3 tr in sequence. Complete the segment by working 2 tr into the final ch-2 space. Finish with ch 2 and 1 dtr into the marked chain.
Row 3: Ch 5 (mark the 3rd ch). Inside the ch-2 space, work 2 tr, then work 2 tr in sequence. Follow with a ch 2, then work 2 tr in sequence, and 2 tr into the same ch-space. Finish with ch 2 and 1 dtr in the marked chain.
Row 4: Ch 5. Inside the ch-2 space, work 2 tr, then 1 tr into the first tr stitch. Ch 5 and sl st into the previous row’s chain space. Ch 5 again, skip 3 stitches, then work 1 tr in the next stitch. Finish the side by working 2 tr into the ch-space, ch 2, and 1 dtr into the marked chain.
Row 5: Ch 5. Inside the ch-2 space, work 2 tr. Follow with 3 tr in sequence, then 3 tr into the first hole. Ch 3, then work 3 tr into the next hole. Complete with 3 tr in sequence, 2 tr into the final hole, ch 2, and 1 dtr into the marked chain.
Row 6: Ch 5. Inside the ch-2 space, work 2 tr. Follow with 8 tr in sequence, 3 tr into the hole, and another 8 tr in sequence. Finish with 2 tr in the final hole, ch 2, and 1 dtr into the marked chain.
Pattern Expansion: Rows 3 through 6 constitute one complete pattern repeat. To enlarge the scarf, continue working rows 7 through 10, adding one additional pattern repeat for every 4 rows worked. Continue until you reach your desired size (suggested 30 rows for adults).

Edging
After your final row, chain 1 and turn the piece.
Work 2 dc into the first space.
Continue by working 1 dc into each stitch across the row.
When reaching the corner, work 3 dc to turn the edge smoothly.
Begin the decorative border: Ch 3 and work 1 dc into the next space. Repeat this pattern (ch 3, 1 dc) along the entire edge.
When you reach the top corner, work two sets of (1 dc, ch 3).
Continue this sequence down the other side until you reach the end, then join with a sl st to the first dc of the row.
Ties
Chain 60 to begin the first tie.
Create four small flower petals: Ch 3, 1 tr into the 4th chain from the hook, ch 3, and sl st into the same place.
Repeat the petal process three more times.
Secure the tie to the scarf edge and fasten off, leaving a small yarn tail to weave in securely on the back.
Repeat this exact process on the opposite side to create the second tie.
You may also like
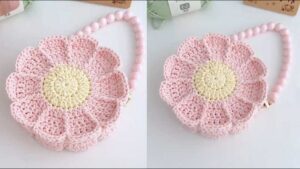
Crochet Flower Bag Pattern Cute Floral Accessory
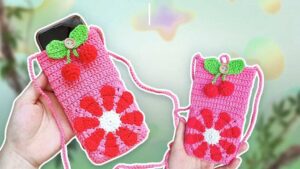
Crochet Floral Phone Pouch Bag Pattern Free
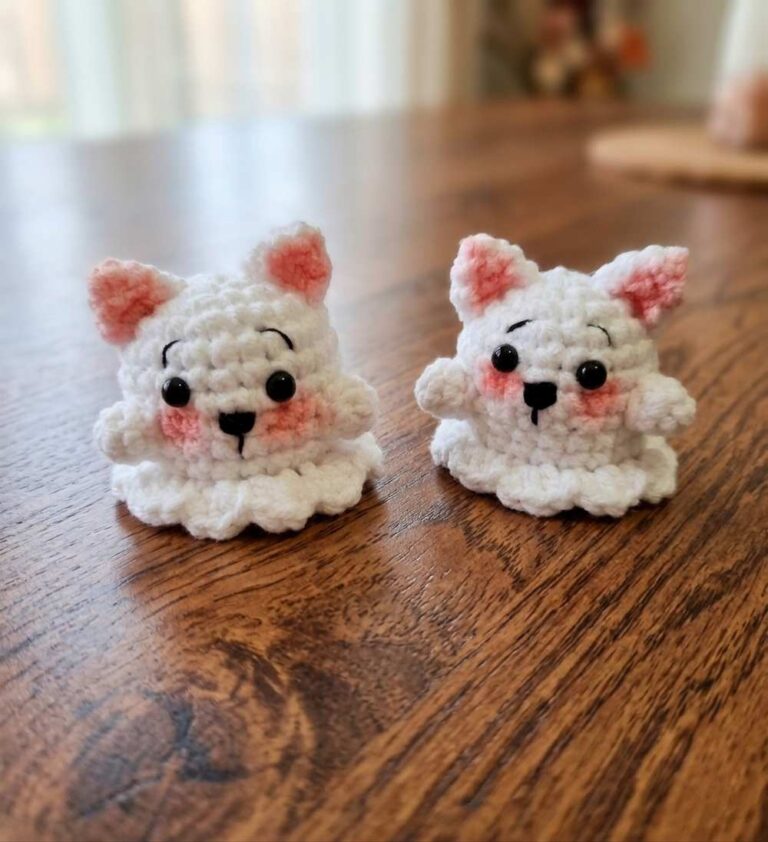
Crochet Miniature No-Sew Baby Spider Plushie Pattern Pattern
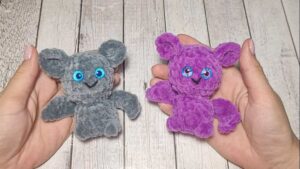
Crochet Bat Trick-or-Treating Pouch for Halloween Pattern (Crossbody Bag )

Free Crochet Low-Sew Baby Squirrel Plush Amigurumi Pattern for Fall
Yuez: Crochet Pumpkin Cat Keychain Plushie Pattern for Halloween
Free Crochet Pumpkin Plushie Pattern for Fall & Halloween